|
The first step in assembling the booklets was cutting a (hopefully) square corner on each of the components so I could jog the booklets into alignment and then fasten them together.
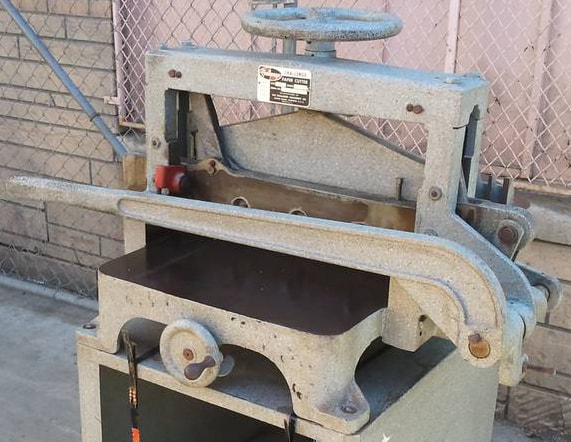
This is the younger sibling of our paper cutter, made around 1965. Ours is in a spot that makes it impossible to photograph, so this is a good as it gets. The Challenge Model 193 was made for decades and was a workhorse in print shops across the country. Ours was sold to the University of California Press by ATF in 1944. It still bears(heh) the original UC asset tag. Go Bears! |
An important note about these machines: they bite. My strongest memory from Graphics Arts class in high school is the day I learned it was a bad idea to pull ones hand up and out of the cutter working area after having raised the paper clamp up past the edge of the blade. It was a slightly messy afternoon.
|
After trimming all the components I had to decided how to fasten them together.
A stroll around the internet introduced me to something call a "flat clinch stapler". I considered the idea of stapling the booklets together because many booklets of real stamps were made this way. But I had discarded stapling because I found typical staples ugly and even worse, unpleasant when handling something bound with them. Flat clinch staples are supposed to solve these problems. |
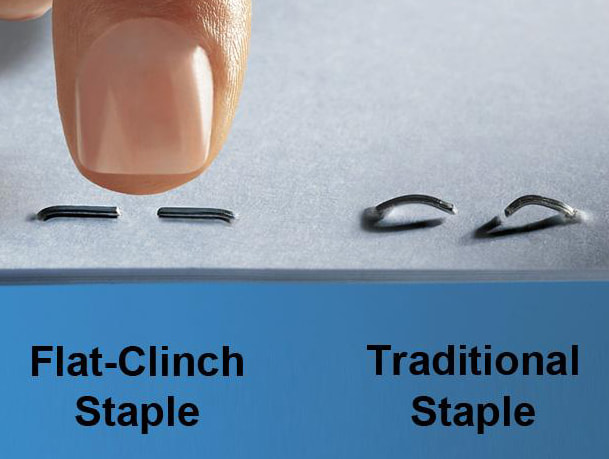
Image from ultimateoffice.com
|

|
Never having seen a flat clinch stapler before, I was a little skeptical. (The Photoshop work in the picture above is a little heavy handed. Is that for a reason?)
I found a variety of flat clinch staplers on Amazon.com and chose one that was less than $20 to try out. It came with 3,000 staples so even though they are a non-standard (thinner) size, they'll probably last a lifetime. It worked as advertised! You do have to really squeeze on the stapler to get the flattest result and that marked the front of the booklet a bit but the flat clinch was still a big win. |
|
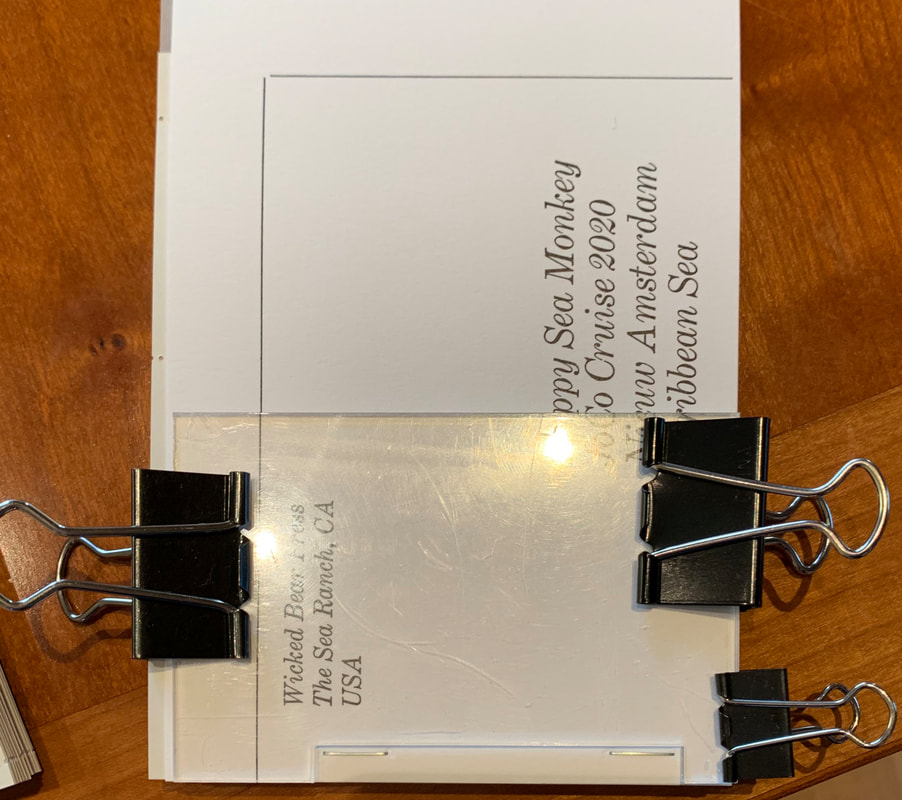
The next challenge was how to make the position of the staples controllable and repeatable.
The laser made this easy. A simple template cut from 1/8" acrylic allowed me to see that everything was lined up and provided a positive stop to hold the stapler against in both directions. There was still occasional slight variation in the position of the staples. Operator error or fundamentally incapable process? We'll never know for sure. |
|
|
That decided, it was time for a whole lot of collating the various layers, knocking them up to the lower left corner, clipping on the stapling template, and putting in the staples.
(Apologies for the glare. Glassine is shiny stuff.) |
|
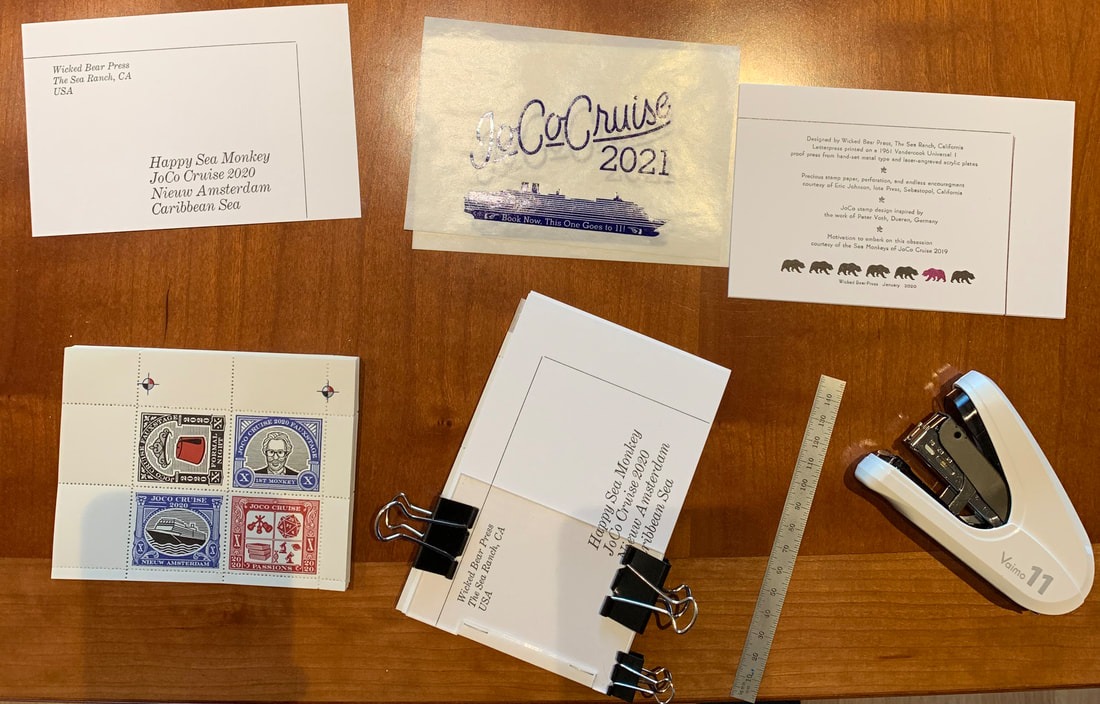
Soon enough I had a few big stacks of assembled booklets. Then it was back to the paper cutter for the final trim on the top and right side.
The trimming required a little extra care because, although the flat clinch staples are much lower profile than standard staples, they still add thickness to the left margin. Simply trimming short stacks of booklets was enough to make the extra thickness manageable. |
Sorry, no picture of this step. I must have been getting giddy, what with being so close to the finish line.
|
|
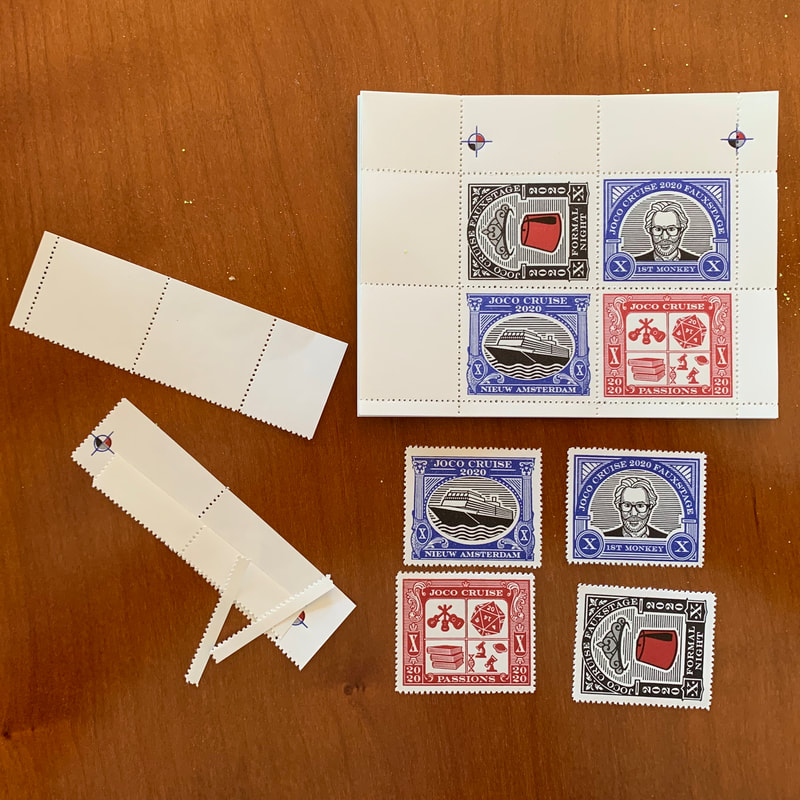
Next came a step that was a little hard to start.
Breaking up enough panes of stamps so I could put some on the booklet covers took a second to get comfortable with. I guess things must have become a little precious by then? |
|
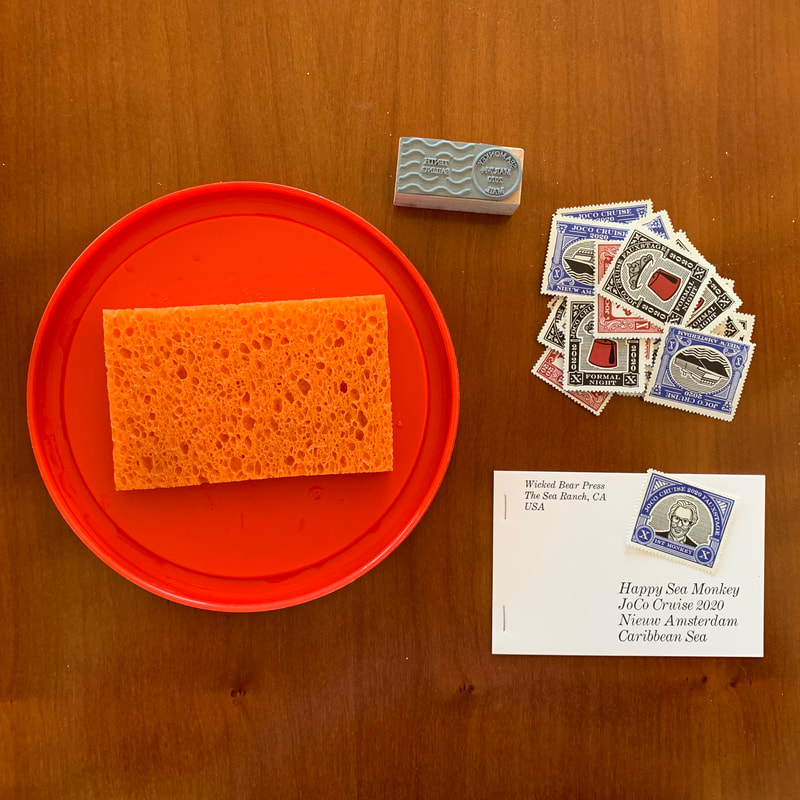
Time for a whole lot of licking and sticking. And by licking, I mean dragging the stamps across a damp sponge.
I did use the traditional method for a couple of stamps, but the question of just exactly what was in that minty fresh gum after all these years put me off doing any more. |
|
|
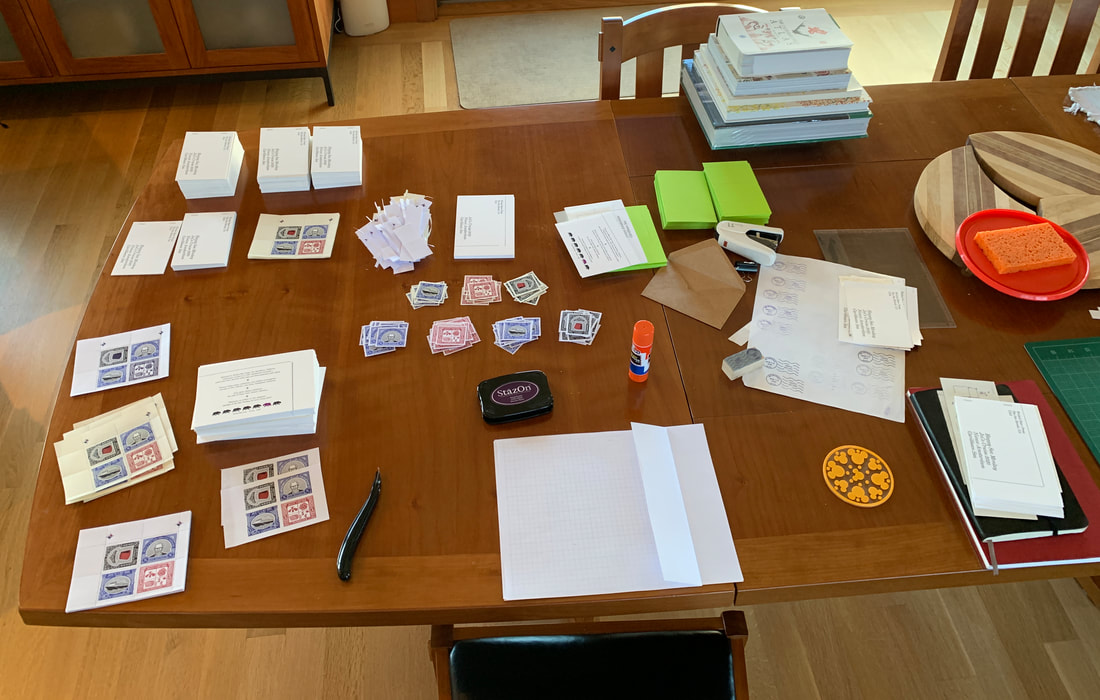
The dining room table was a bit of a mess for a few days, but by and large things went together well.
Sharp eyes will spot the glue stick in the center of the shot. Whatever could it be for, with all these gummed goodies around? Full disclosure: I used a bunch of the plain paper proofs for cover stamps. That way, I had that many more panes of the real deal to use to make booklets. Heresy? Maybe. But as a German friend of mind likes to remind me "Let's not be more Catholic than the Pope". |
|
|
Sharp eyes will also note the staple remover in the shot above. Evidence that collating the booklets didn't go perfectly.
Turns out the glassine is so light that it's hard to knock it up in the middle of a stack. So, we had a few failed assemblies that needed to be reworked. And that's why I made a ton of extra covers and glassines. I ended up throwing a lot of them away, but it was a comfort to know that I had them so I could deal with any hiccups in getting the booklet assembly going and also deal with anything that went wrong along the way. |
|
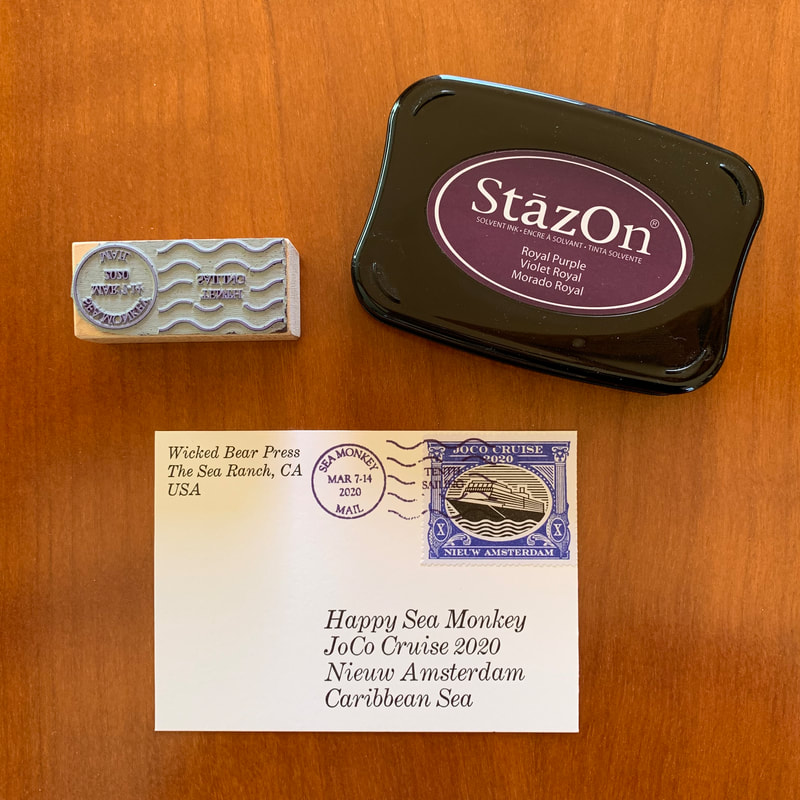
Stamps all stuck, it was time to rubber stamp the postmarks and cancellations. Check out the bottom of the front cover page for more details.
|
|
|
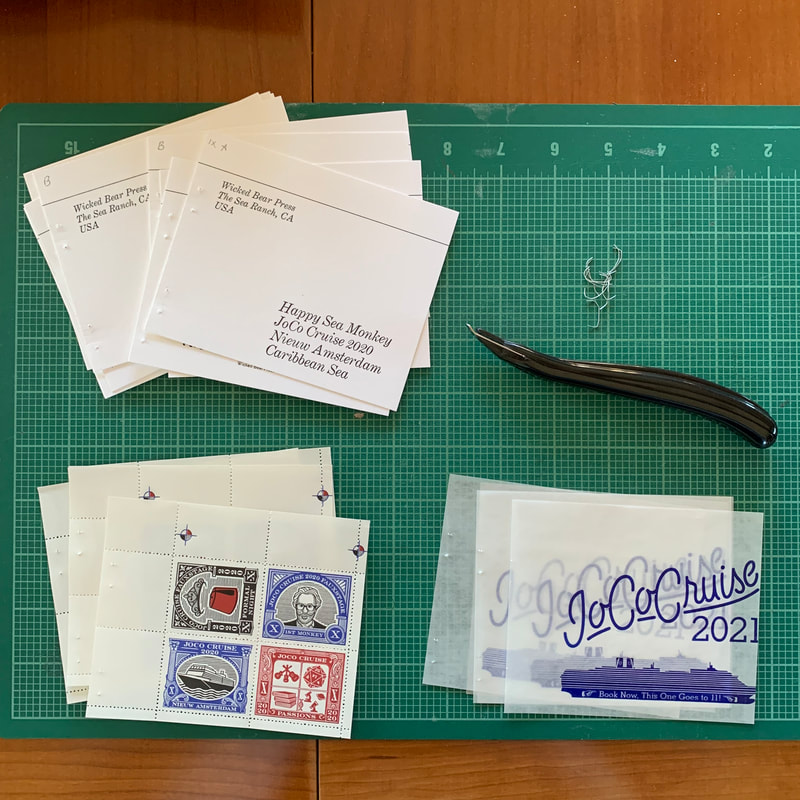
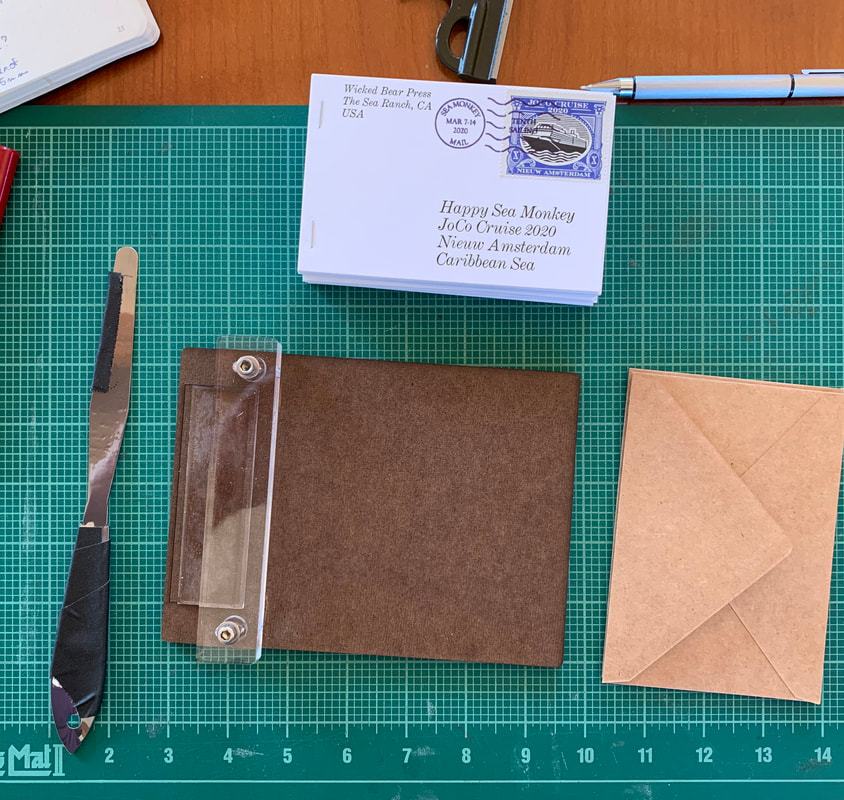
The final step in making the booklets was to crease the front cover so that it bent back easily to expose the interior pages.
Since the booklets were already assembled, I couldn't do the creasing on the press (even if I had a clue as to how to do so). So, I did all the creasing manually. How to make the manual process accurate and repeatable? Again, the laser come into play. I made a creasing jig with a stop for the edge of the booklet and an adjustable fence so I could get the crease exactly as I wanted it. All it took was a few minutes in Illustrator and some rooting around in the scrap bin and I was good to go. The creasing tool is a stout stainless steel palette knife. A little gaffer's tape eased the sharp edges. |
|
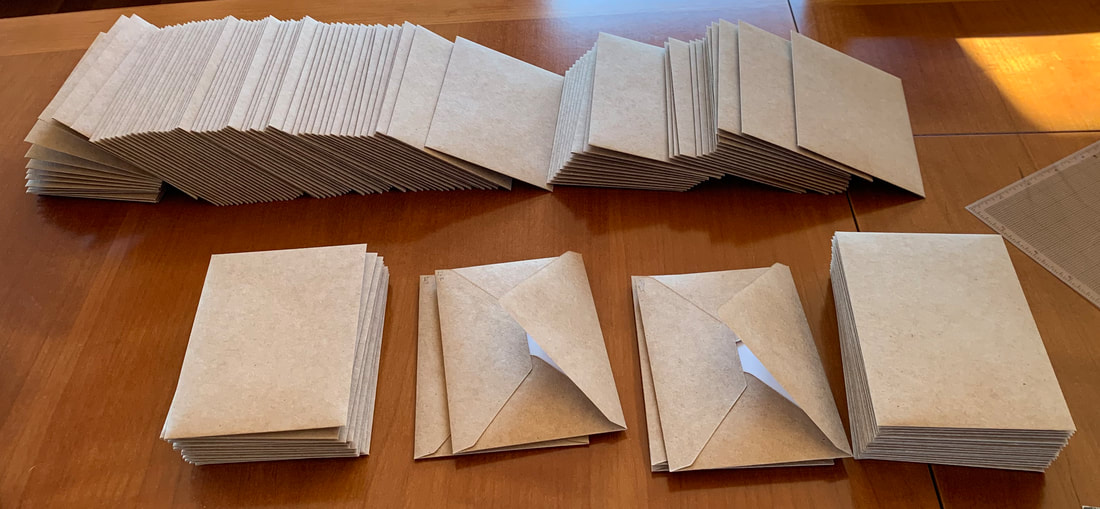
And with that, the work on the majority of the booklets was complete.
For a second, I considered making envelopes for the booklets, but quickly came to my senses. That's a challenge for the future. Instead I just bought some plain kraft paper envelopes from Amazon. |
|
That's it for the project except for a little wrap up.
