          |
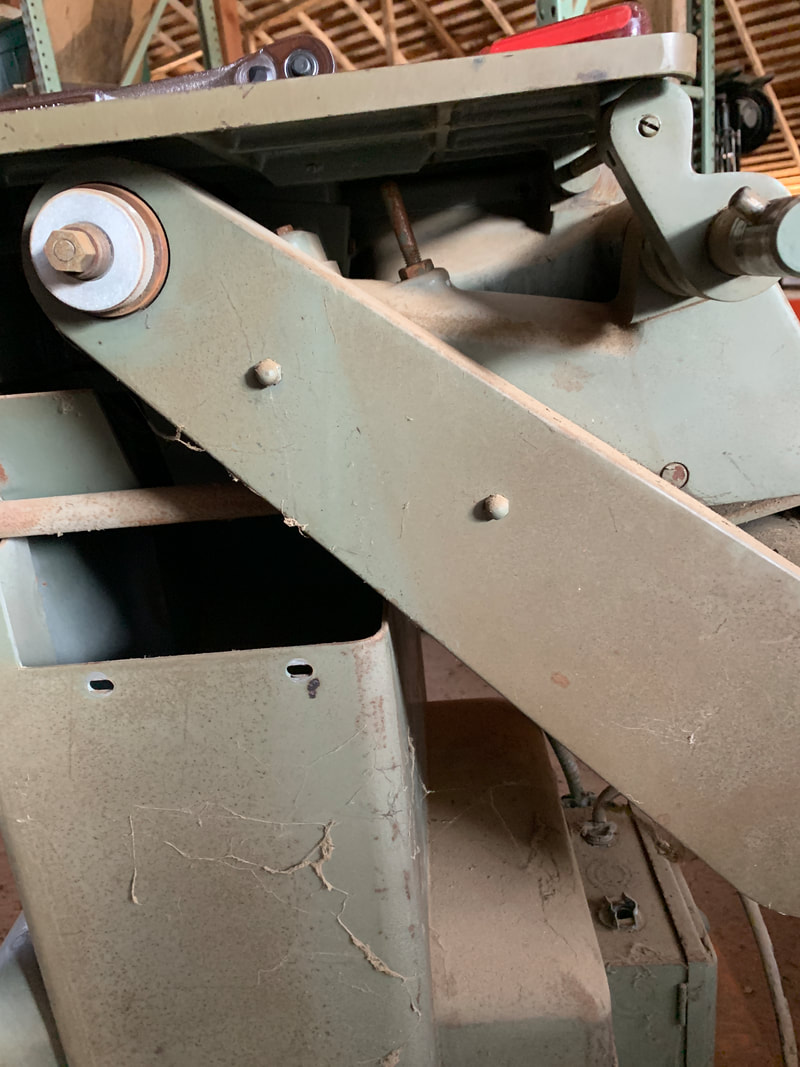
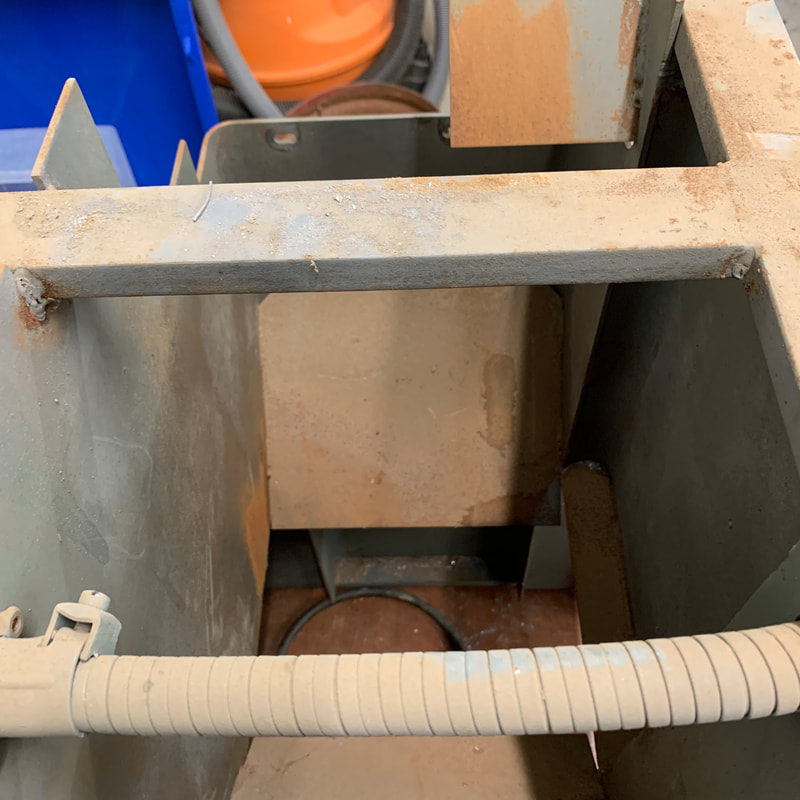
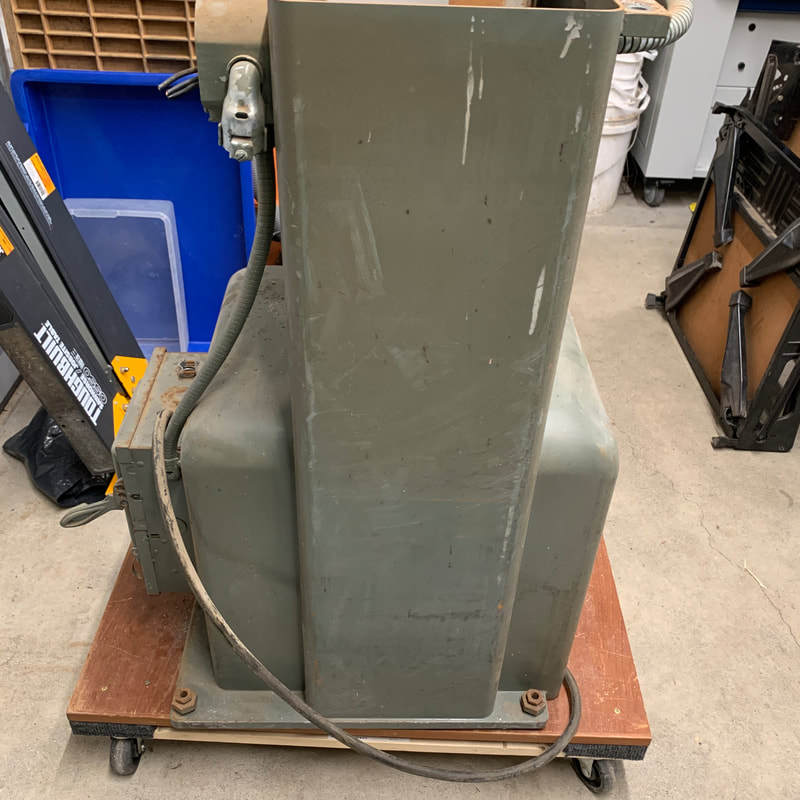
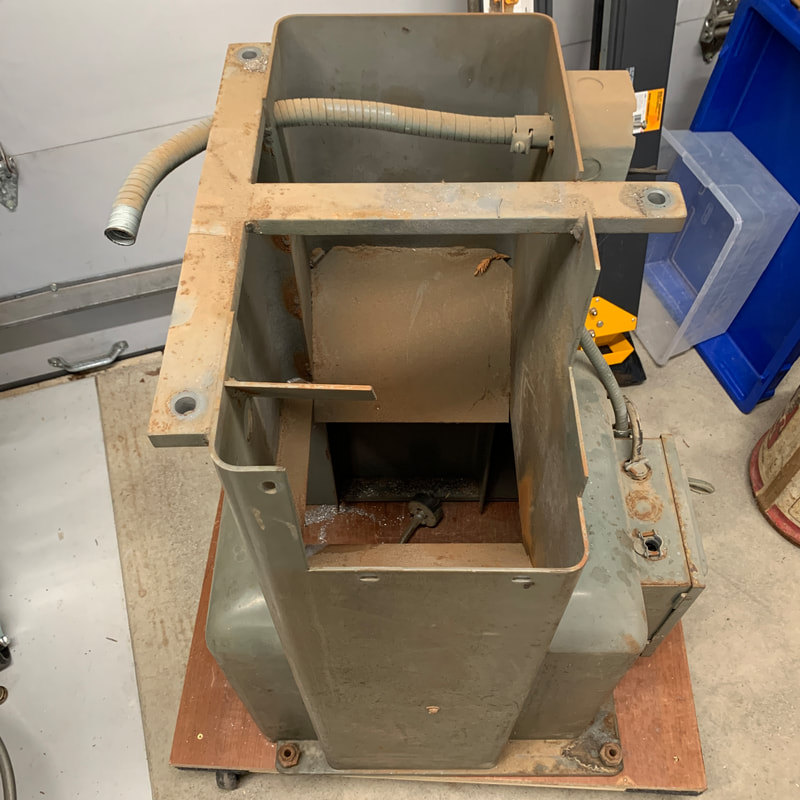
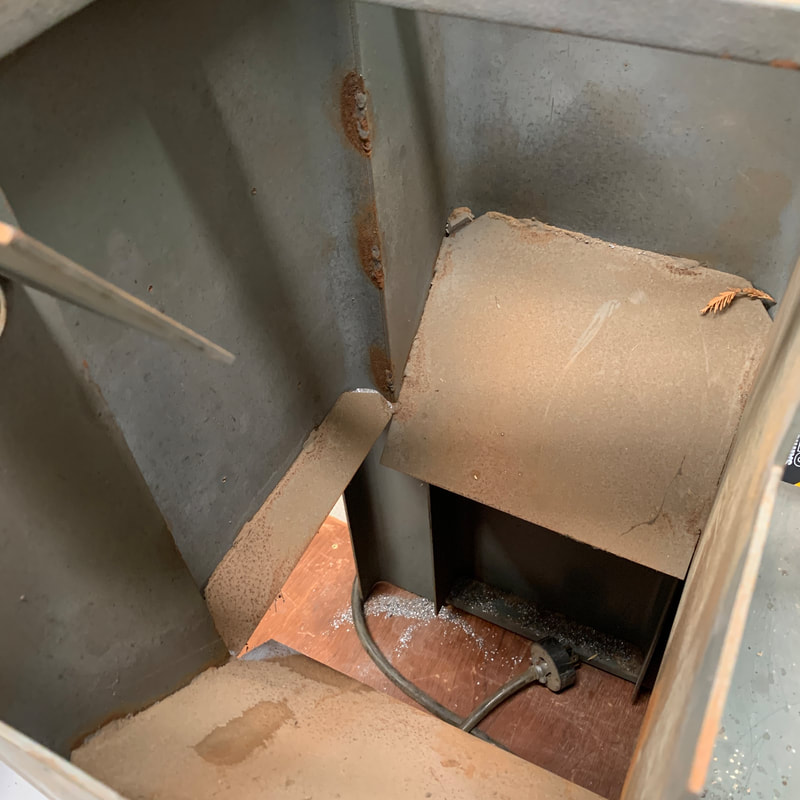
Chip chute and belt guard disassembly and belt removal
|
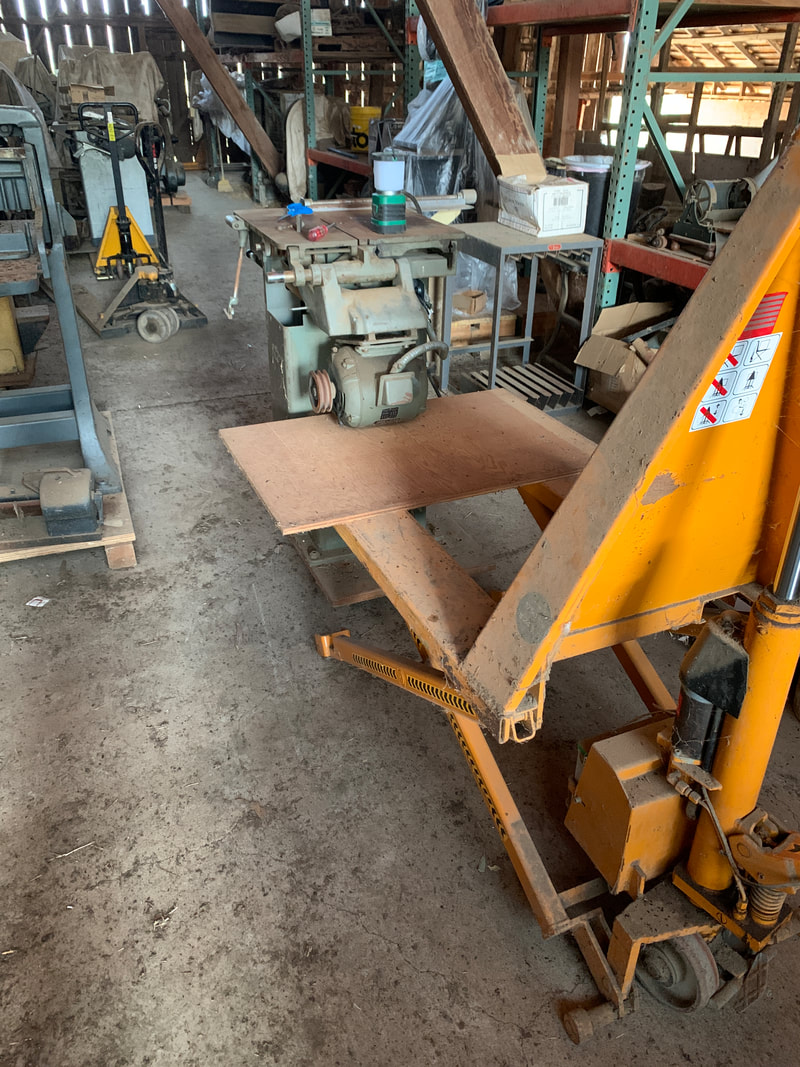   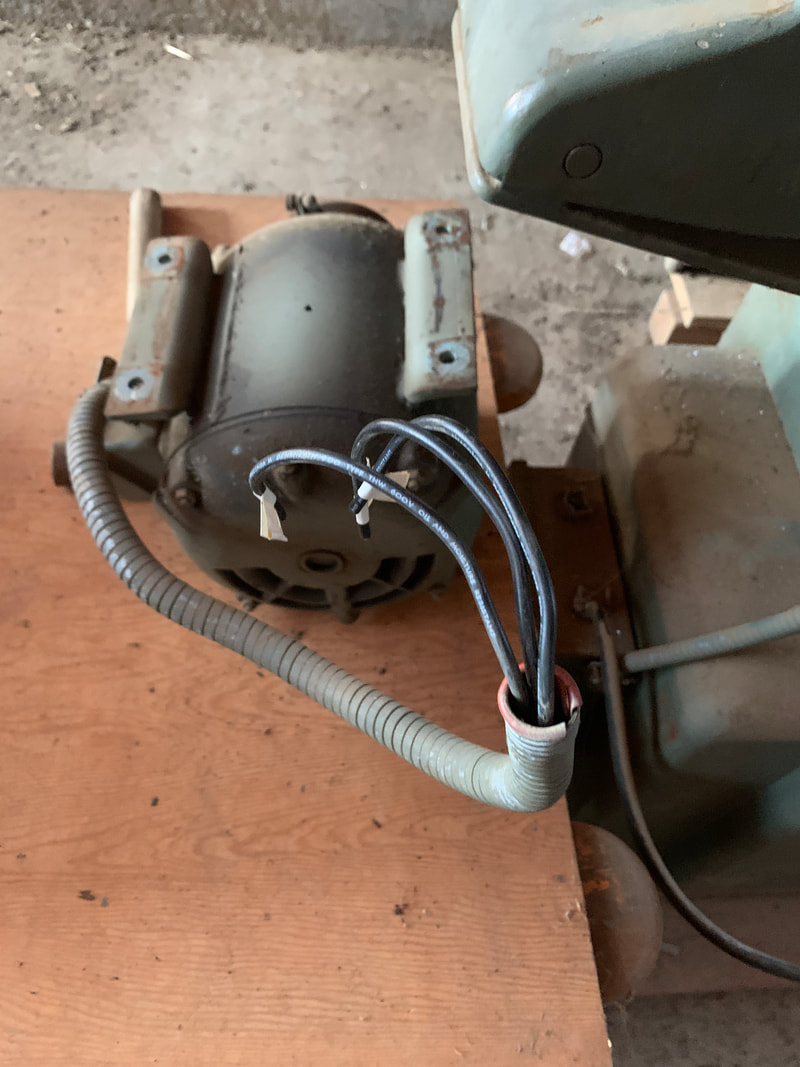 |
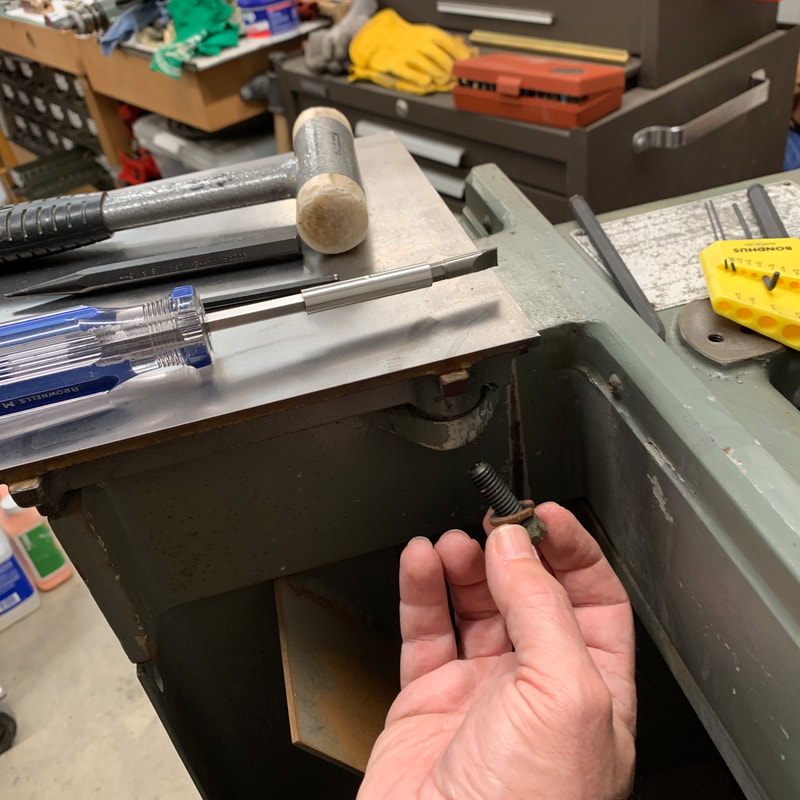
Motor removal
|
  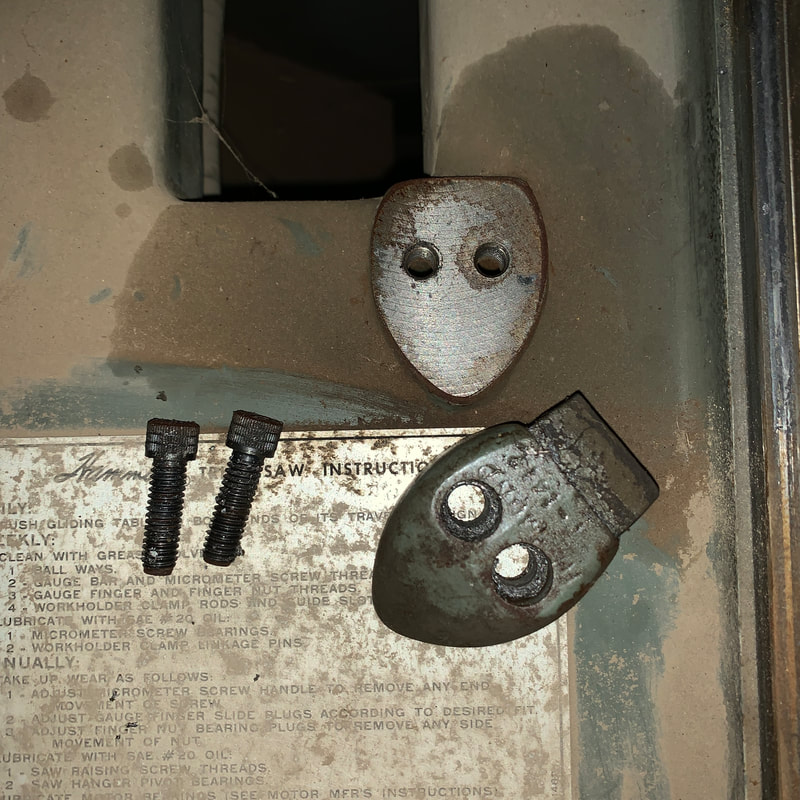 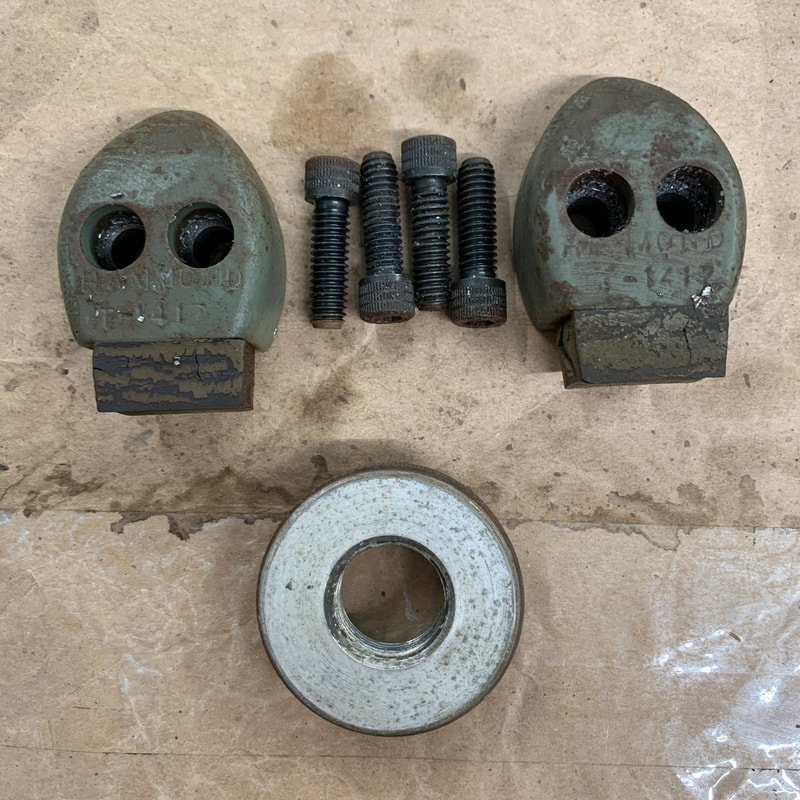  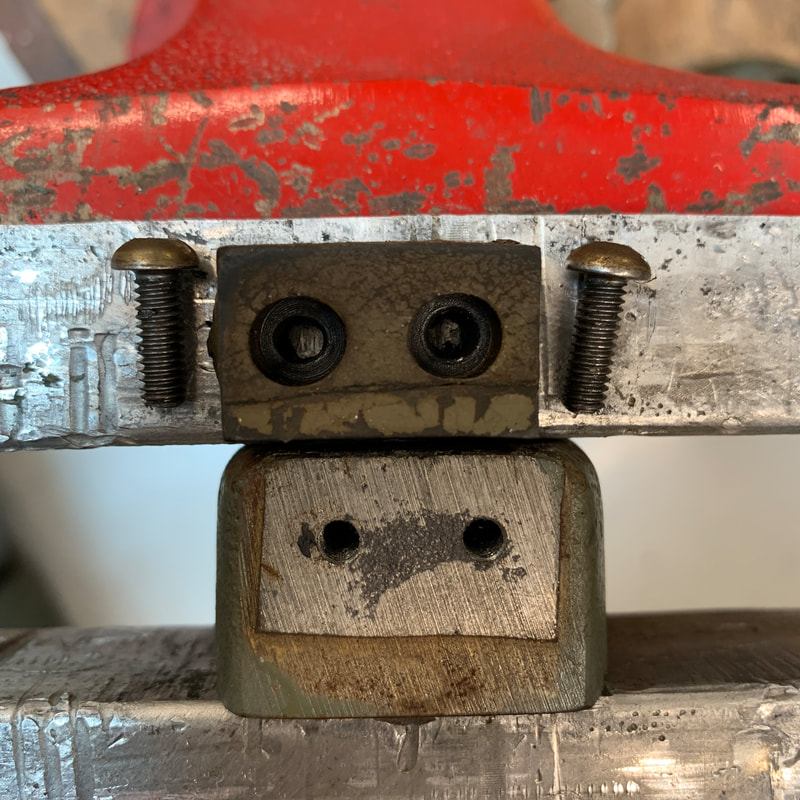 |
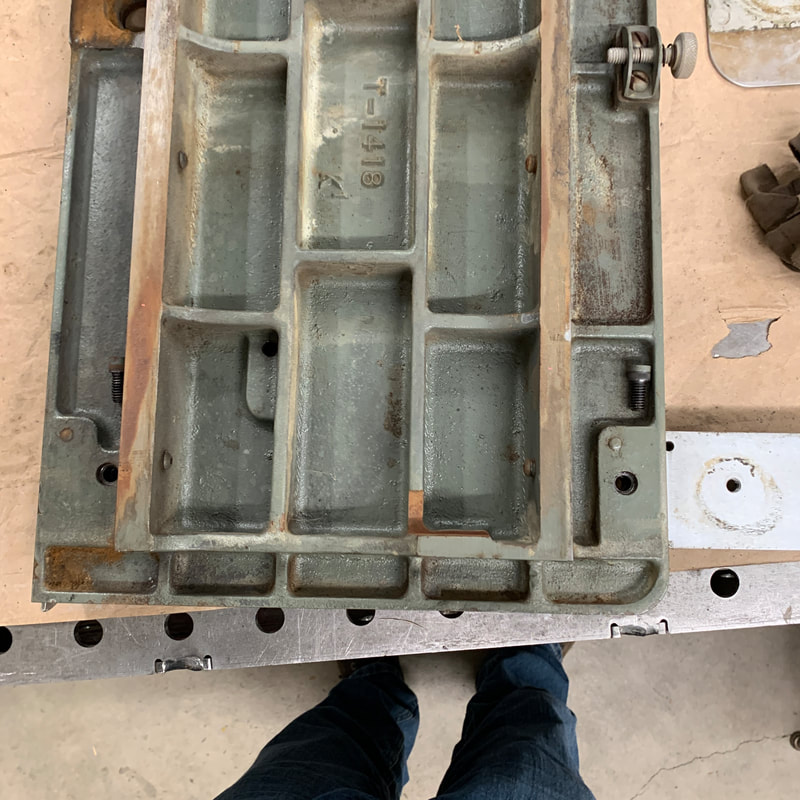
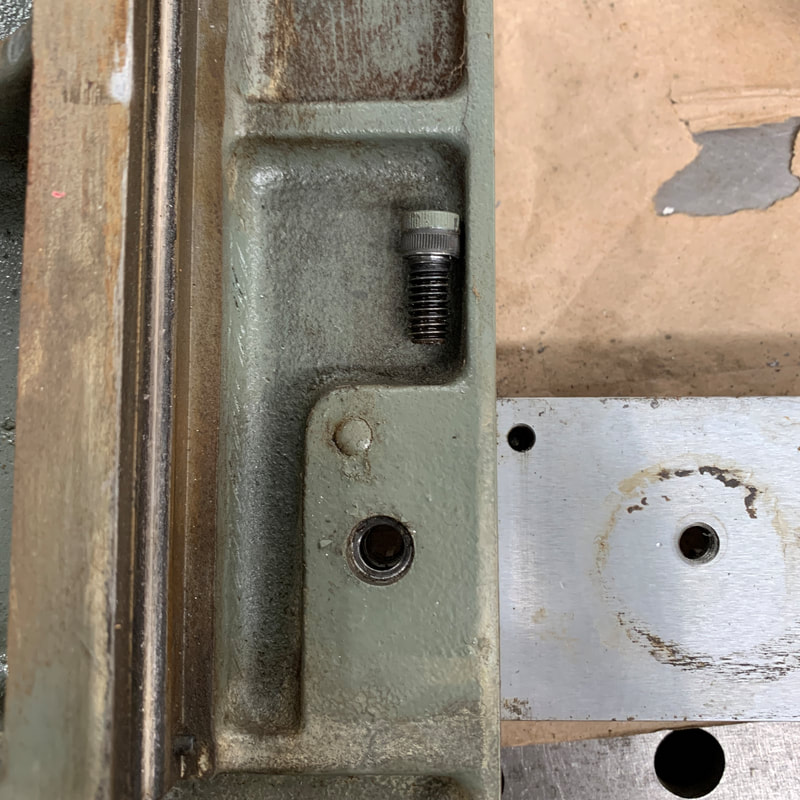
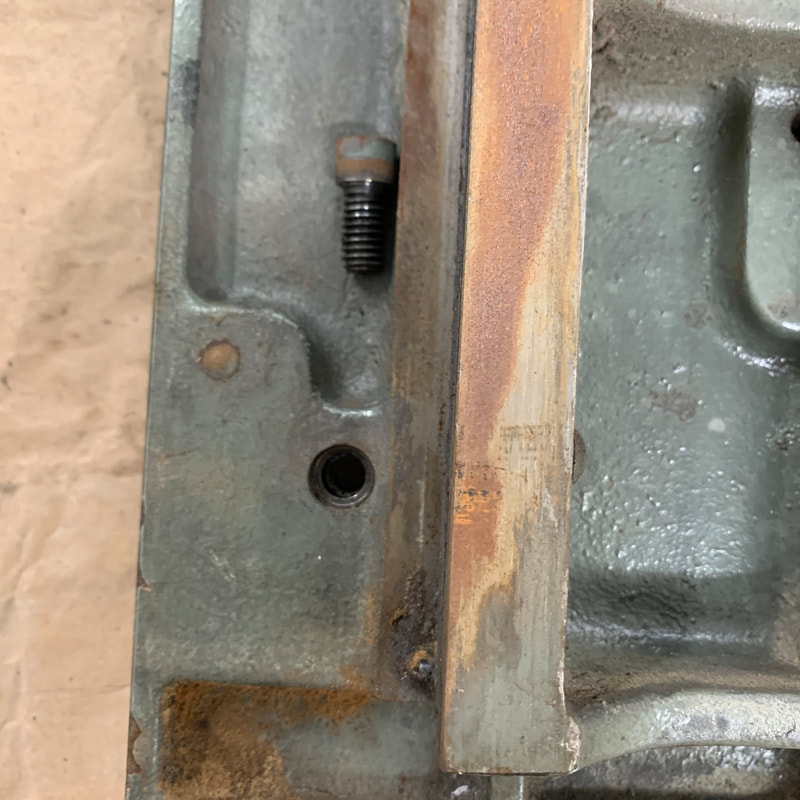
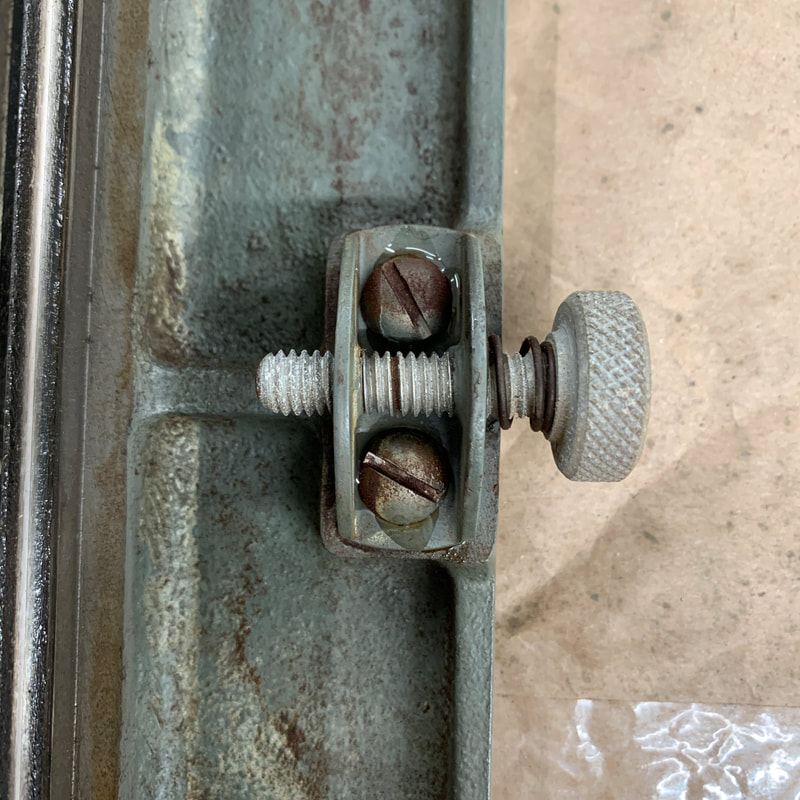
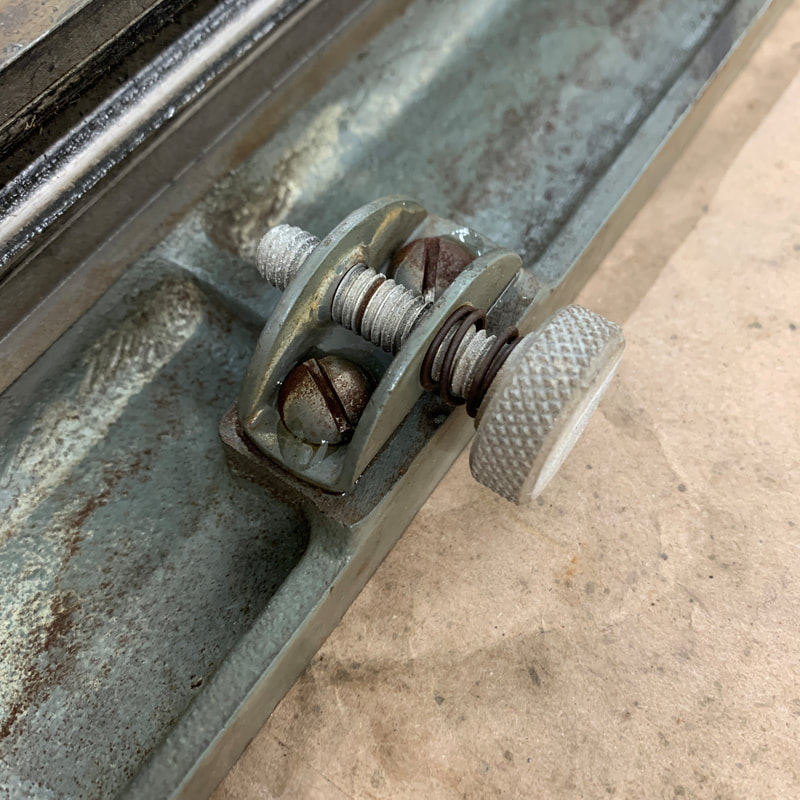
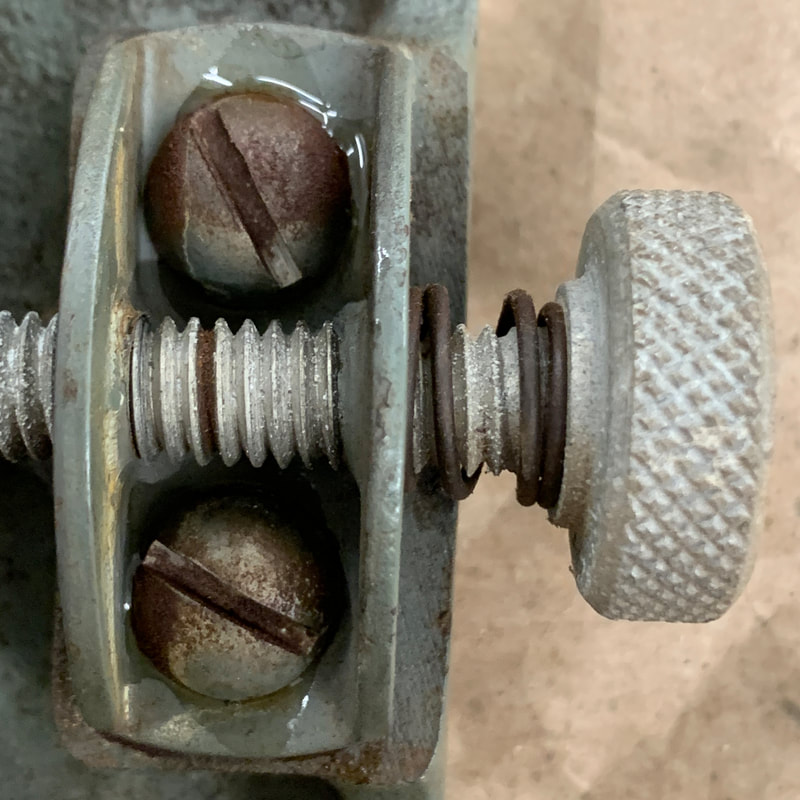
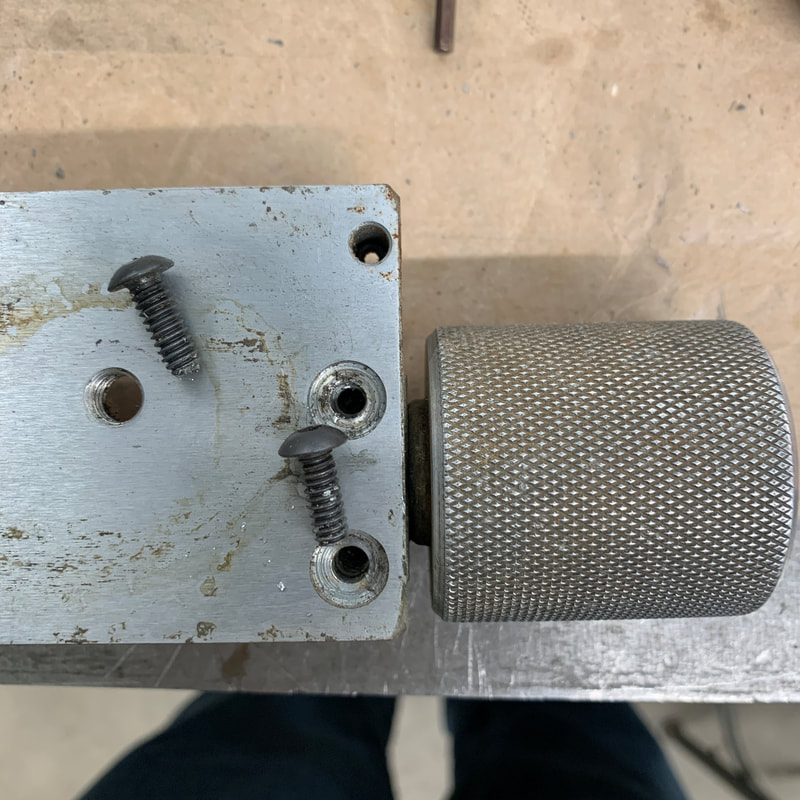
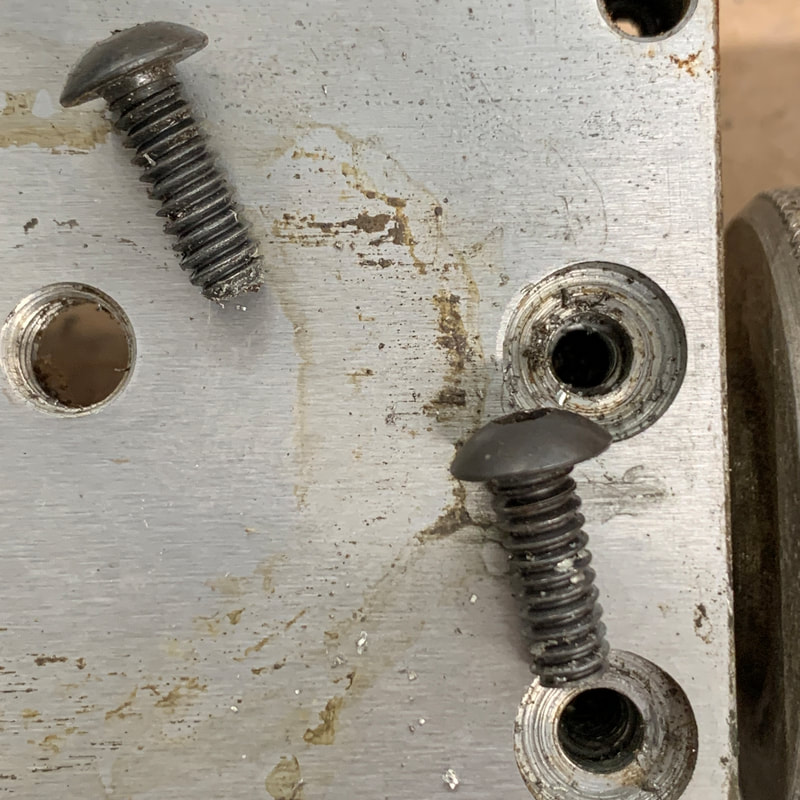
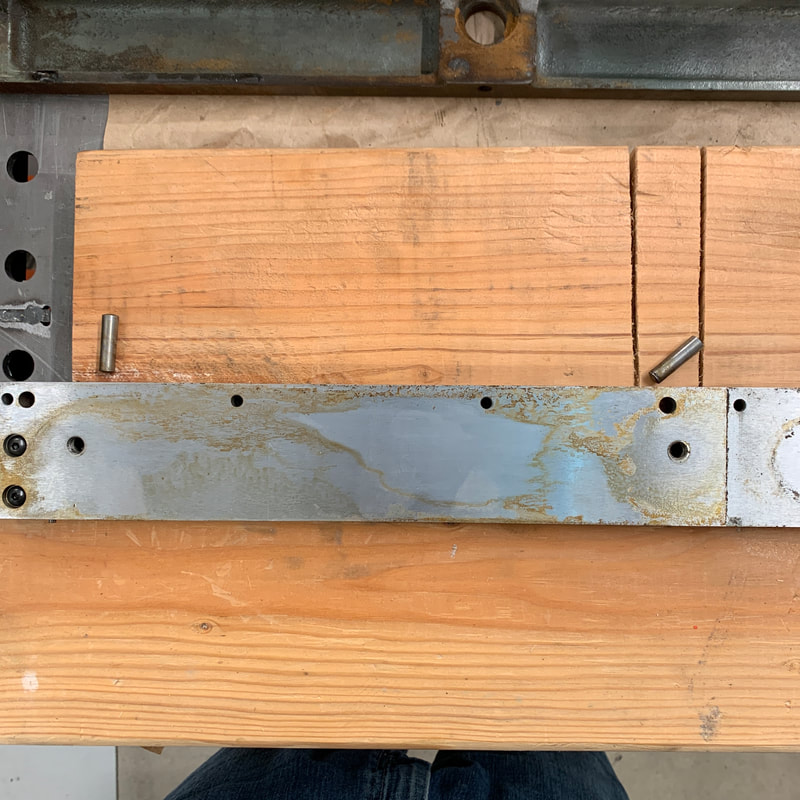
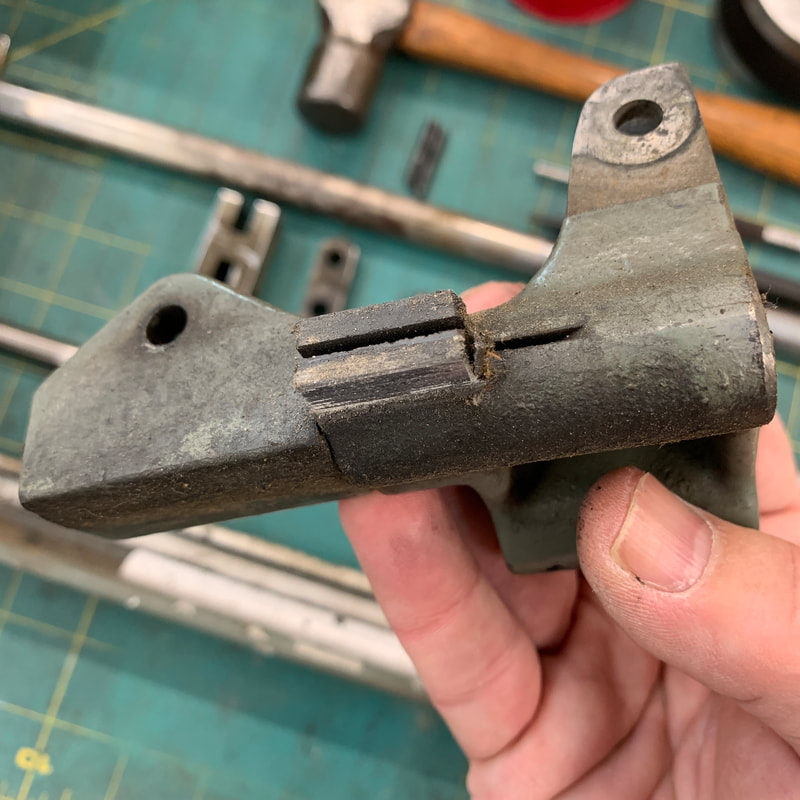
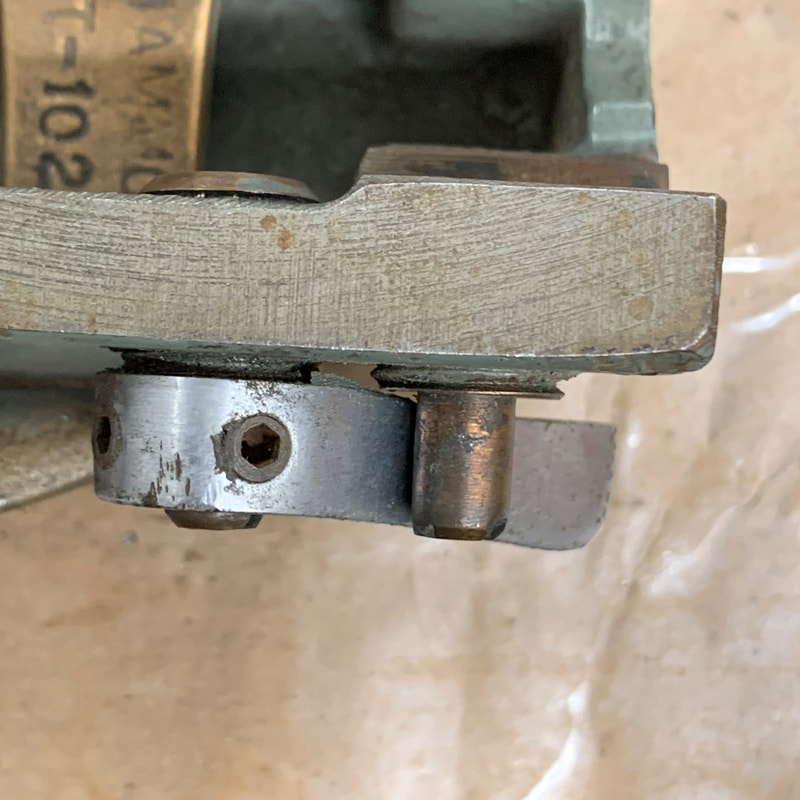
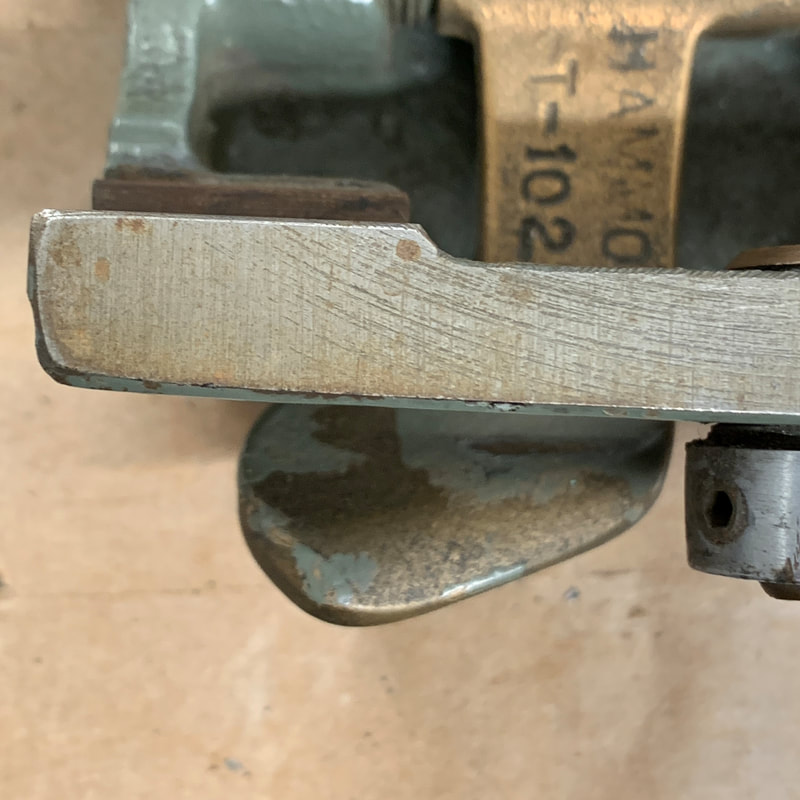
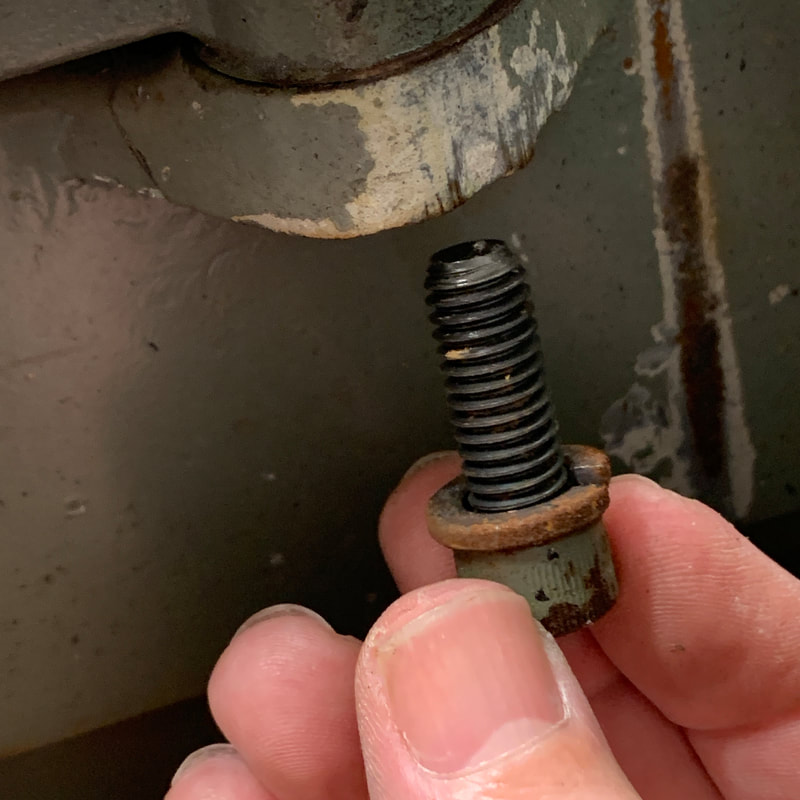
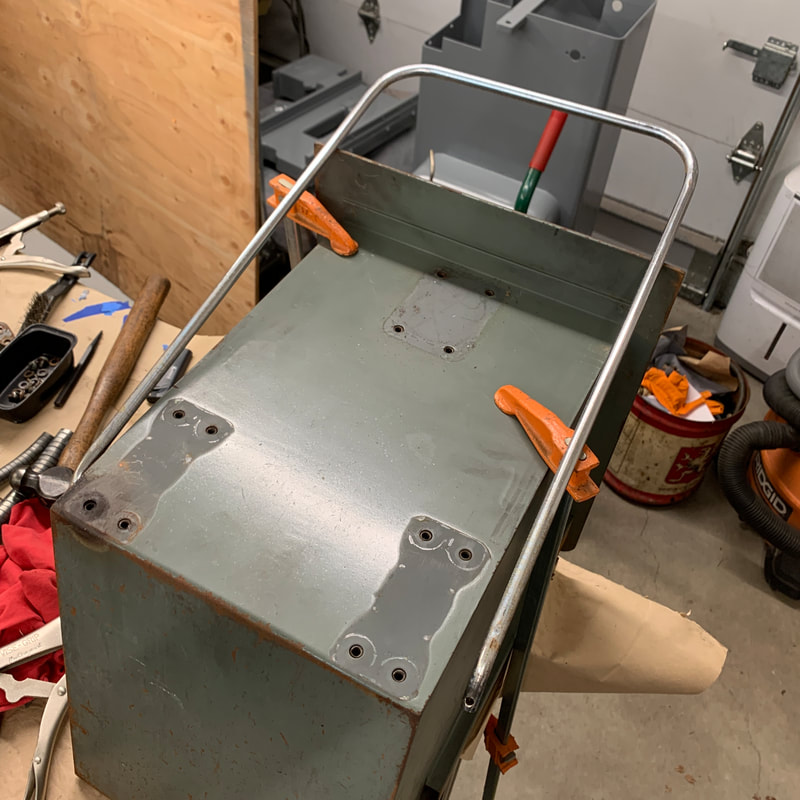
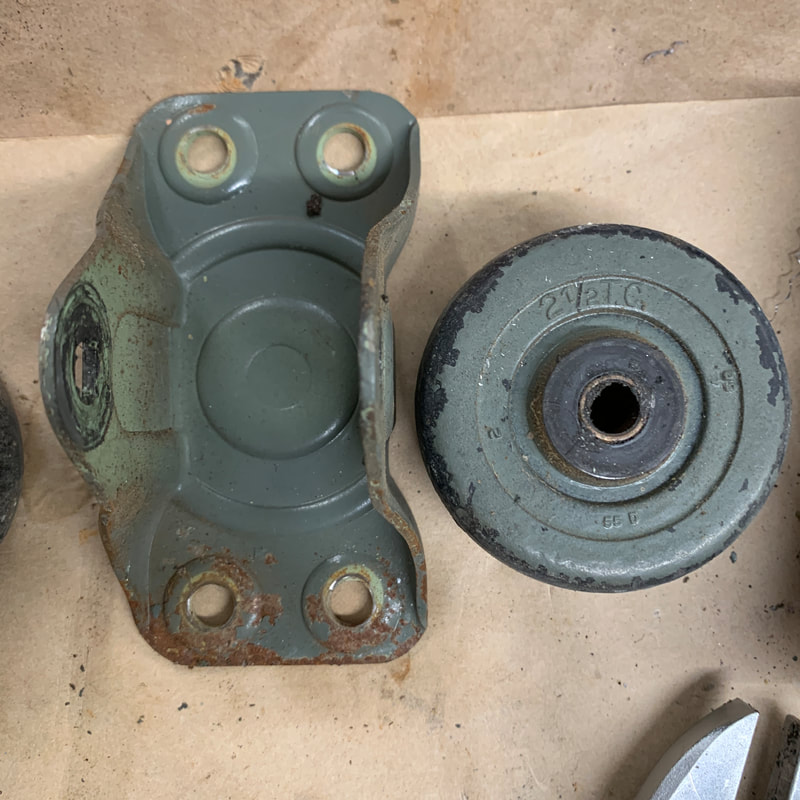
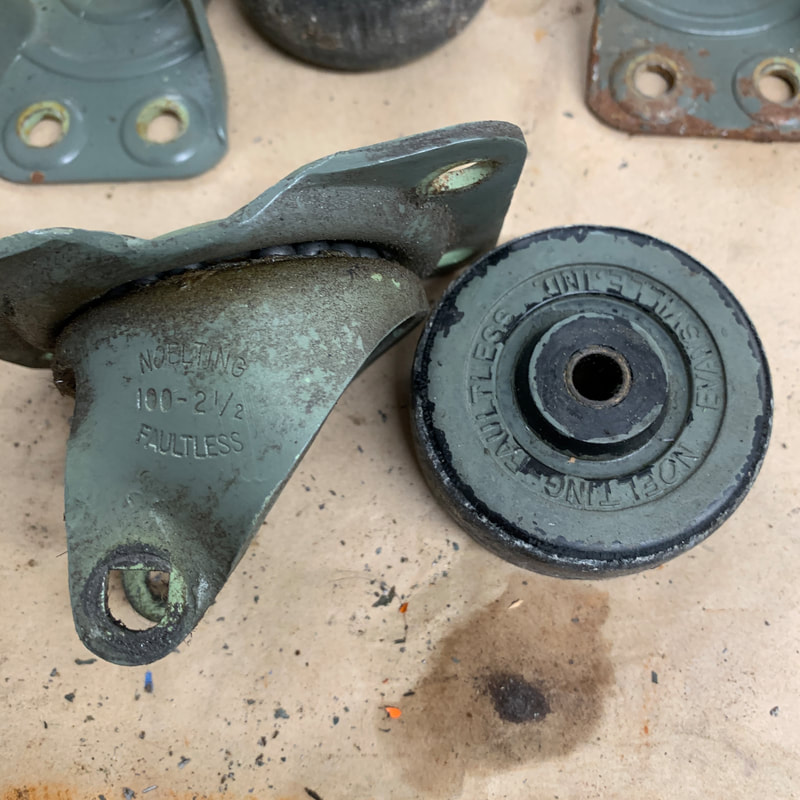
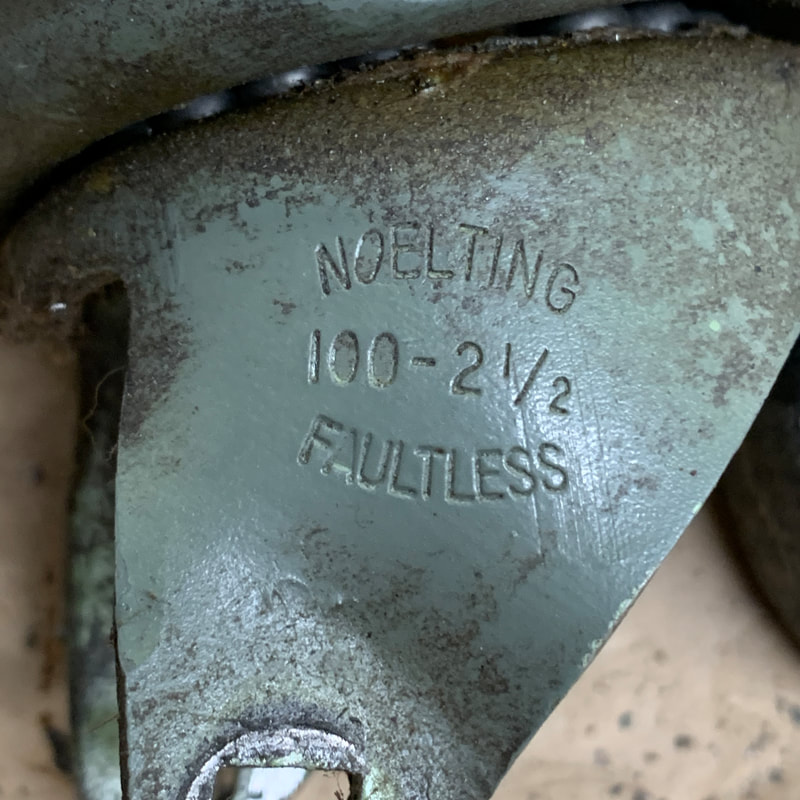
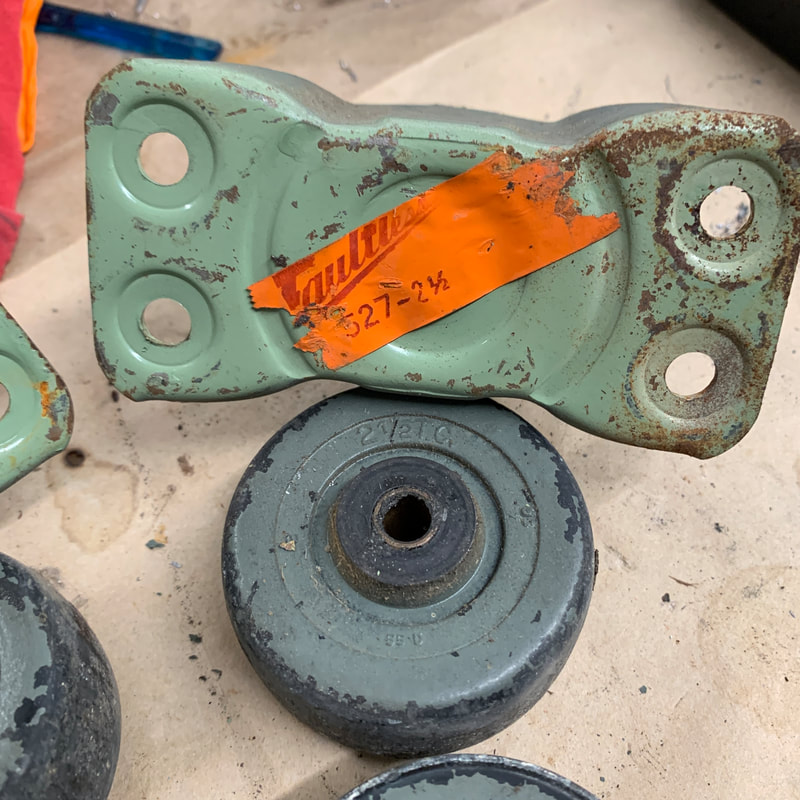
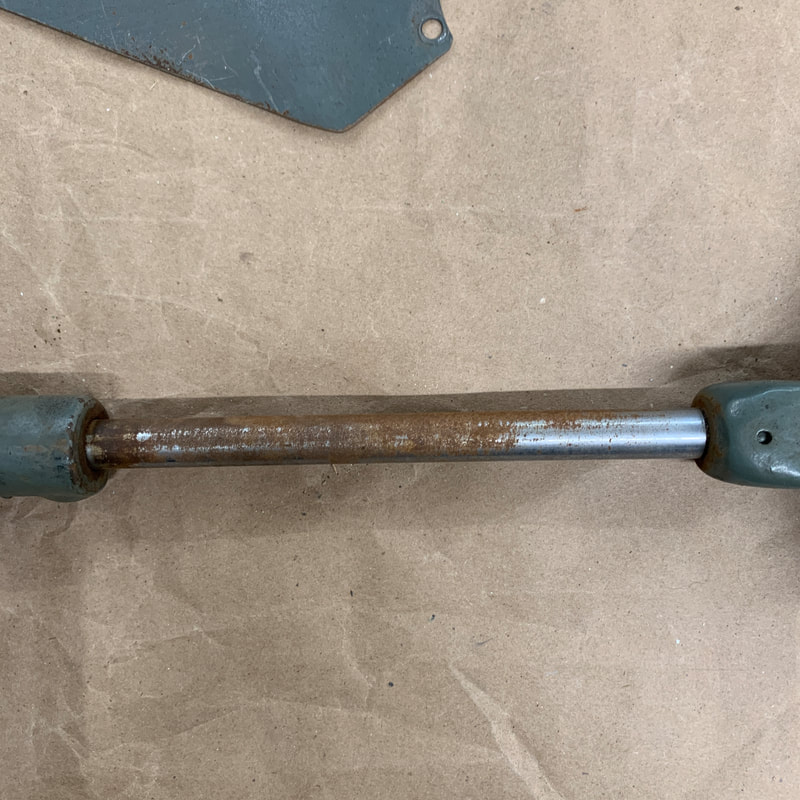
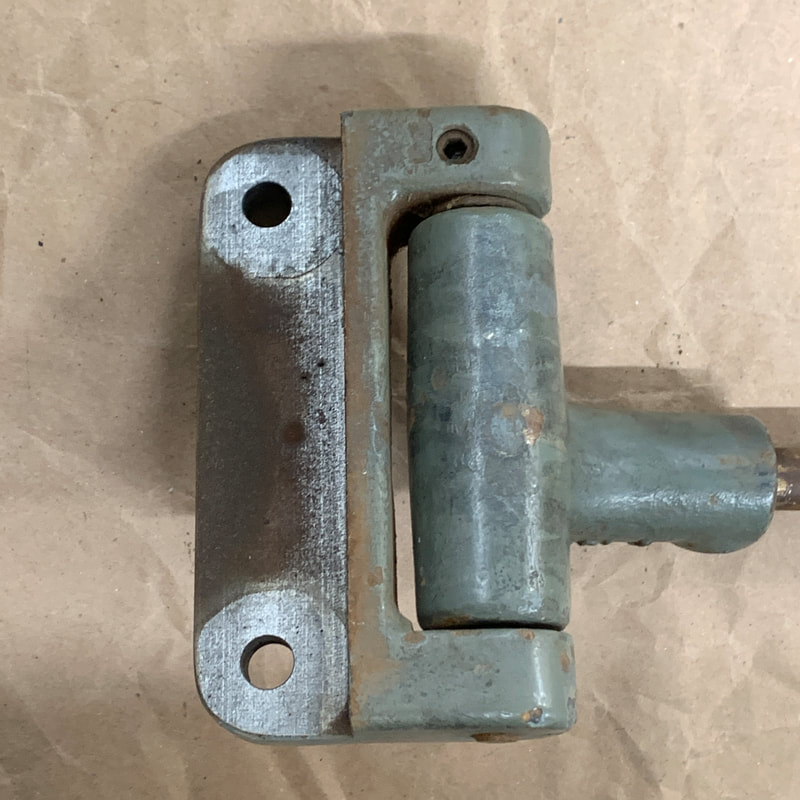
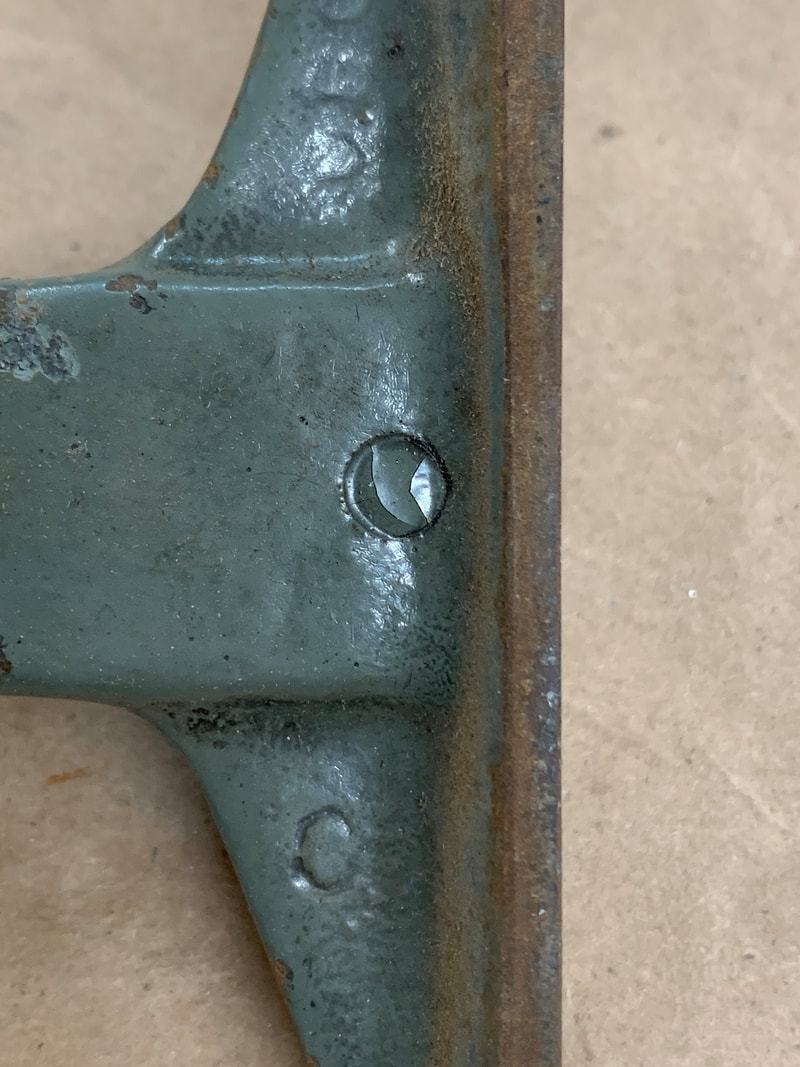
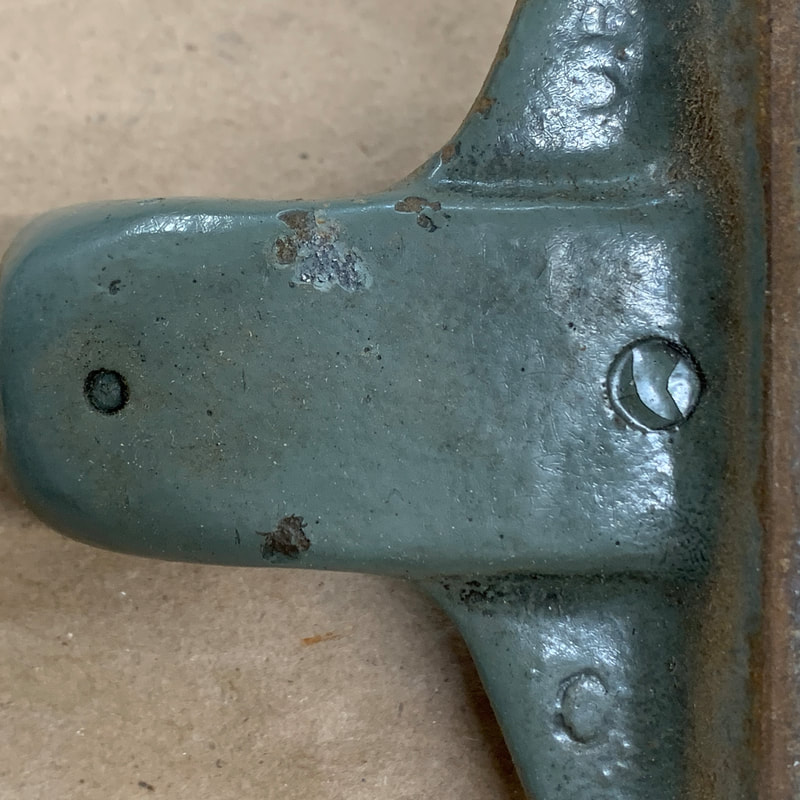
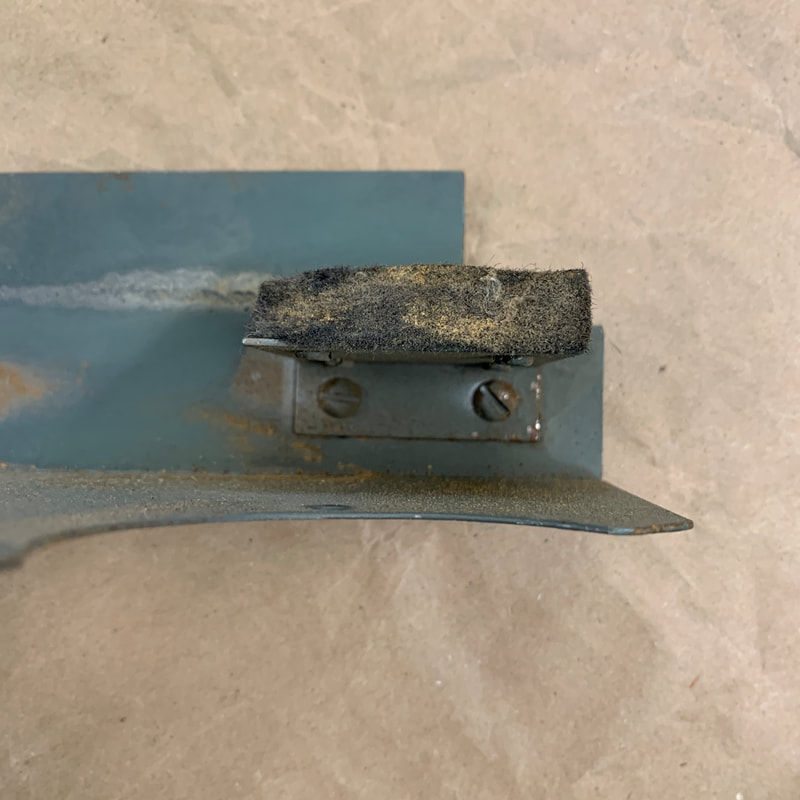
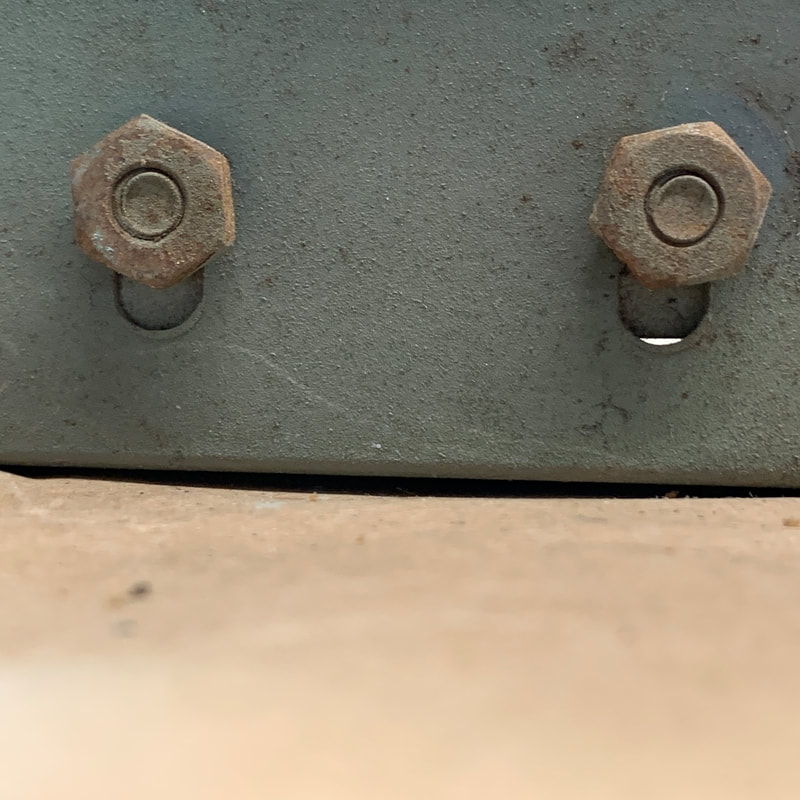
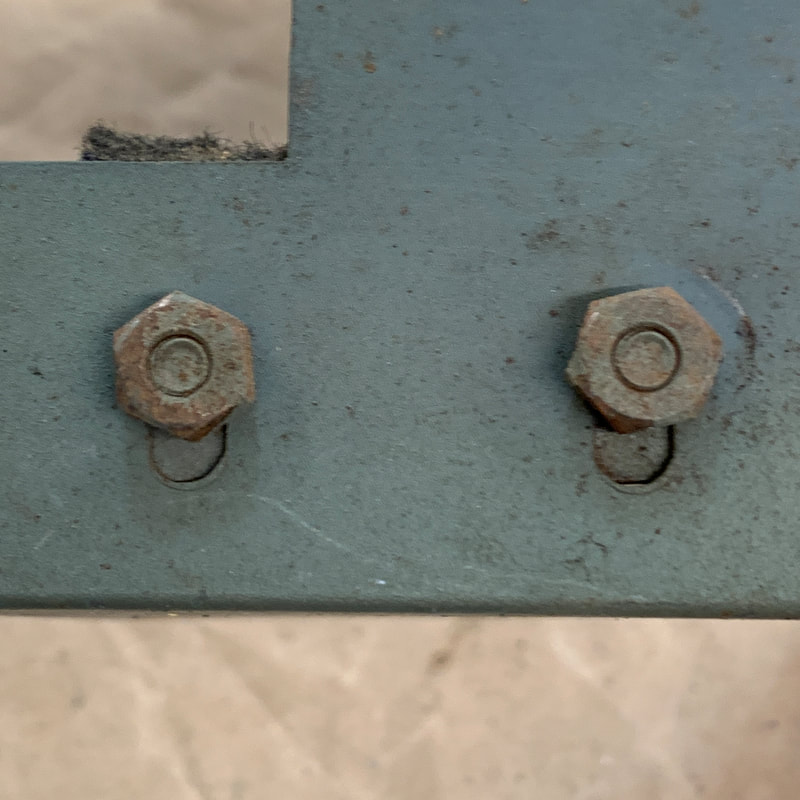
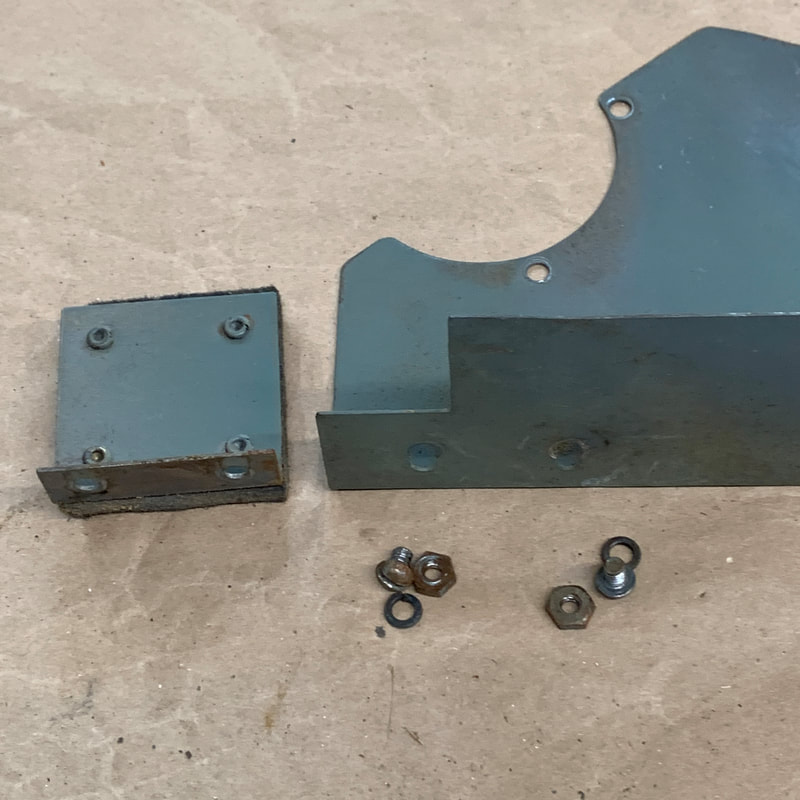
Sliding table stops removal and disassembly
The rubber stops are hard and split and will be replaced. |
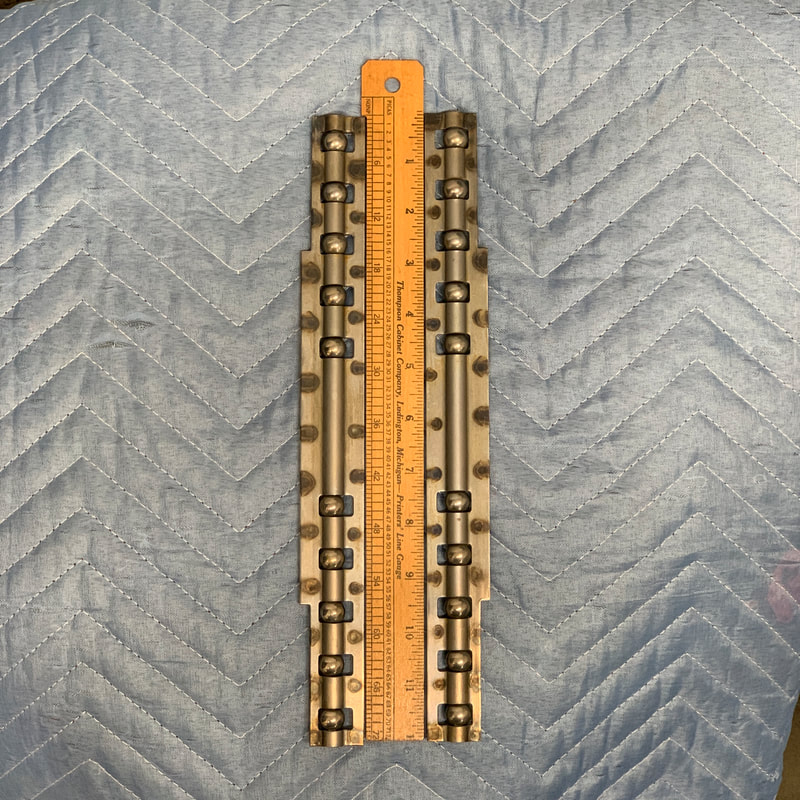    |
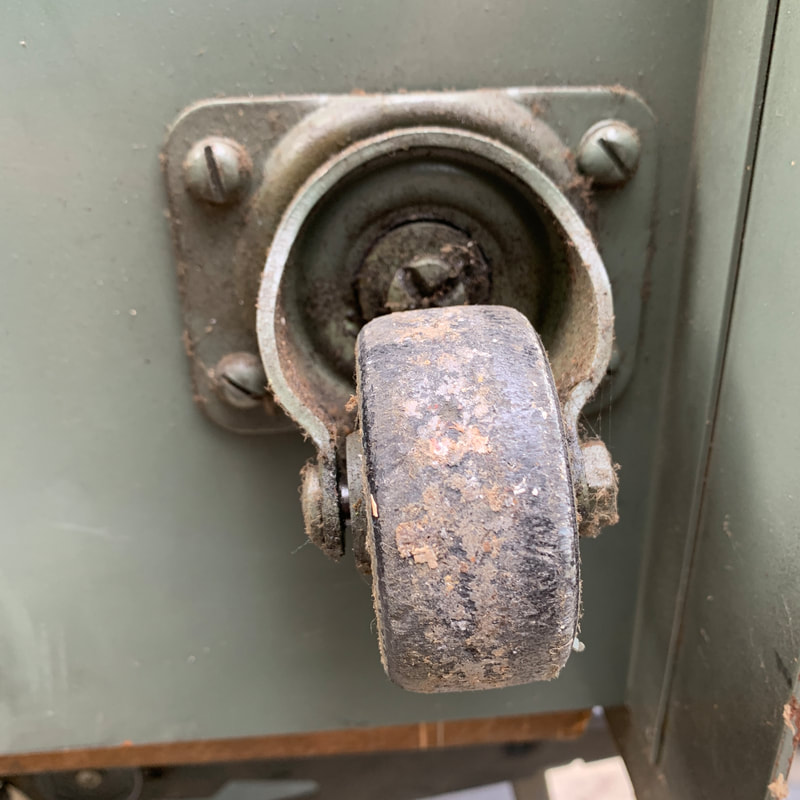
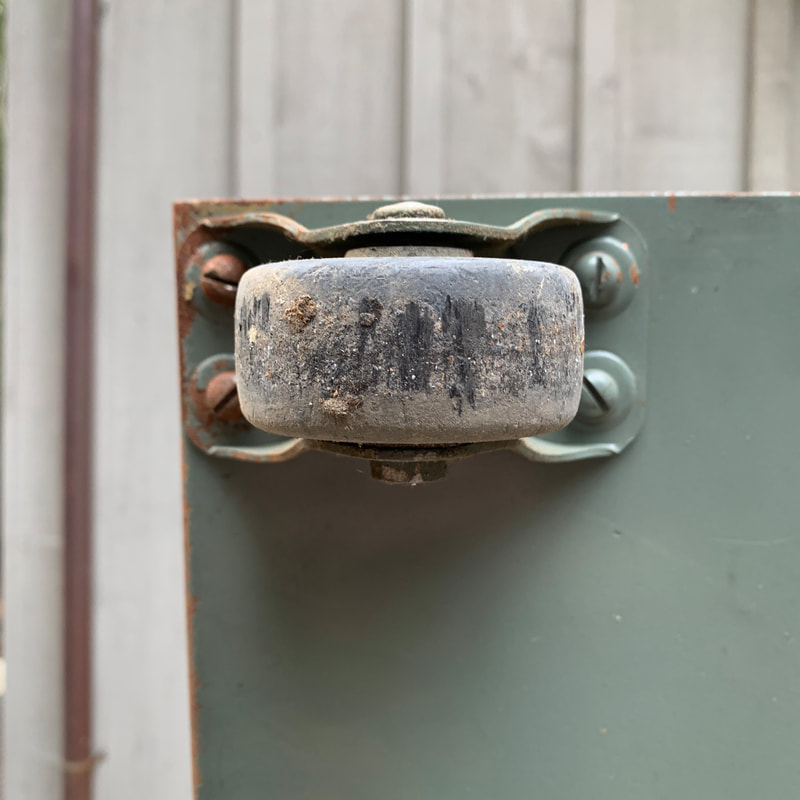
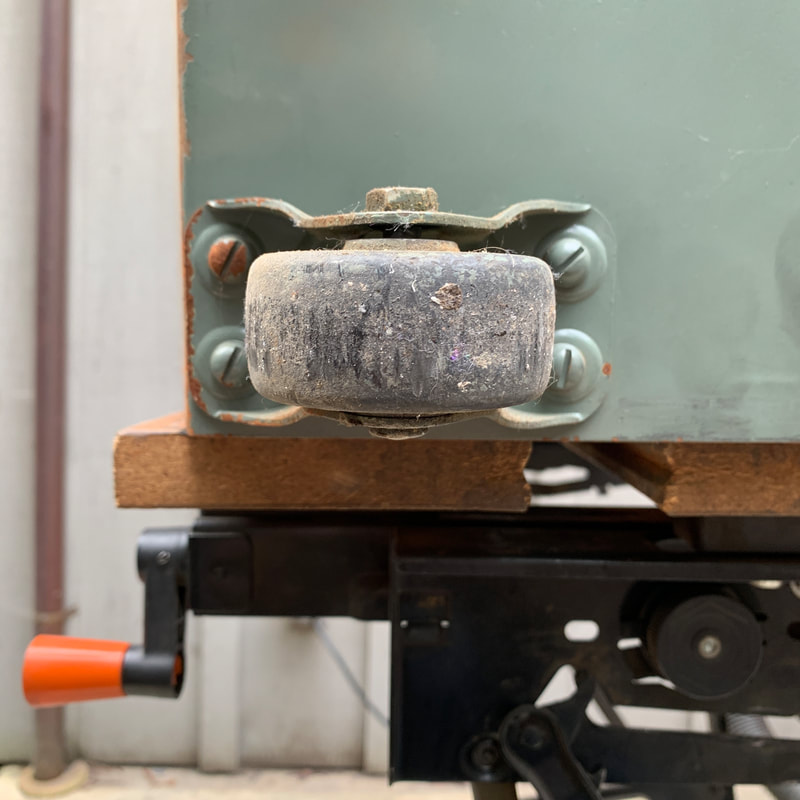
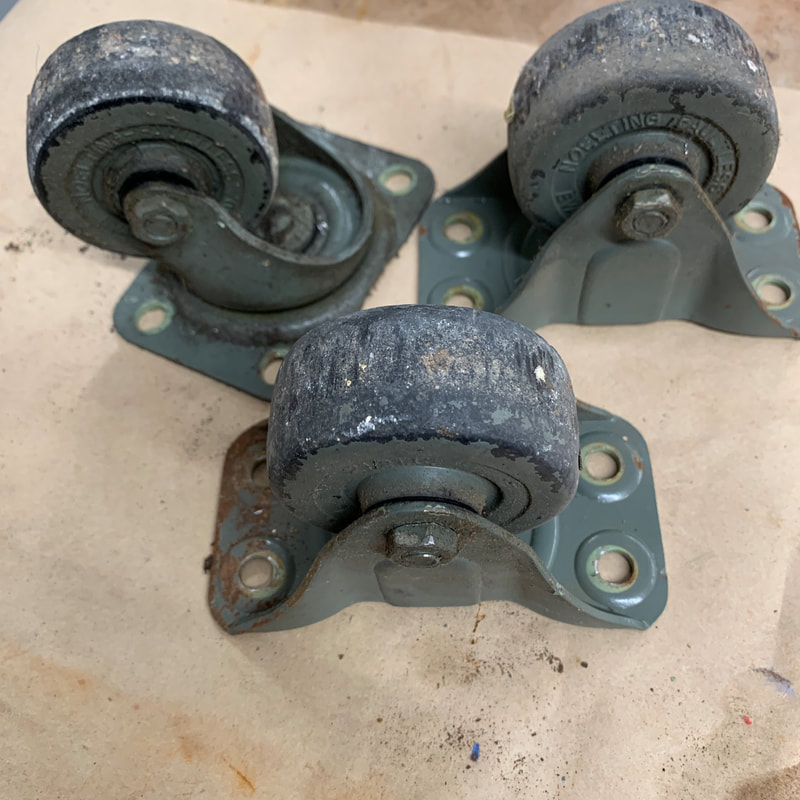
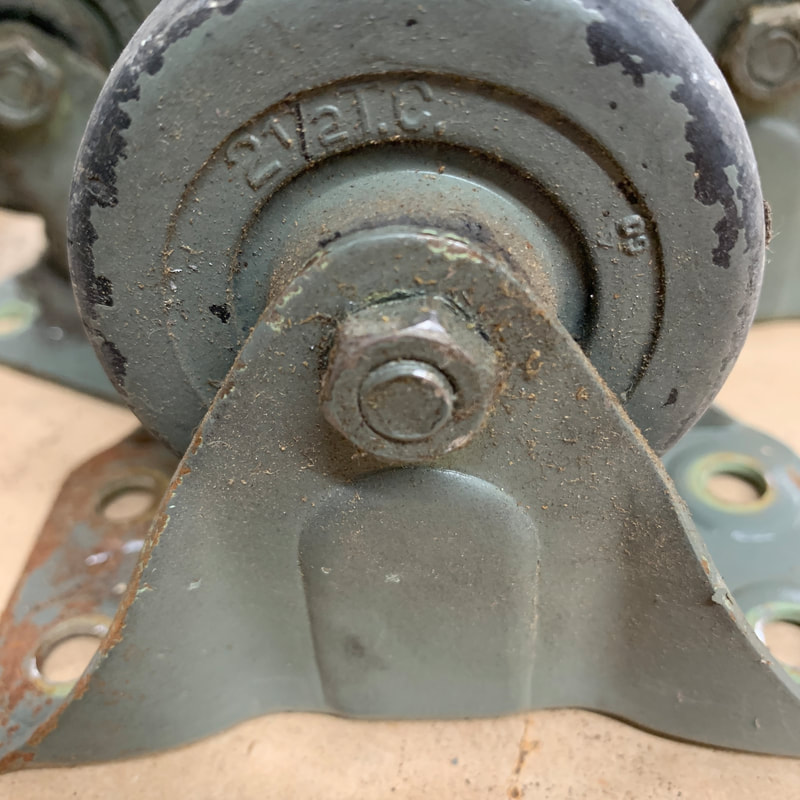
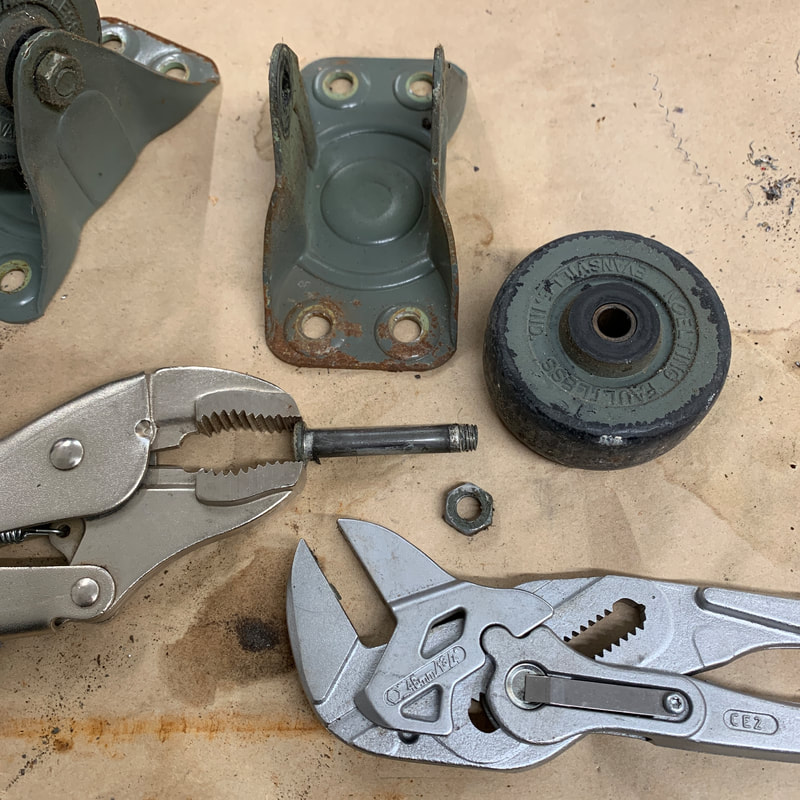
Sliding table bearings
|
   |
Chip shield removal
|
  |
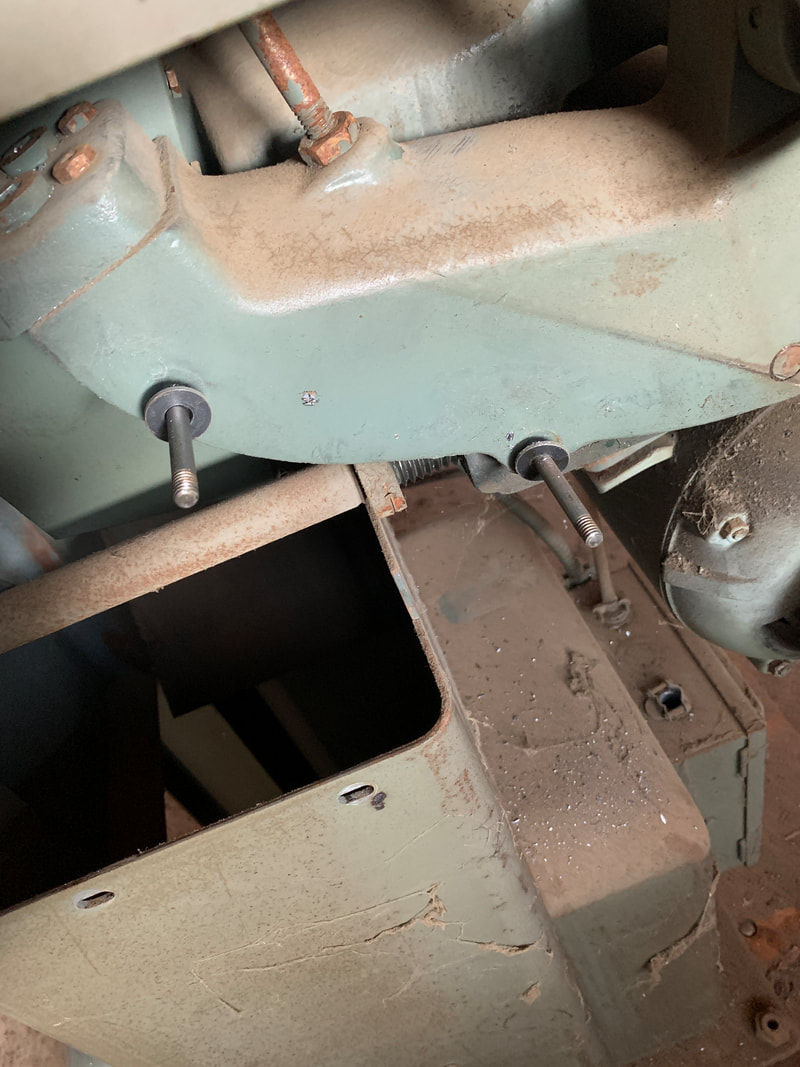
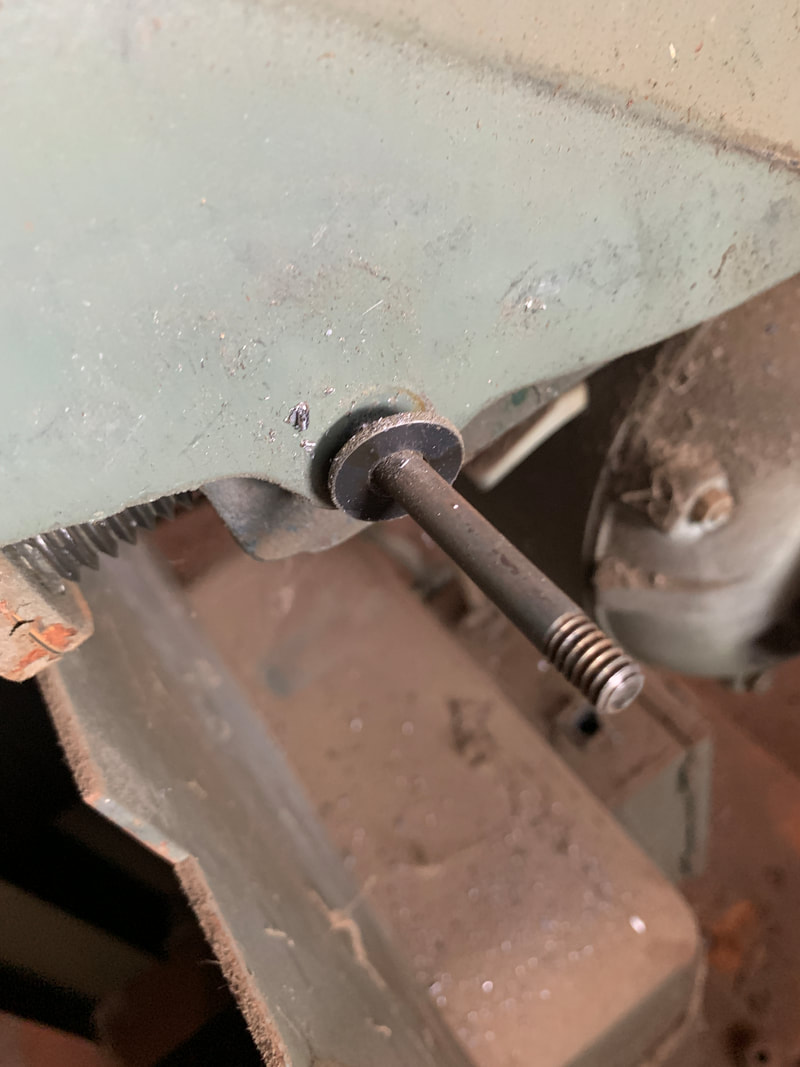
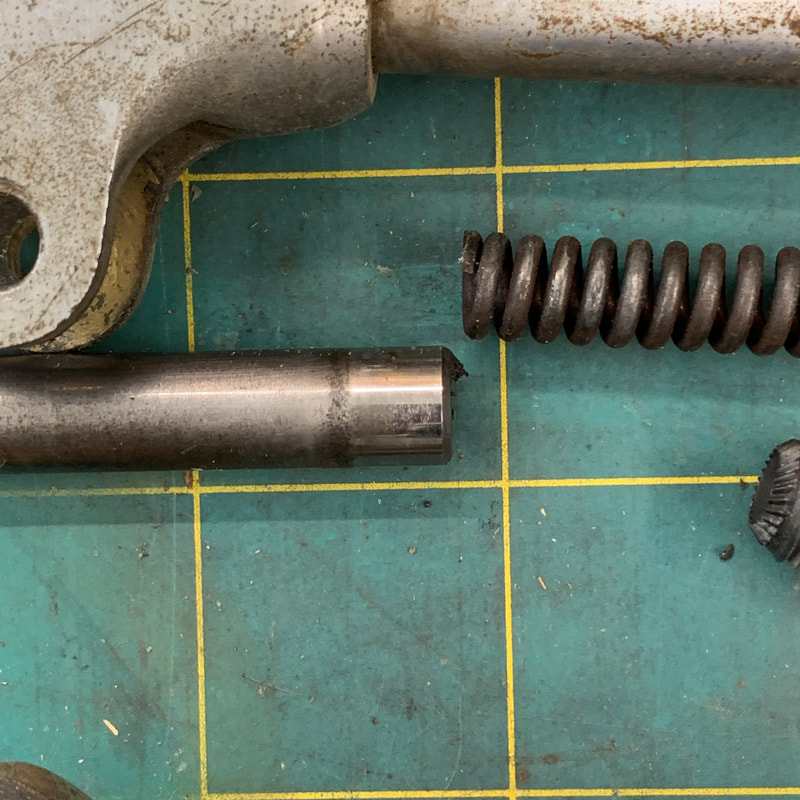
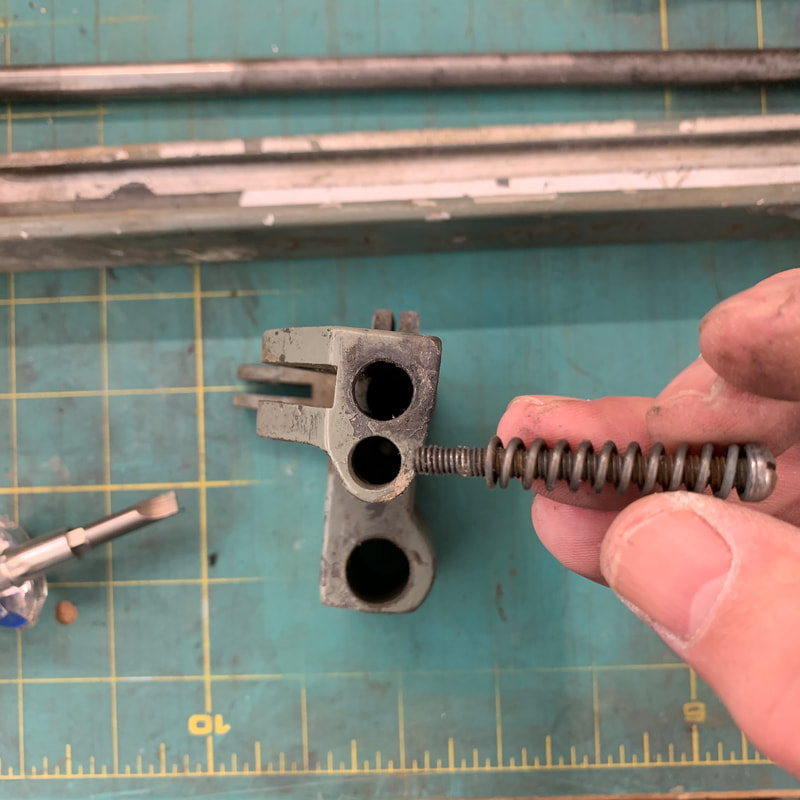
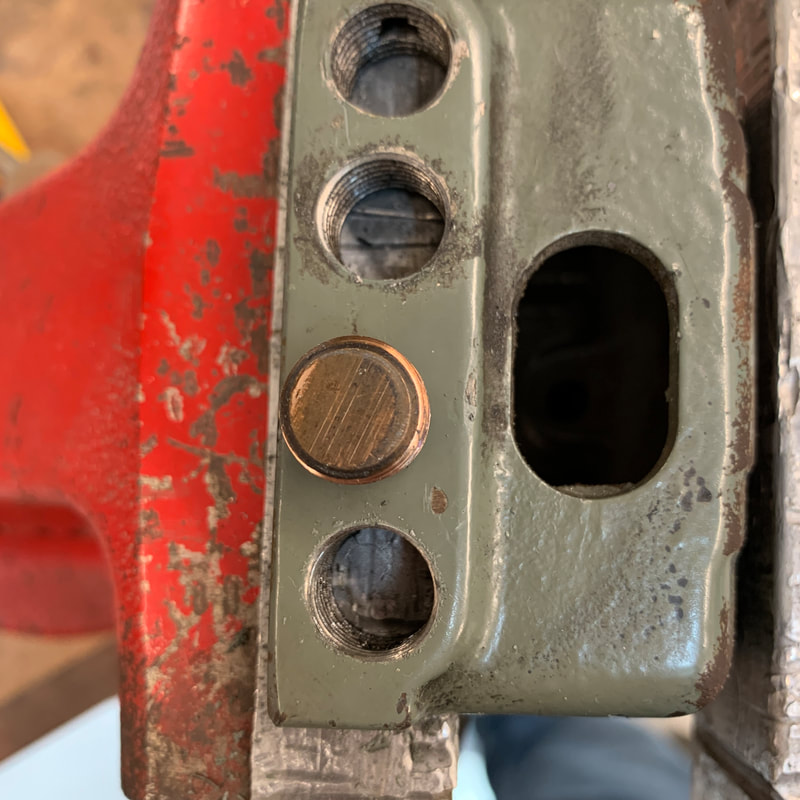
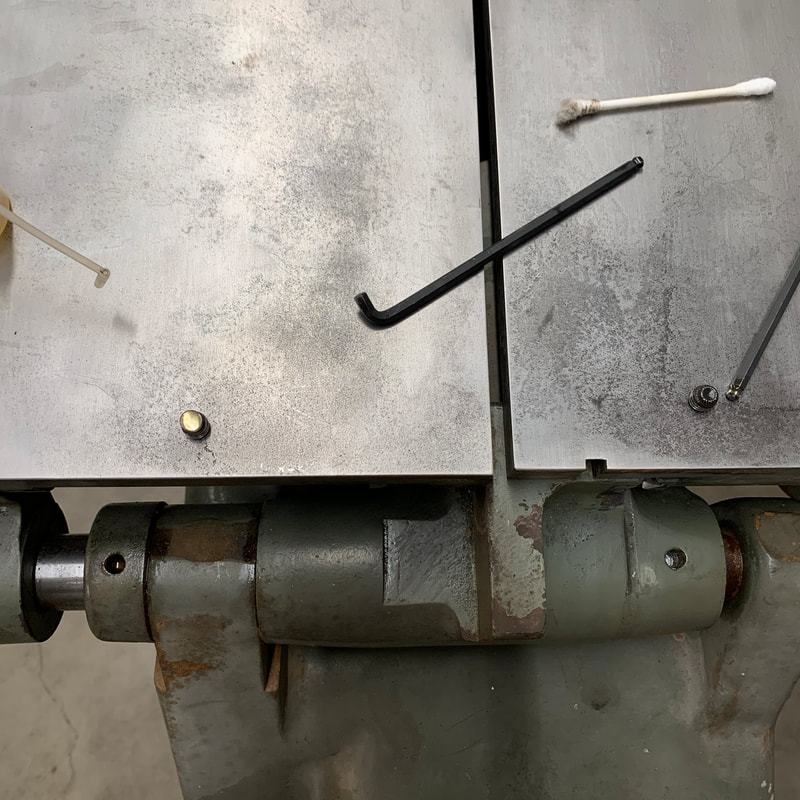
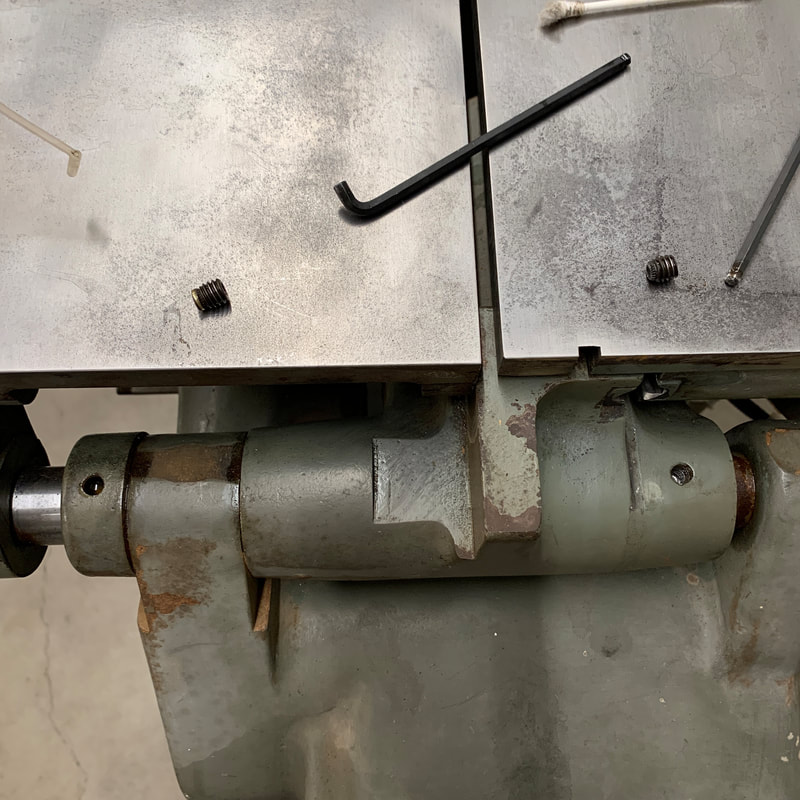
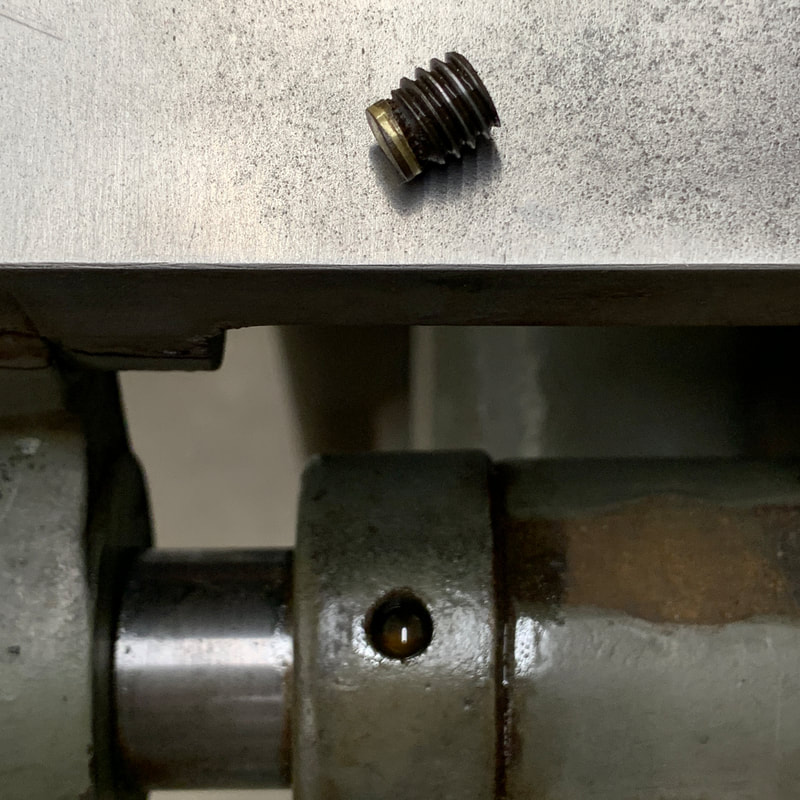
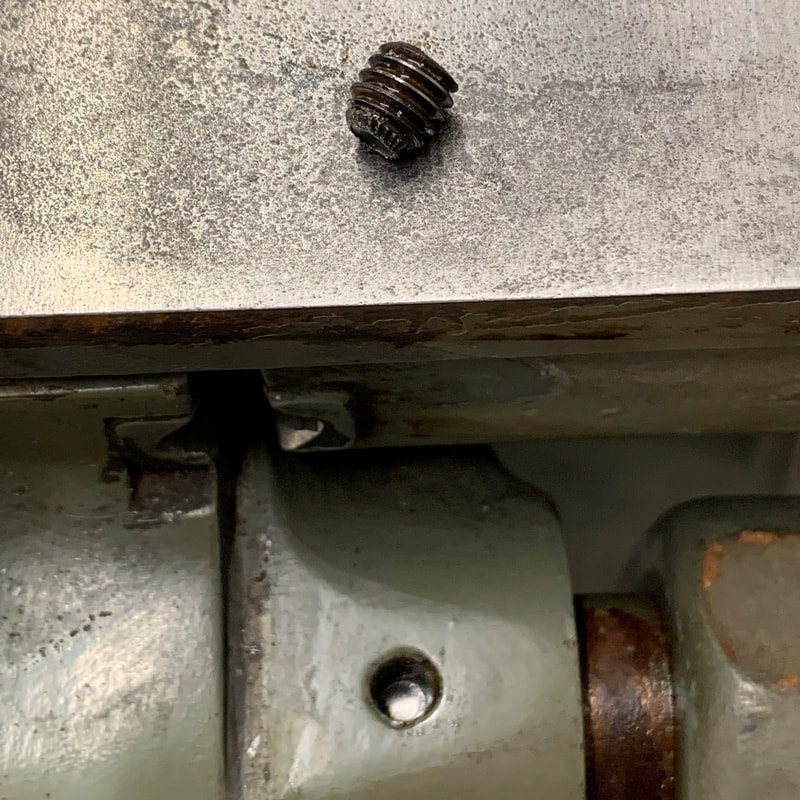
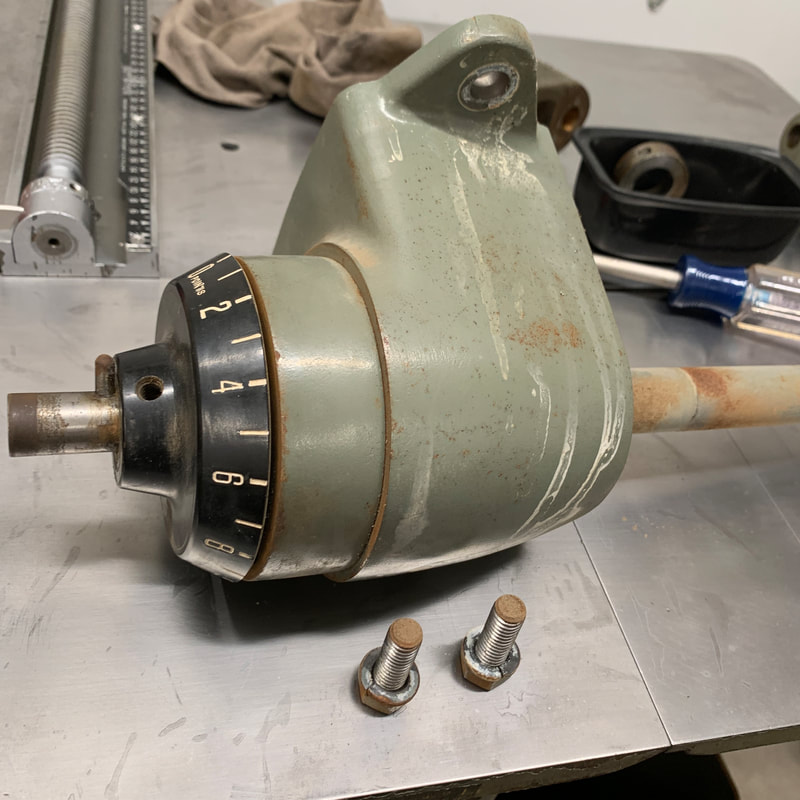
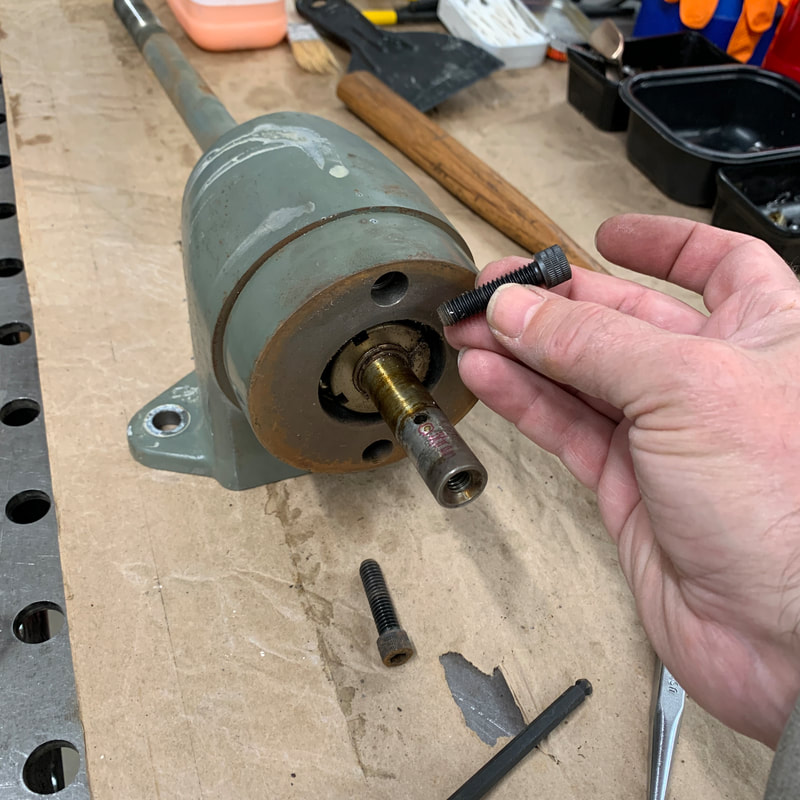
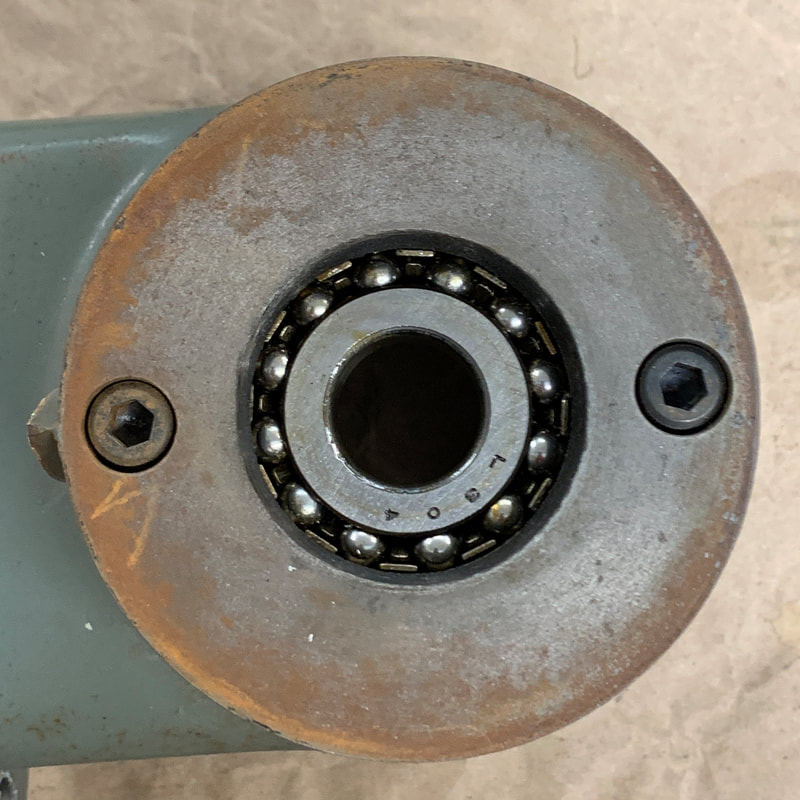
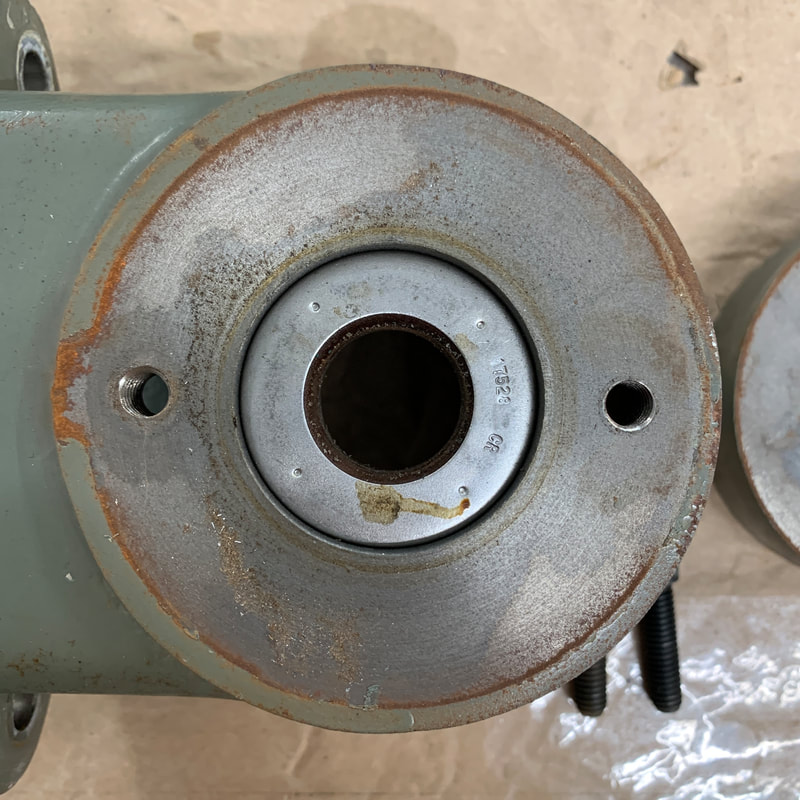
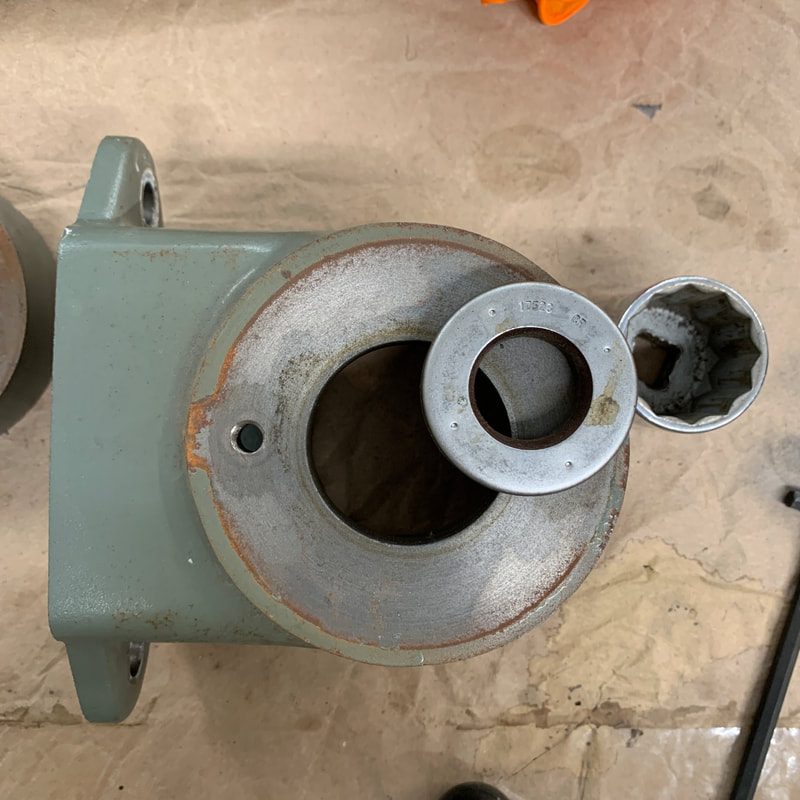
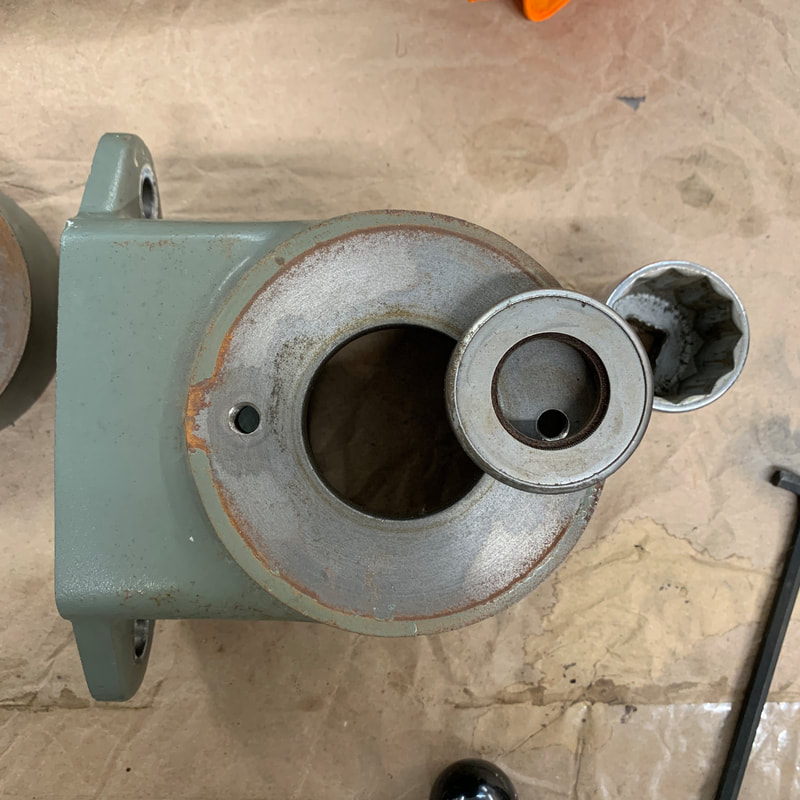
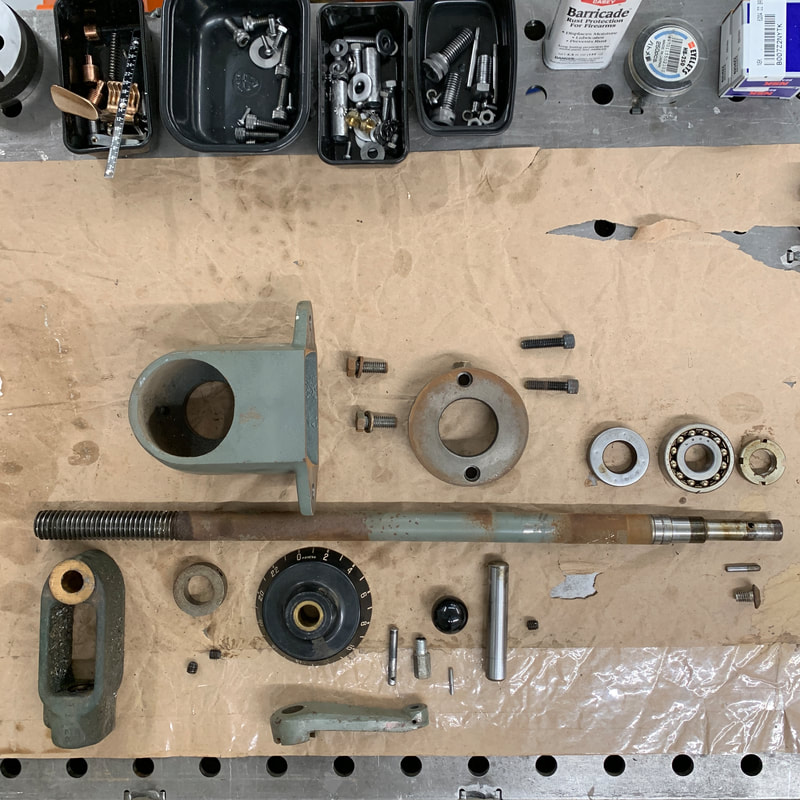
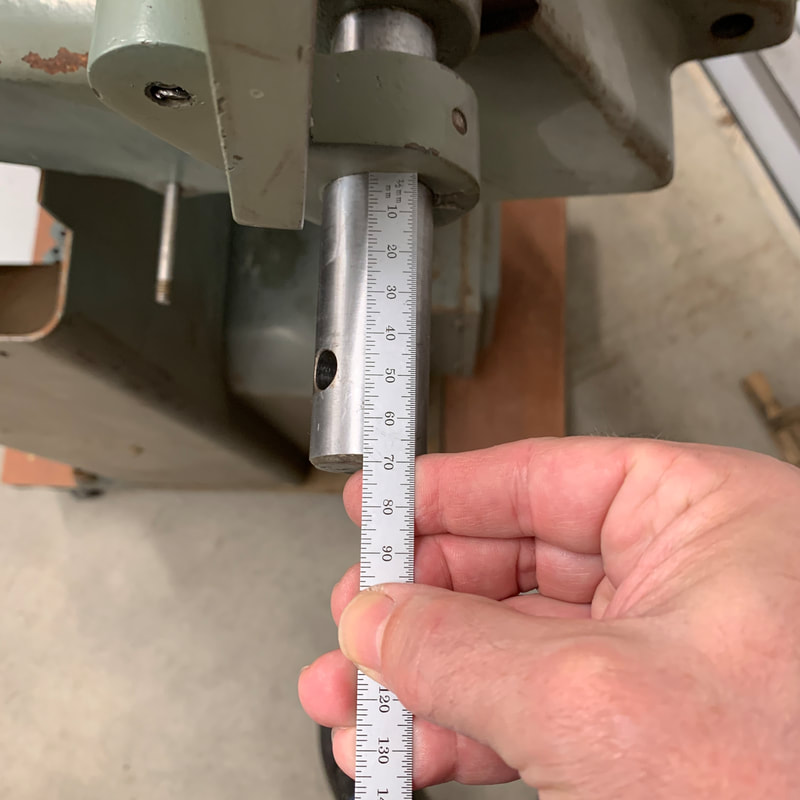
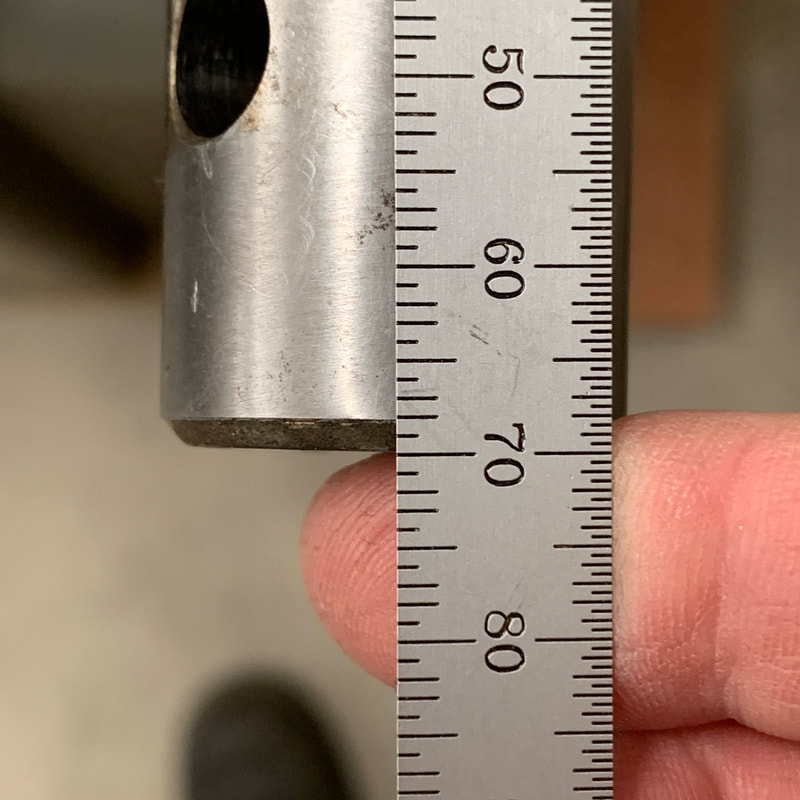
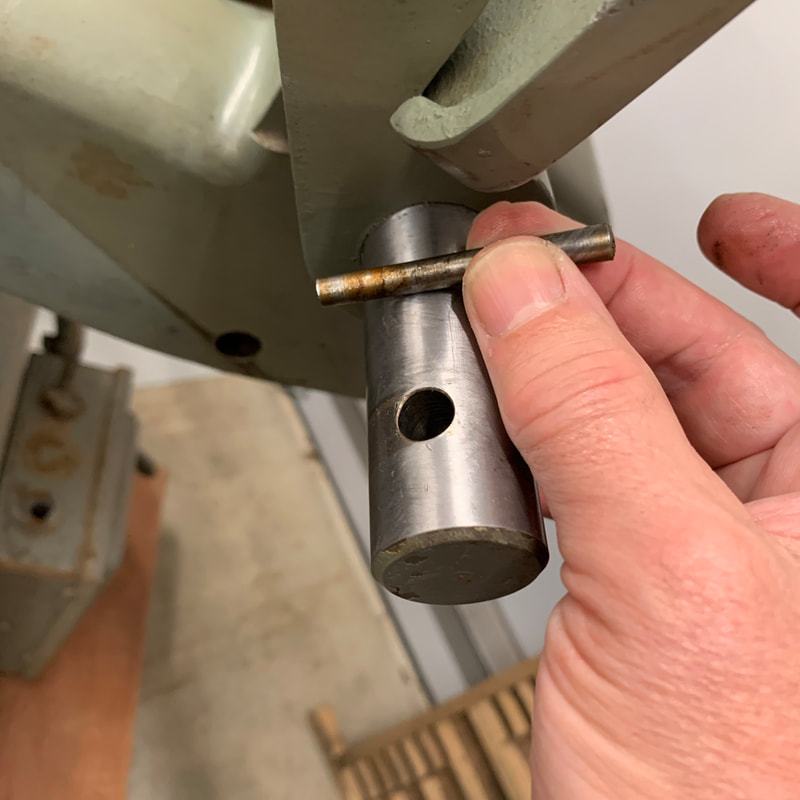
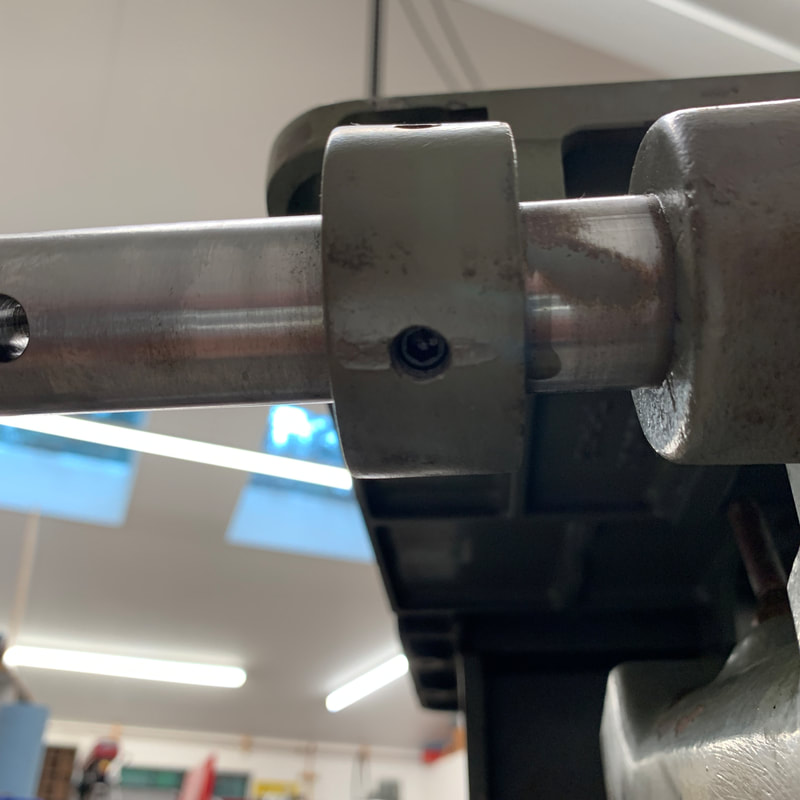
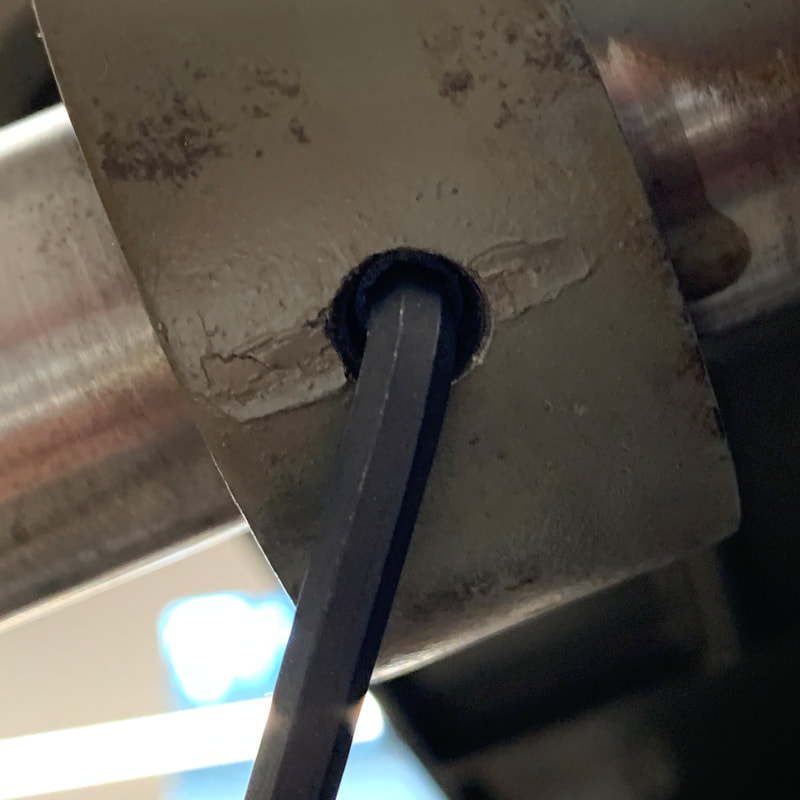
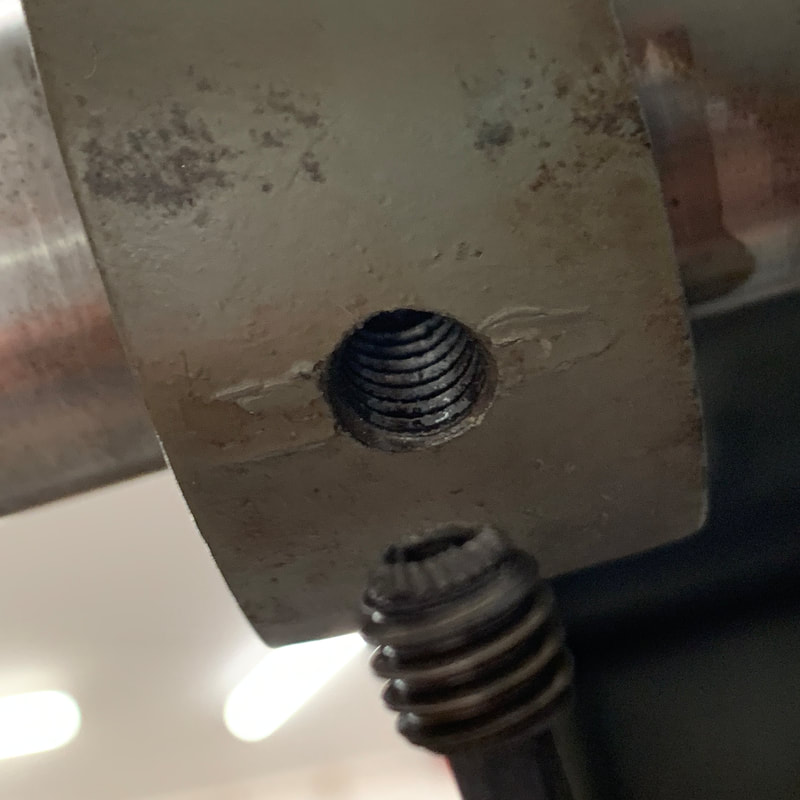
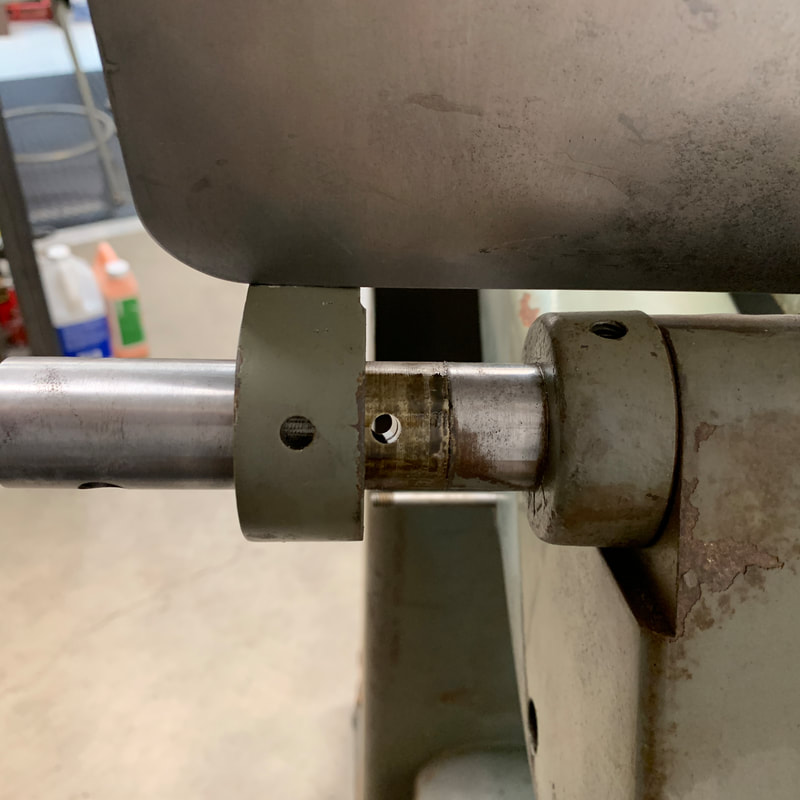
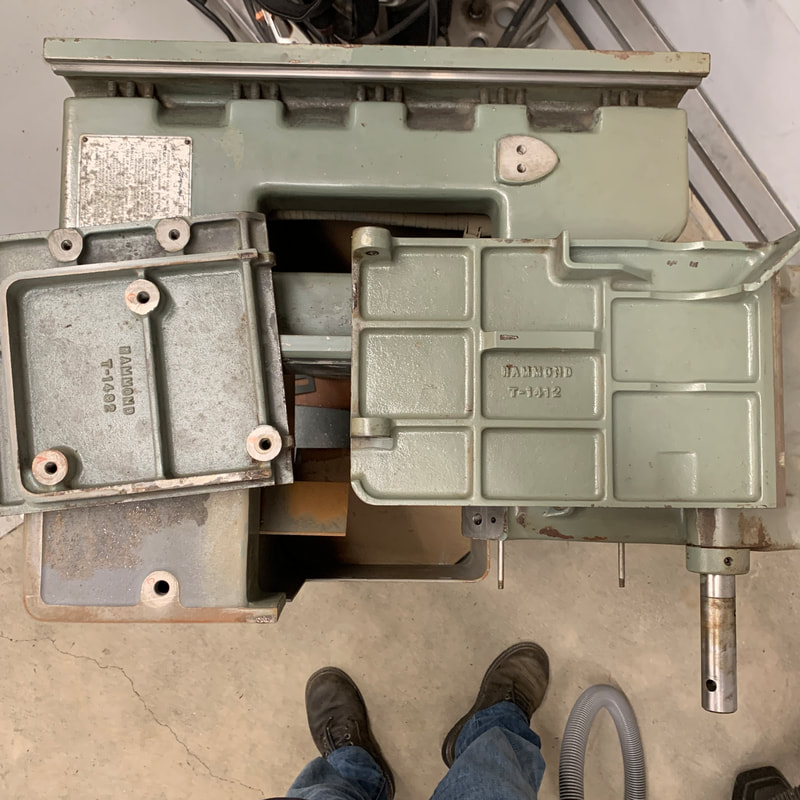
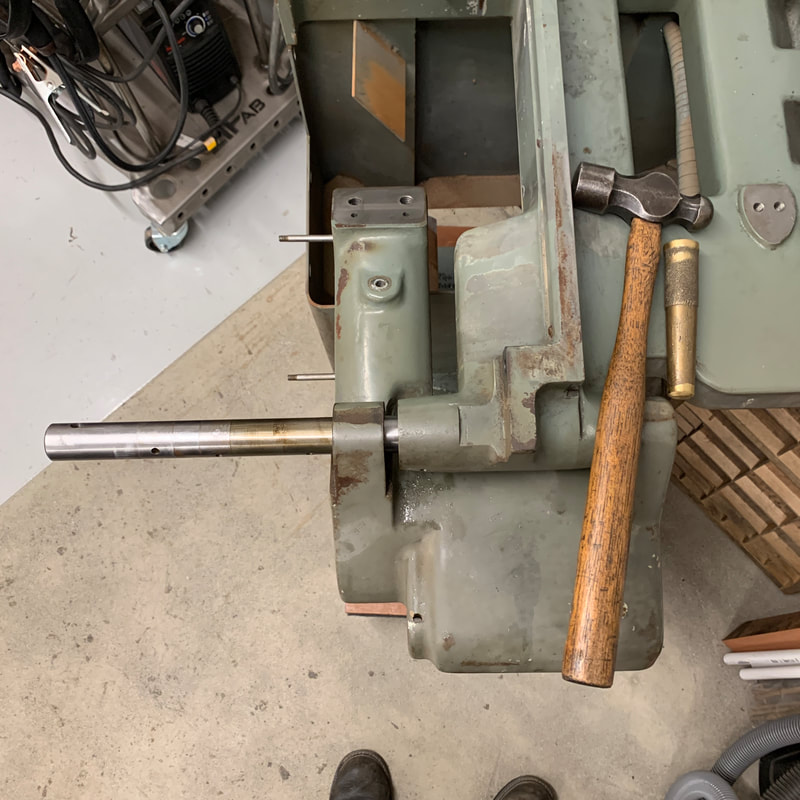
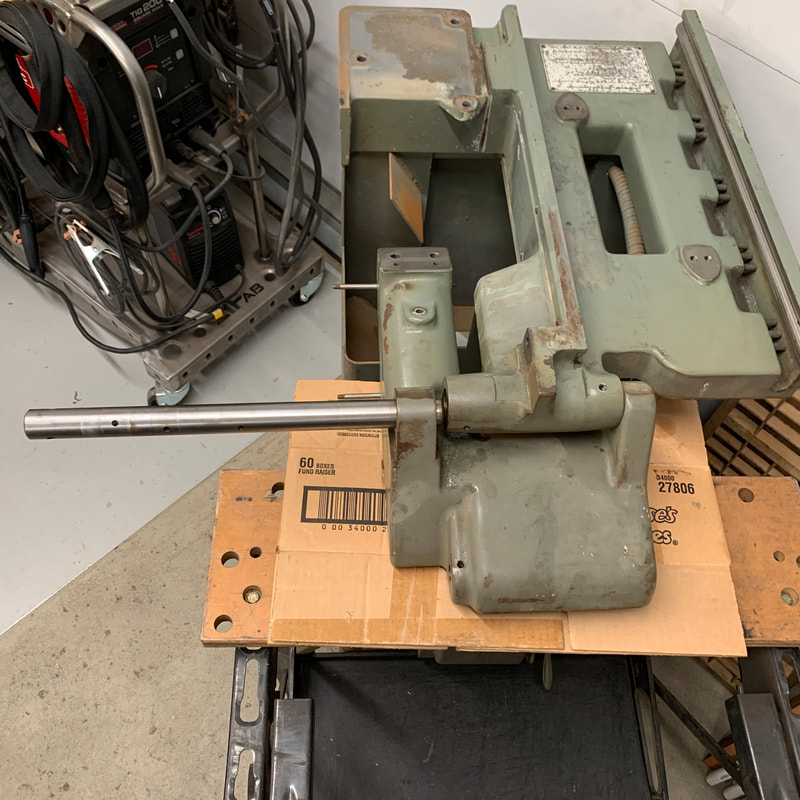
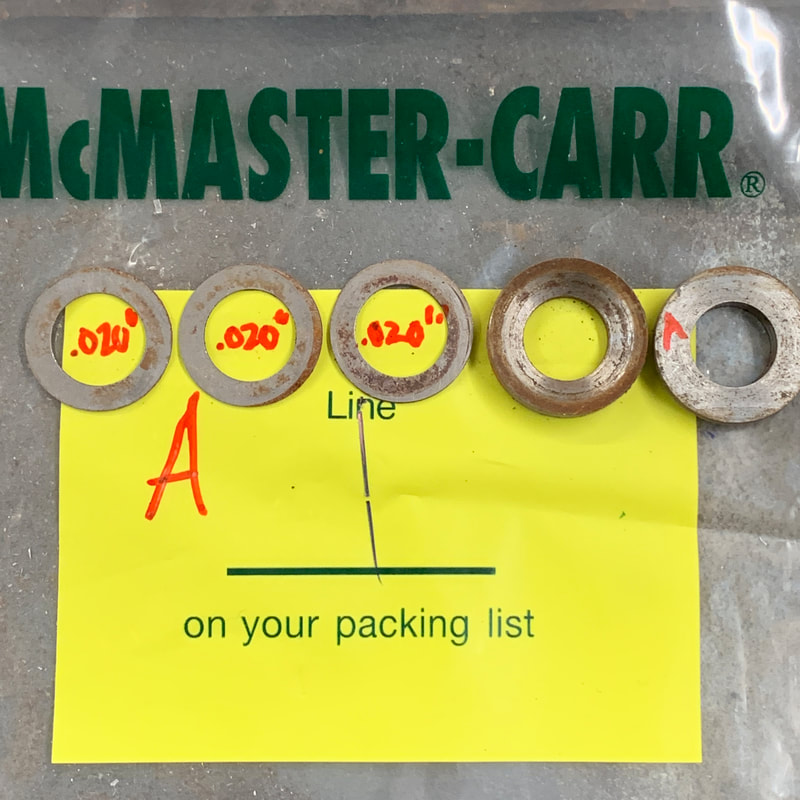
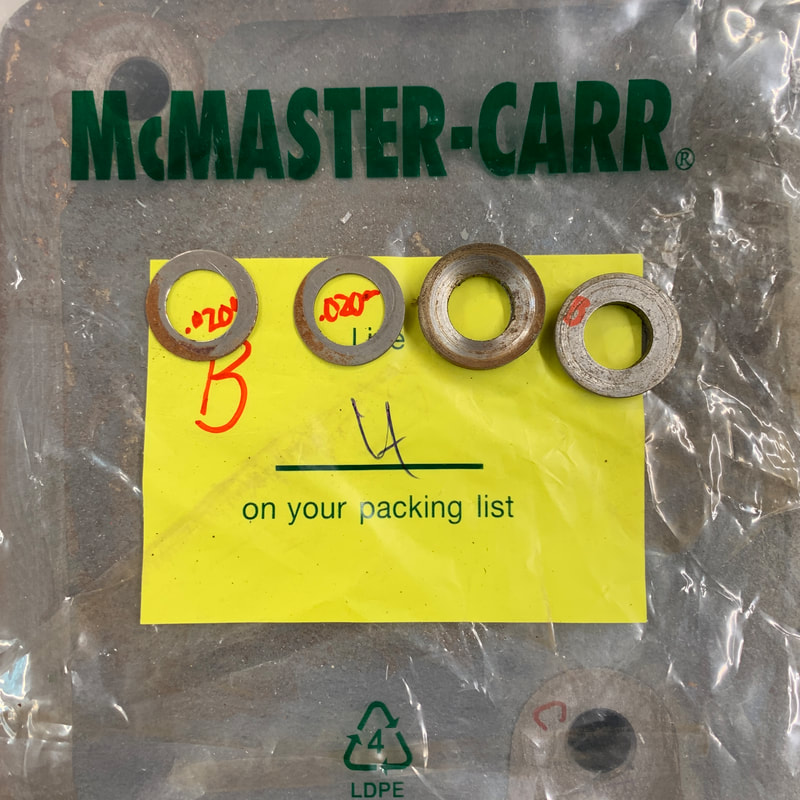
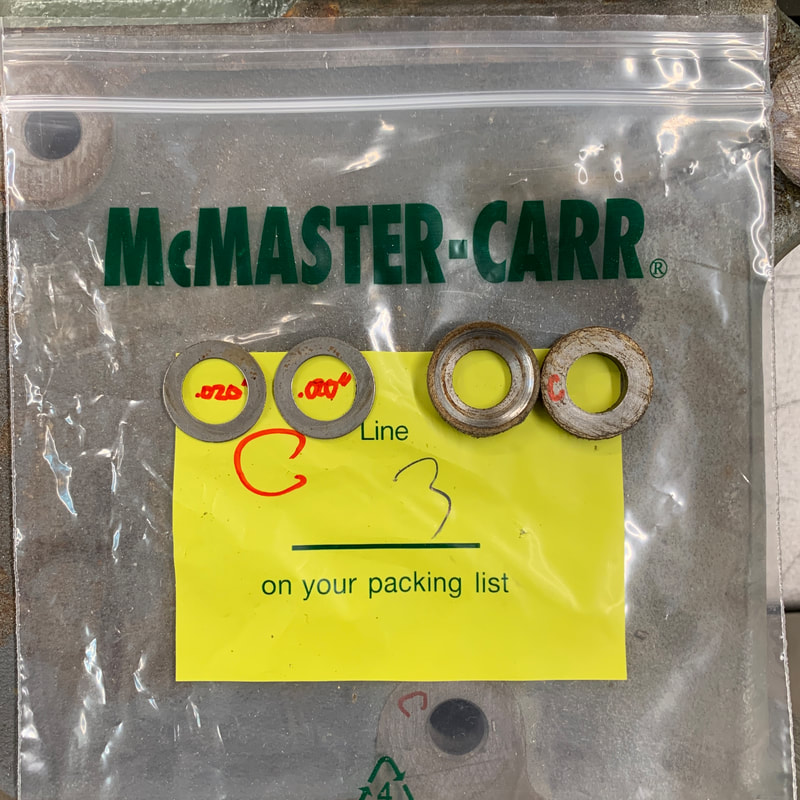
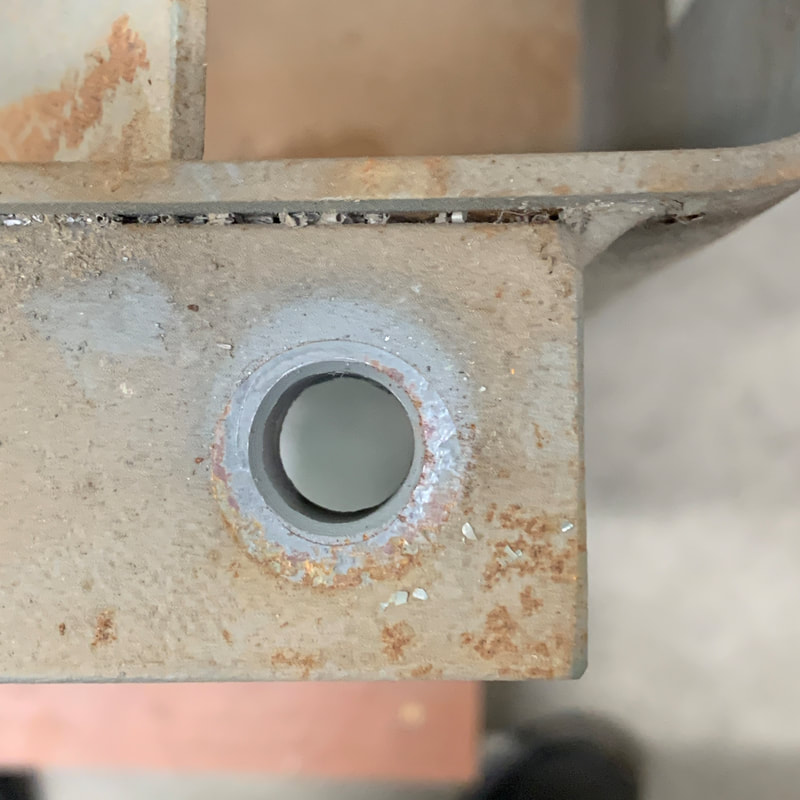
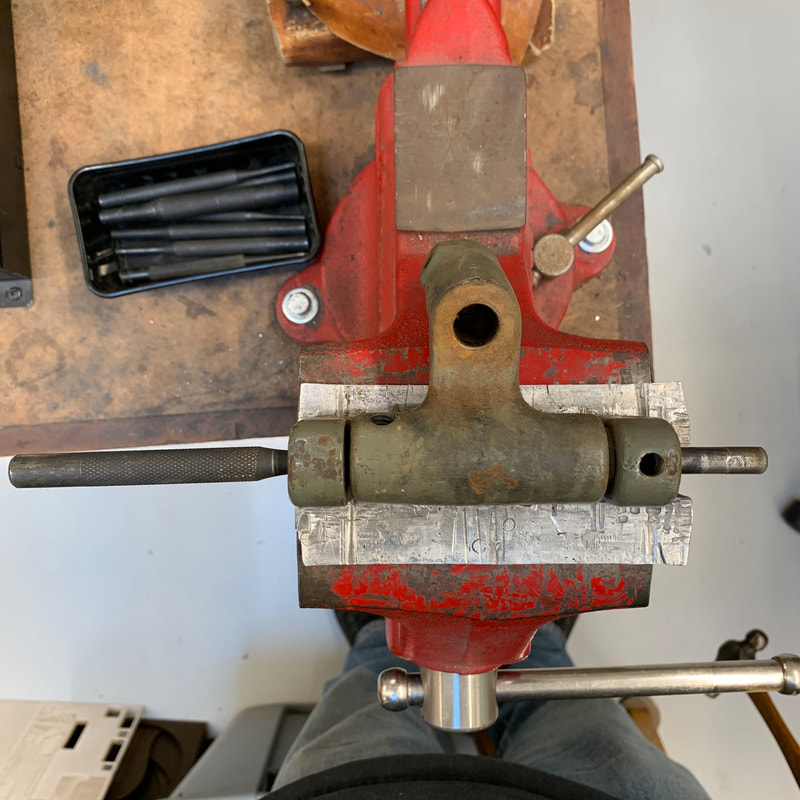
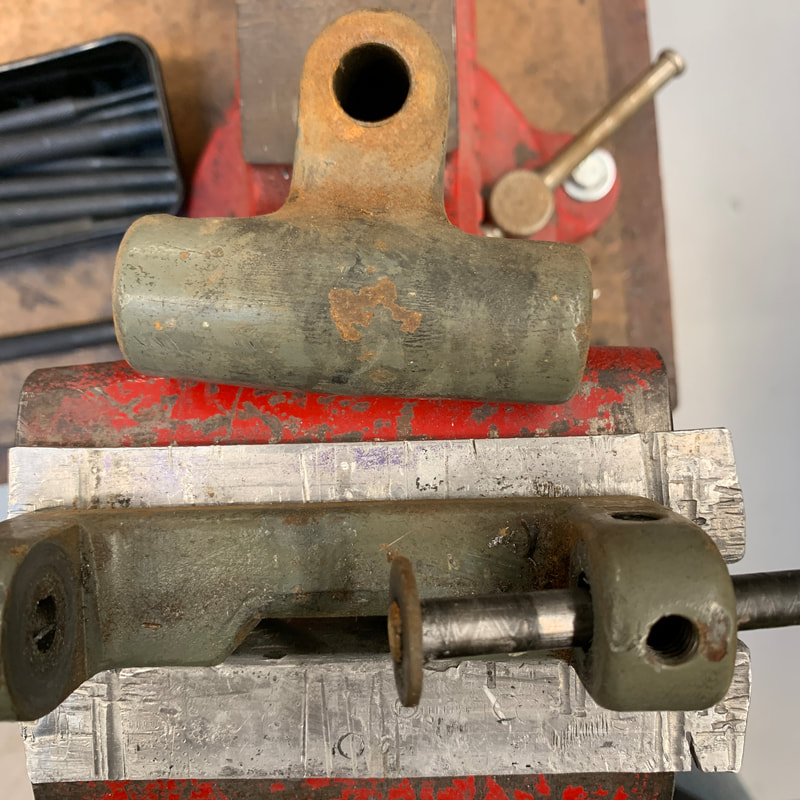
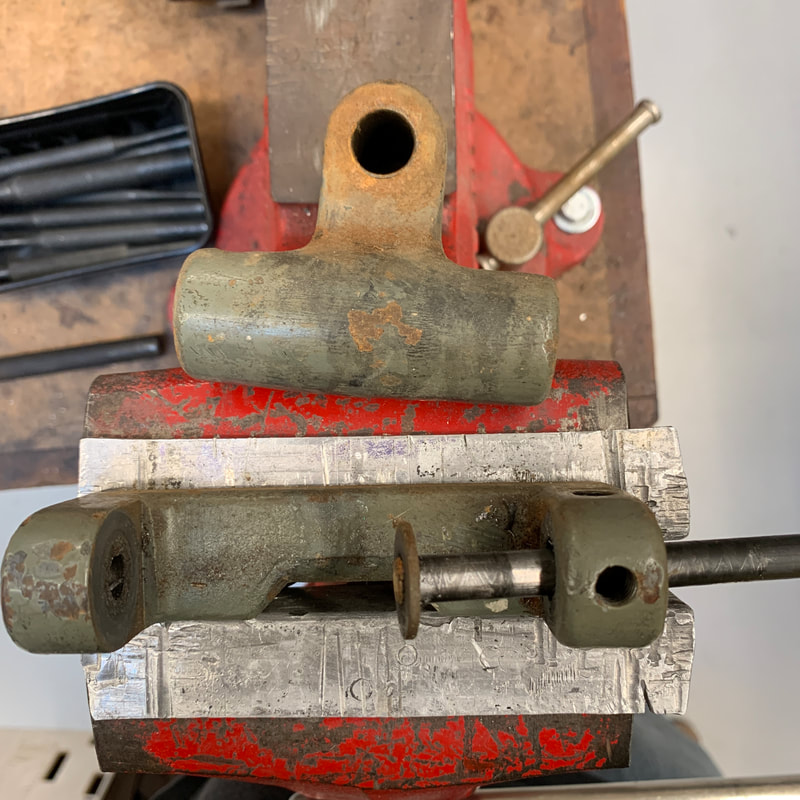
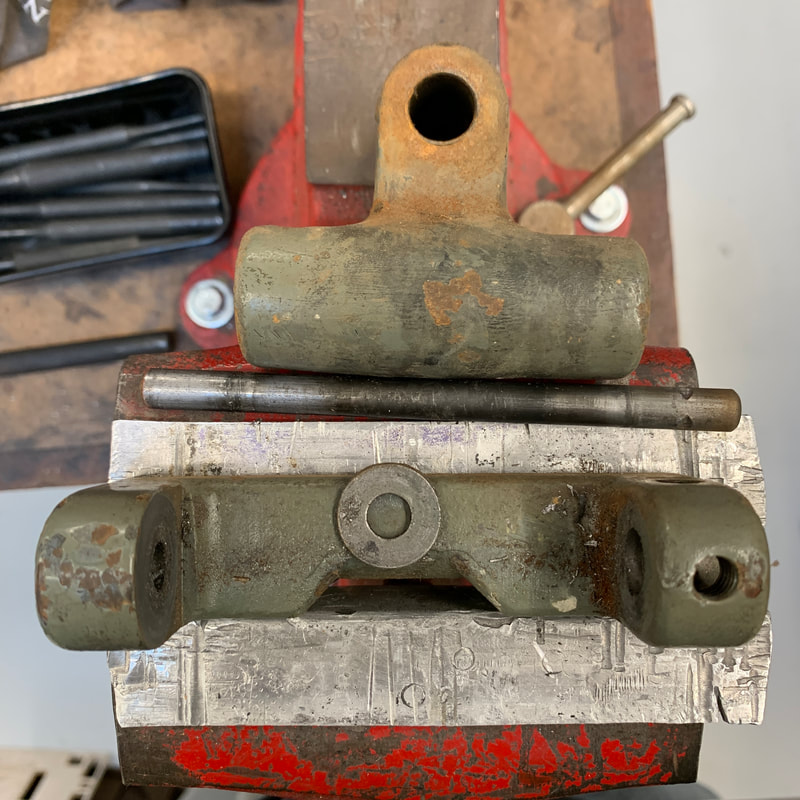
Spindle assembly removal
Note the single shim. Critical to get this back in the right place. |
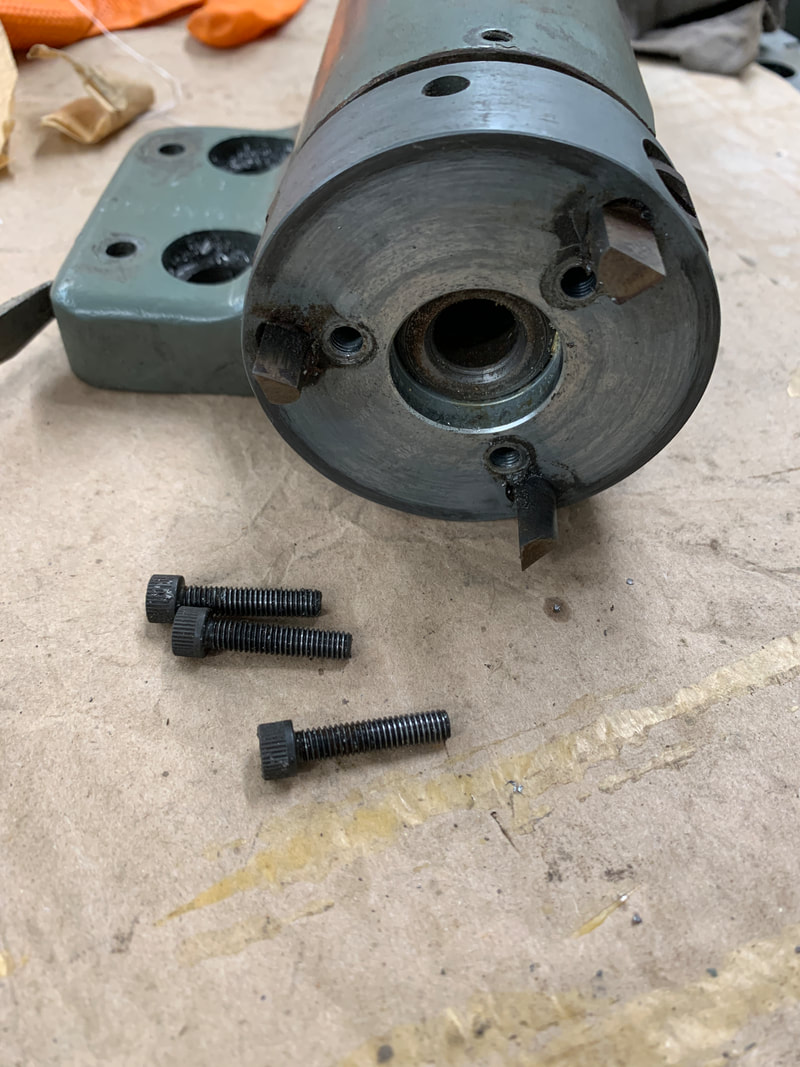 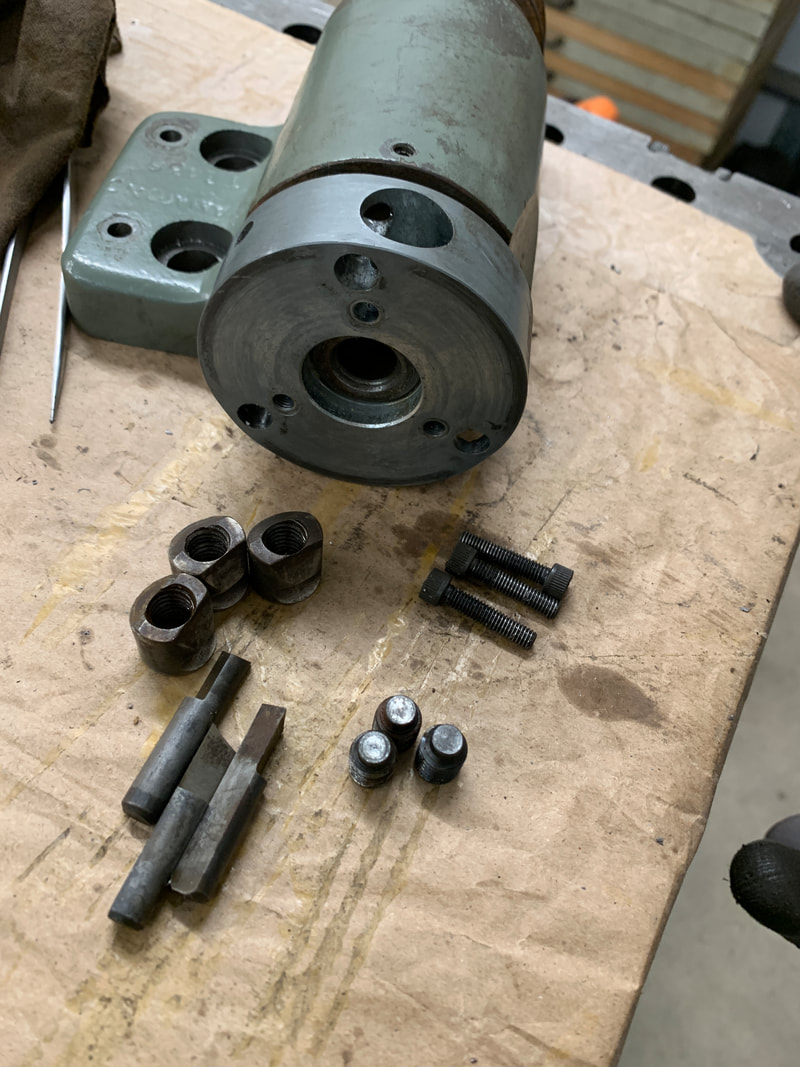 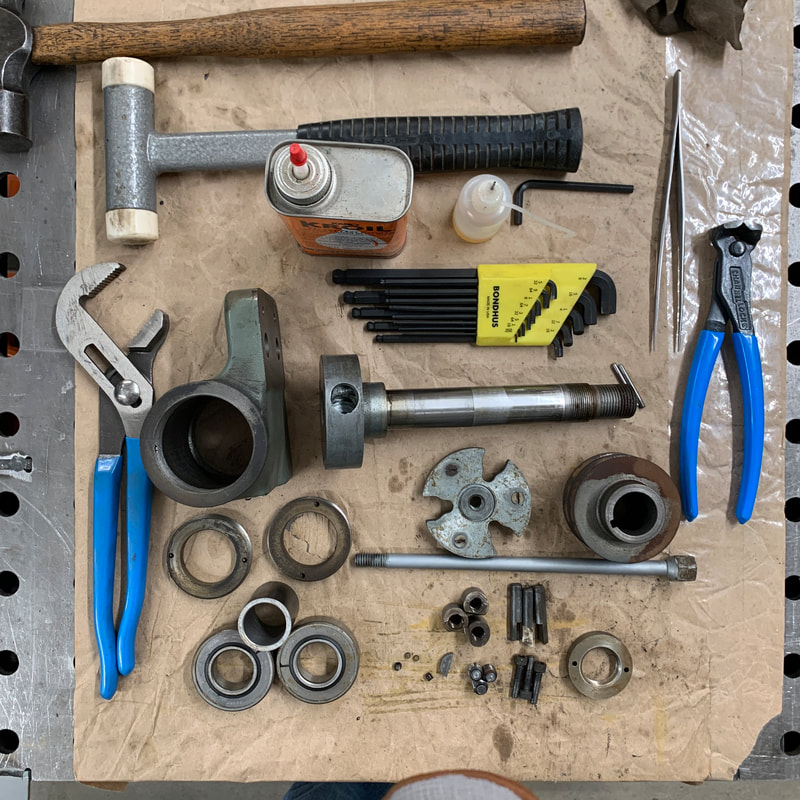 |
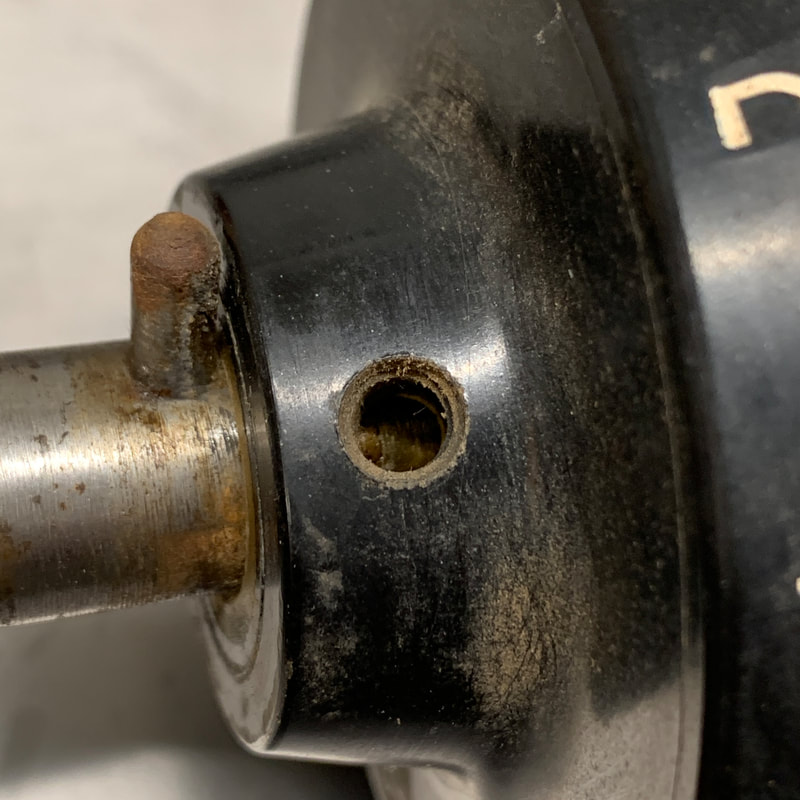
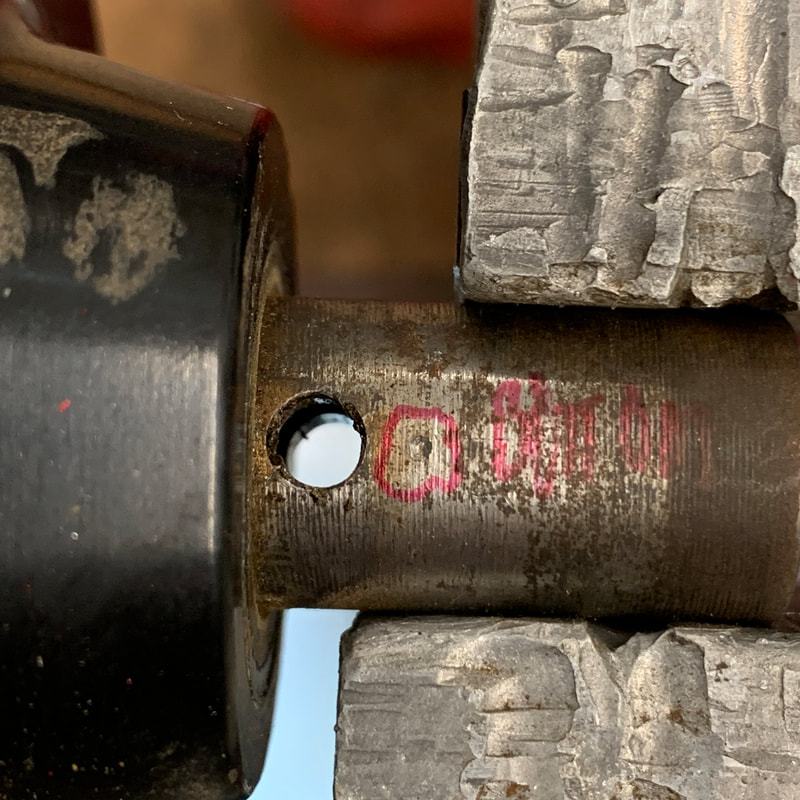
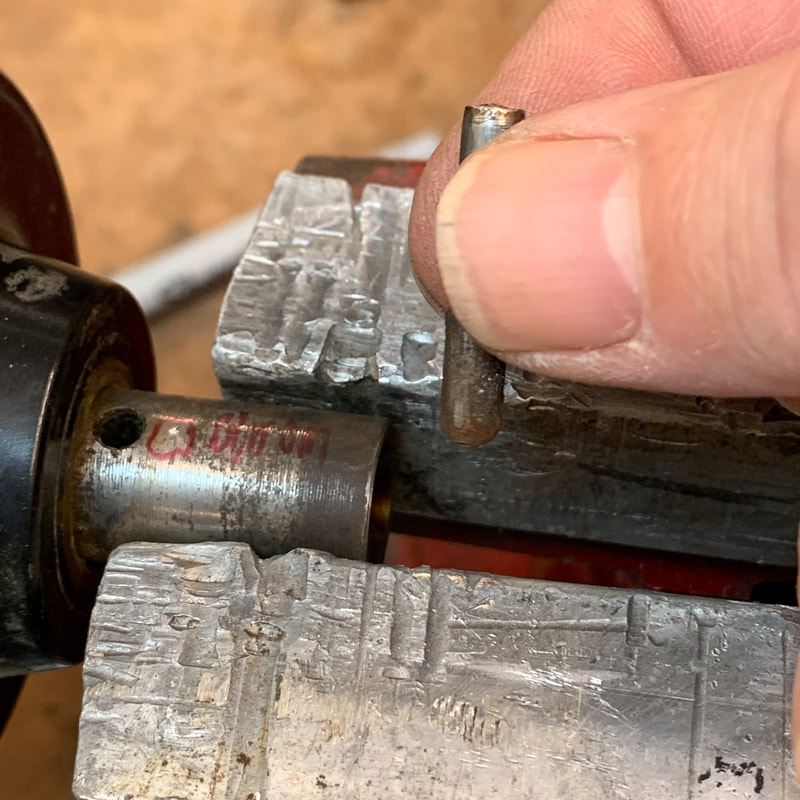
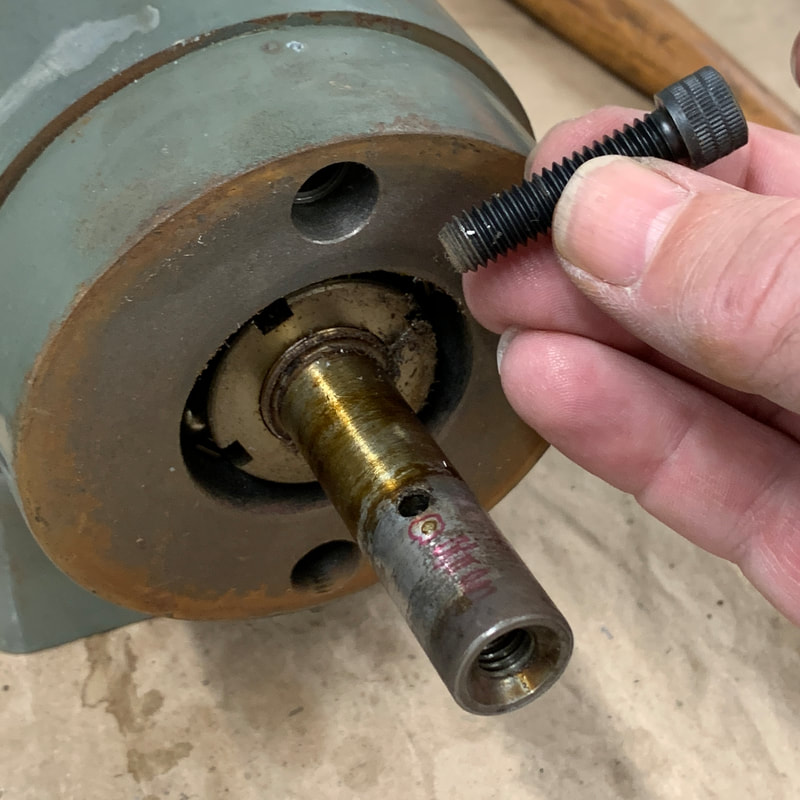
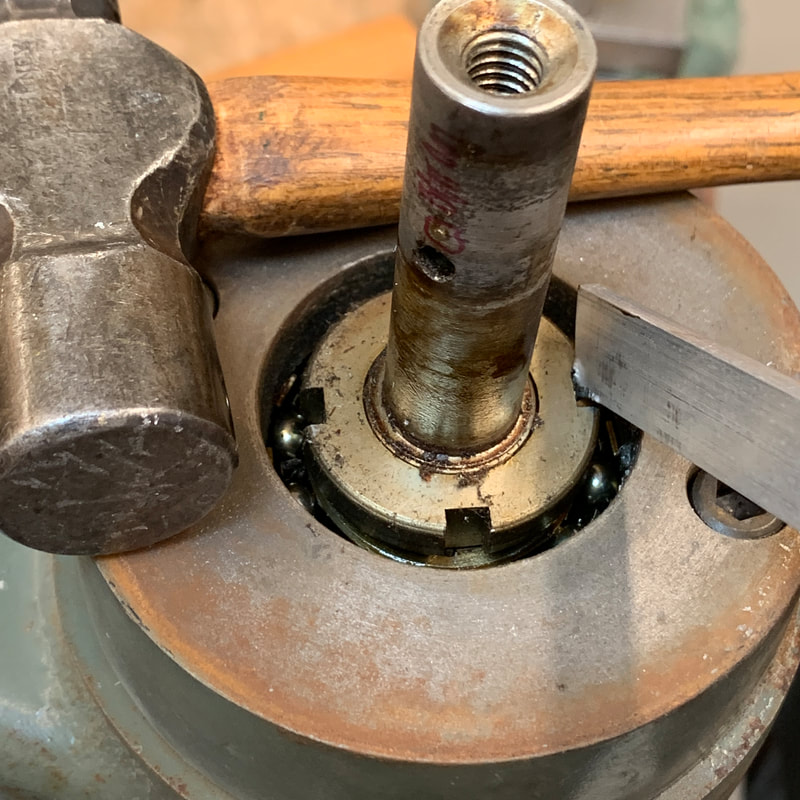
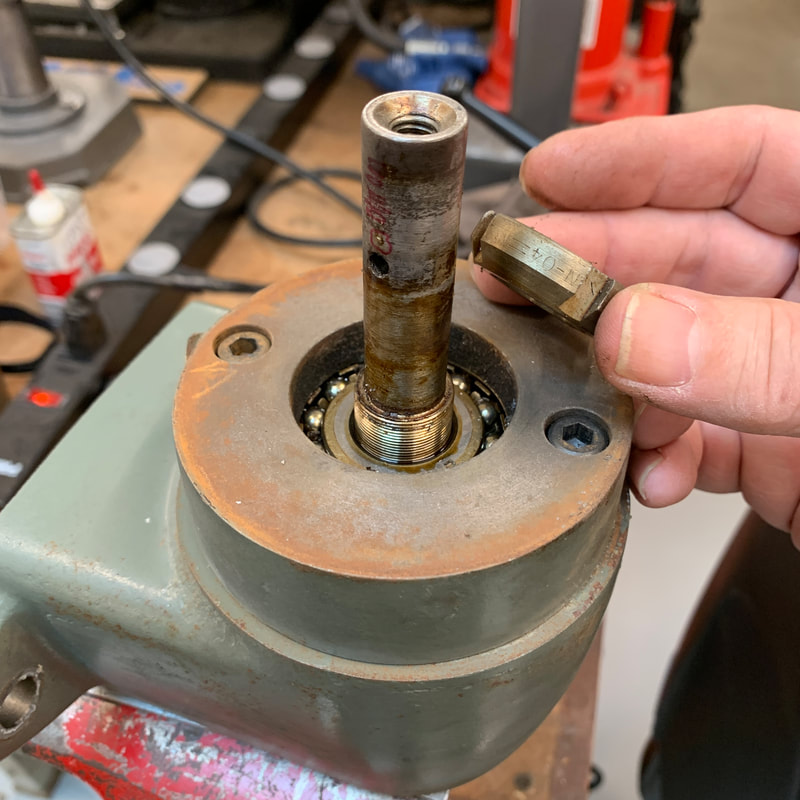
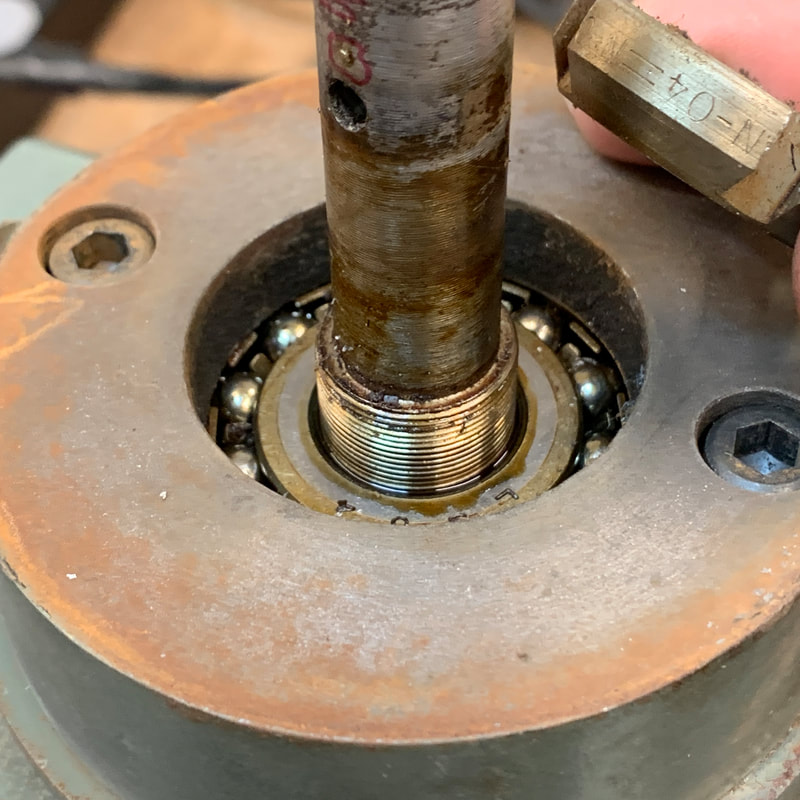
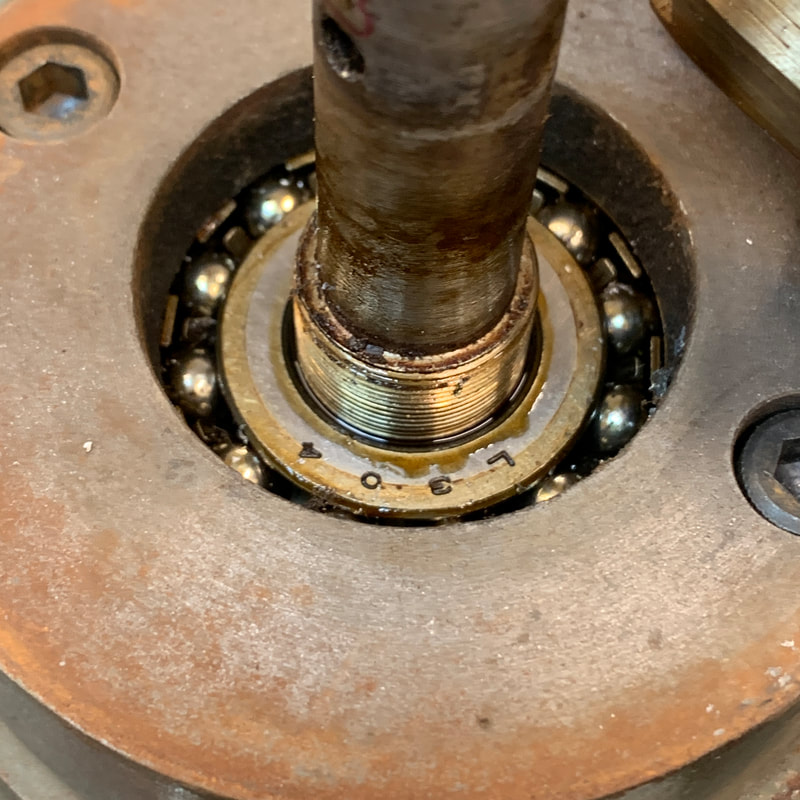
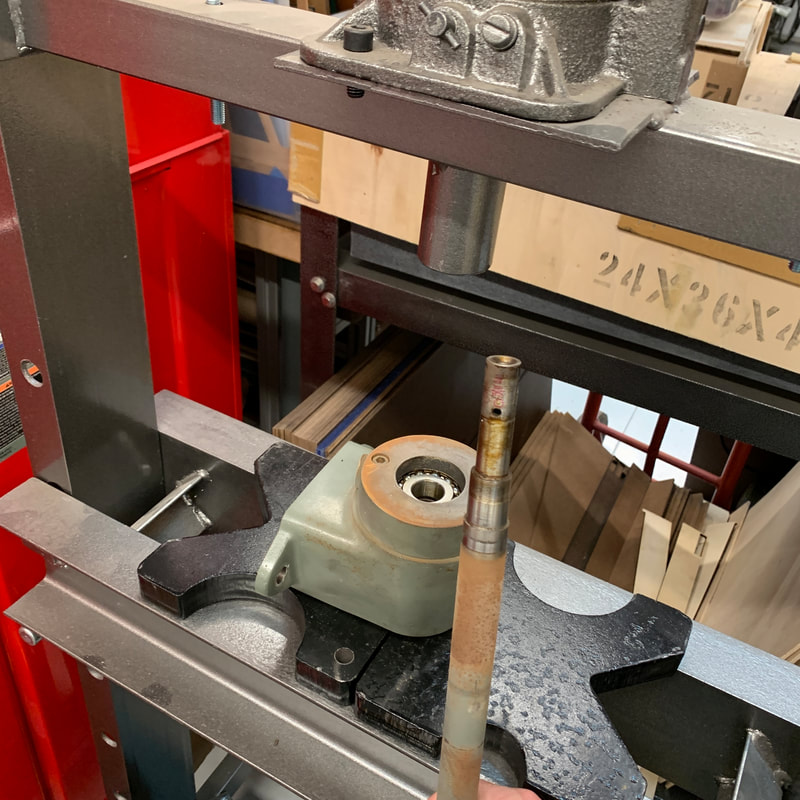
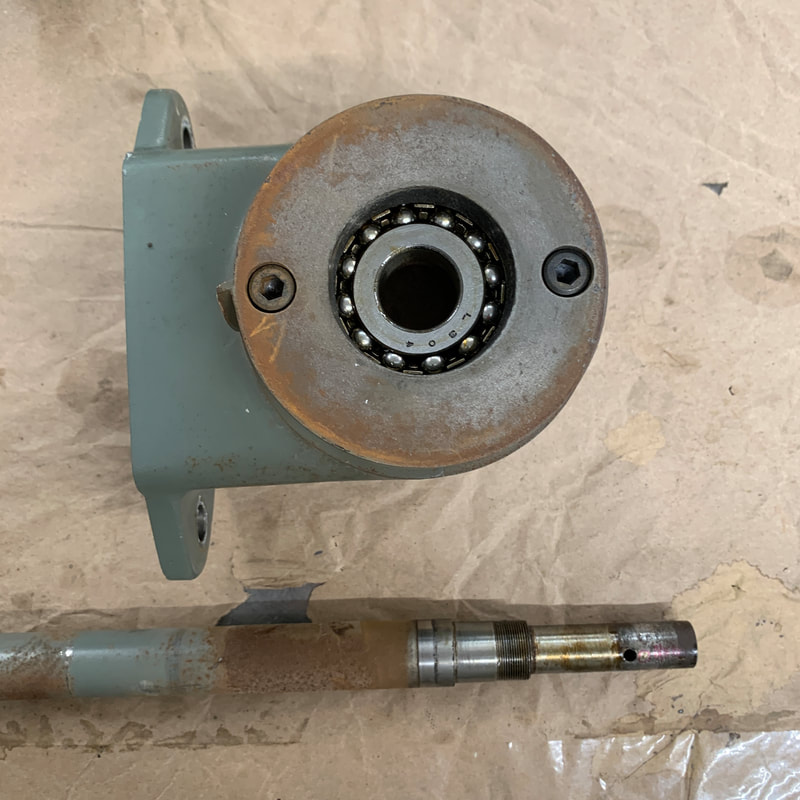
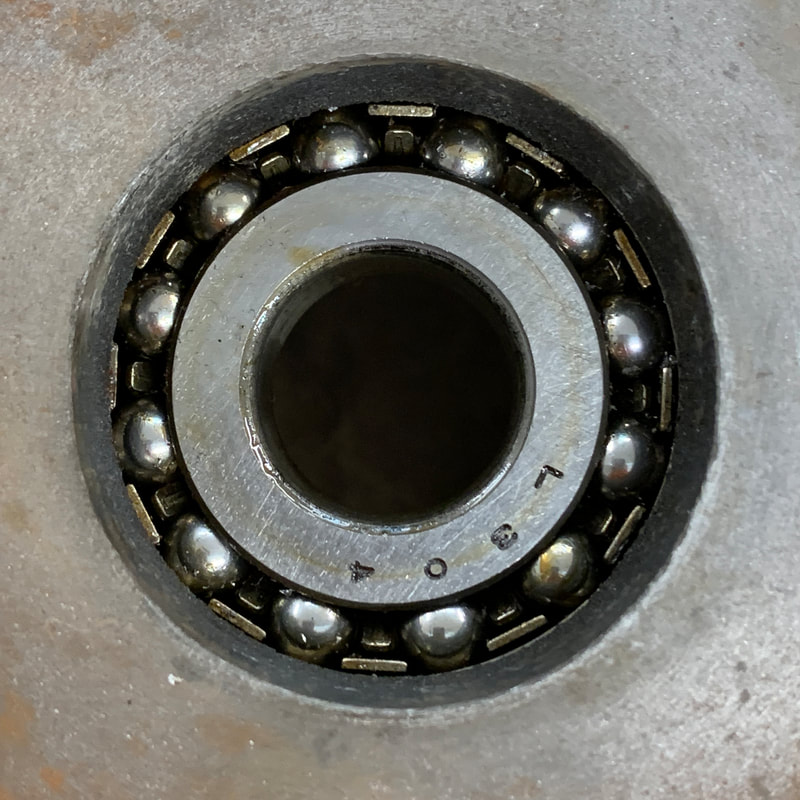
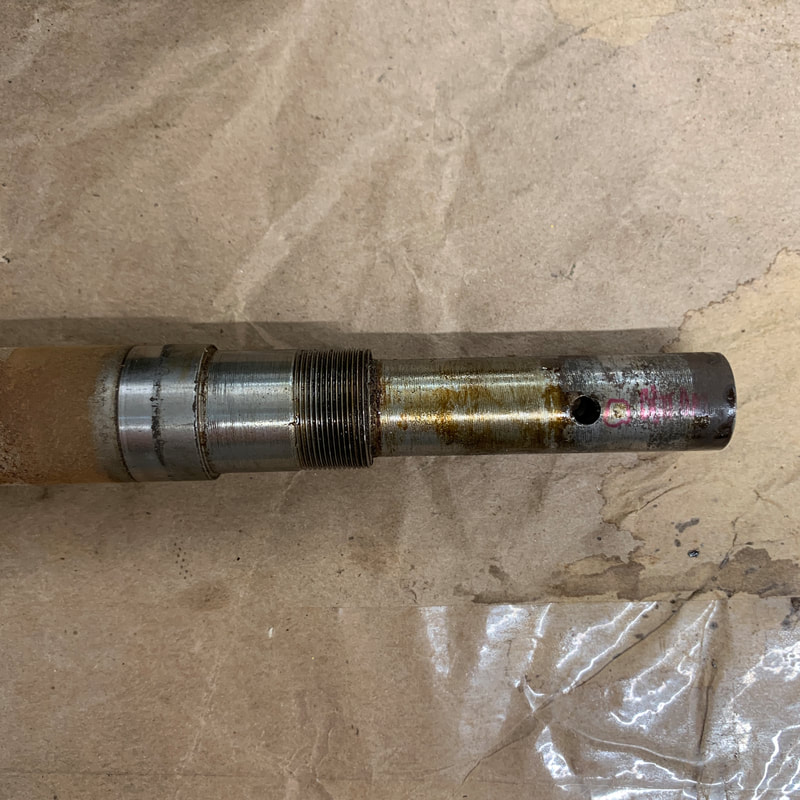
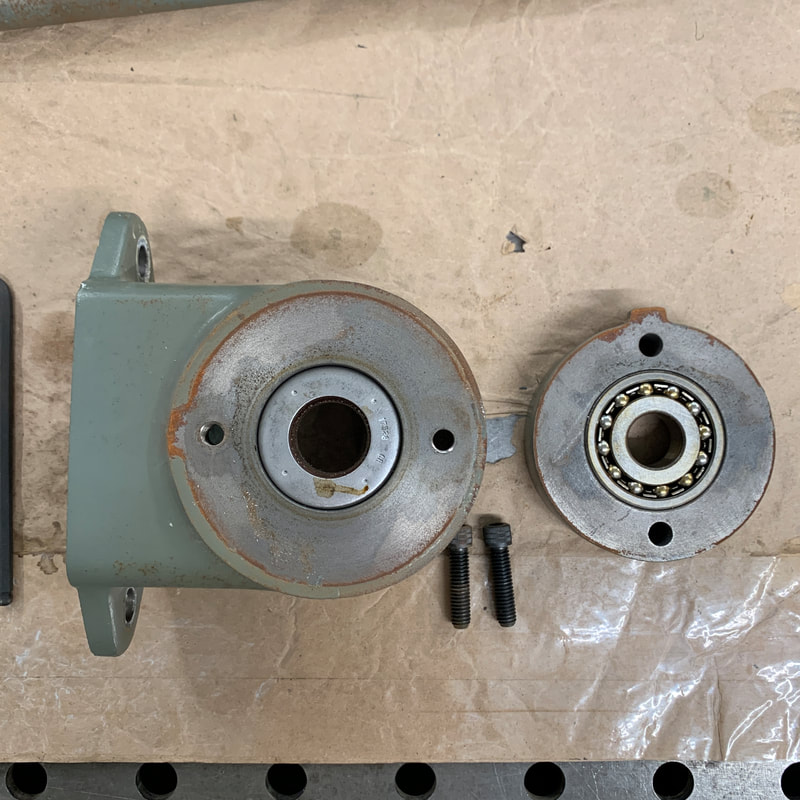
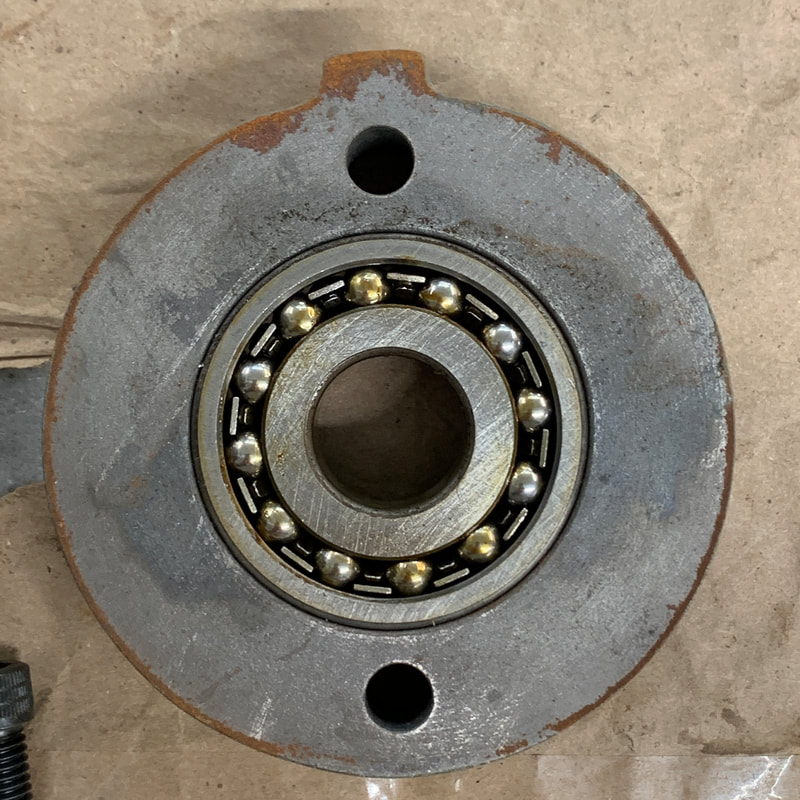
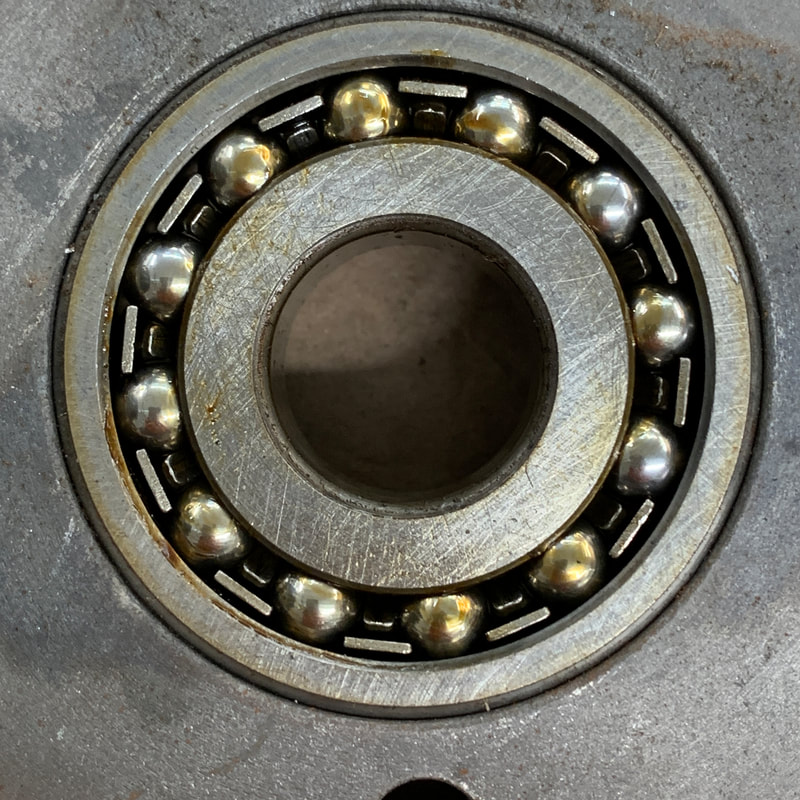
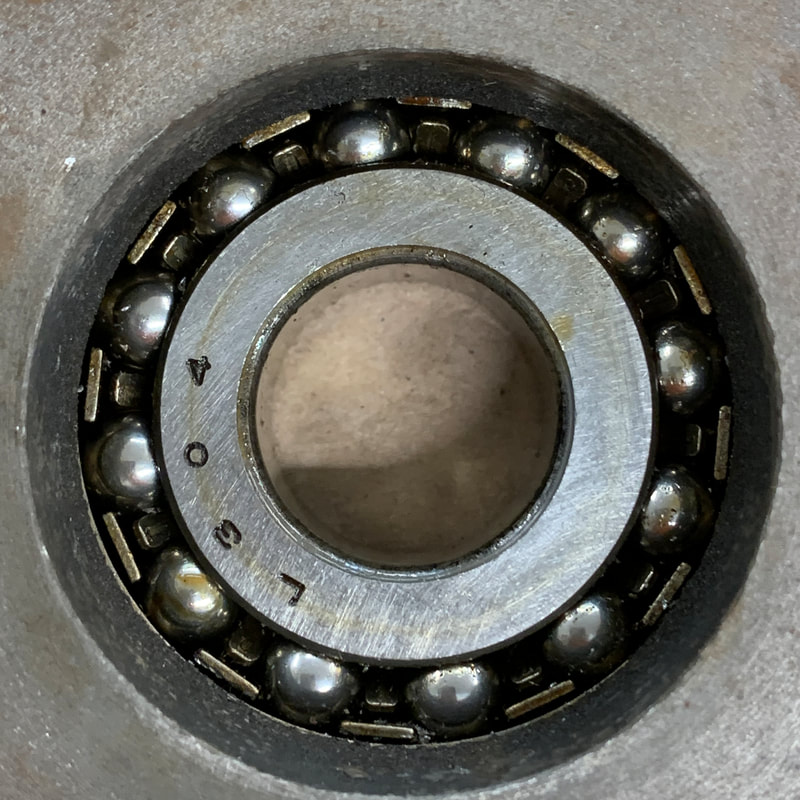
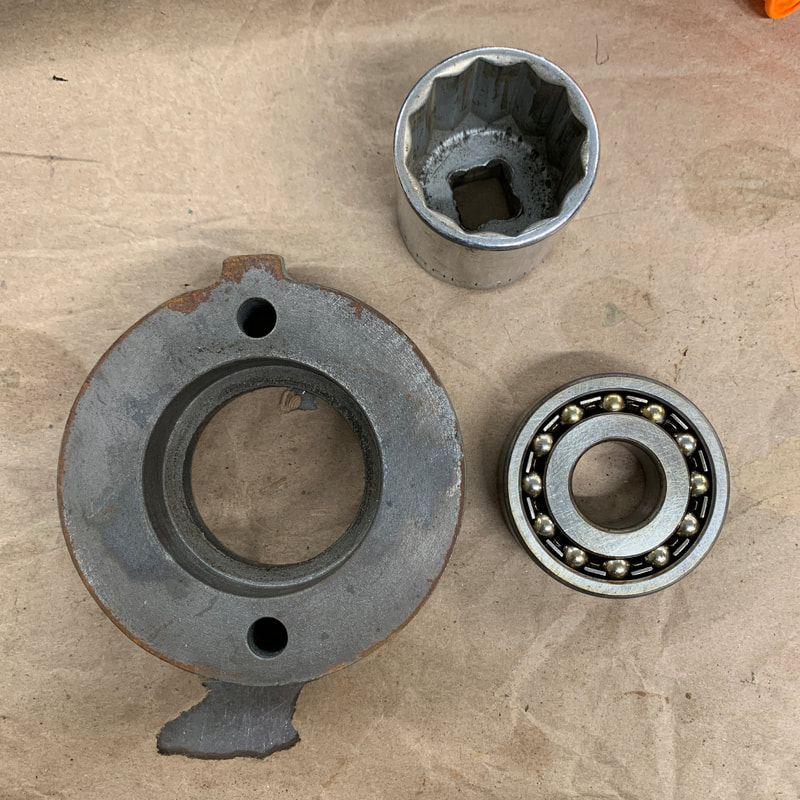
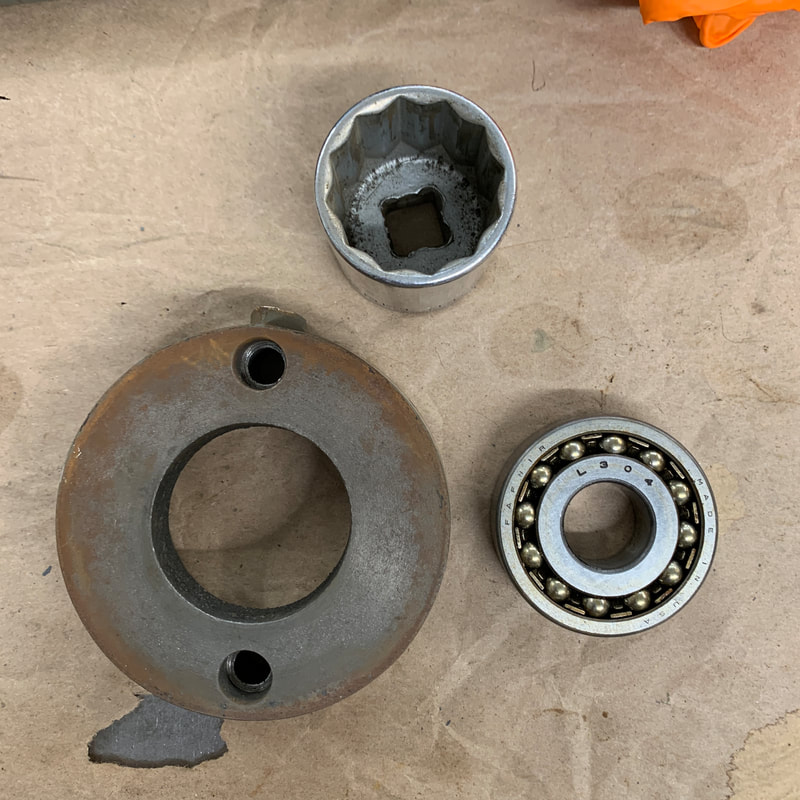
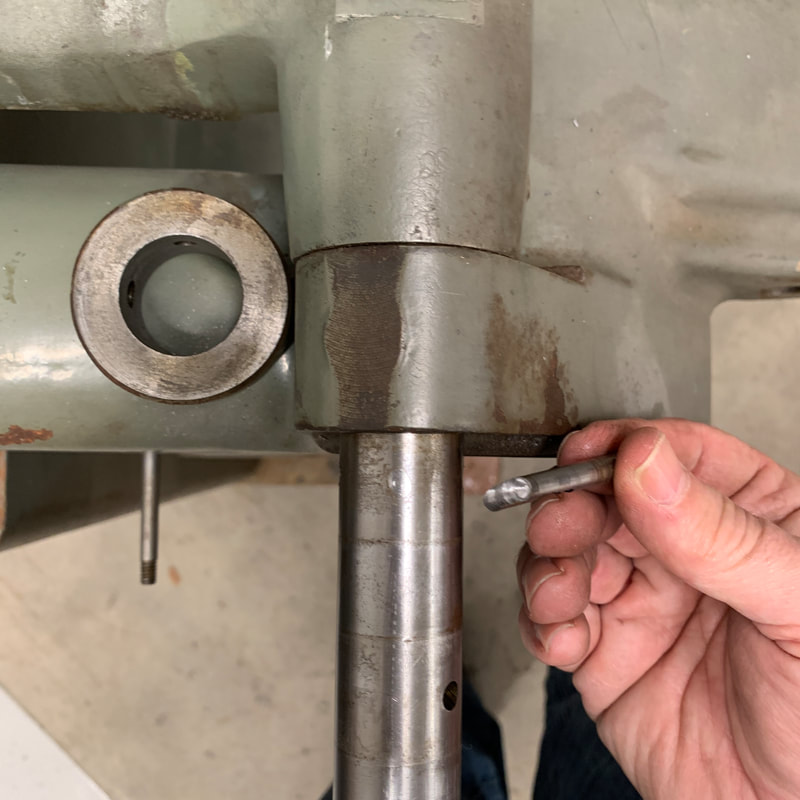
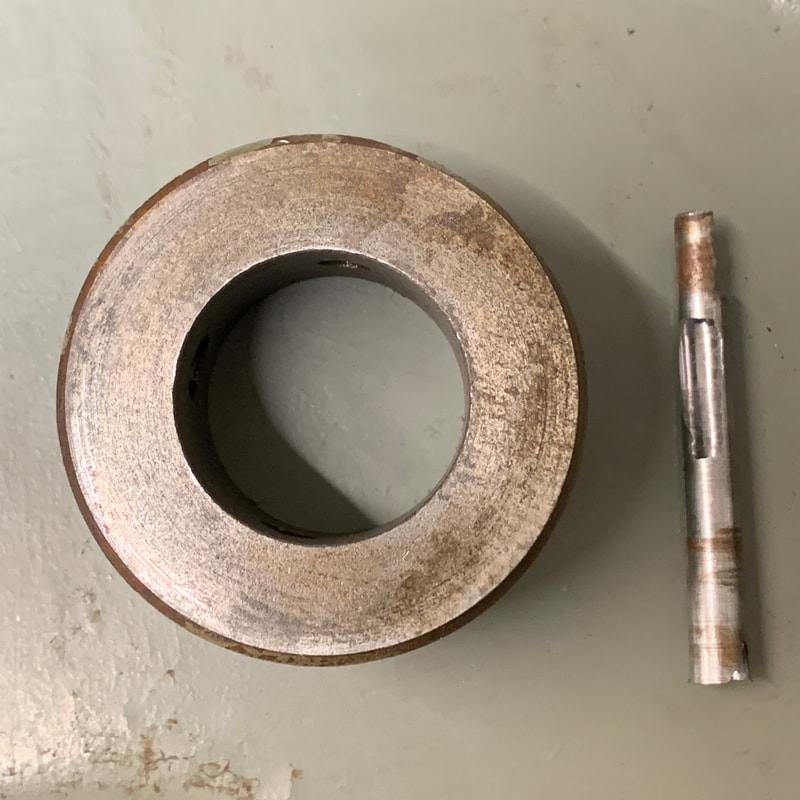
Spindle disassembly
|
        |
Sliding table and fence disassembly
|


   |
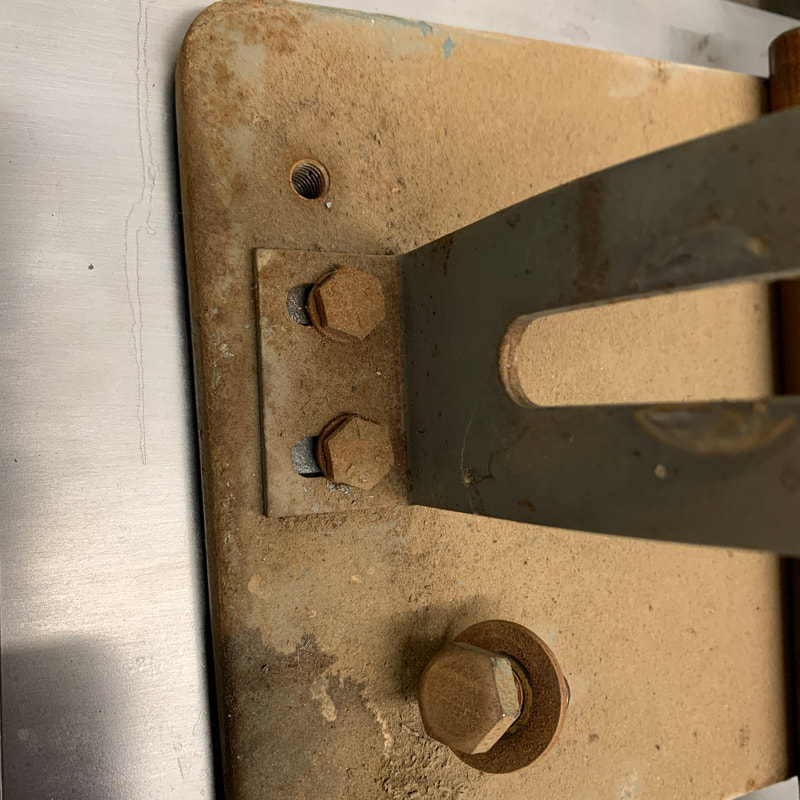
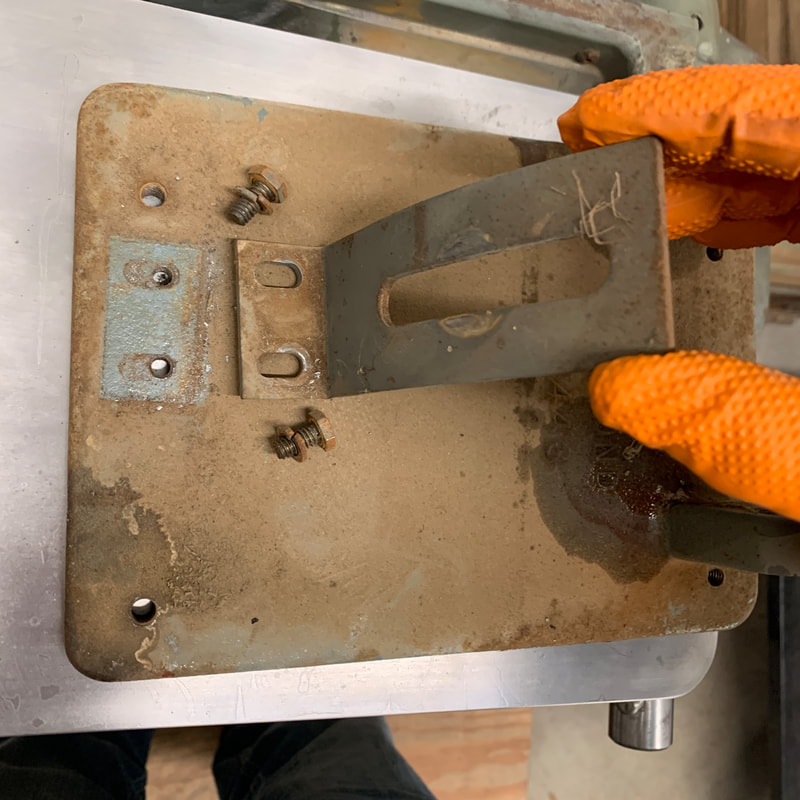
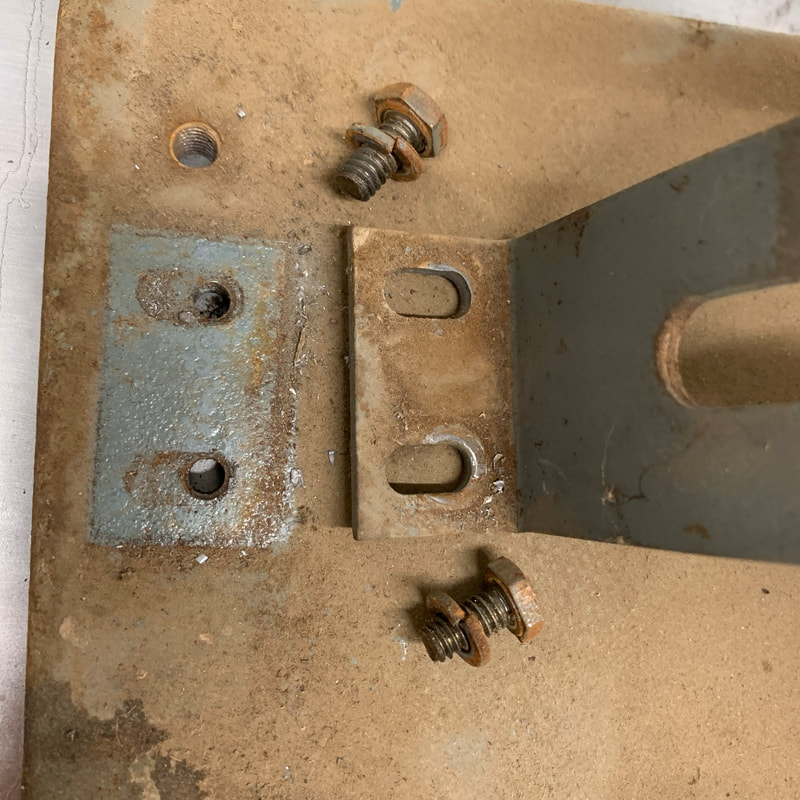
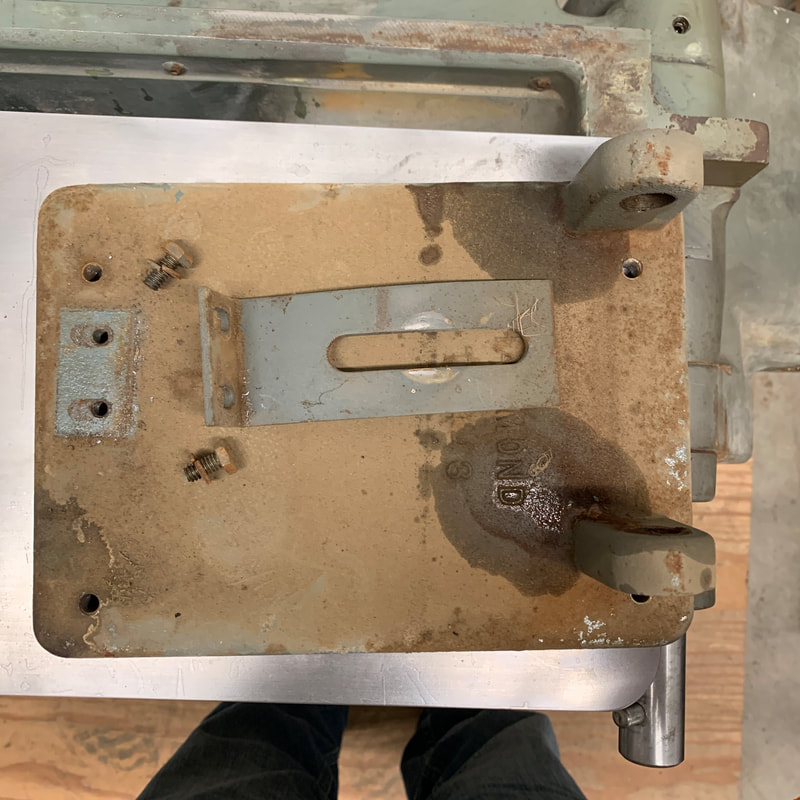
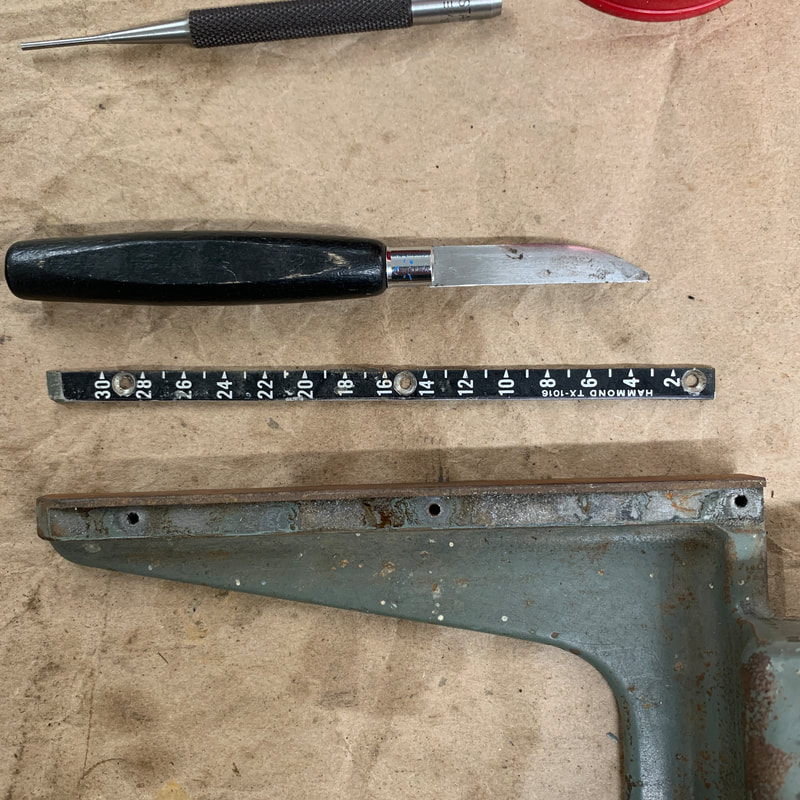
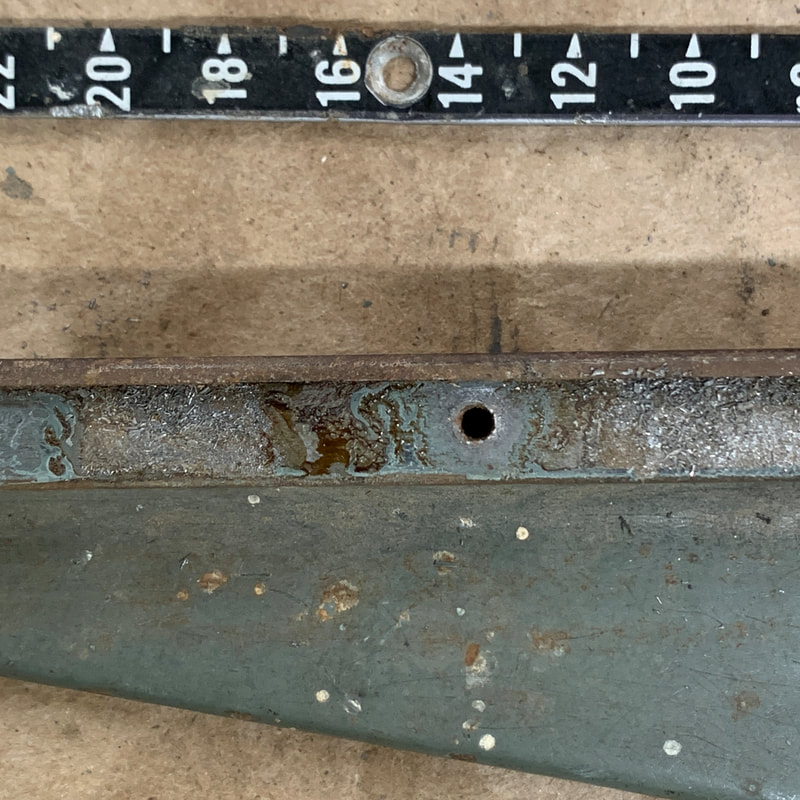
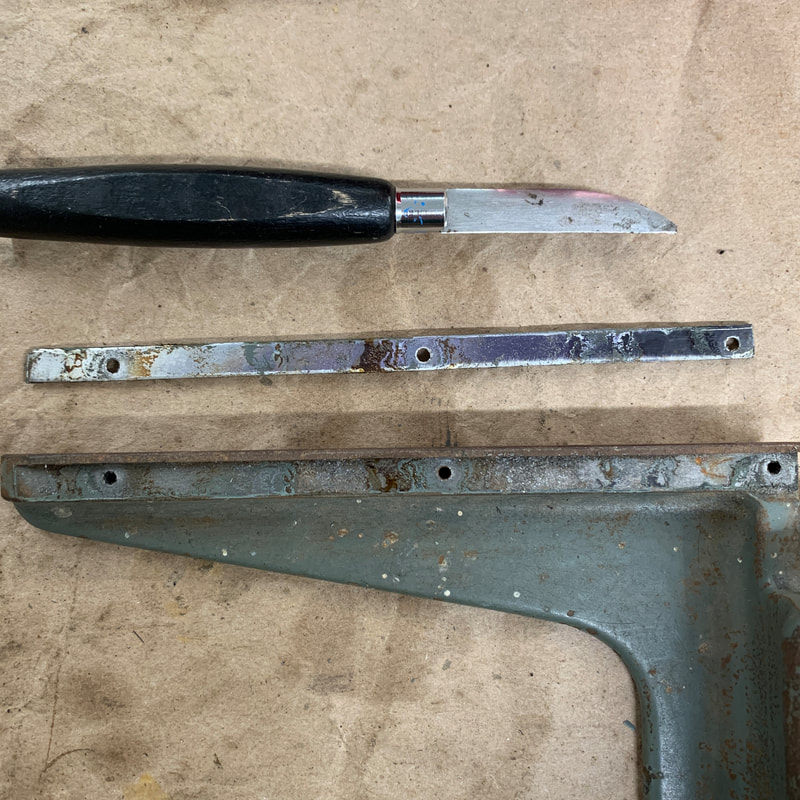
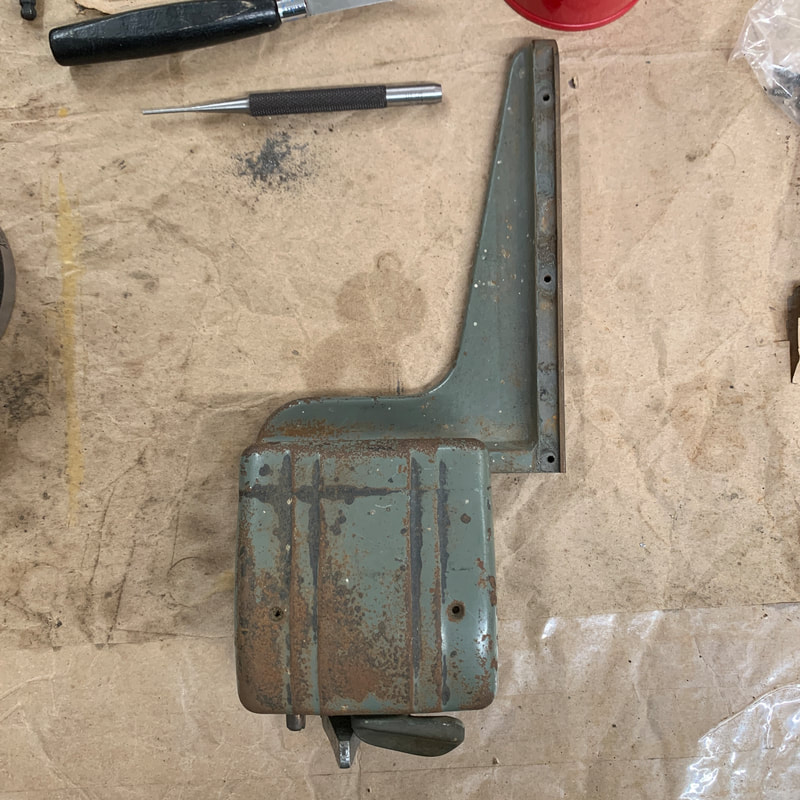
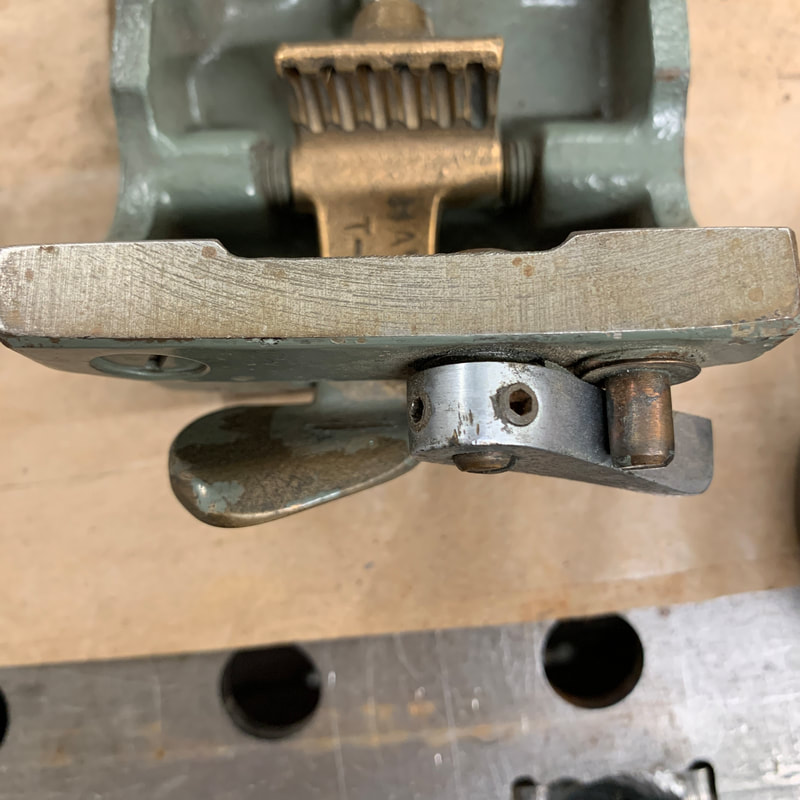
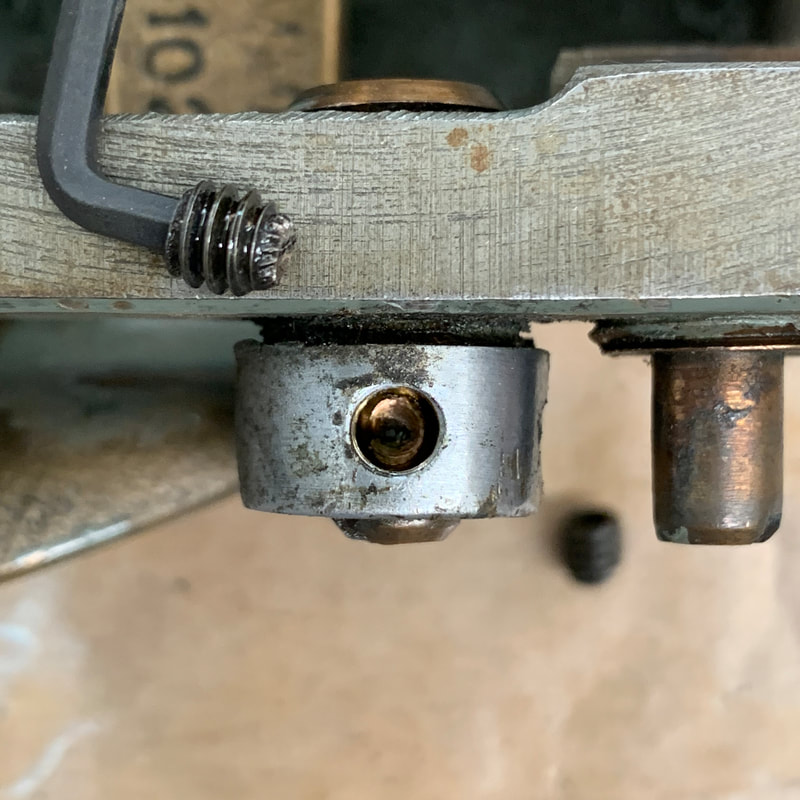
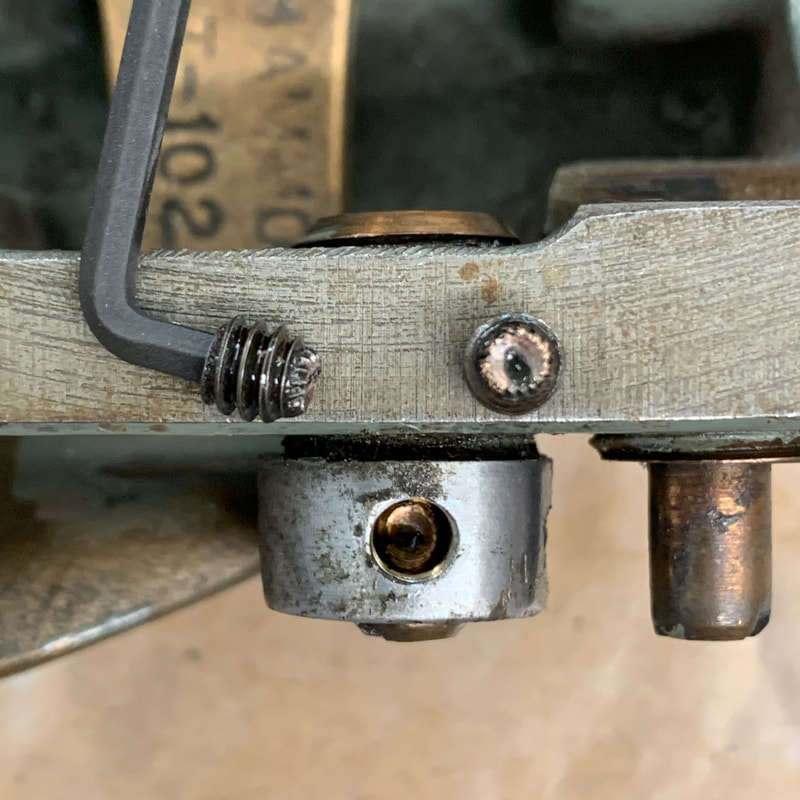
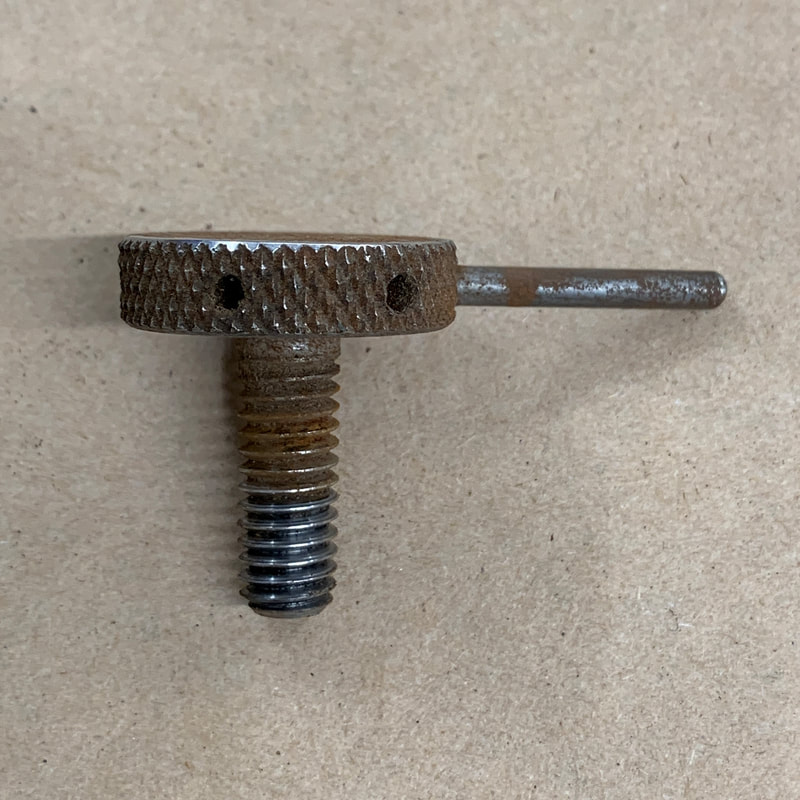
Batter and line up gauge removal
|
    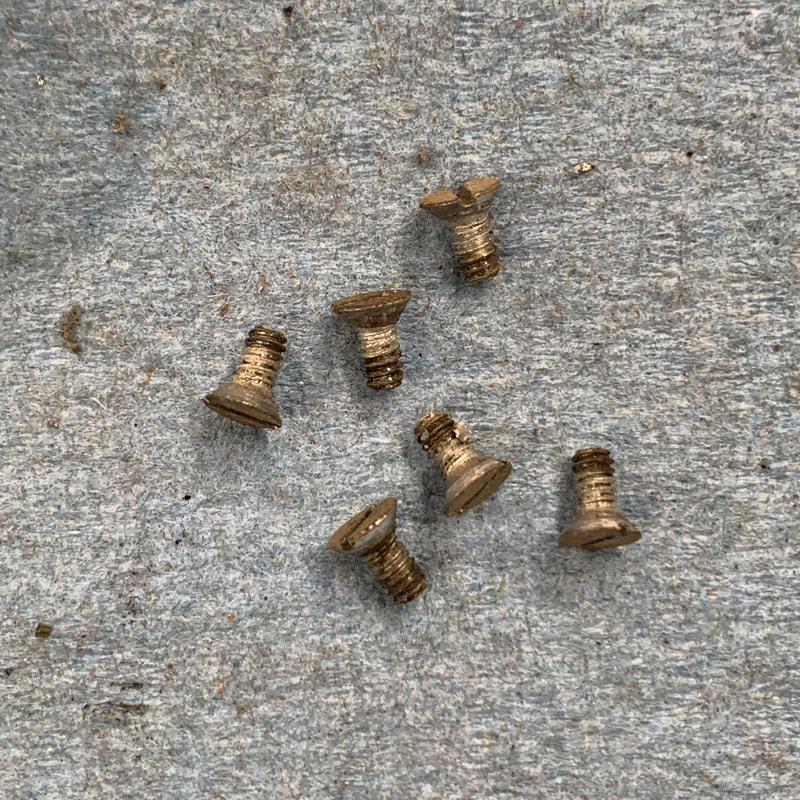         |
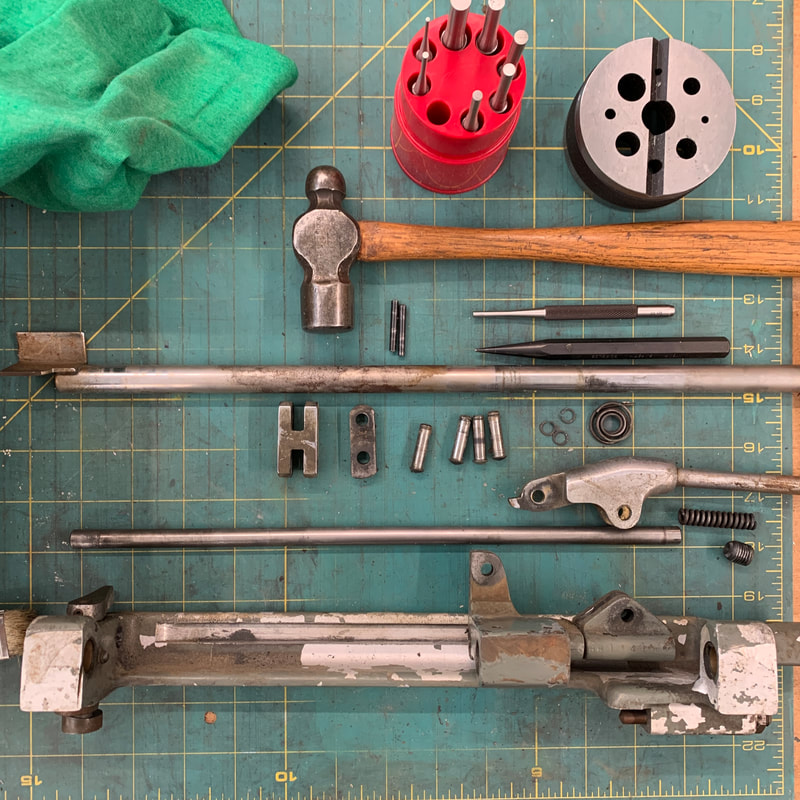
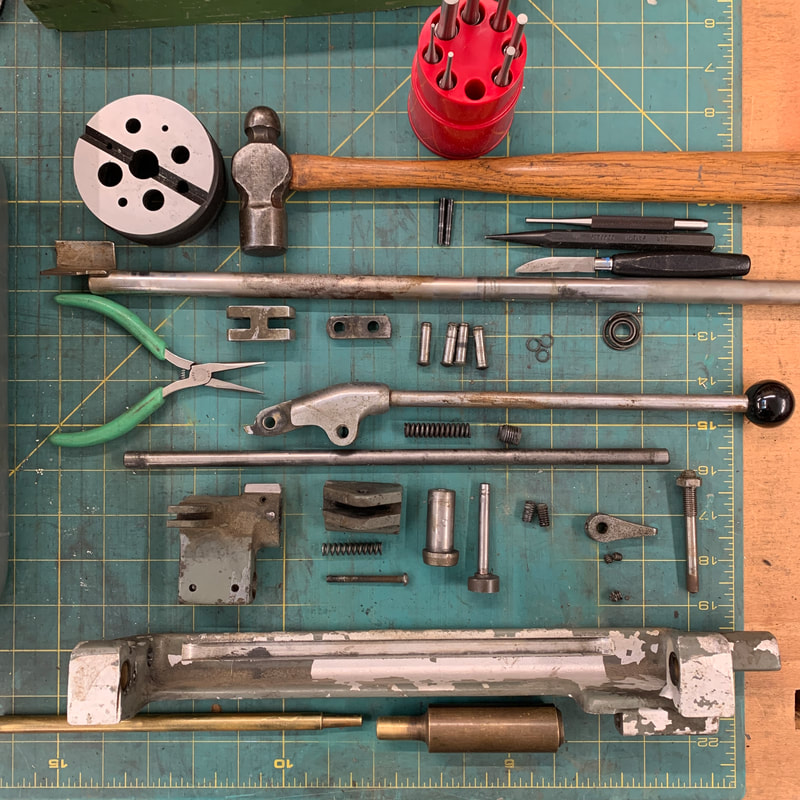
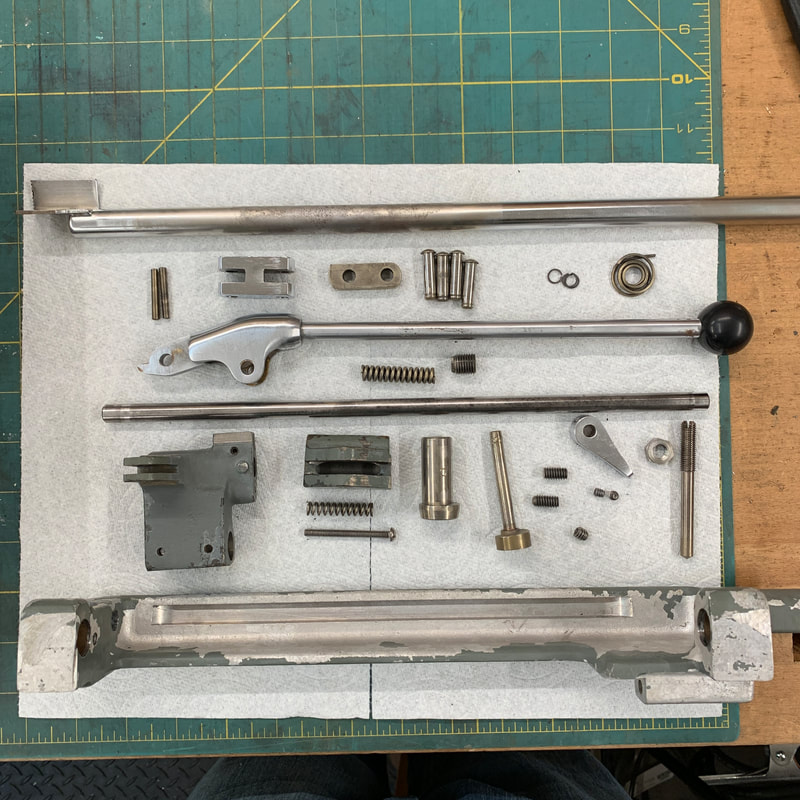
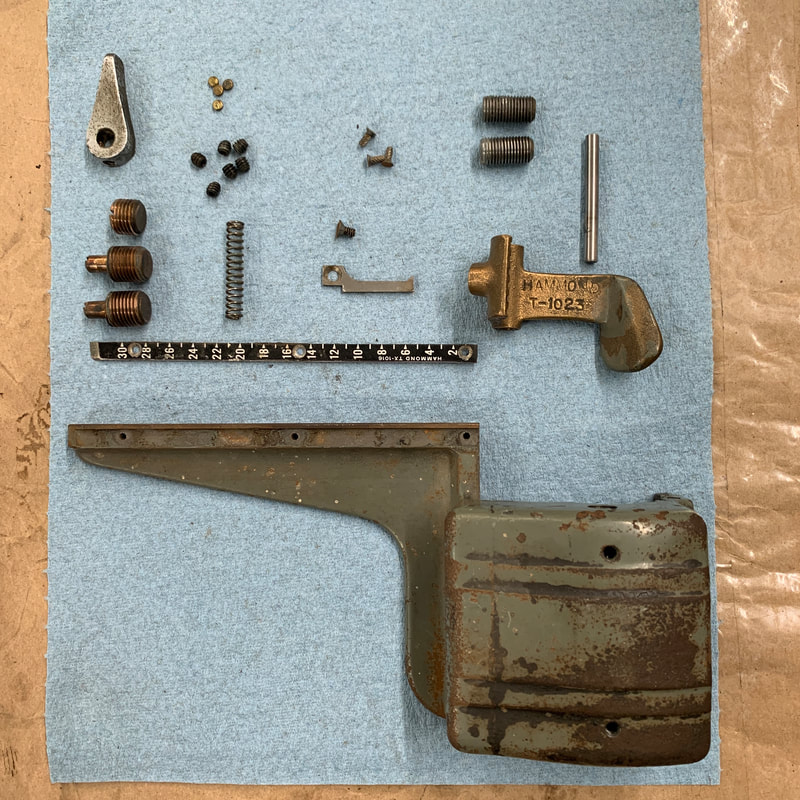
Small parts
|
                  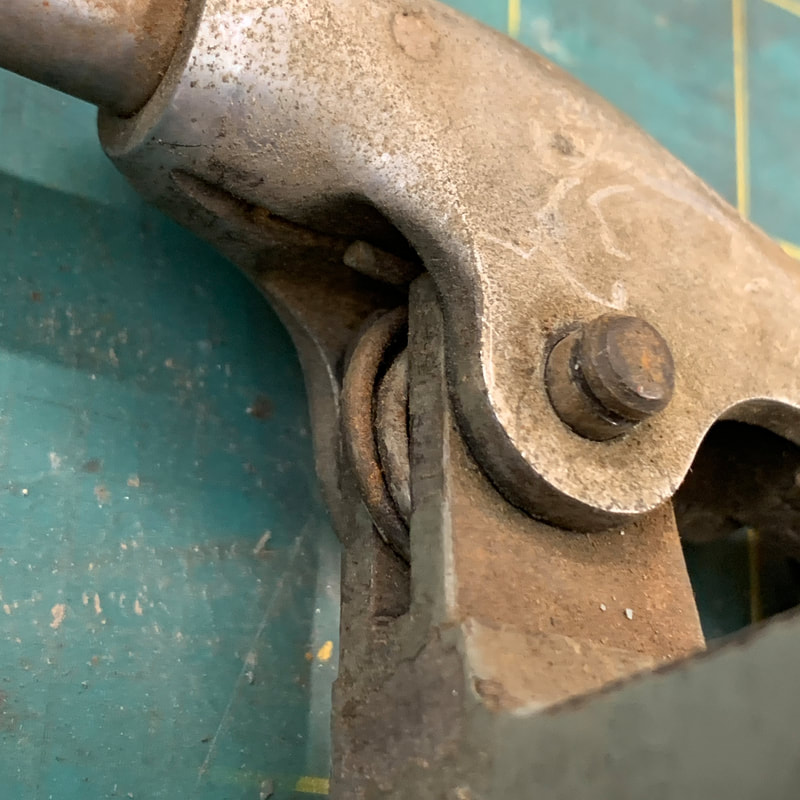 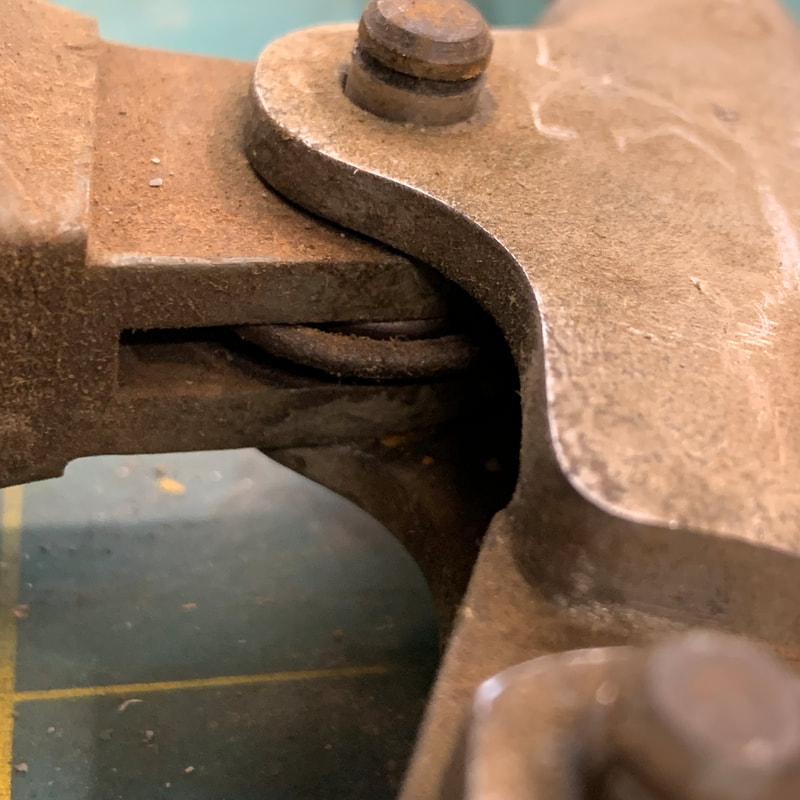 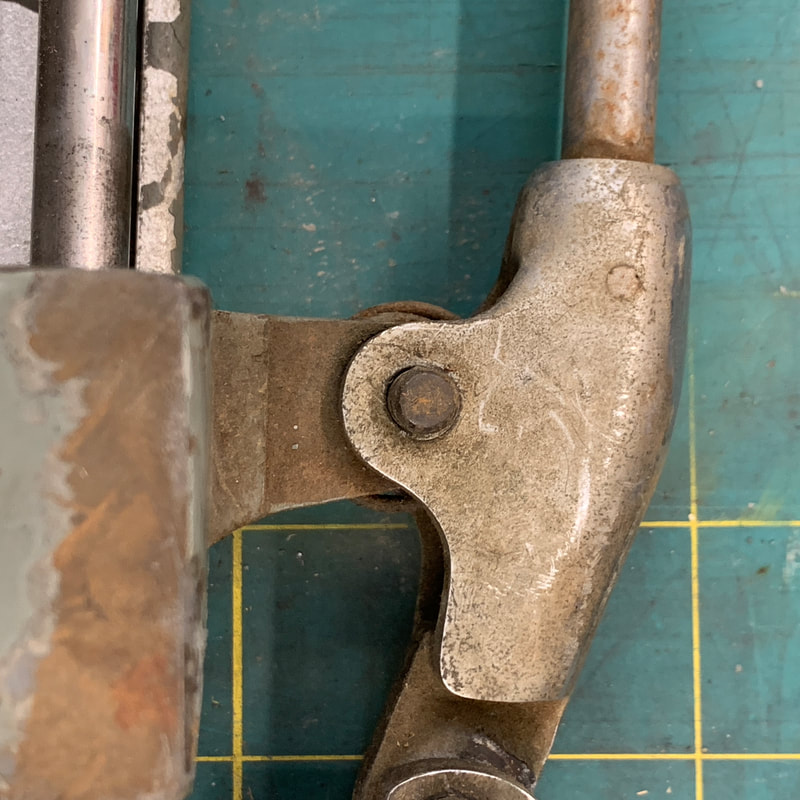 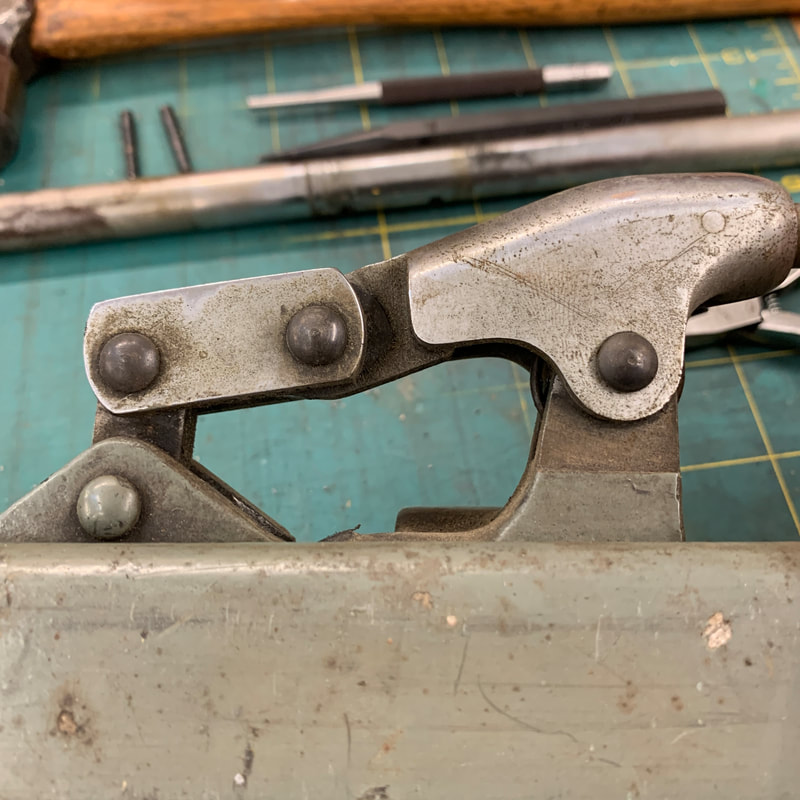          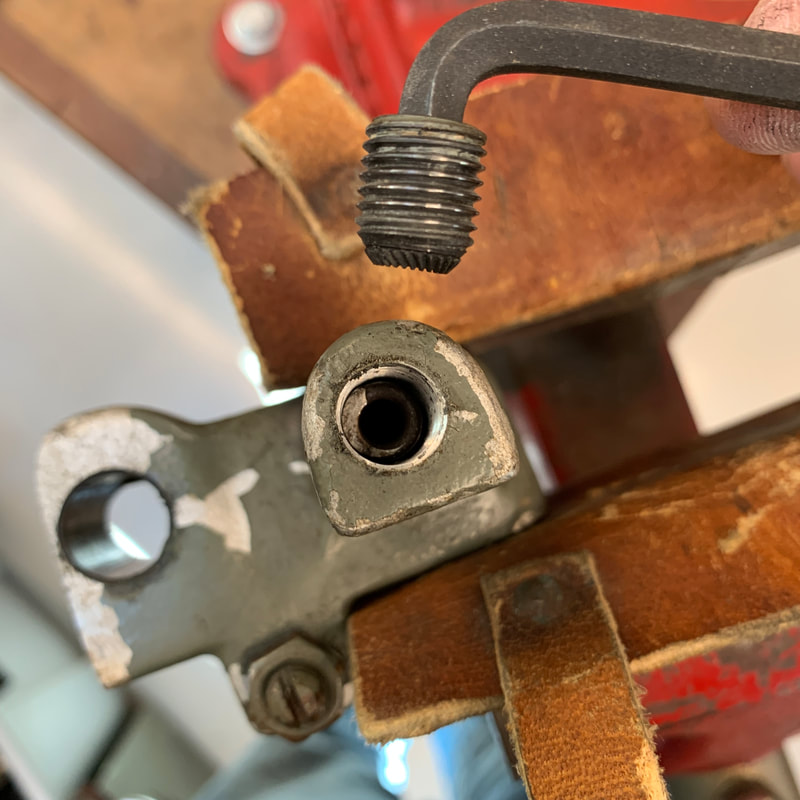 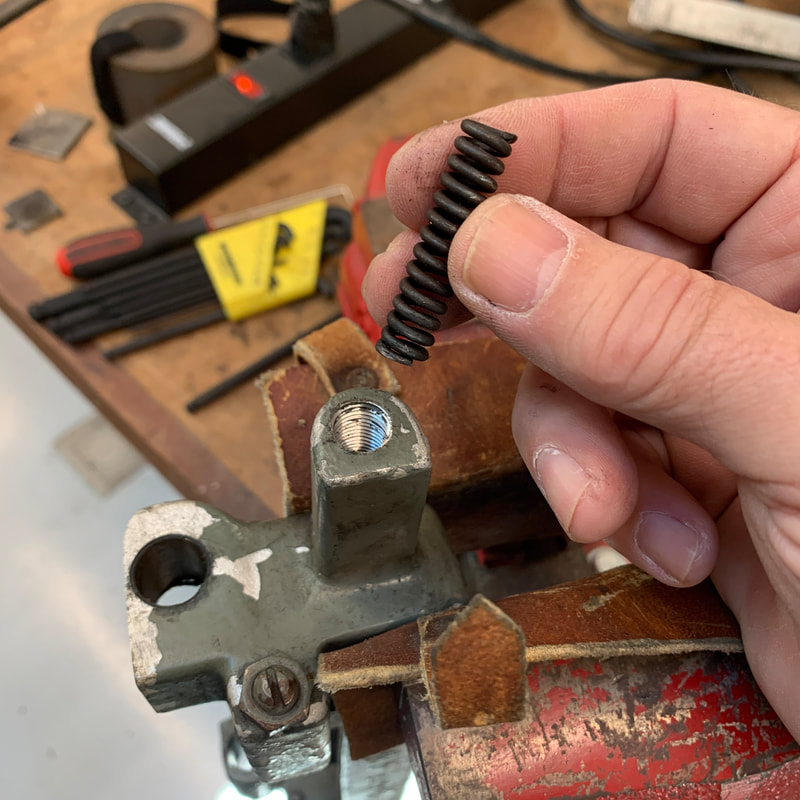        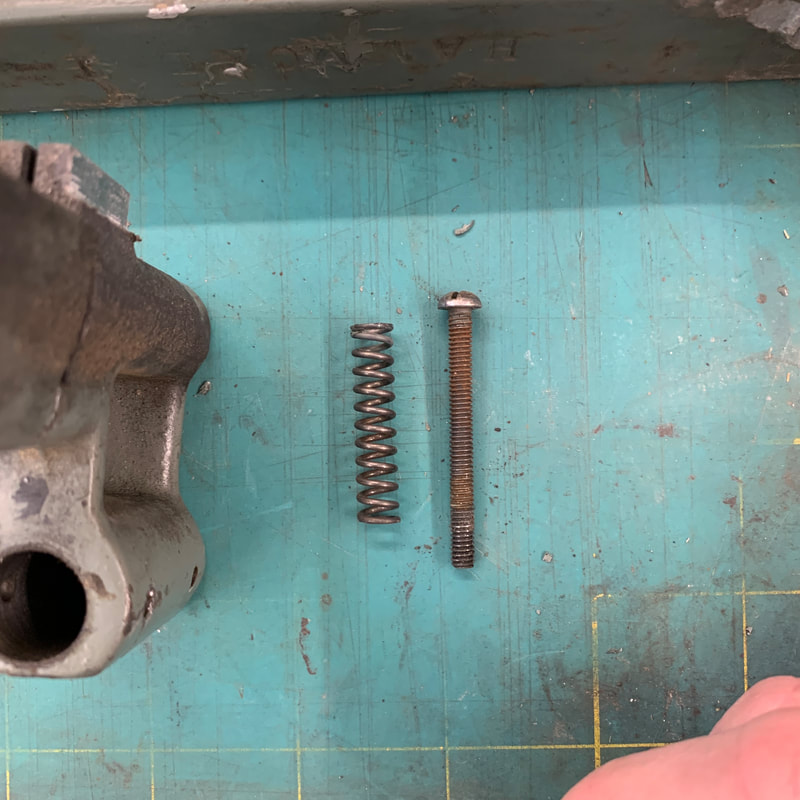 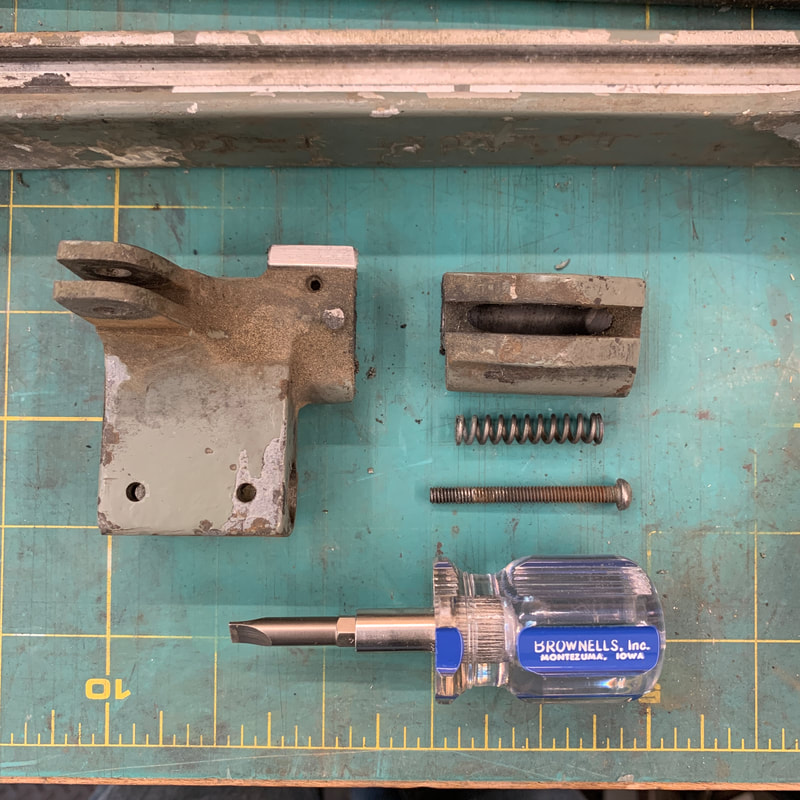 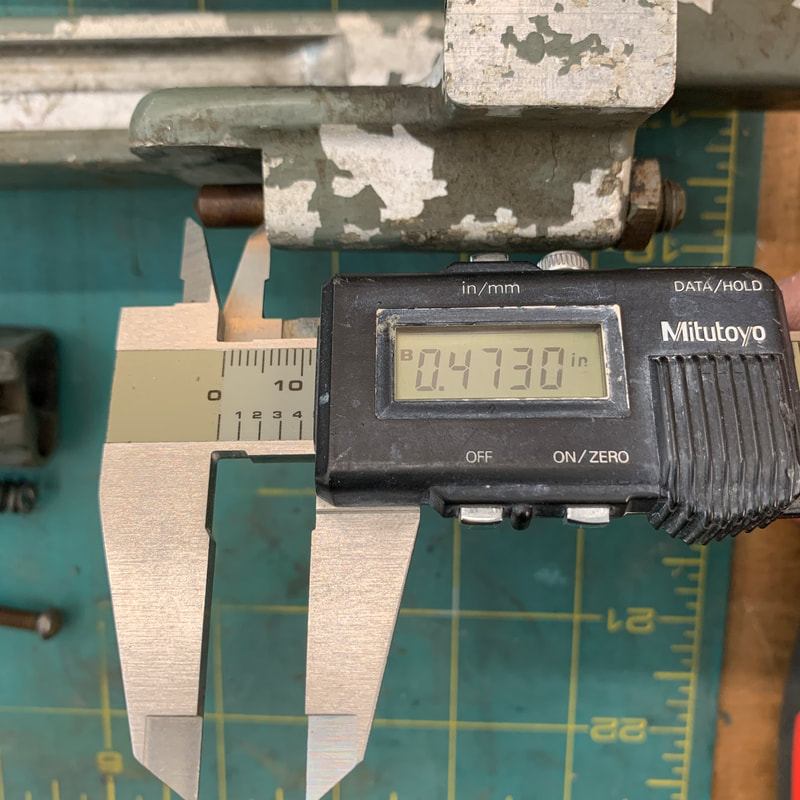  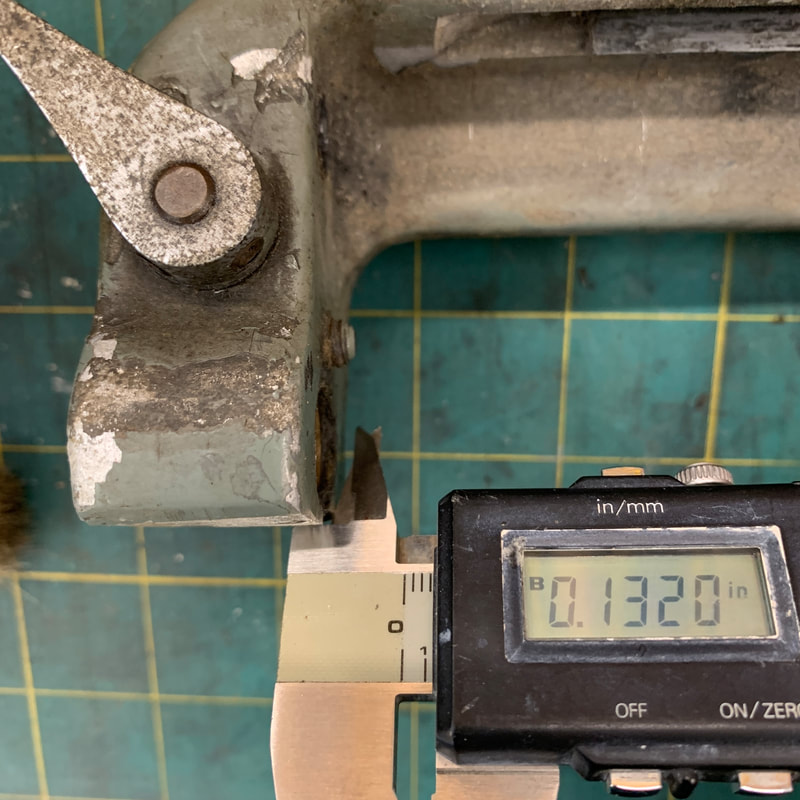 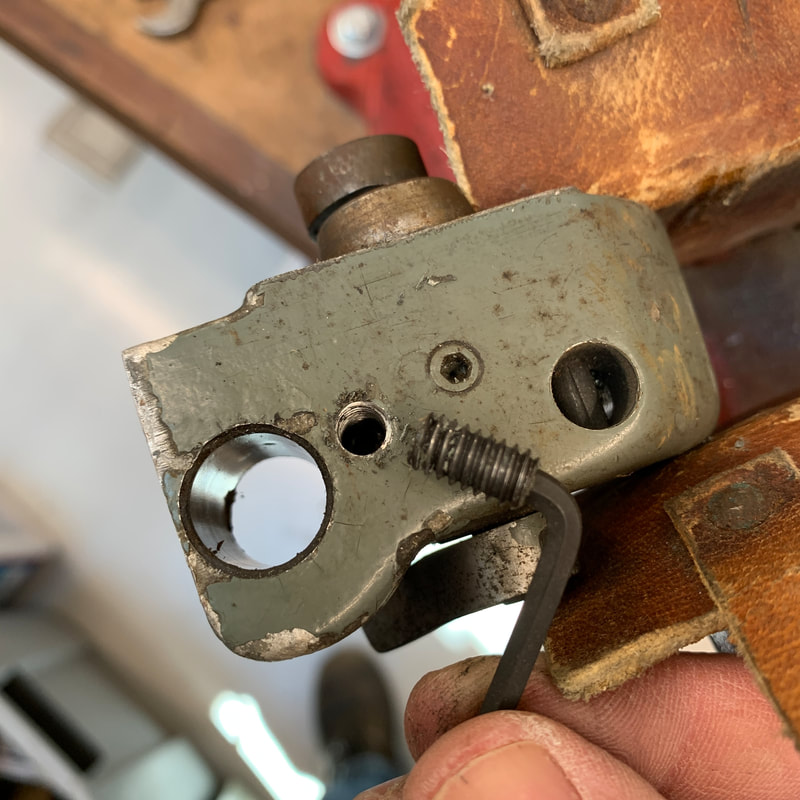 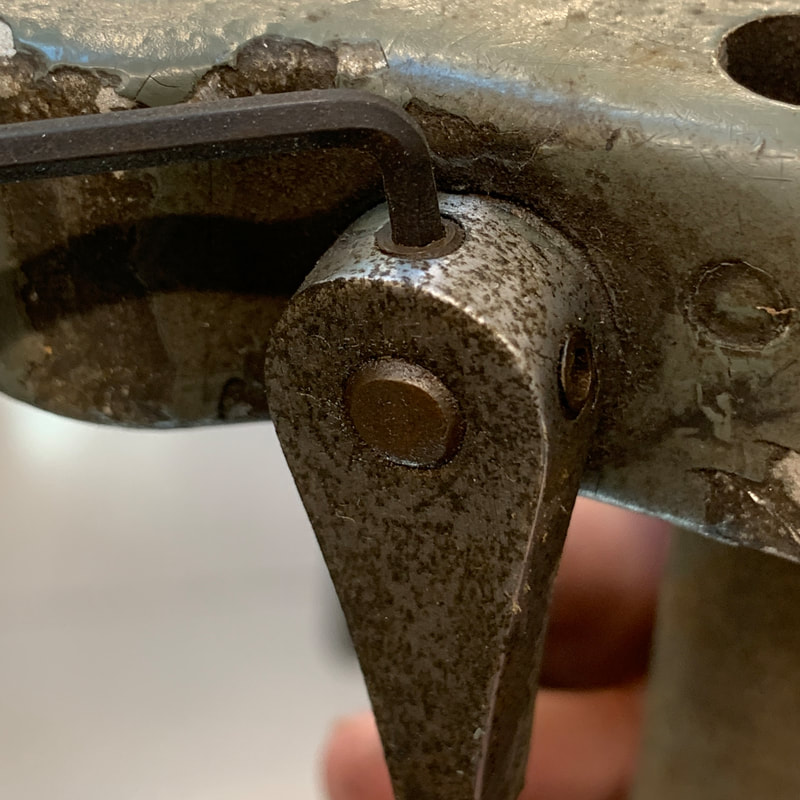 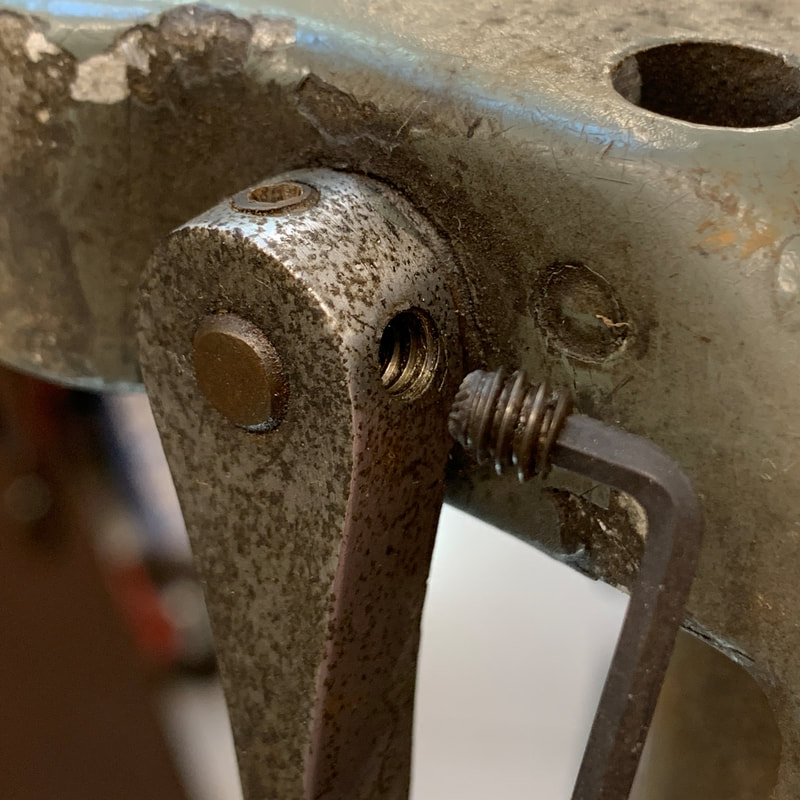 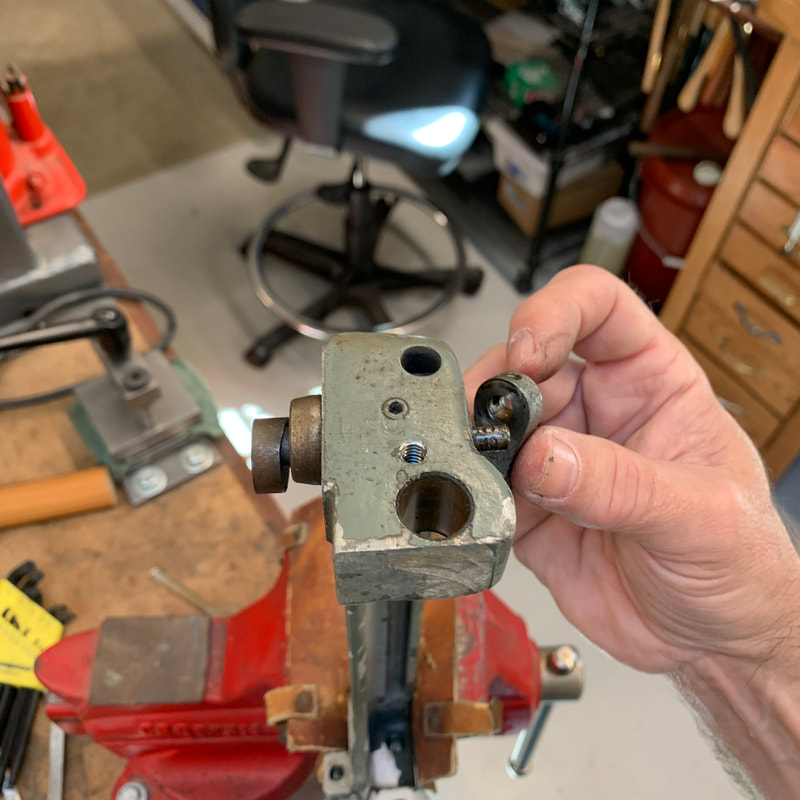      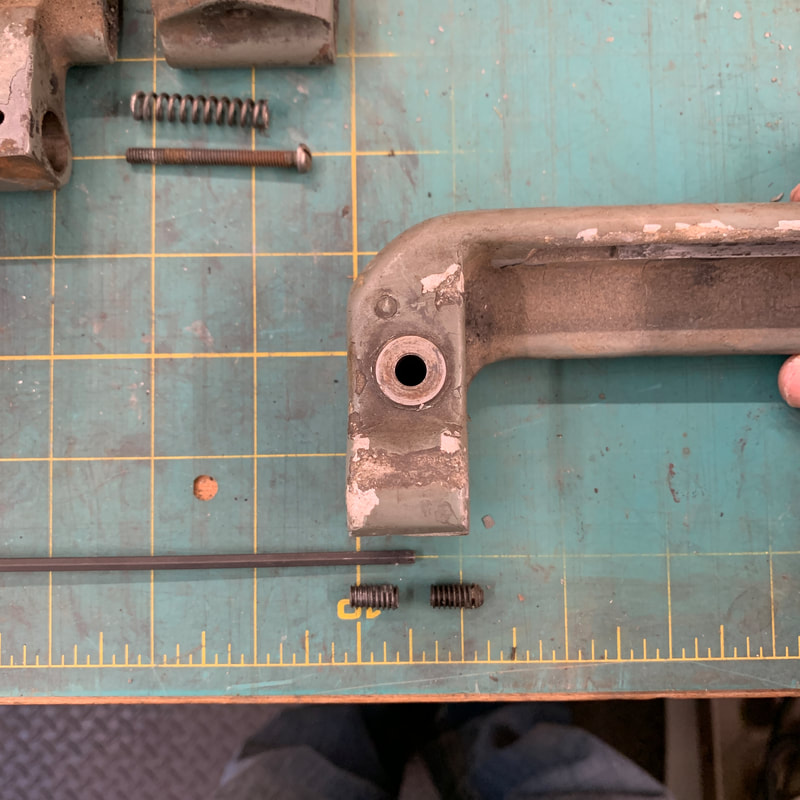 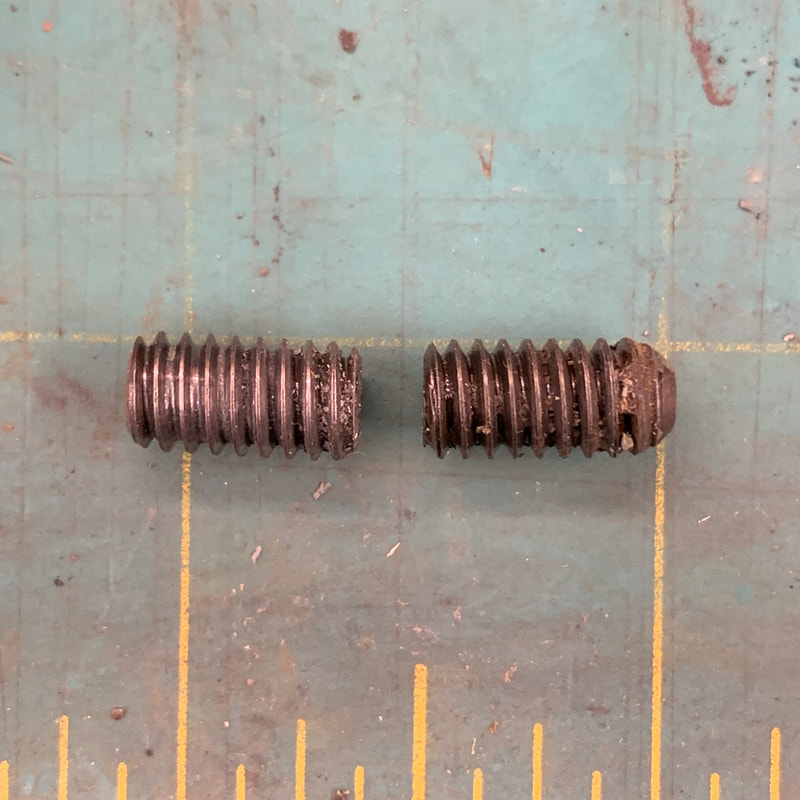 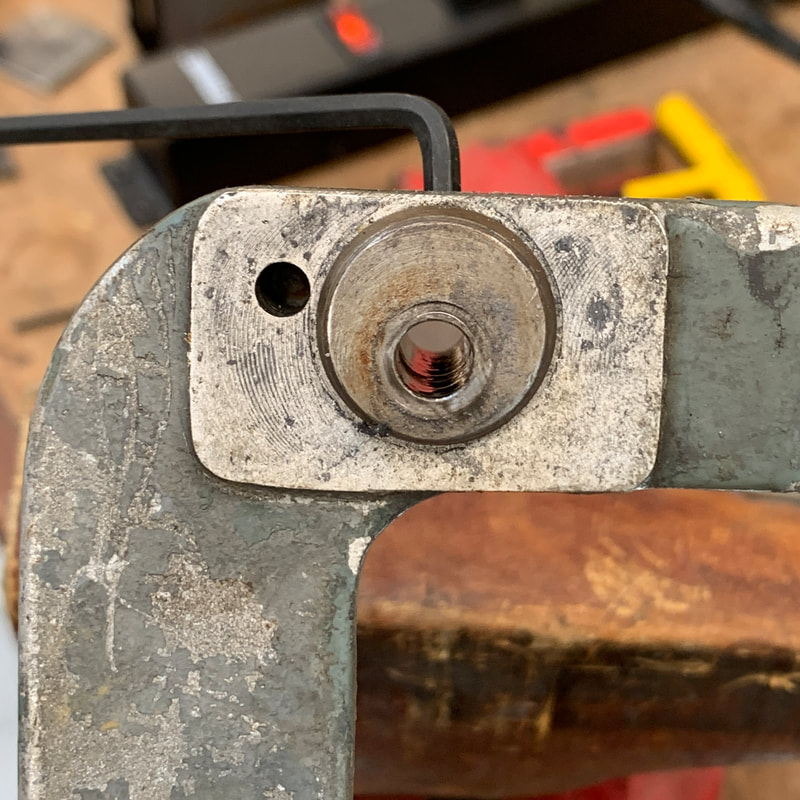 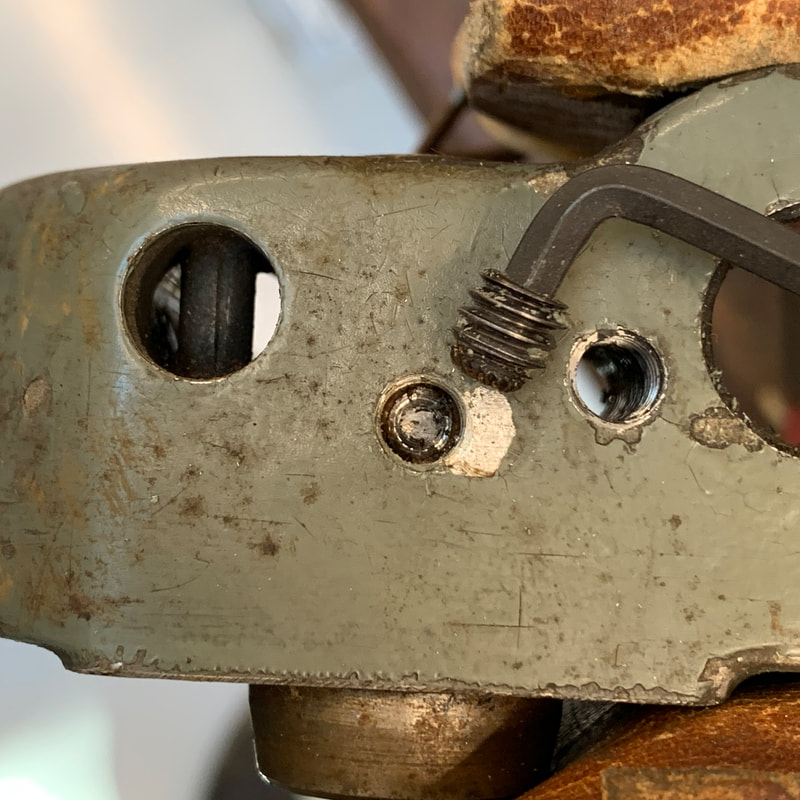           |
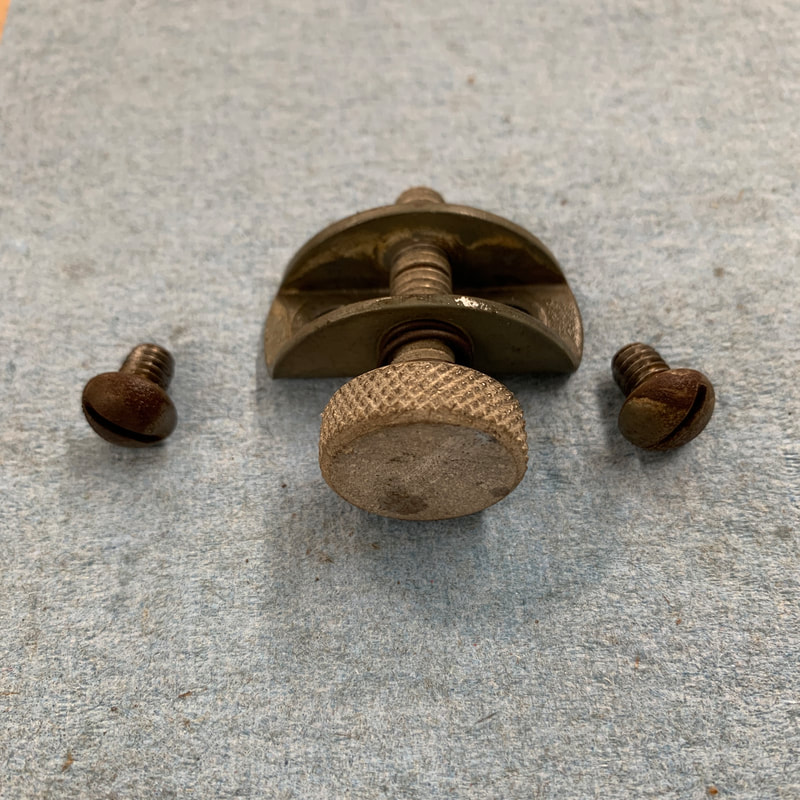
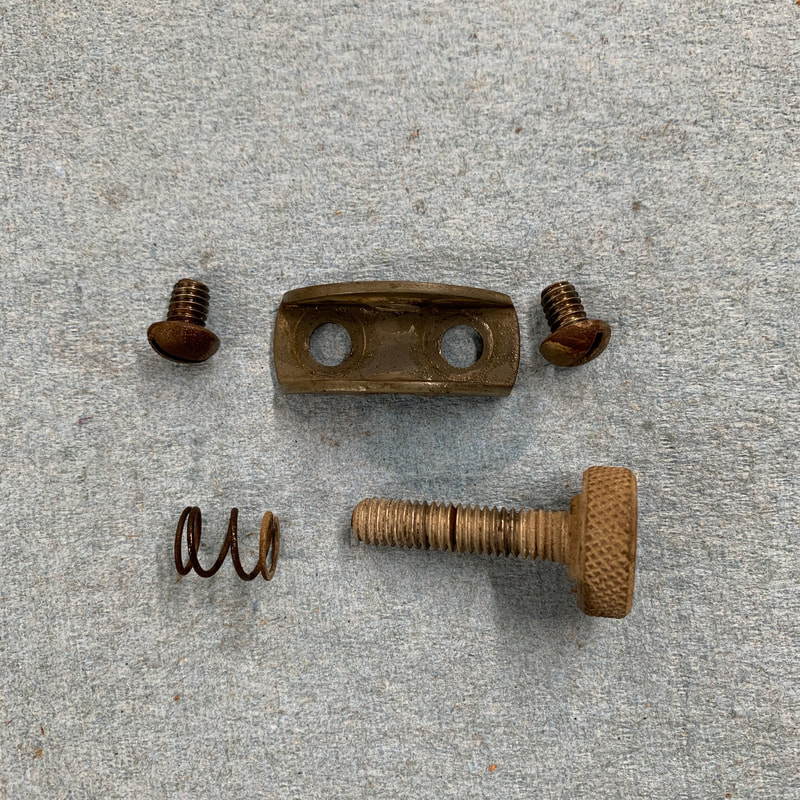
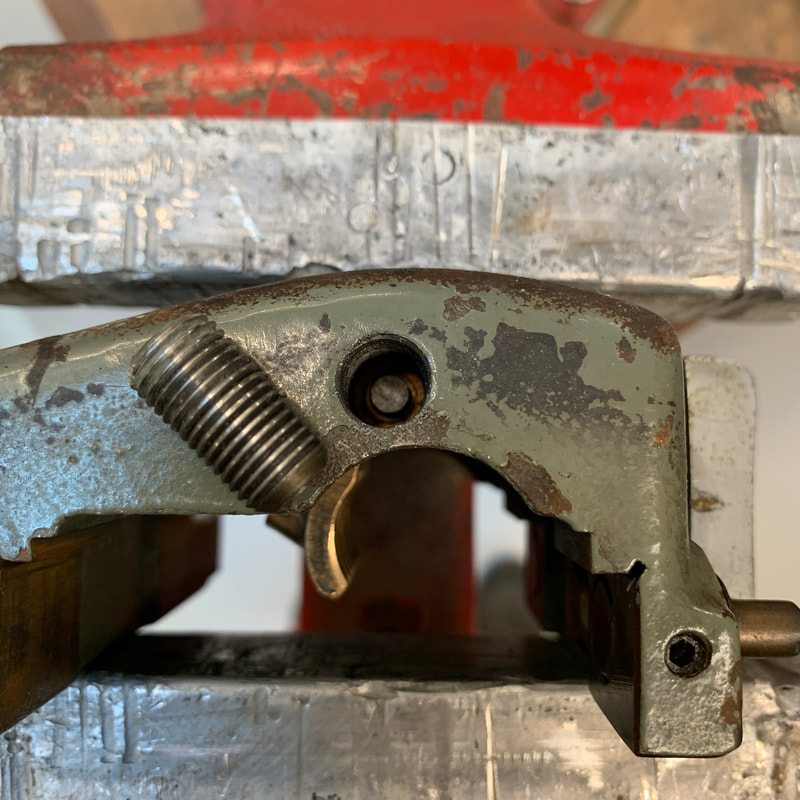
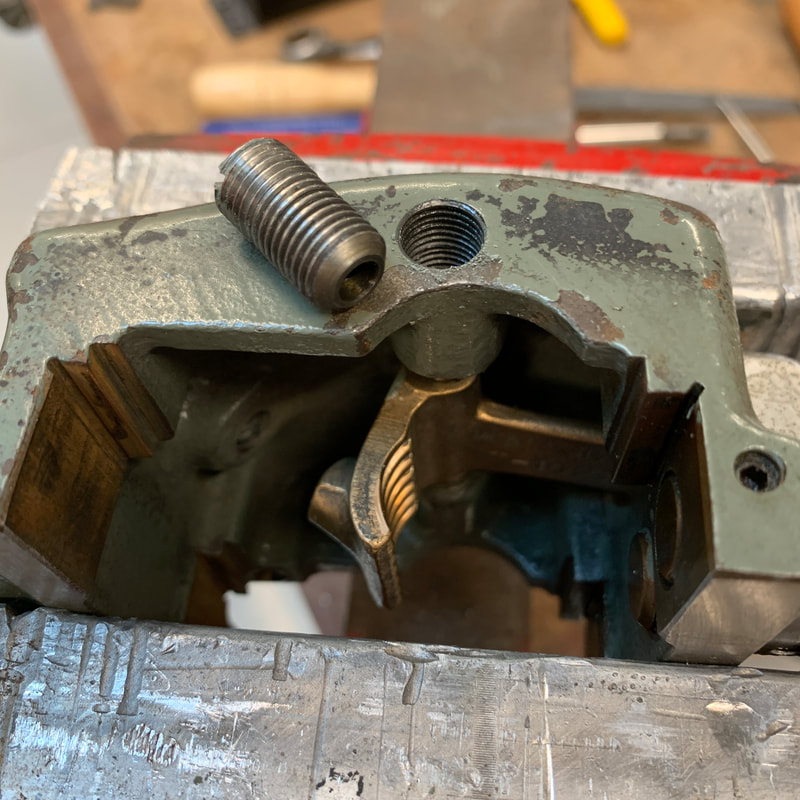
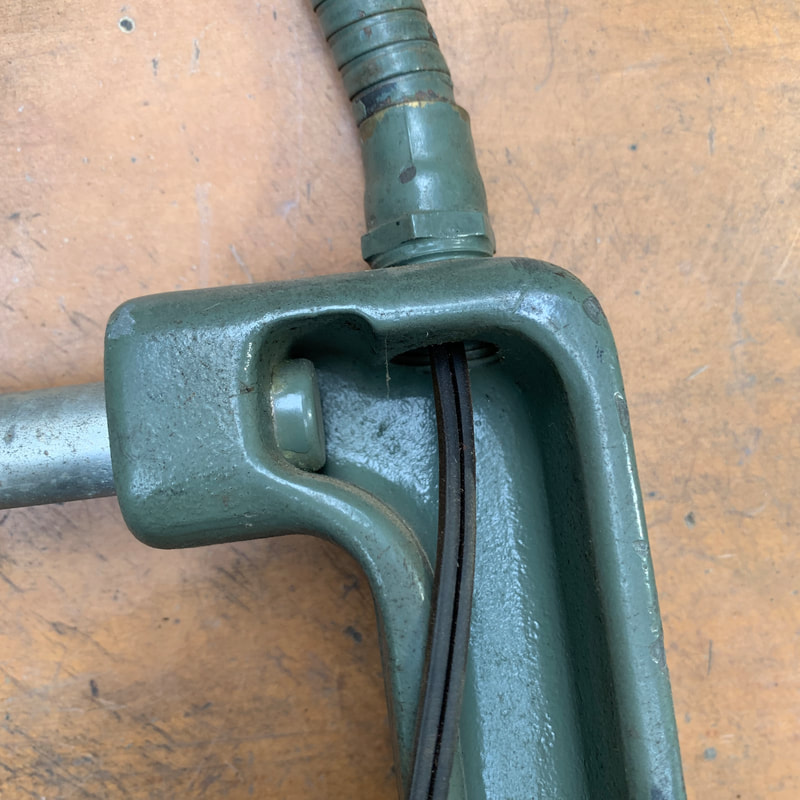
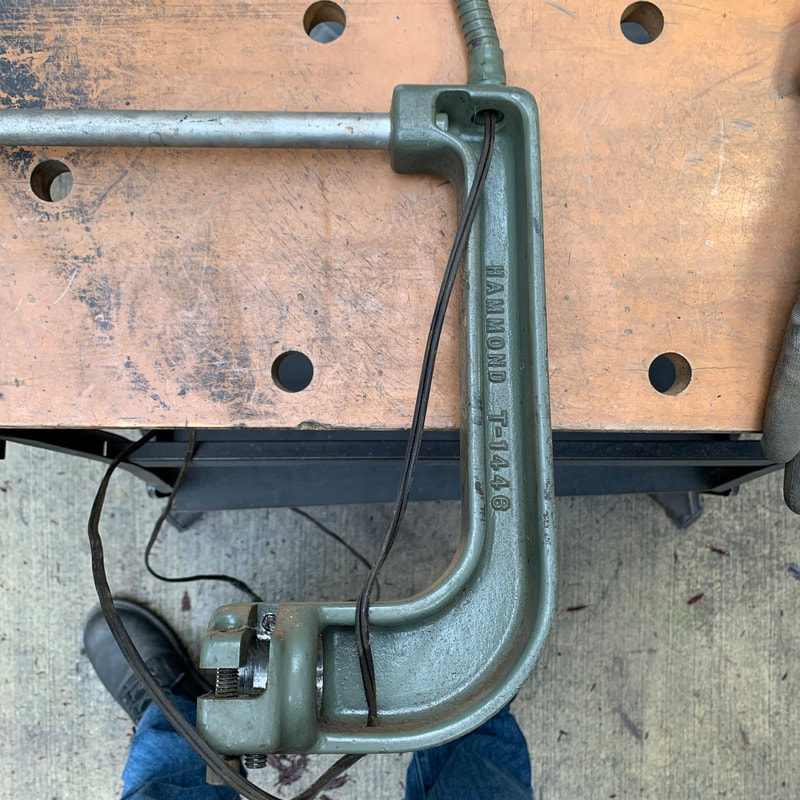
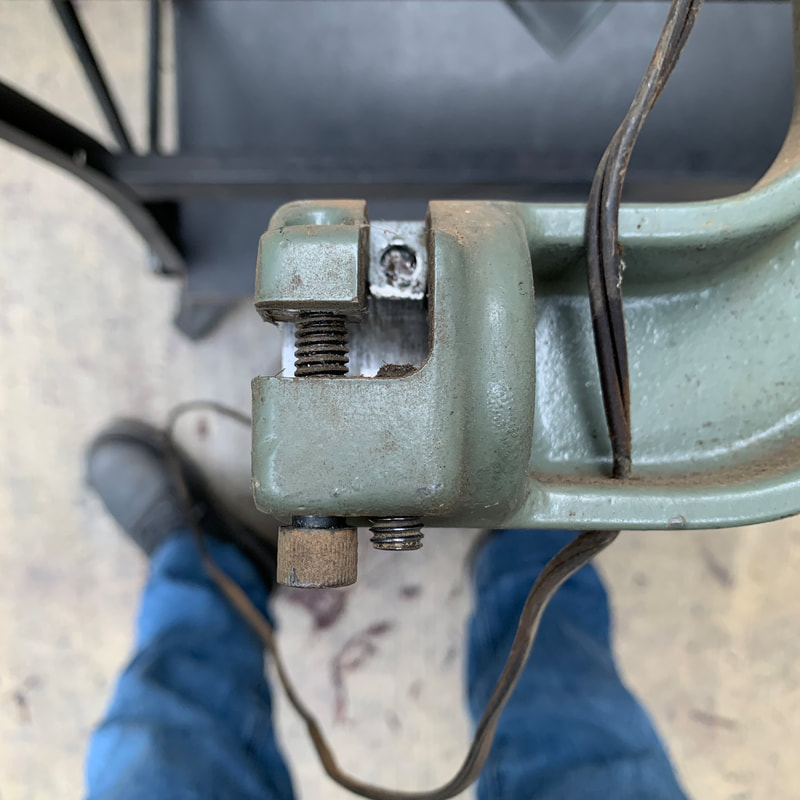
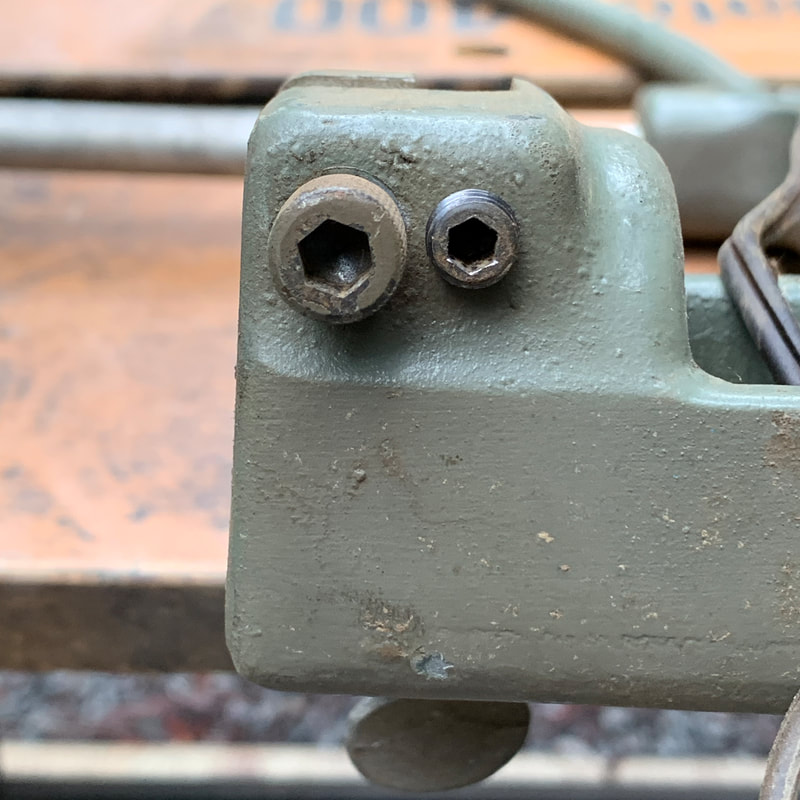
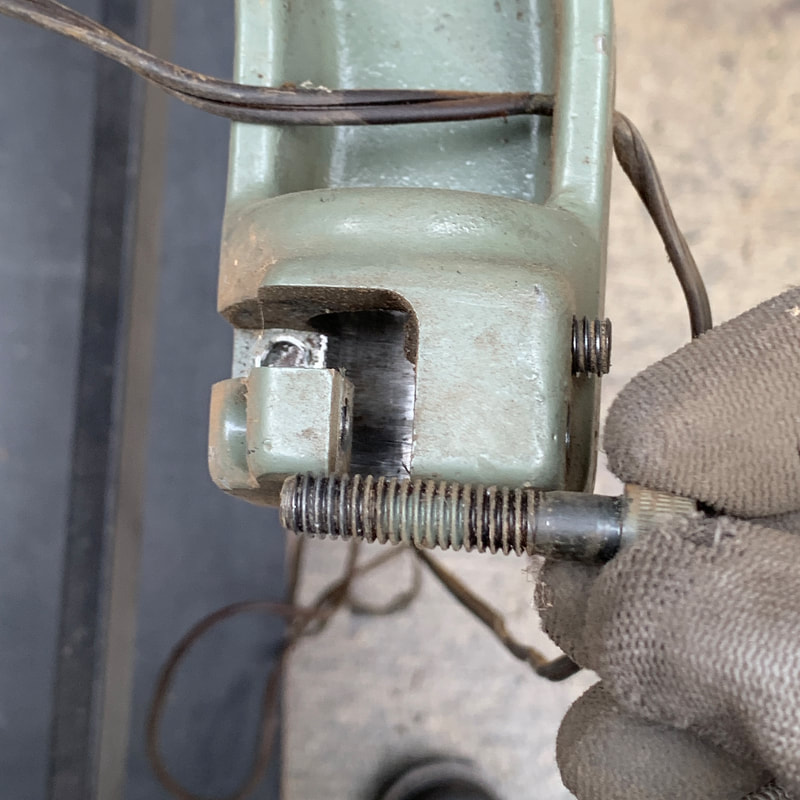
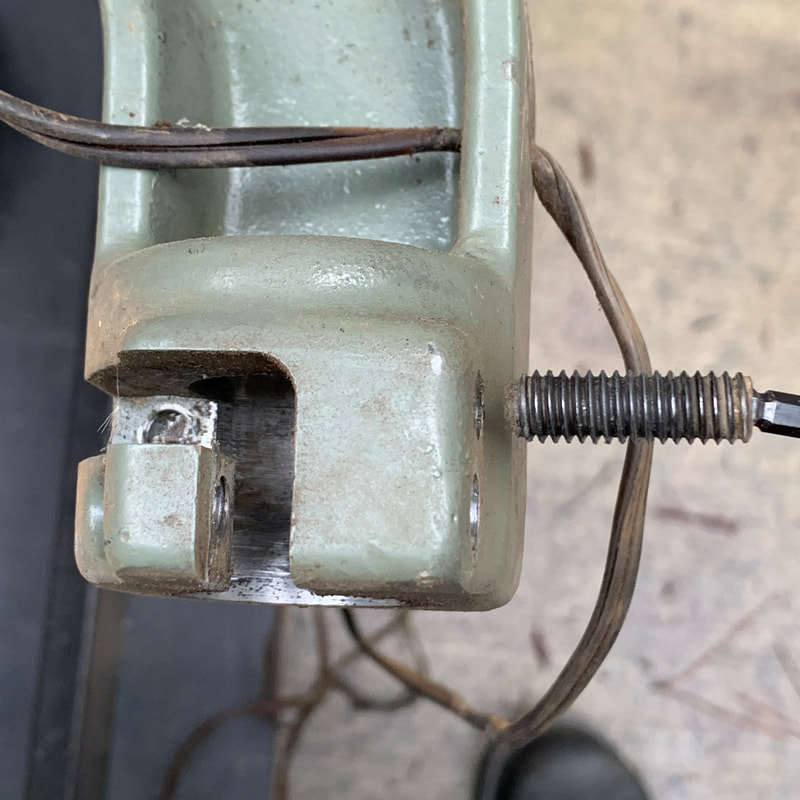
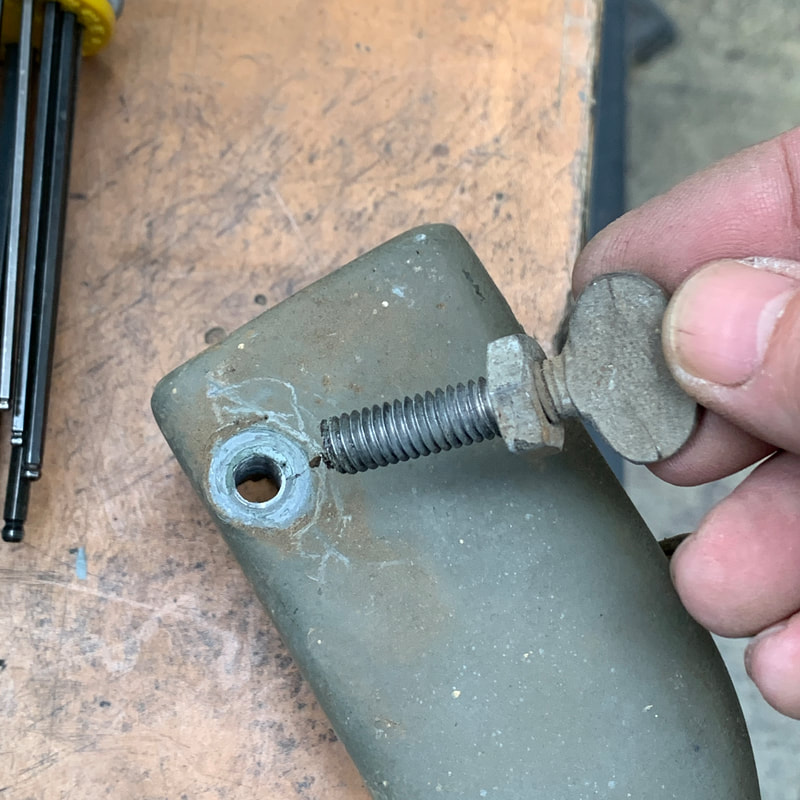
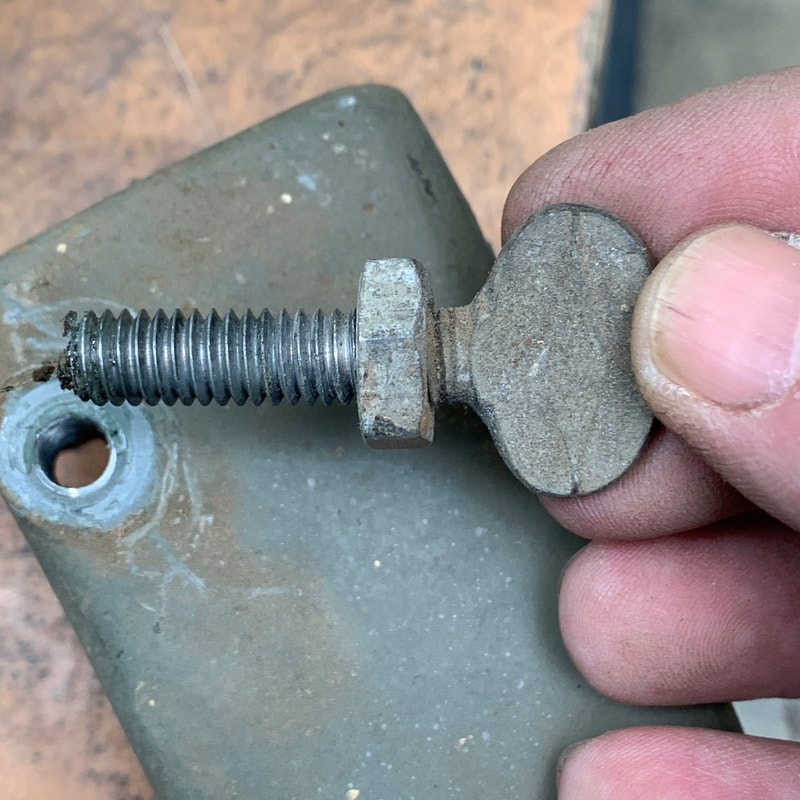
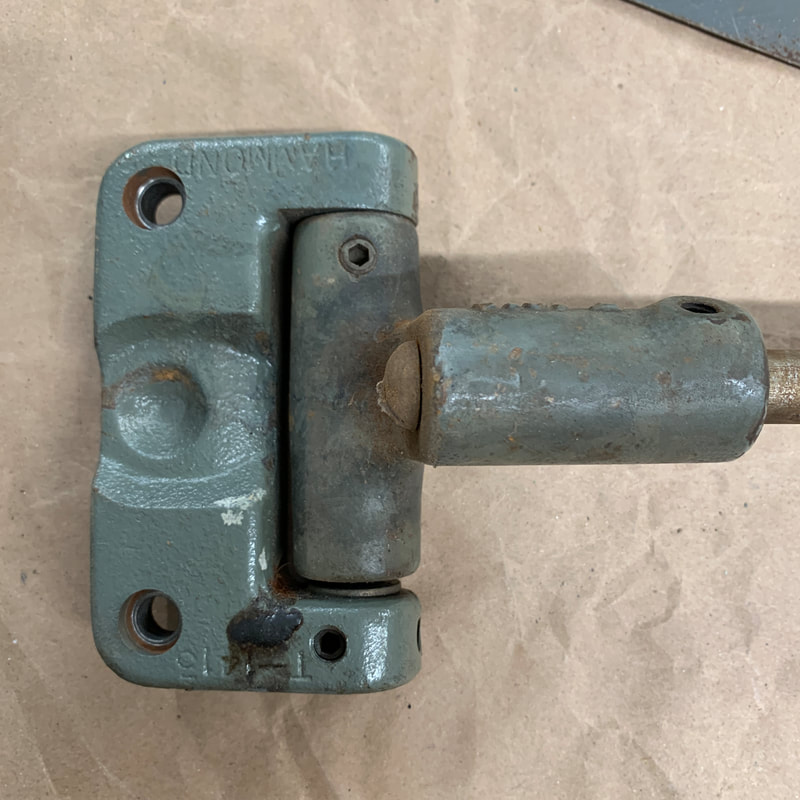
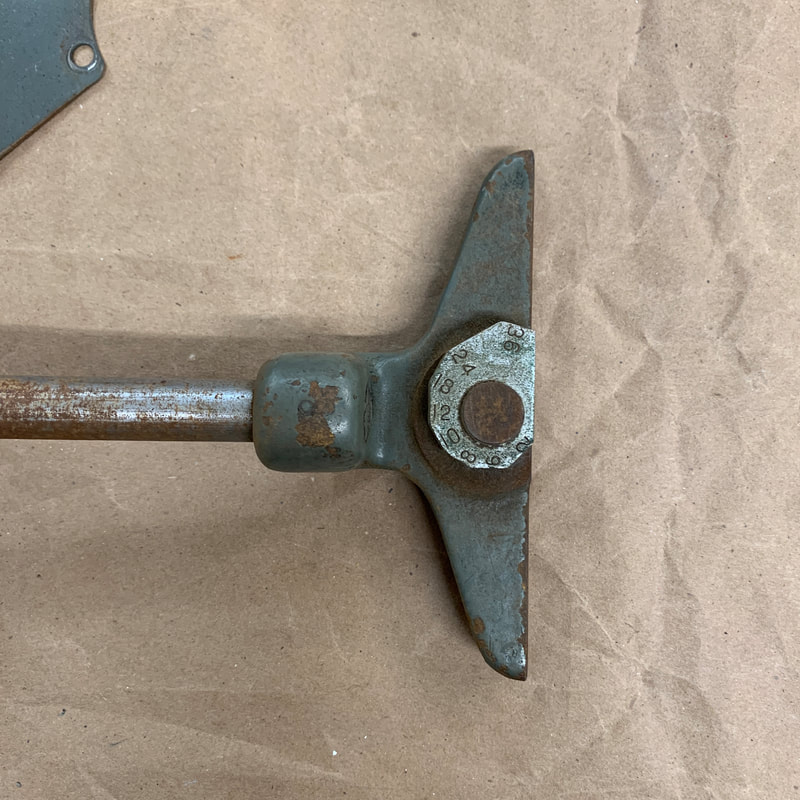
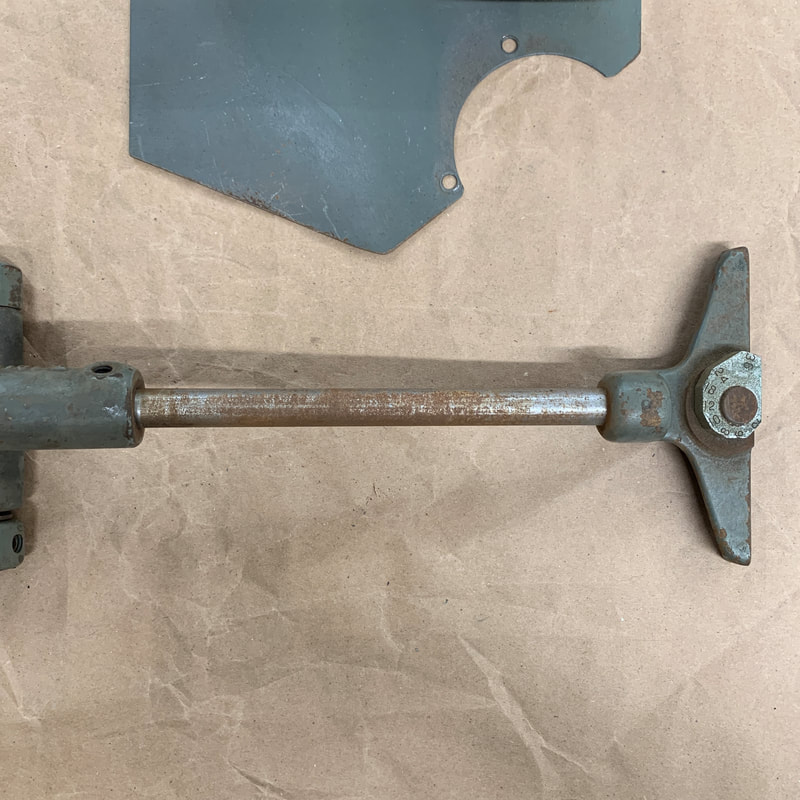
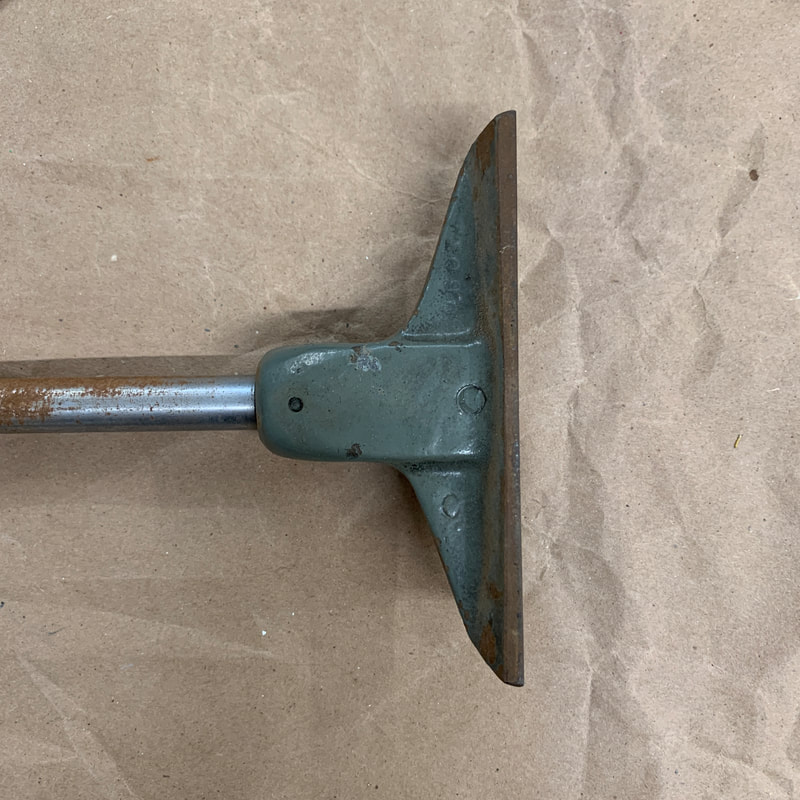
Clamp disassembly
|
       |
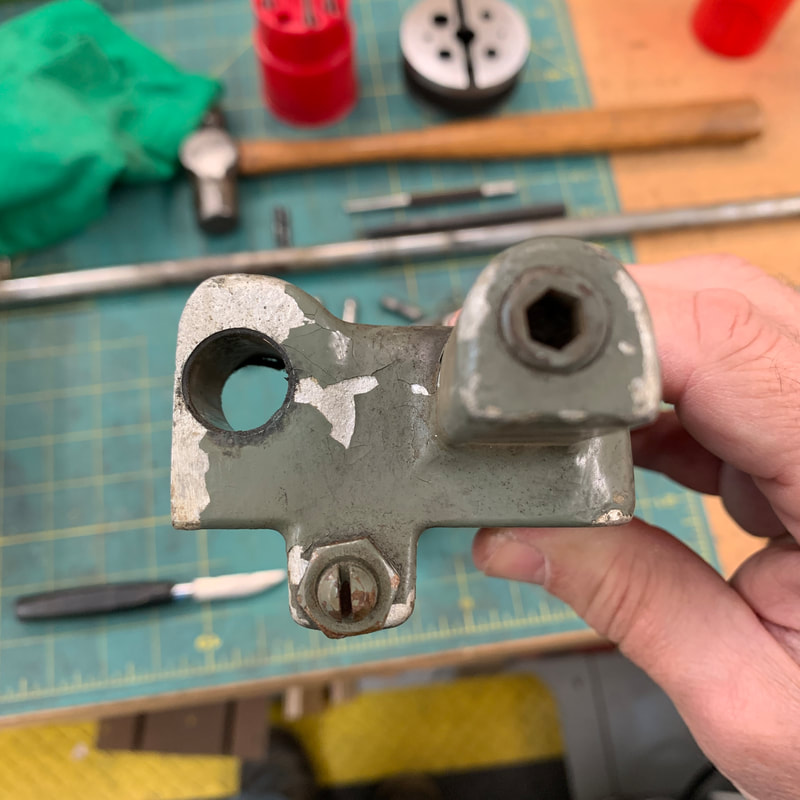
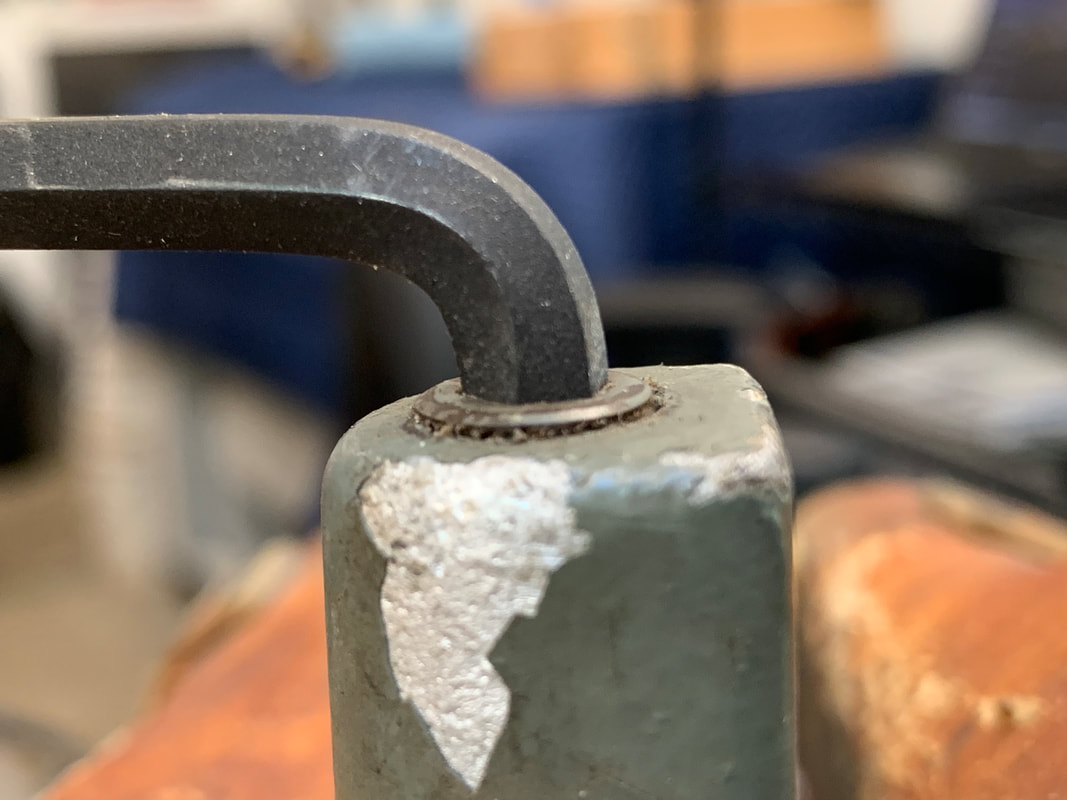
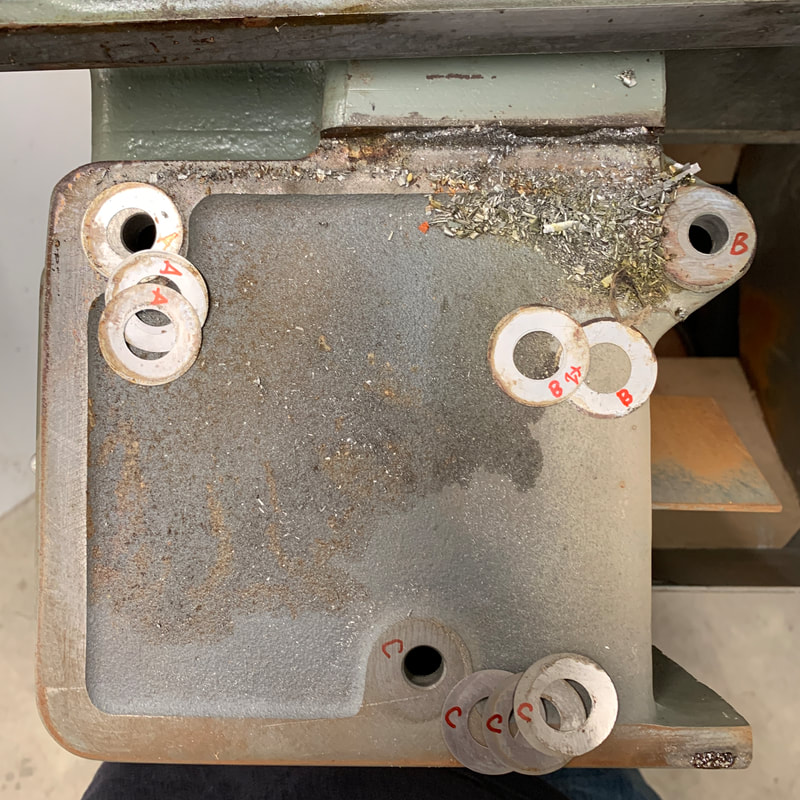
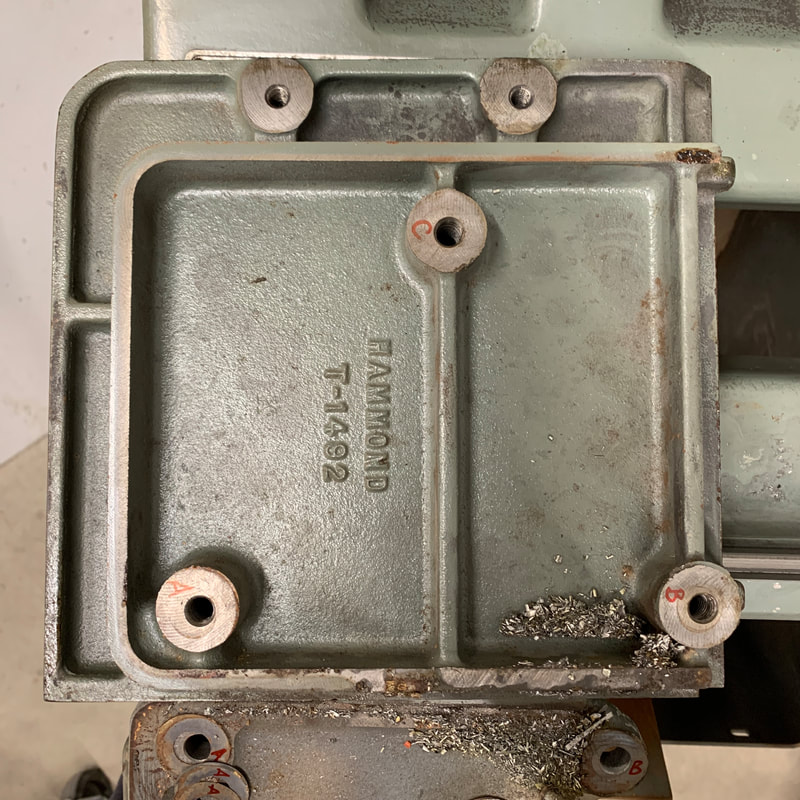
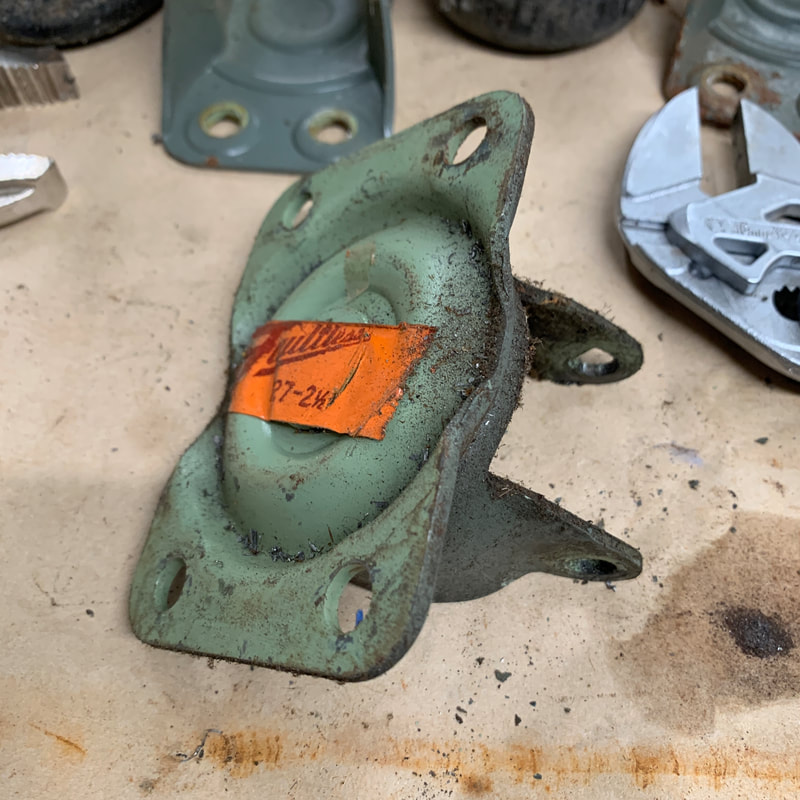
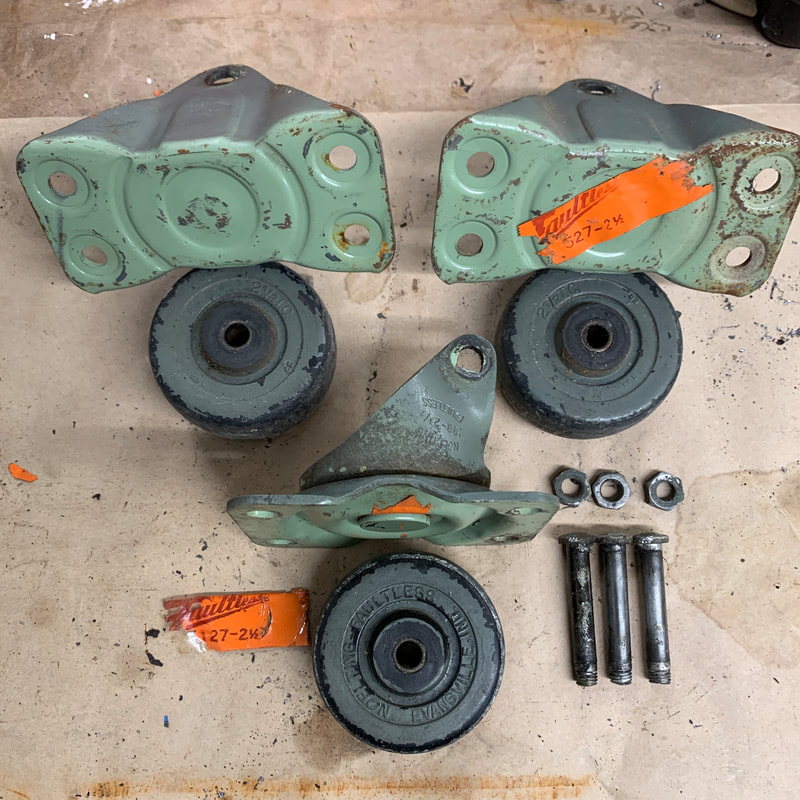
Motor mount removal
|
                                                                    |
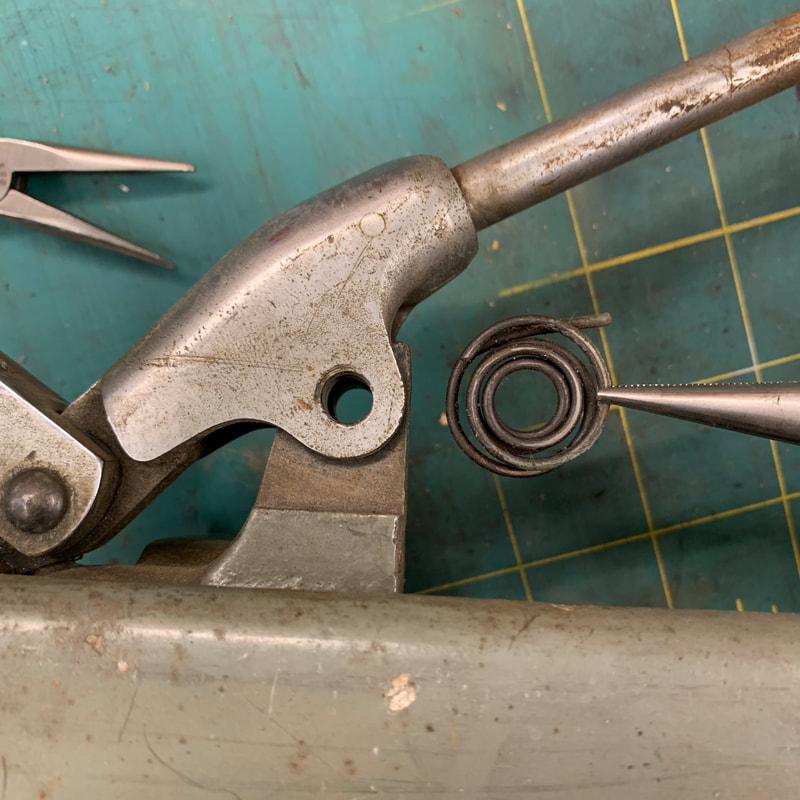
Finger disassembly
|
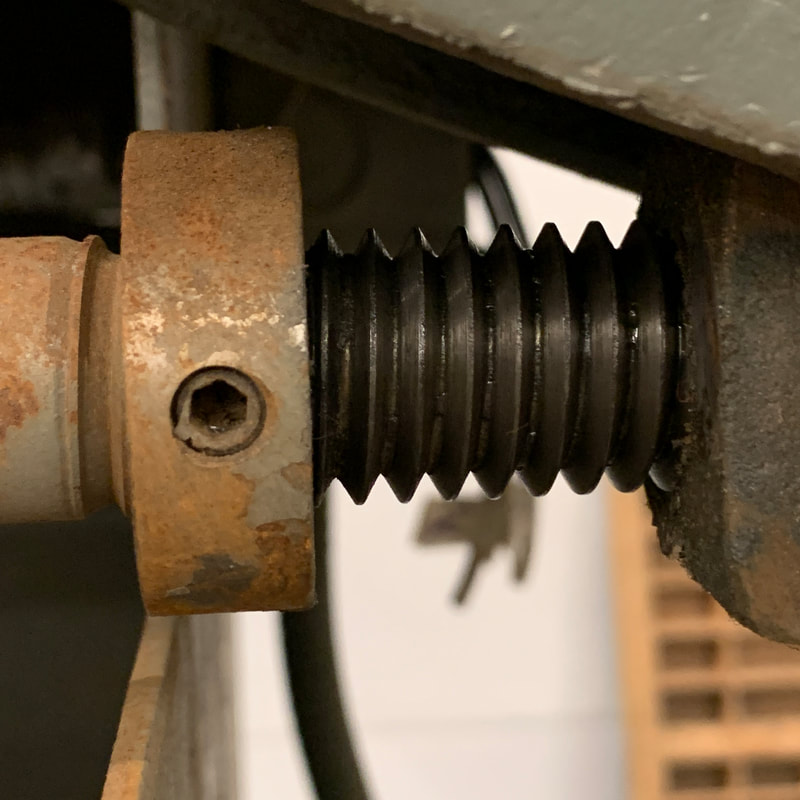 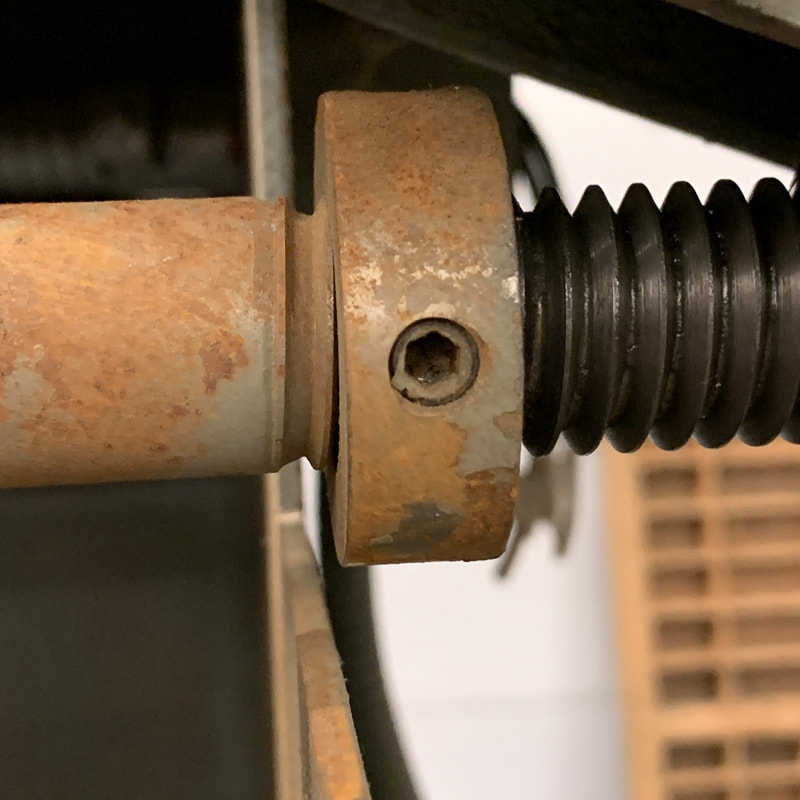             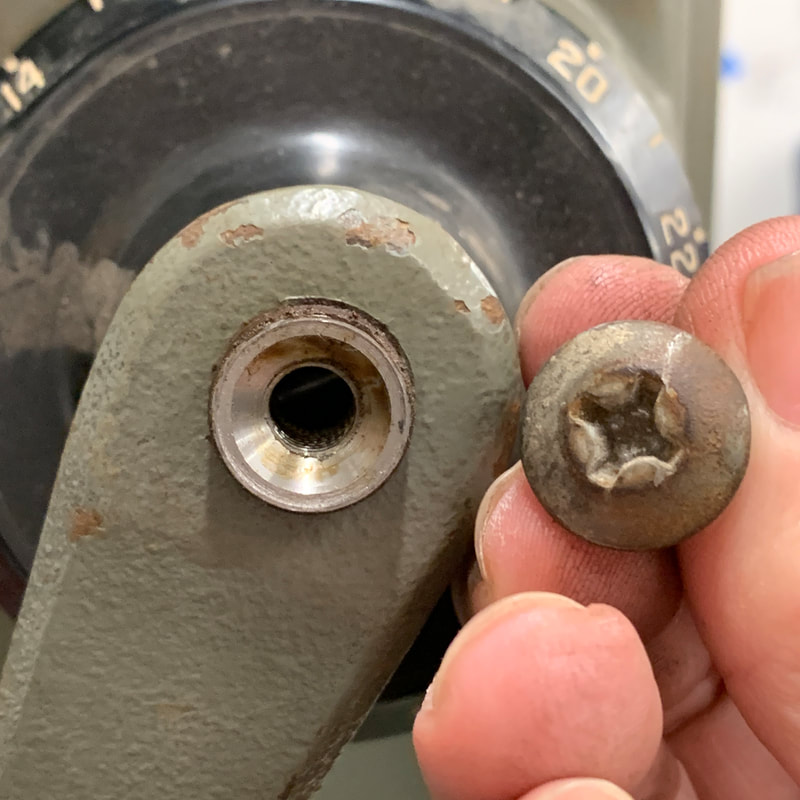 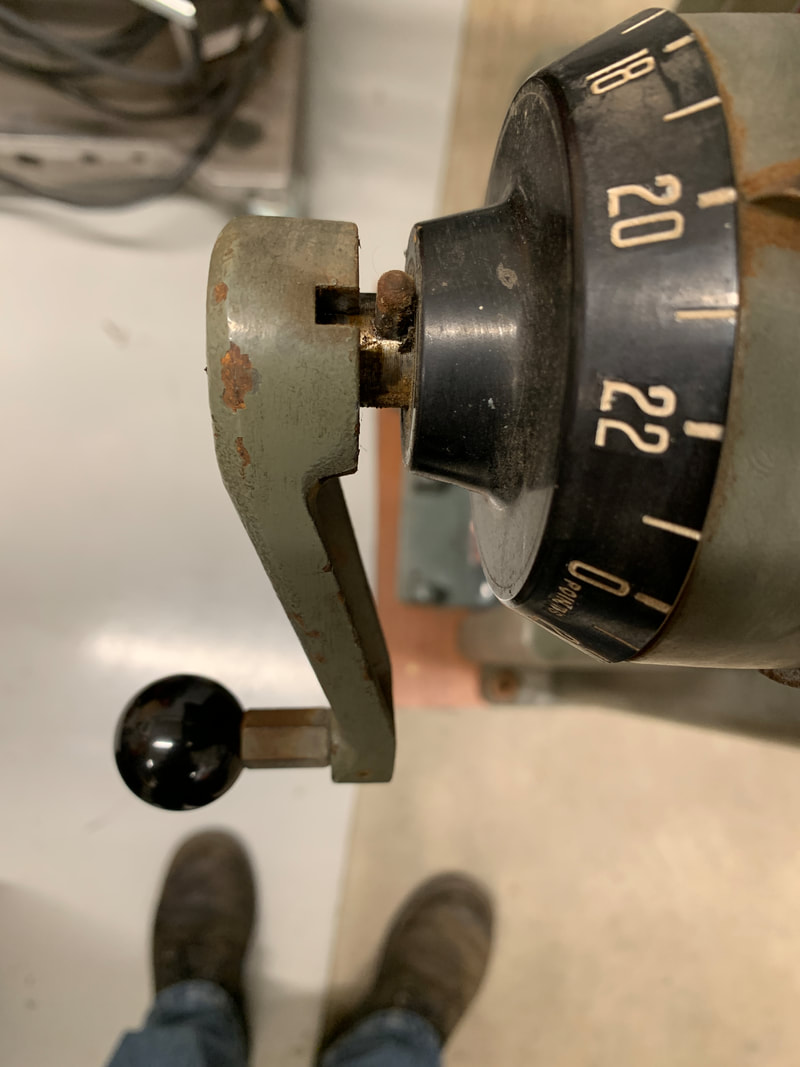 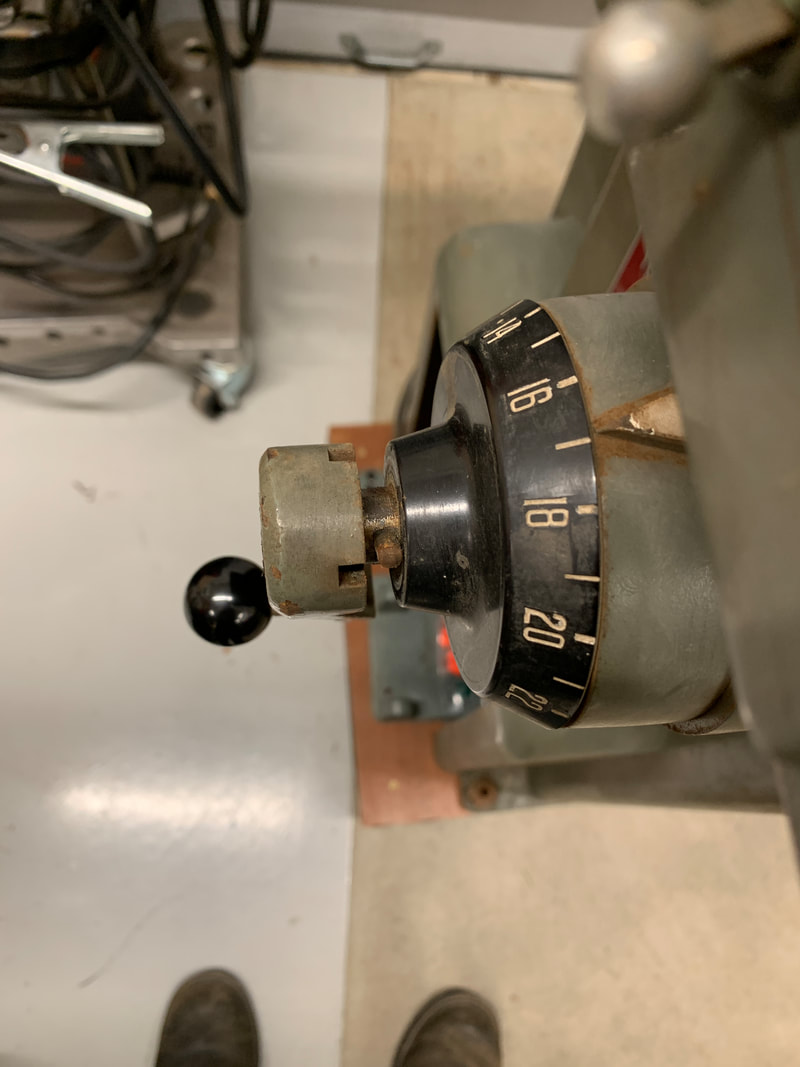 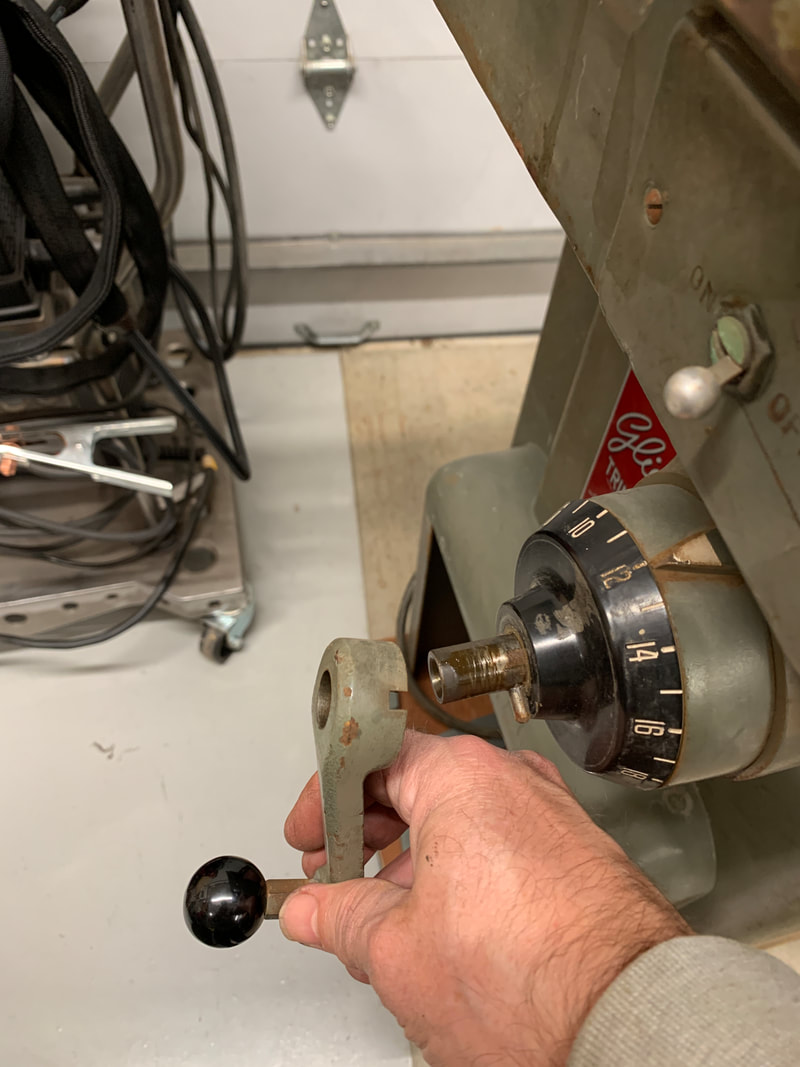                                      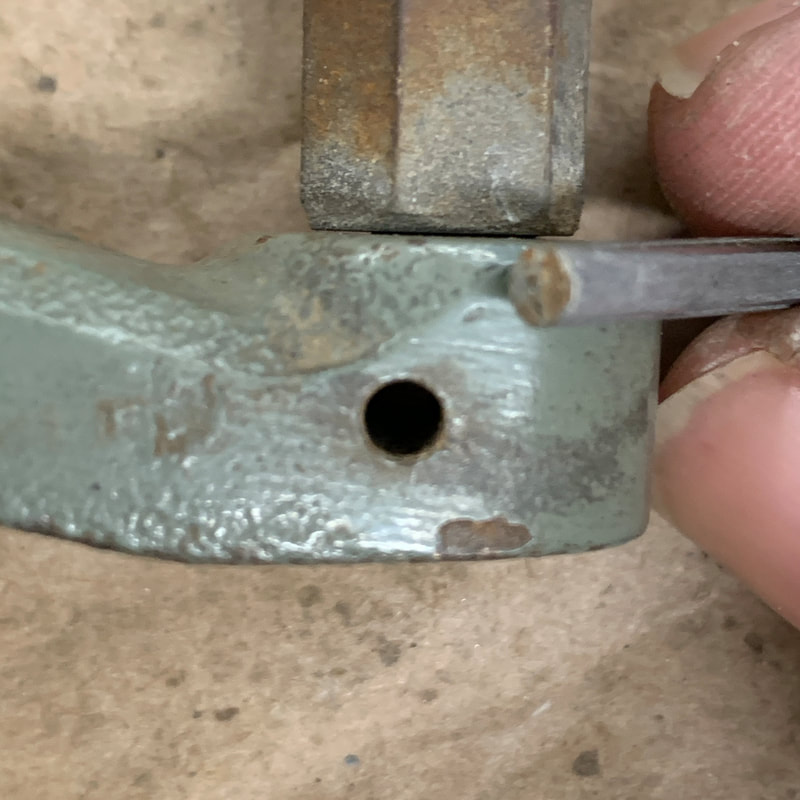 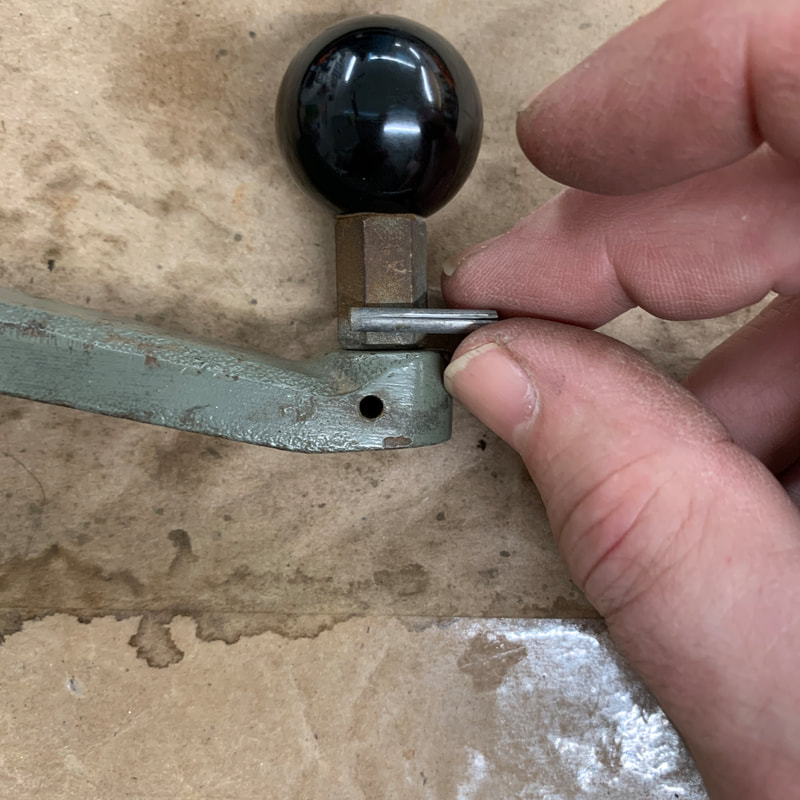 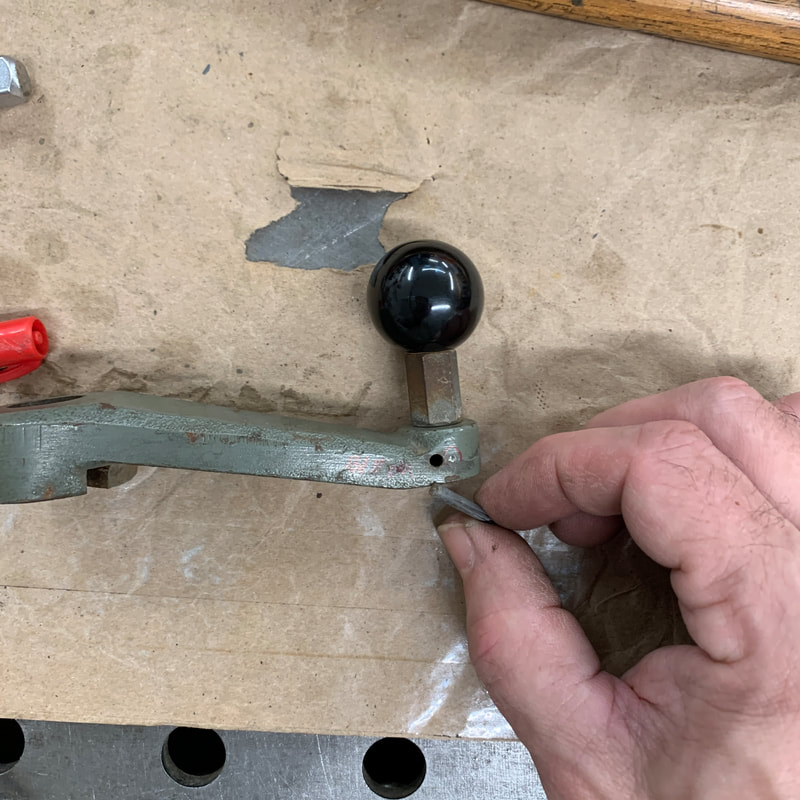 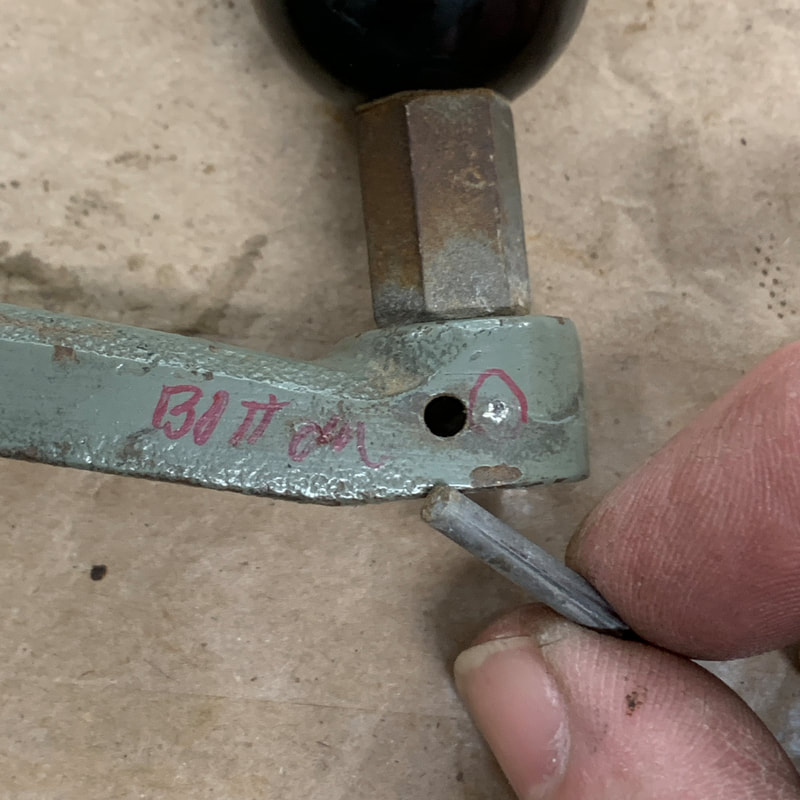 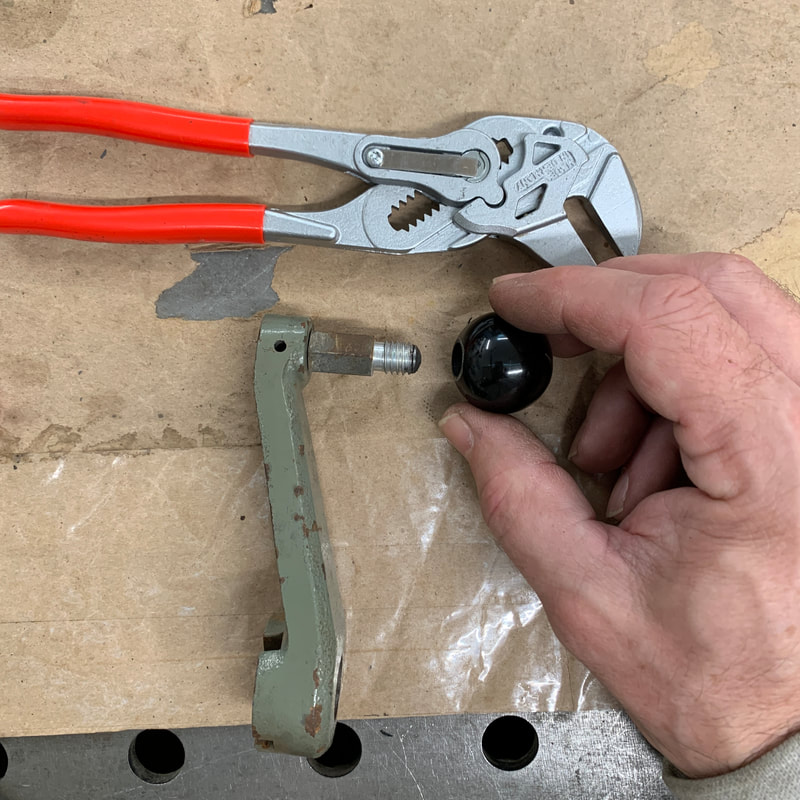  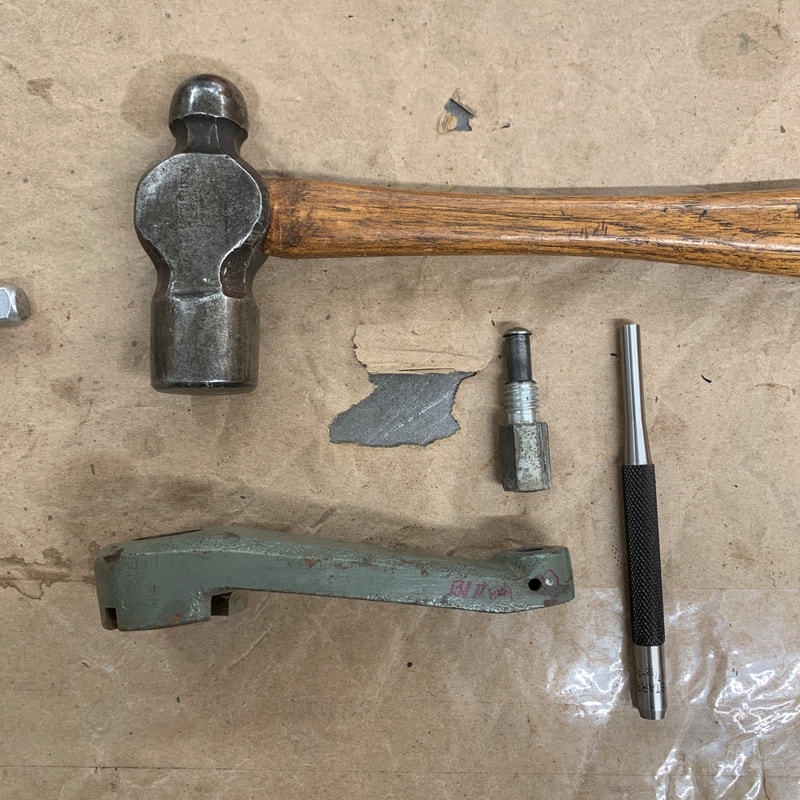 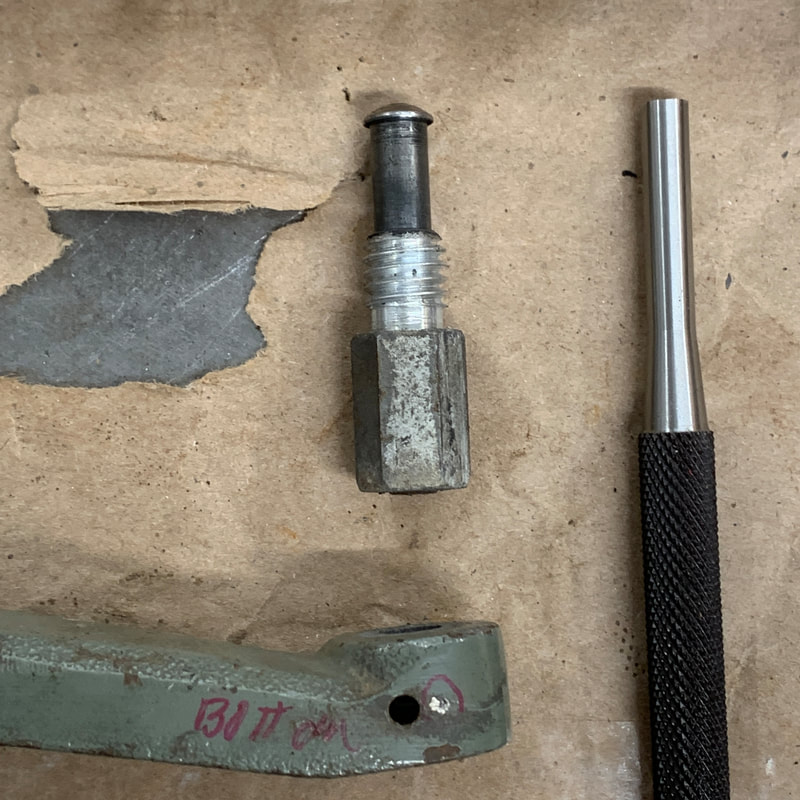 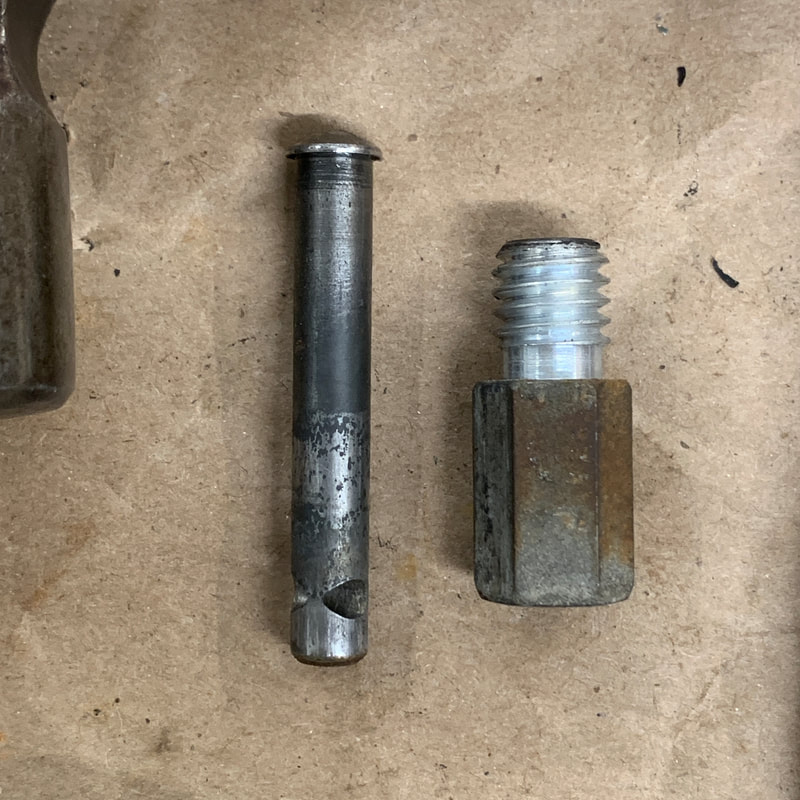  |
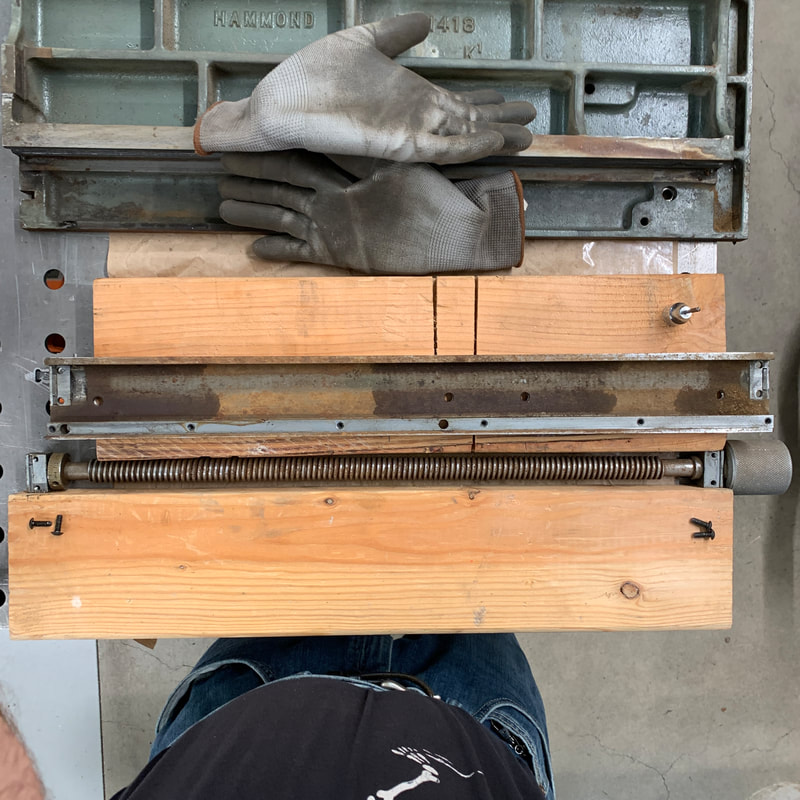
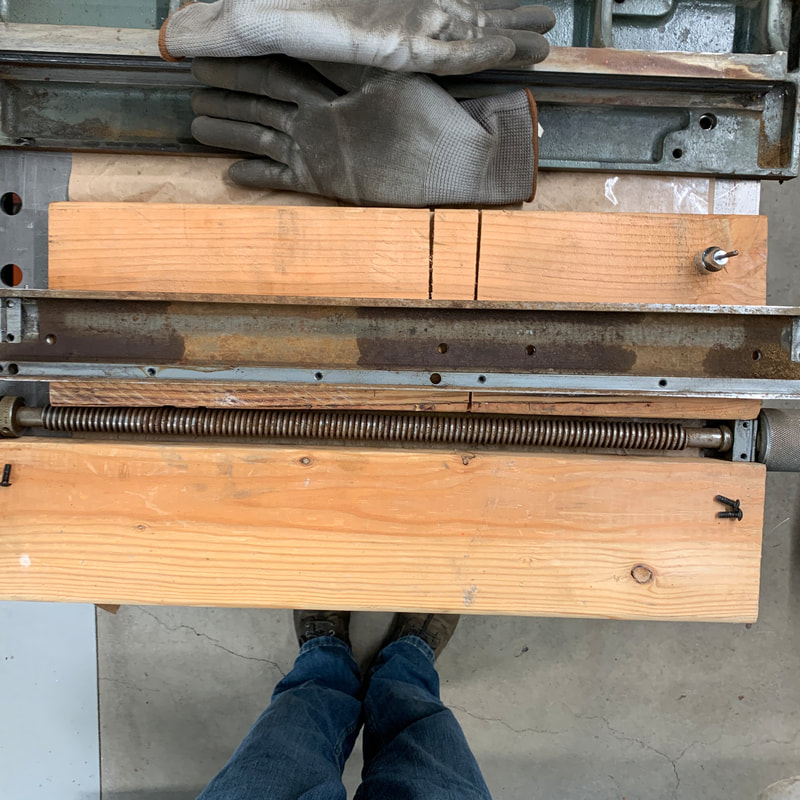
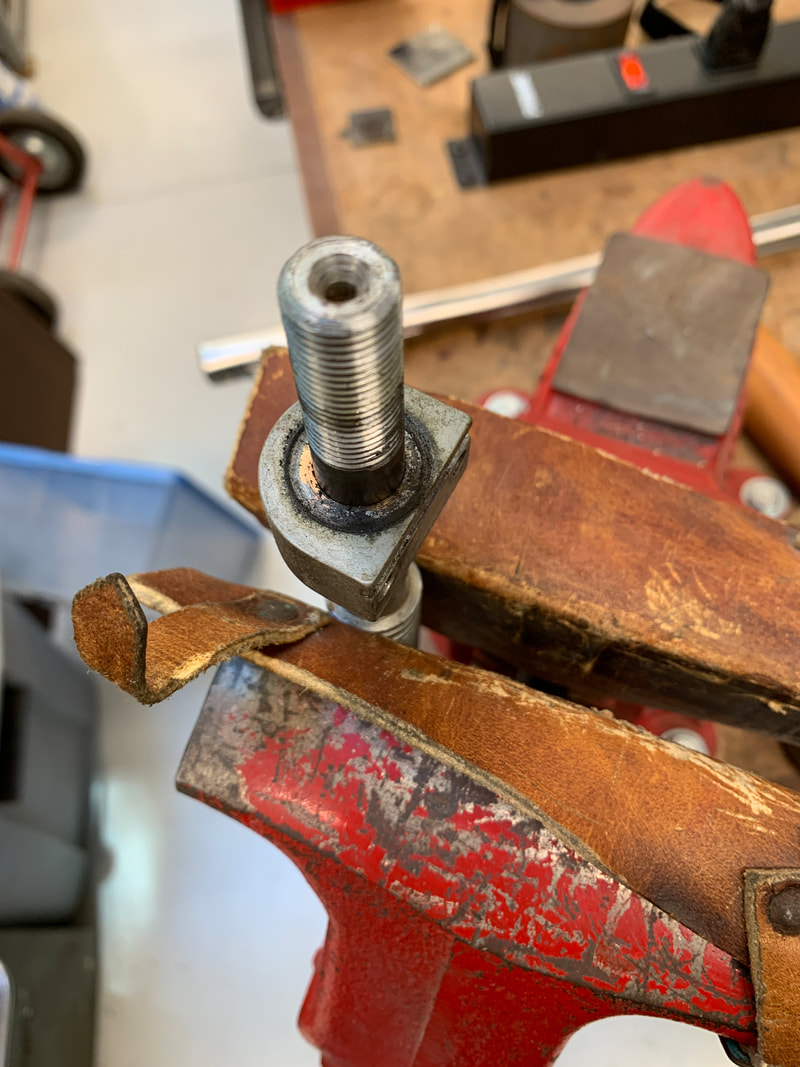
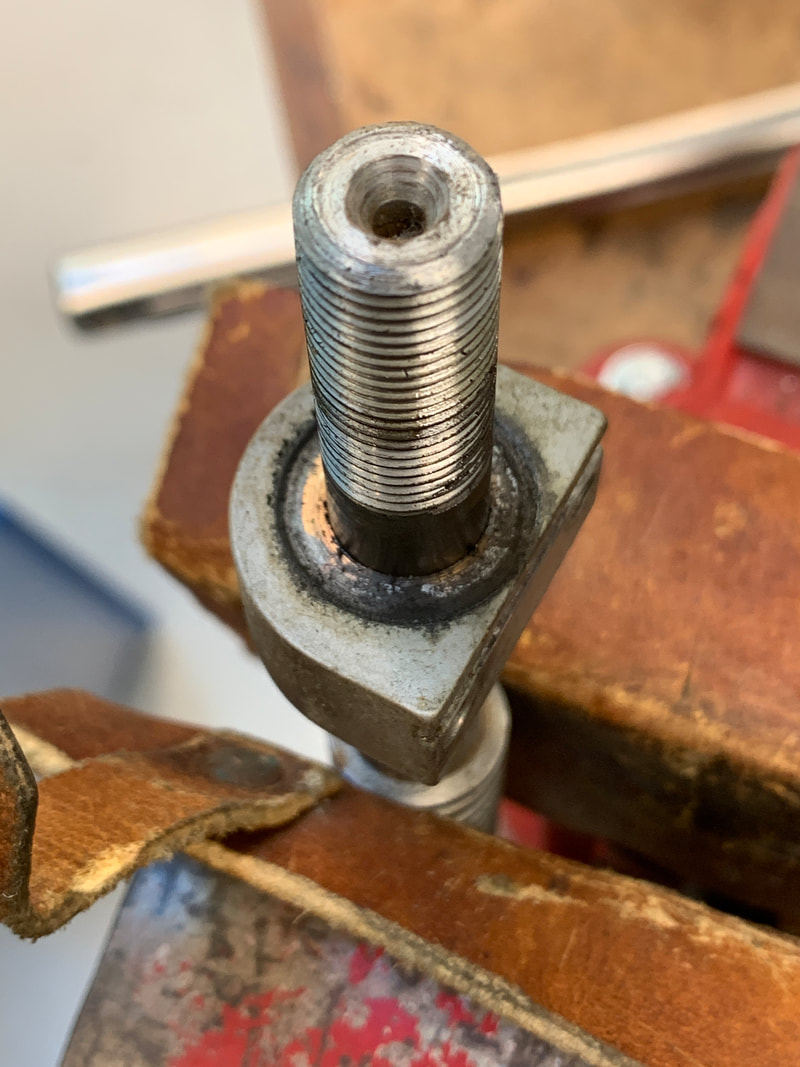
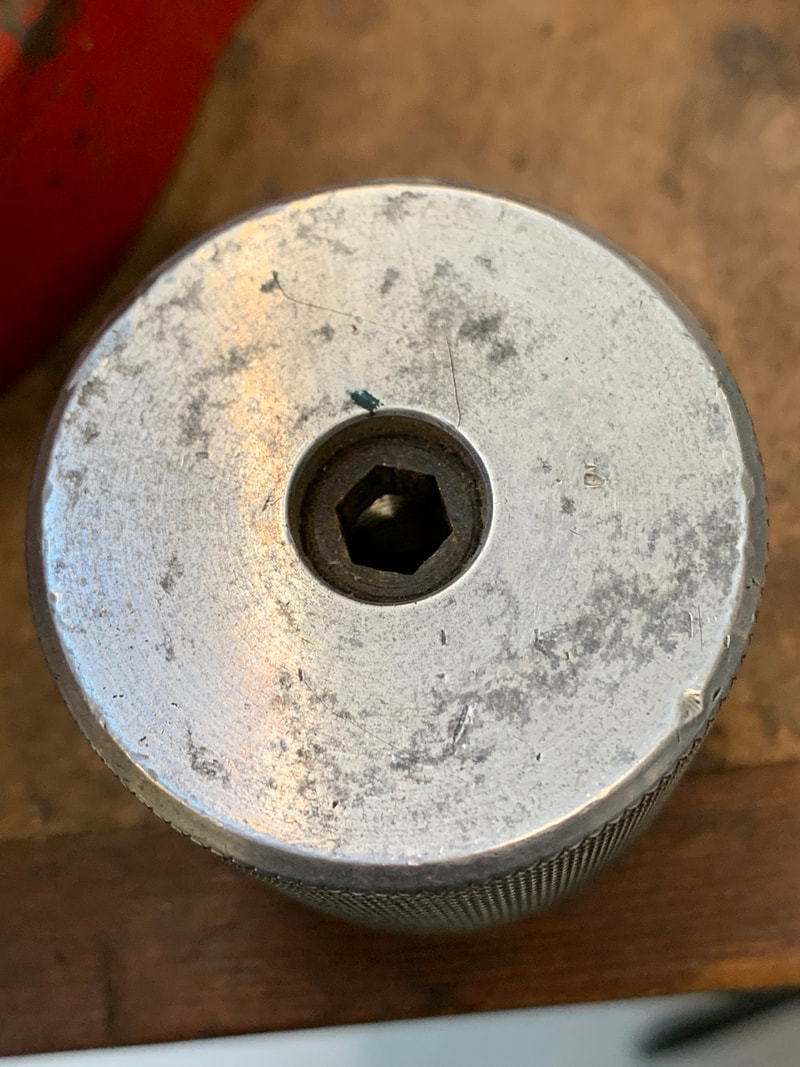
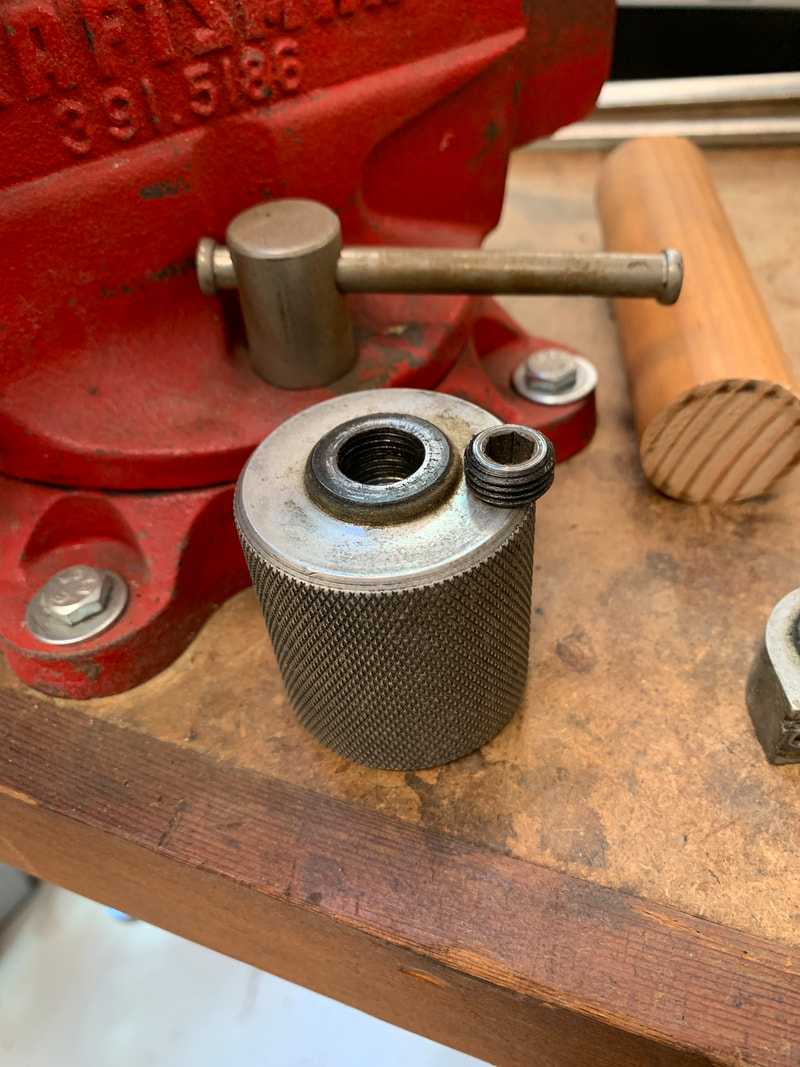
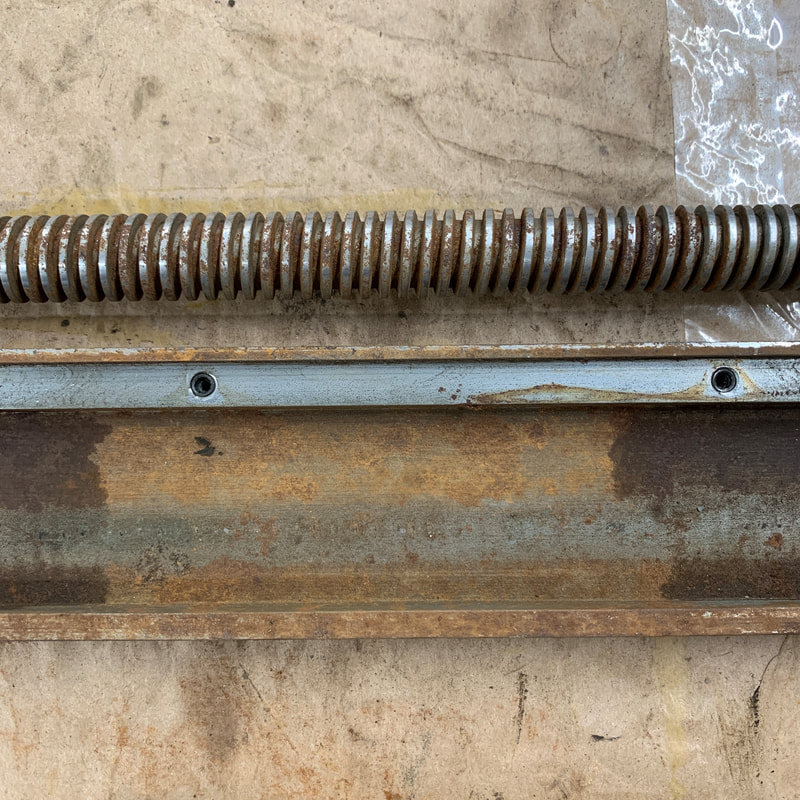
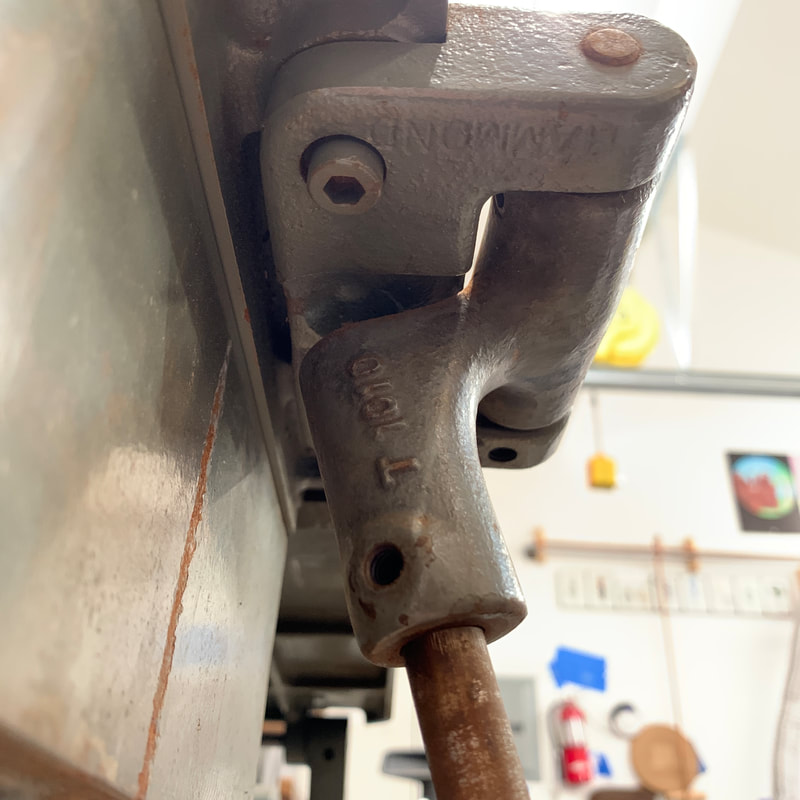
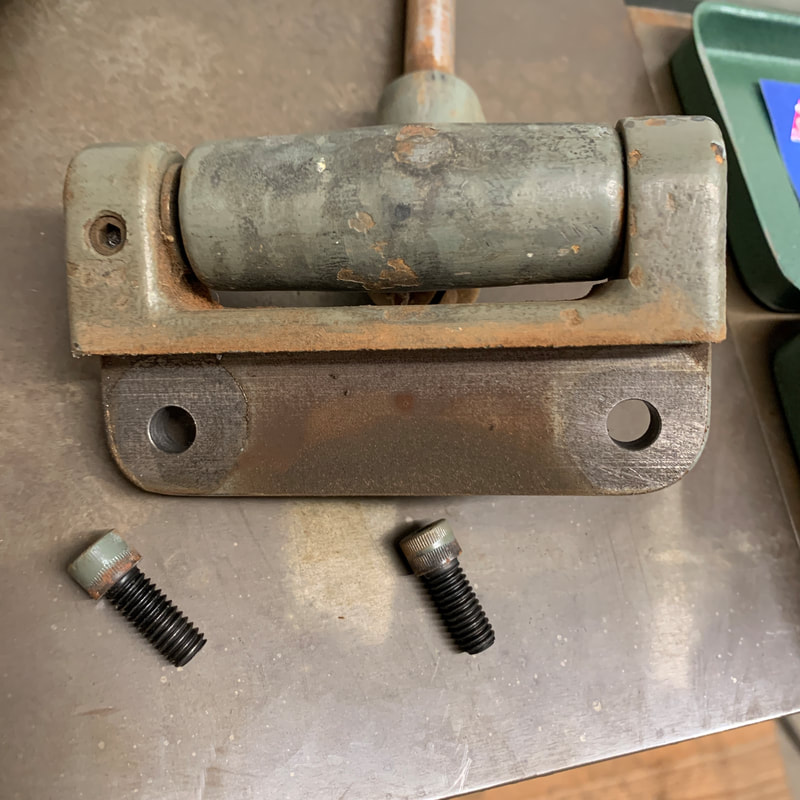
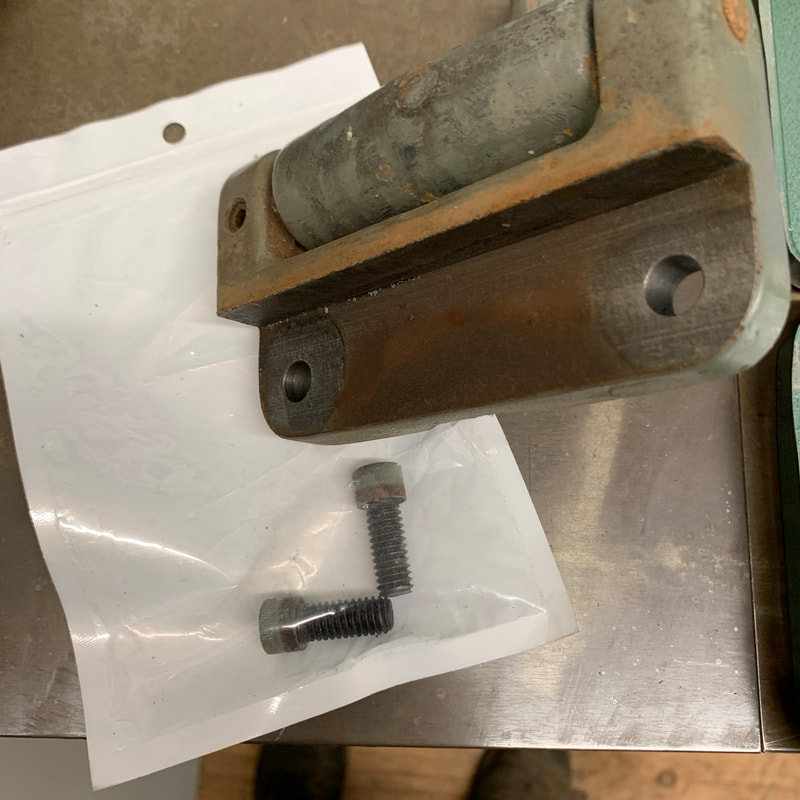
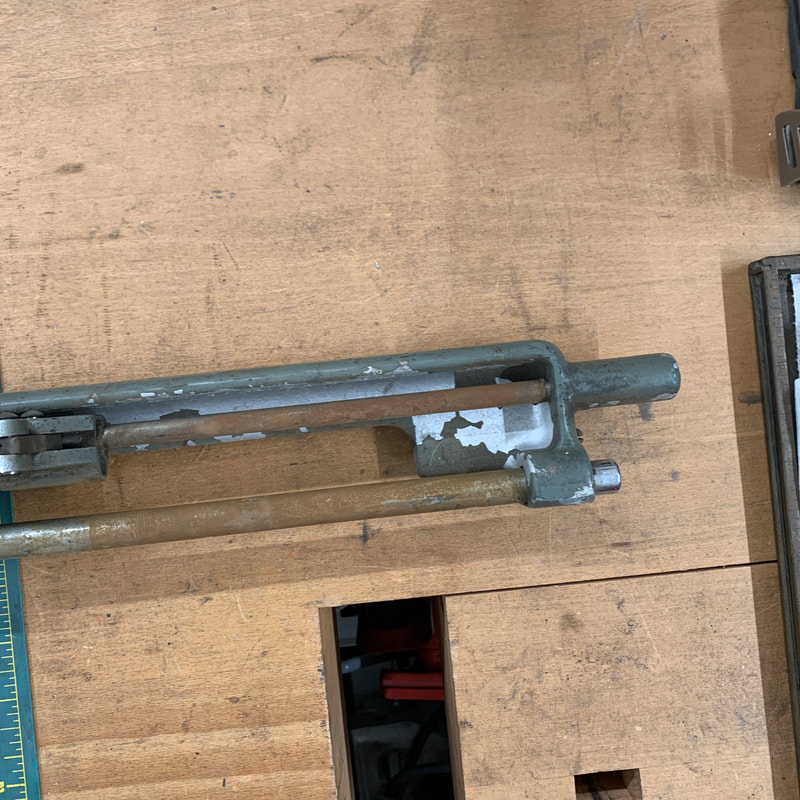
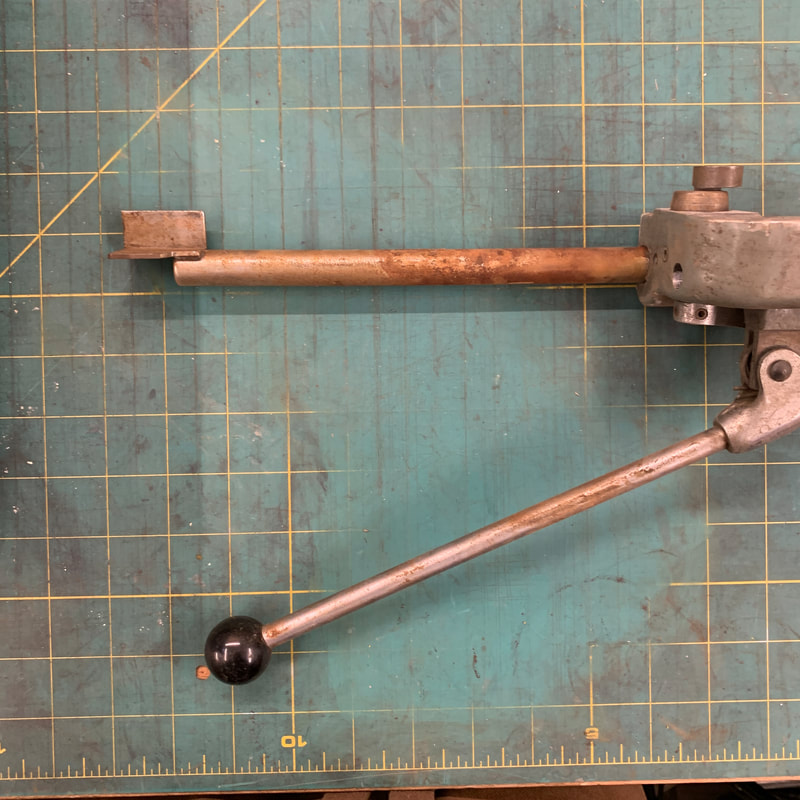
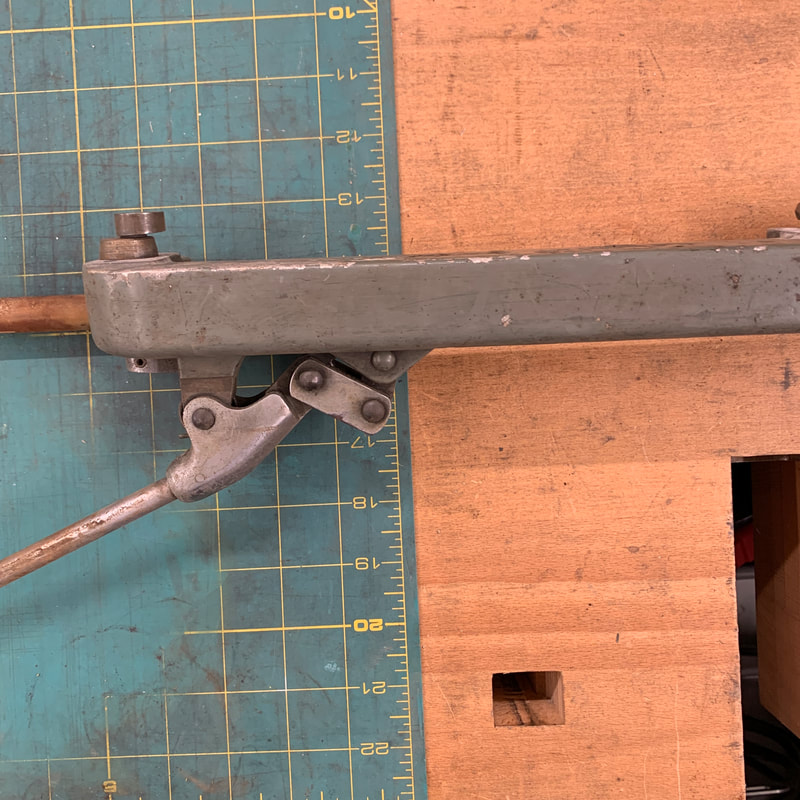
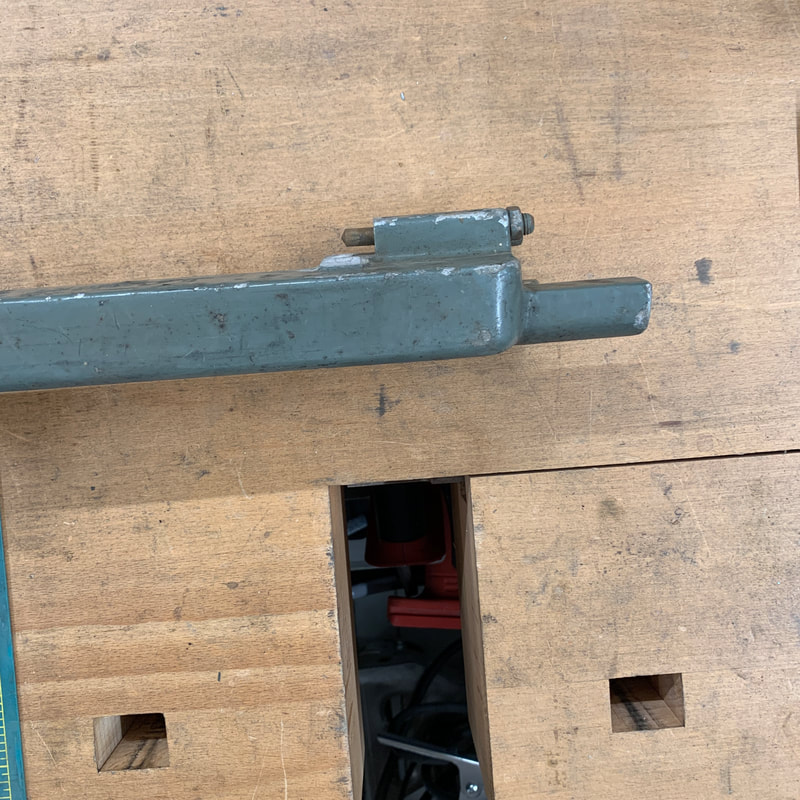
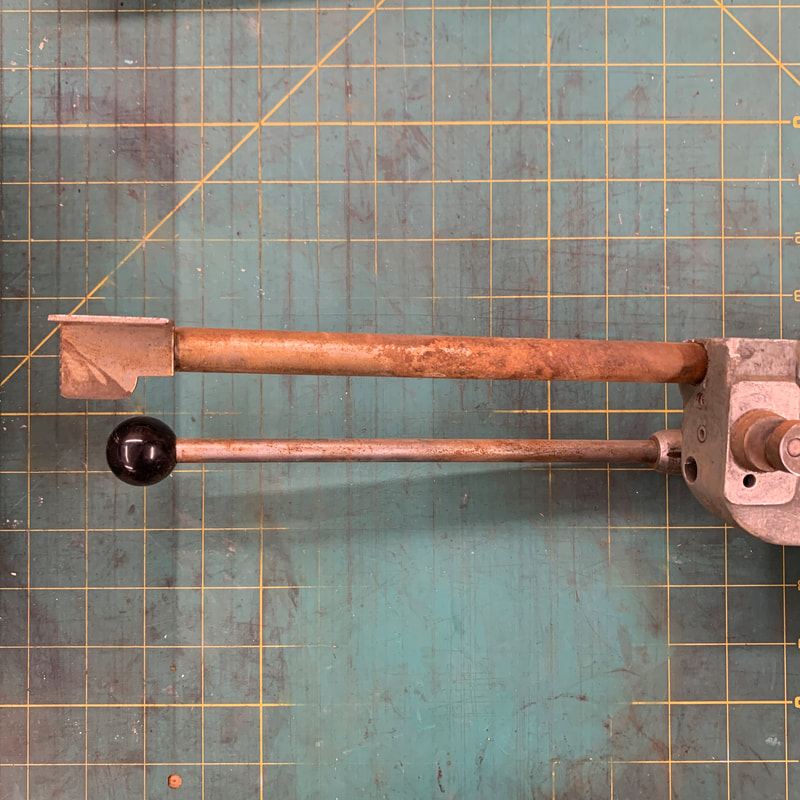
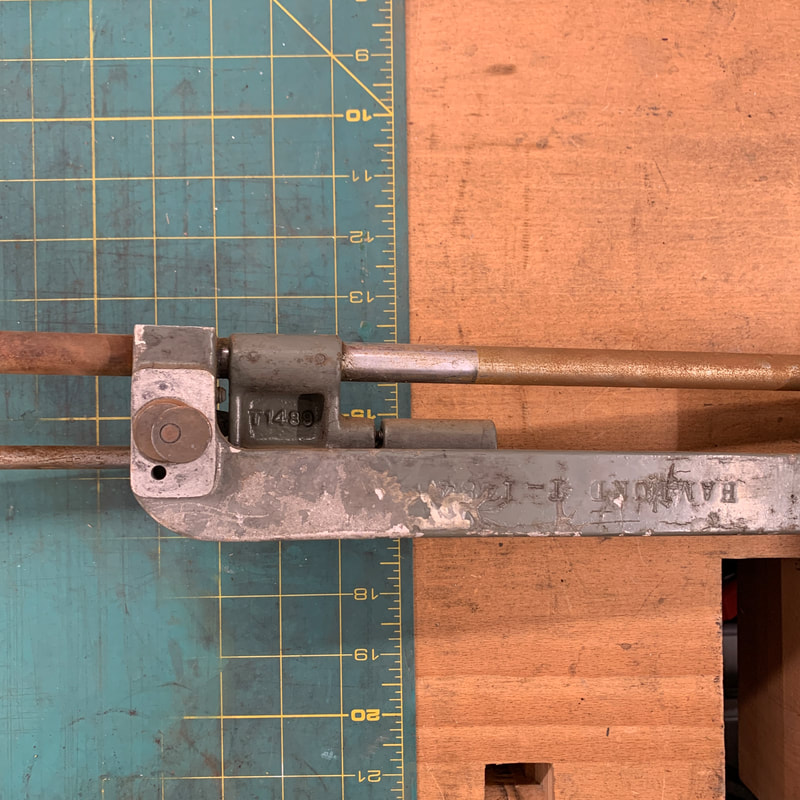
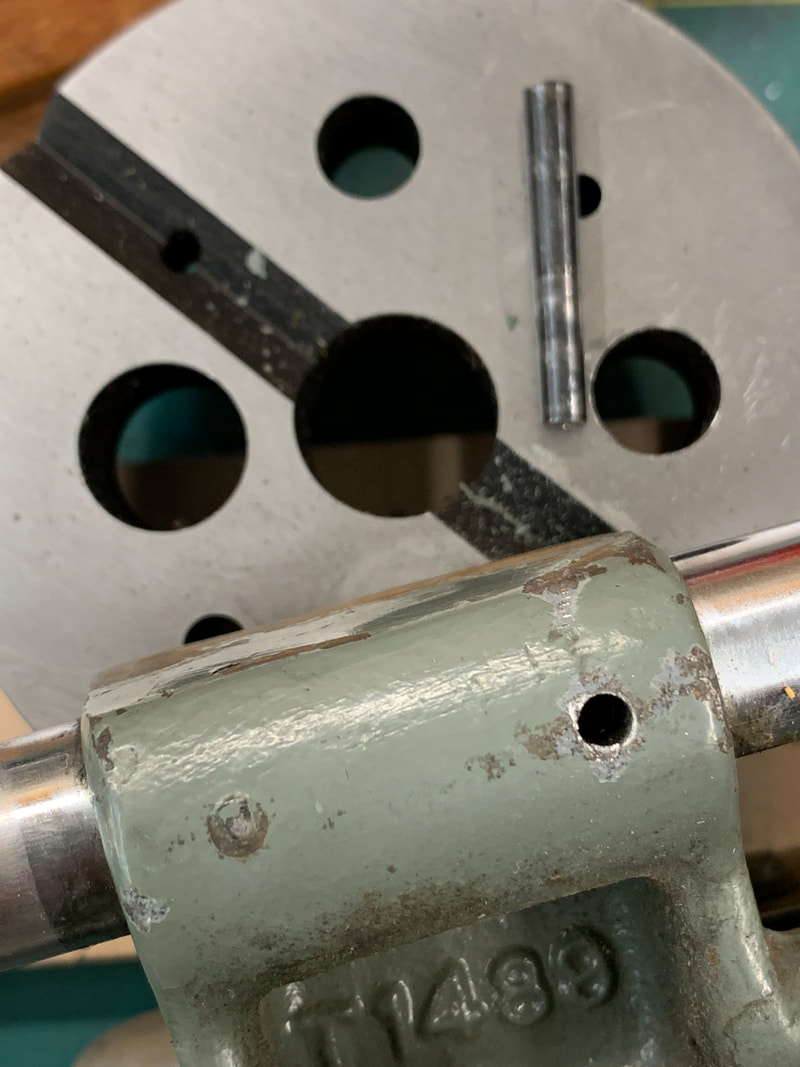
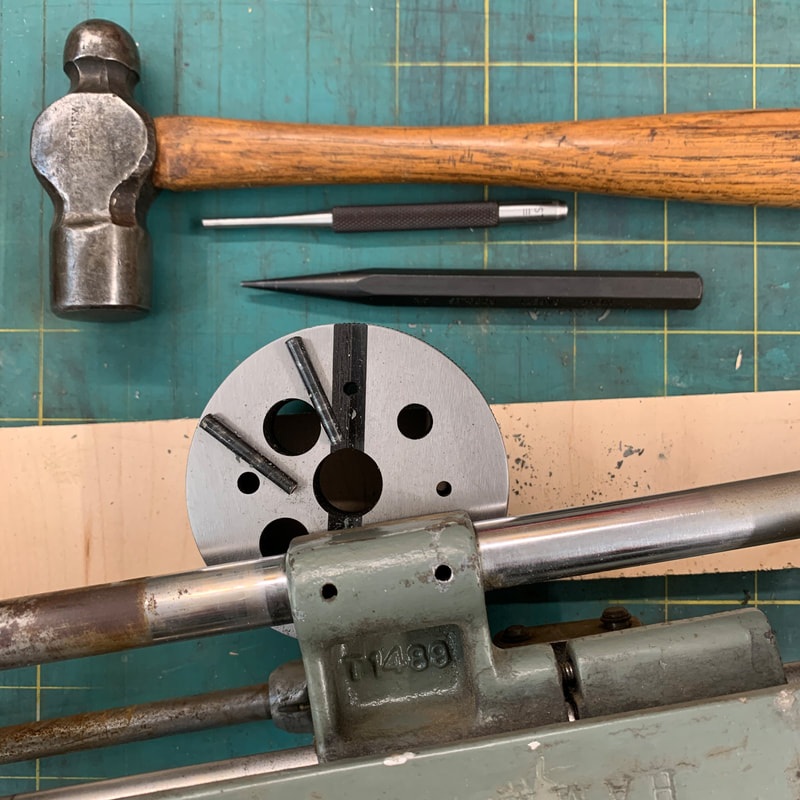
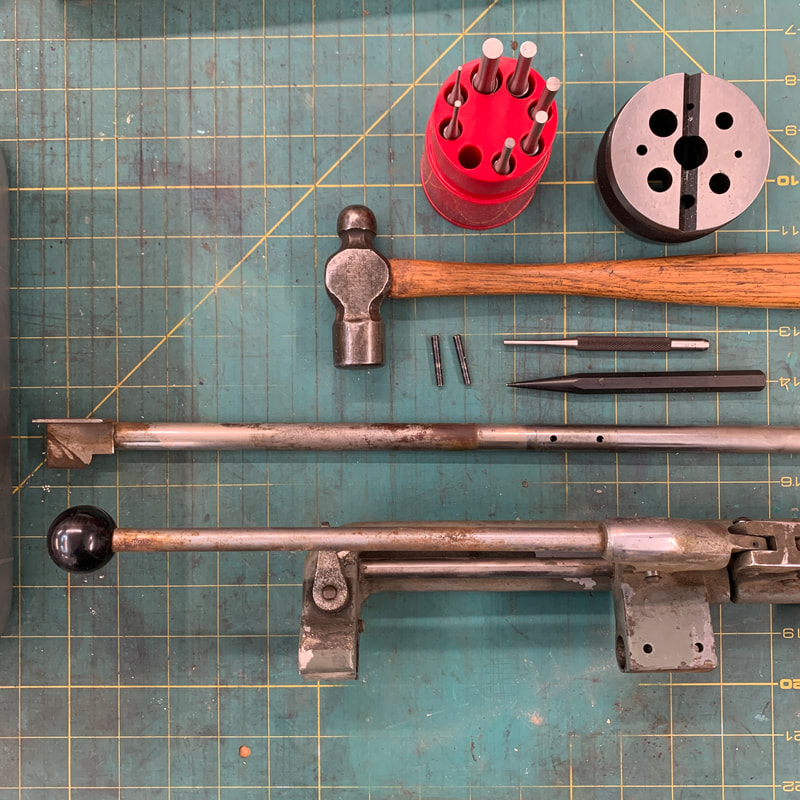
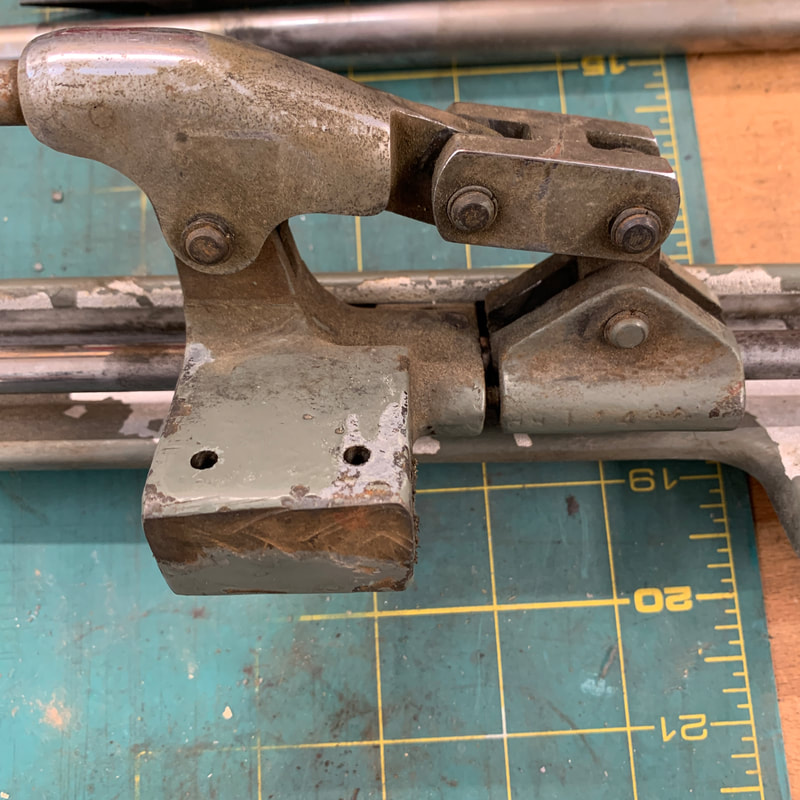
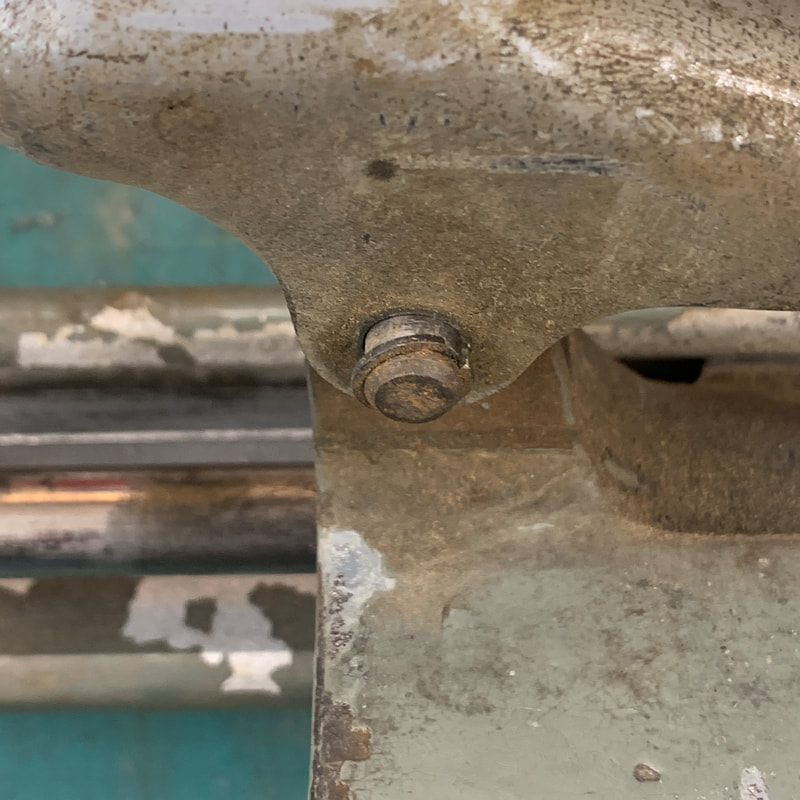
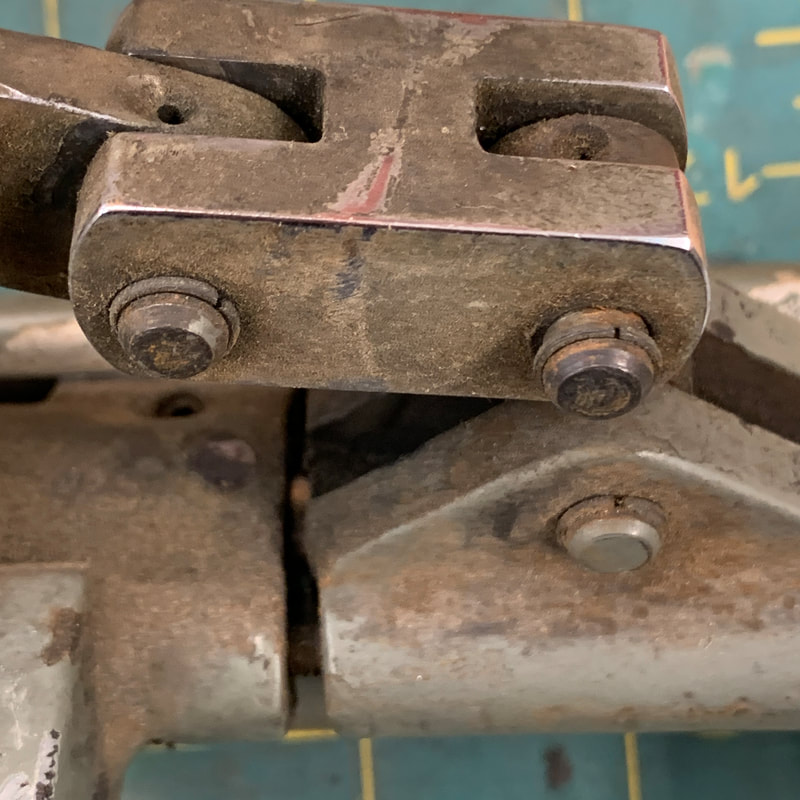
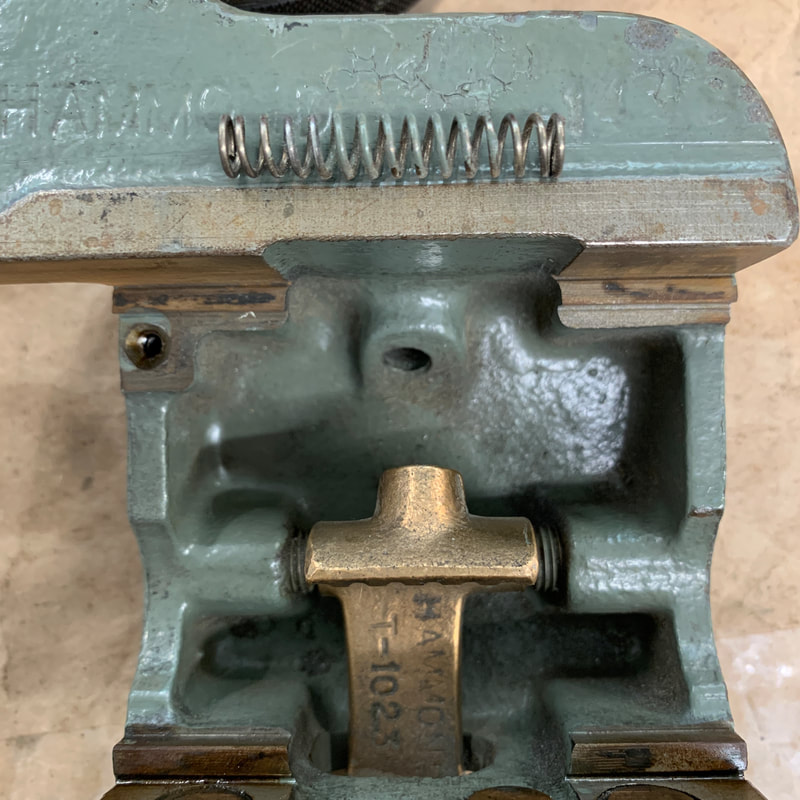
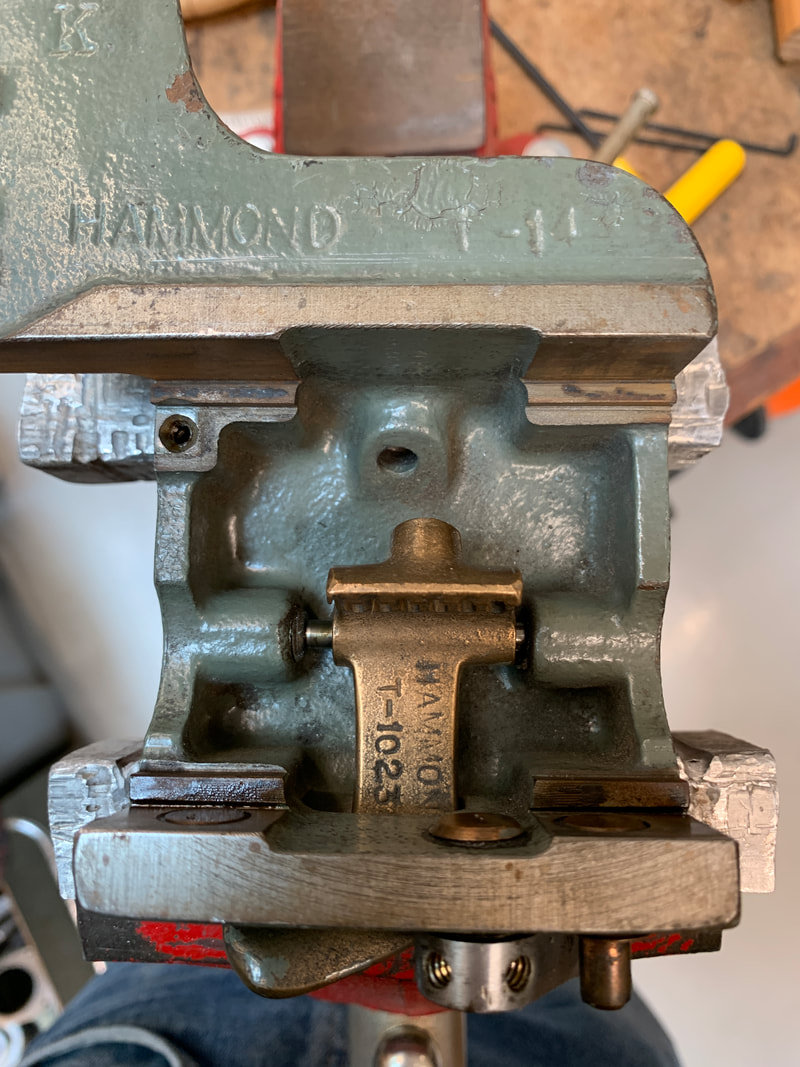
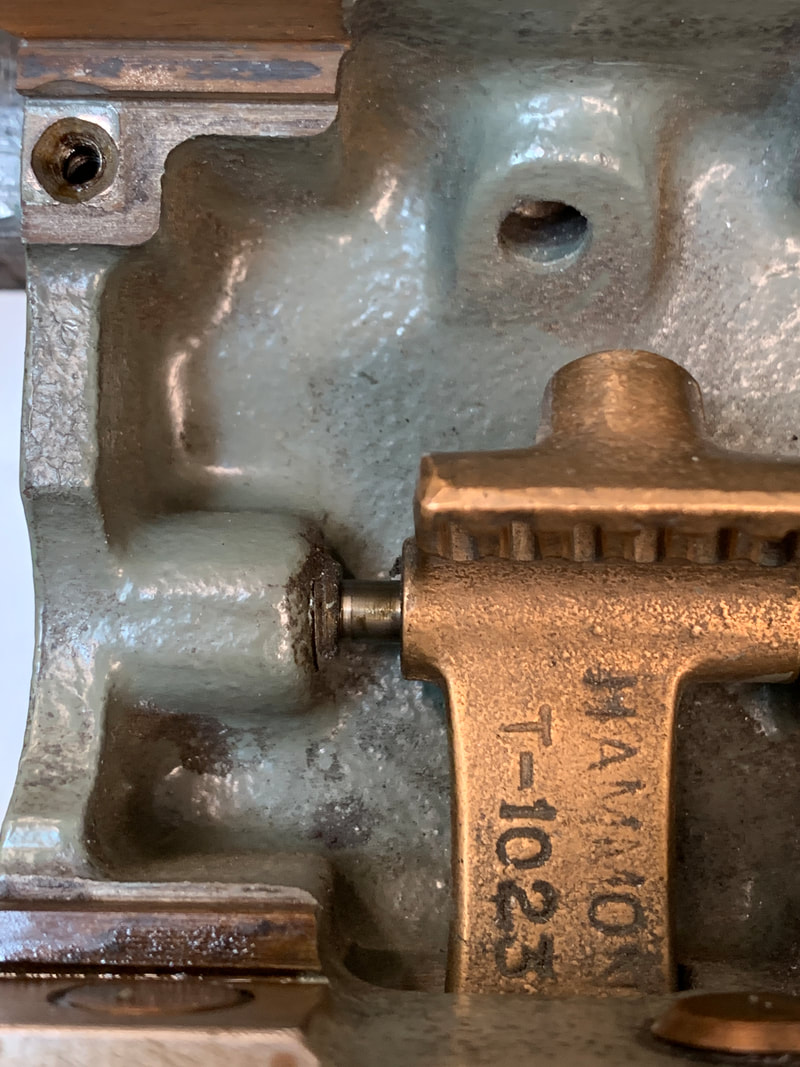
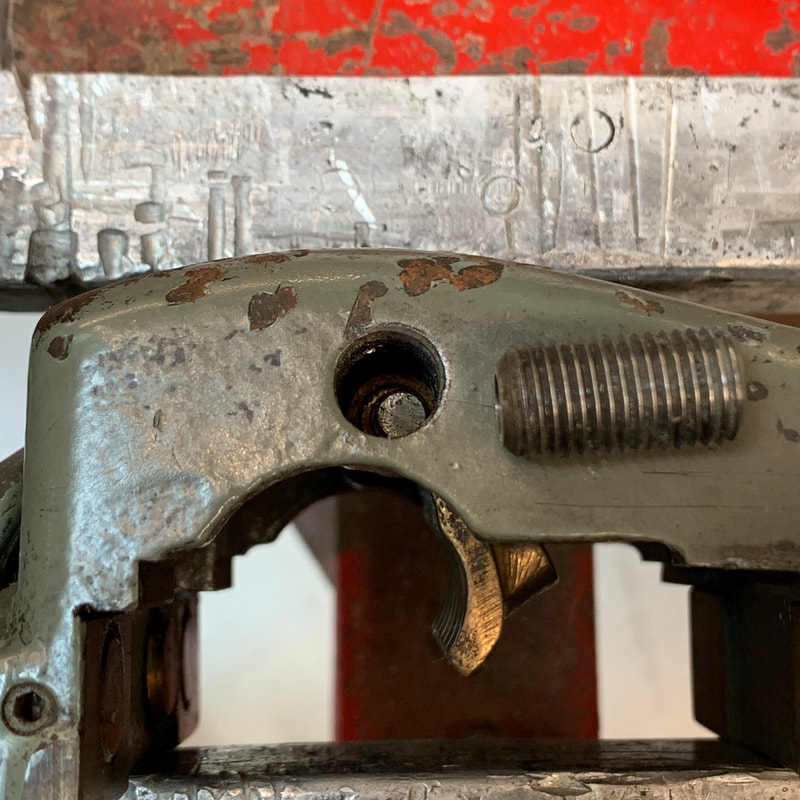
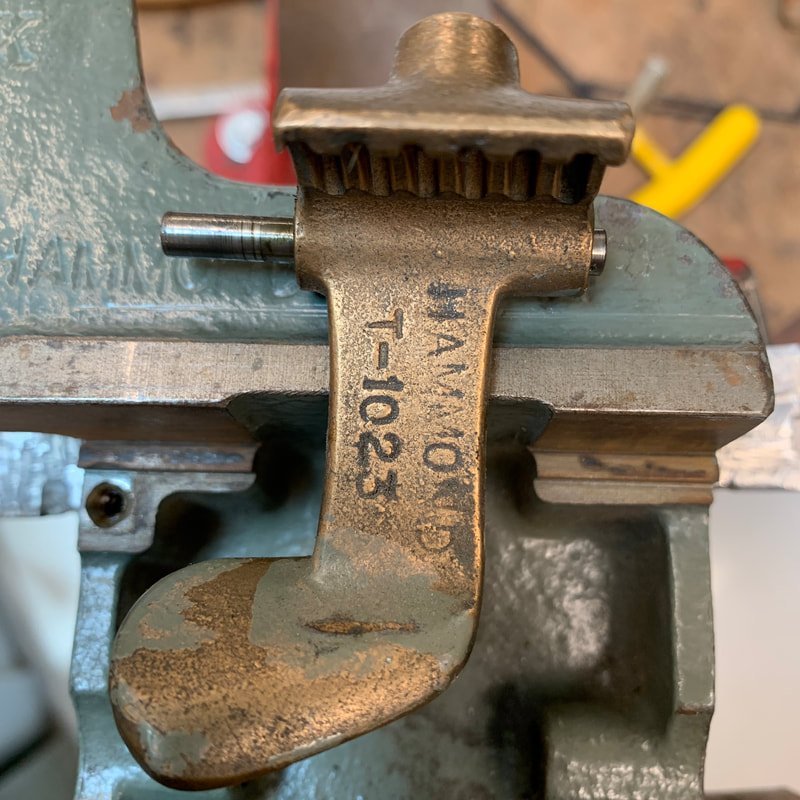
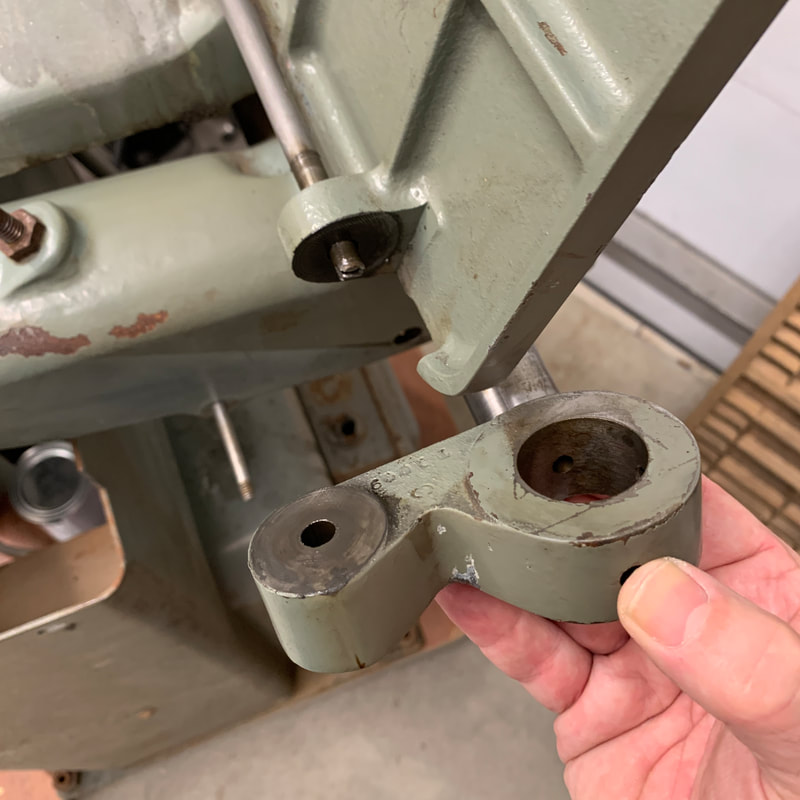
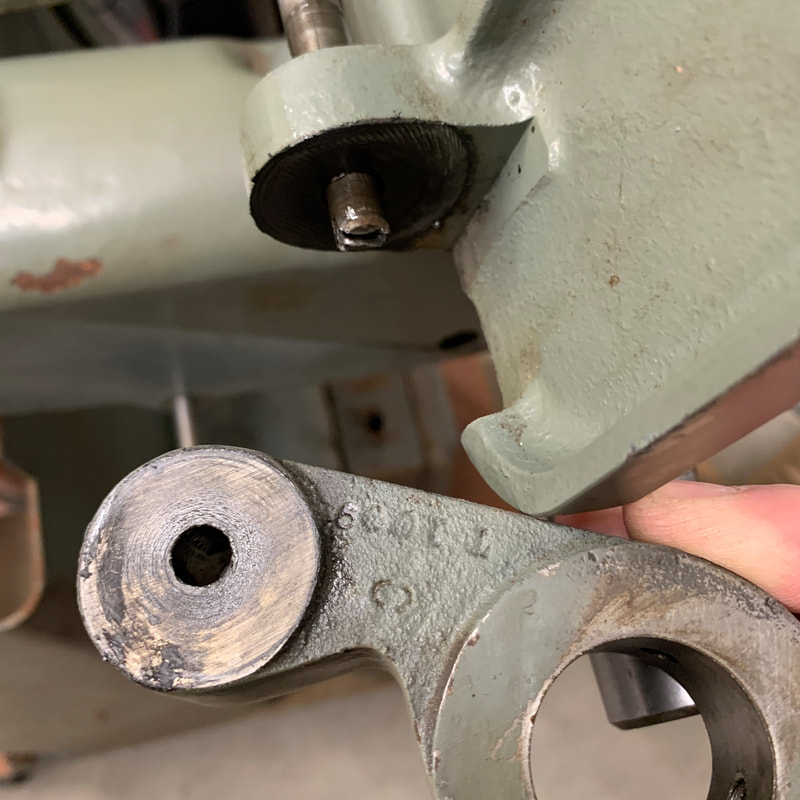
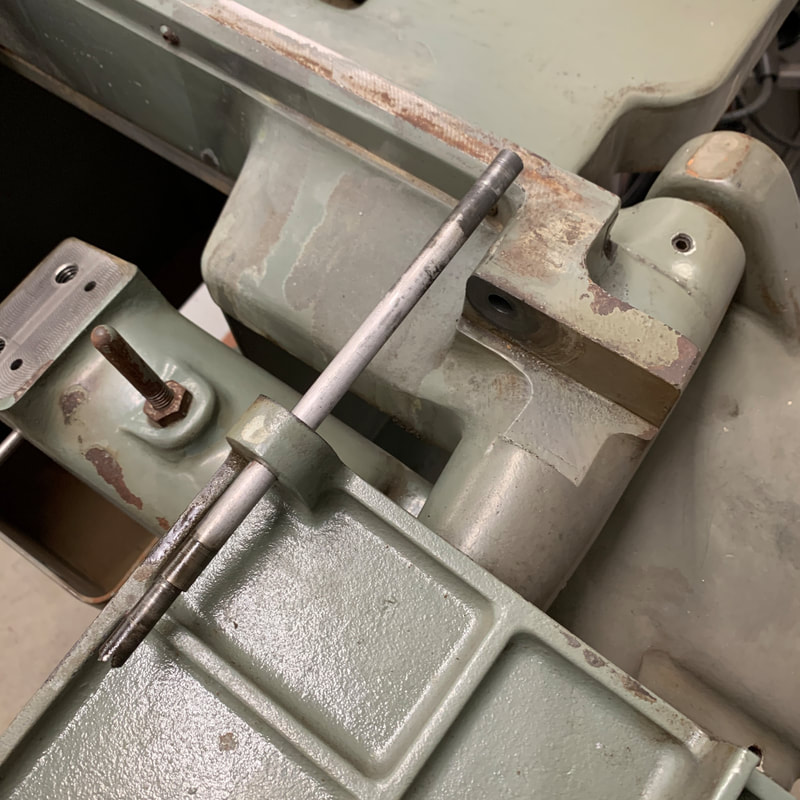
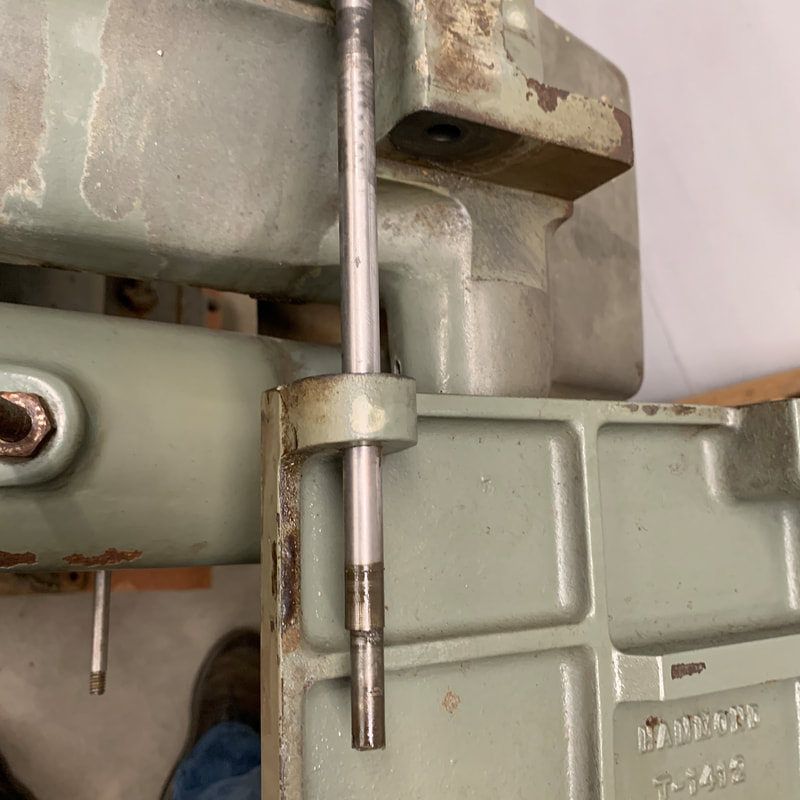
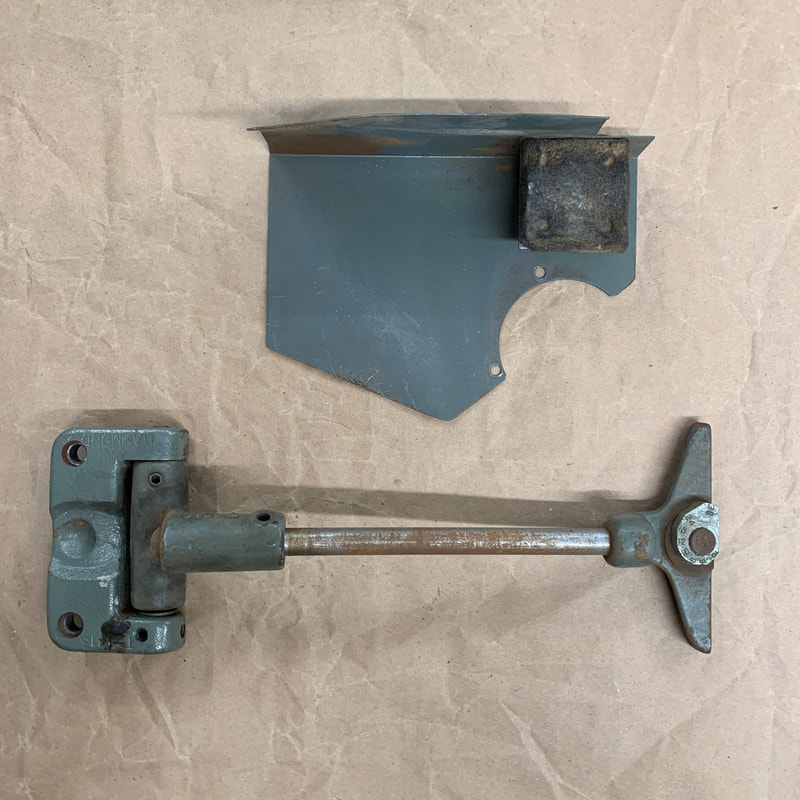
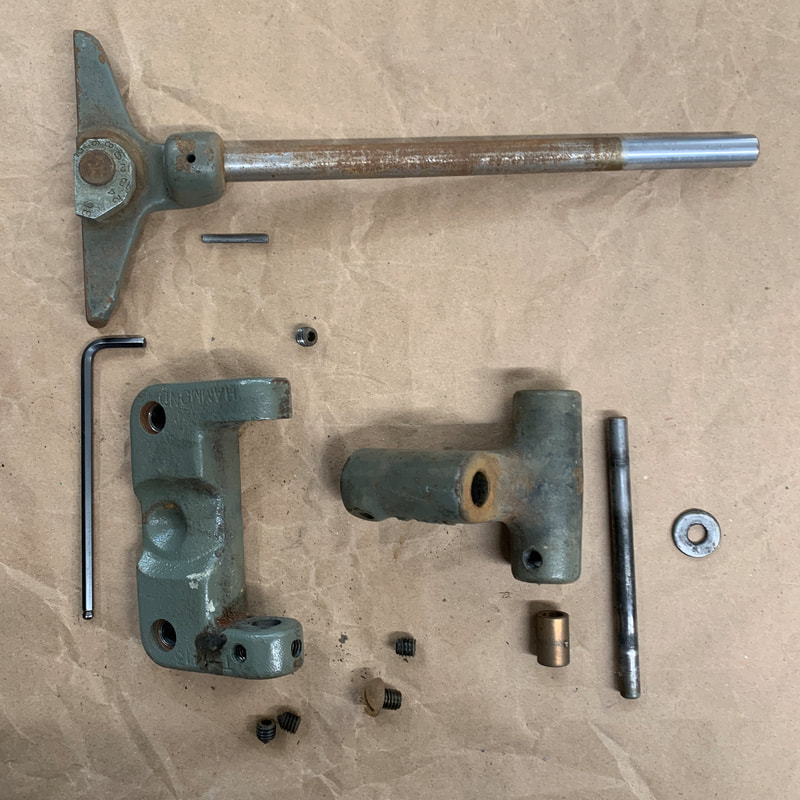
Saw Raising Device disassembly
|
  |
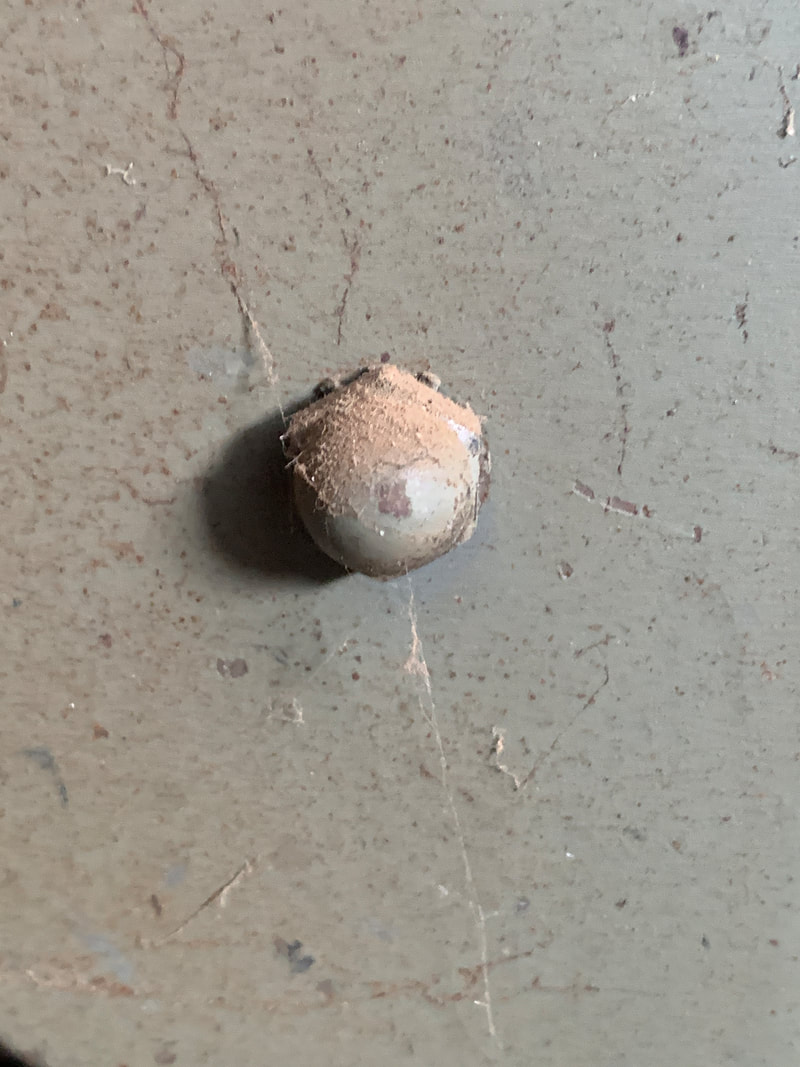
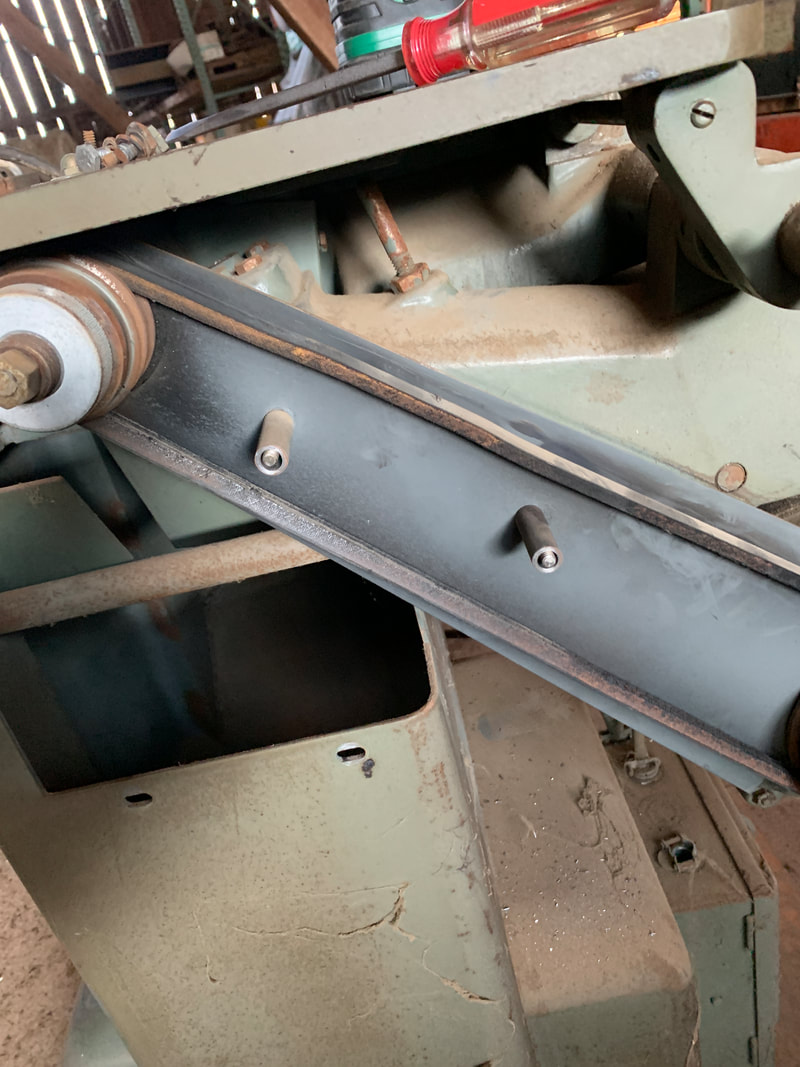
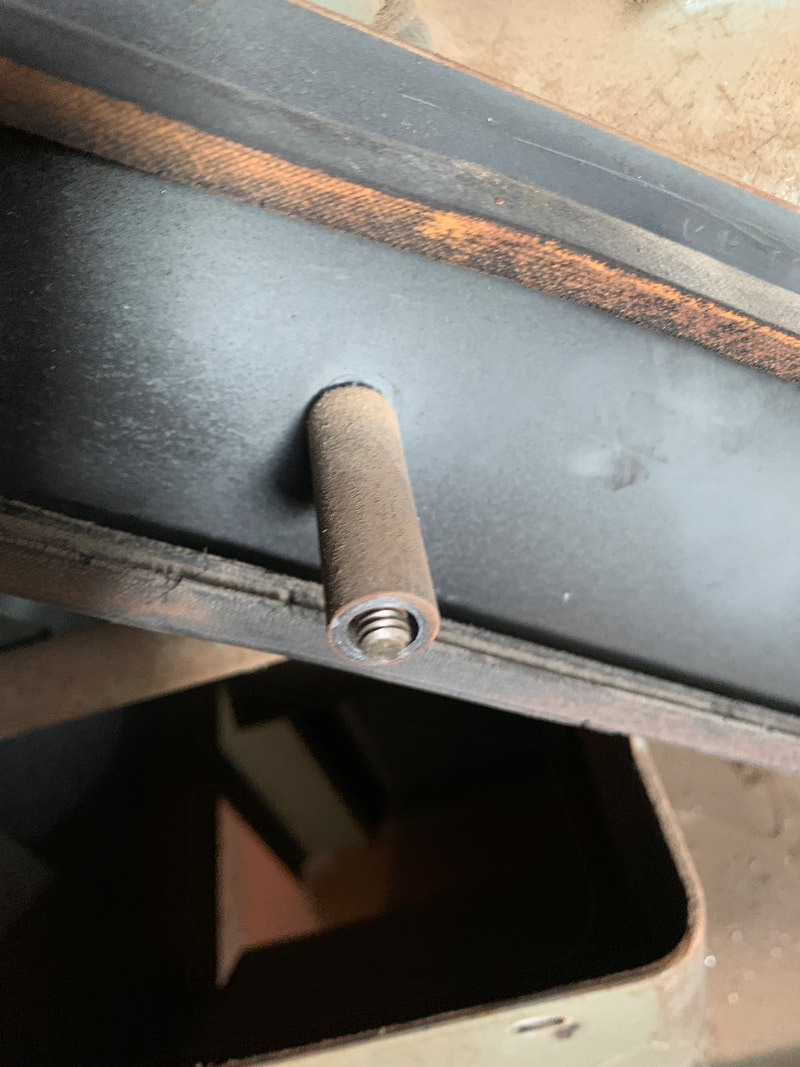
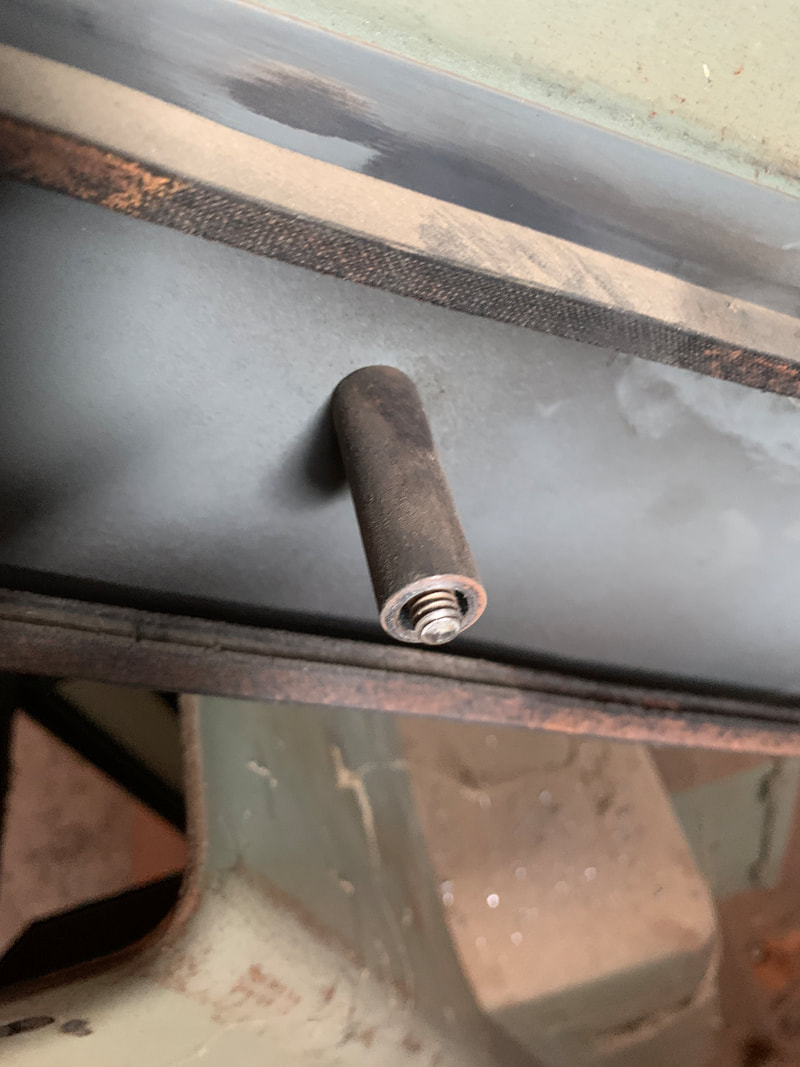
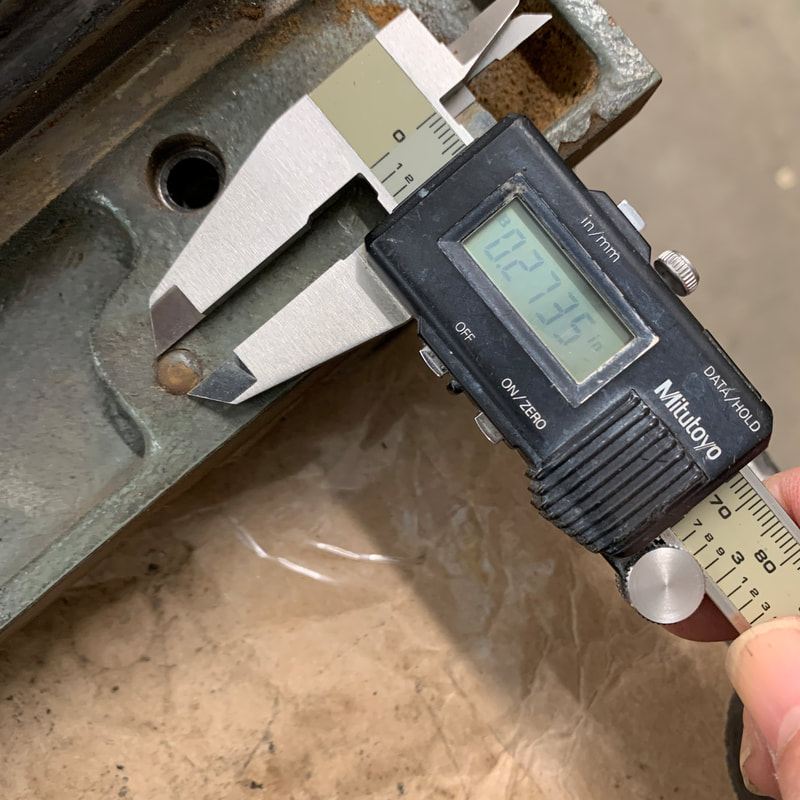
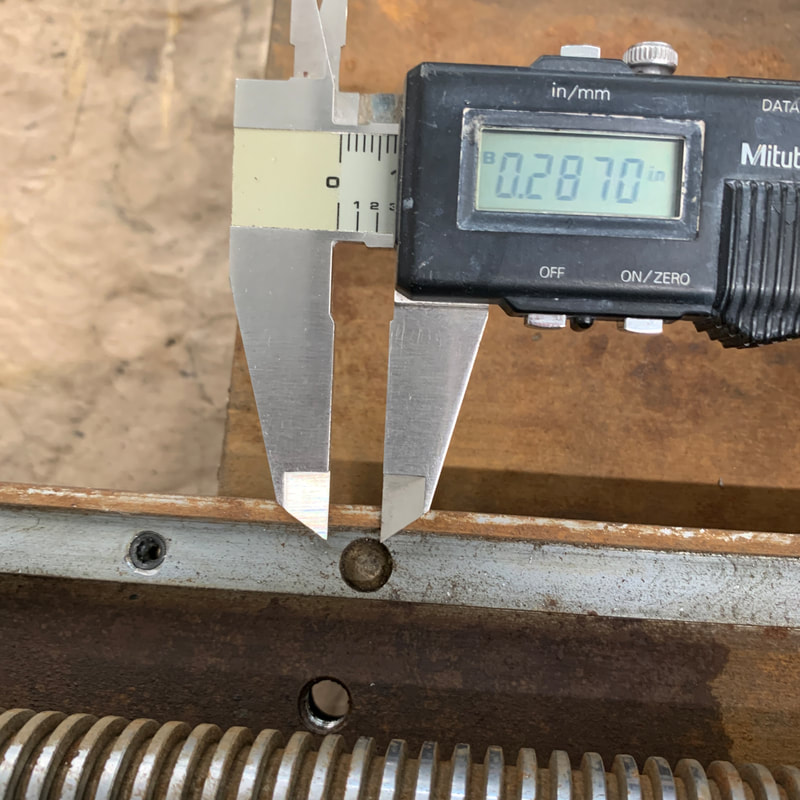
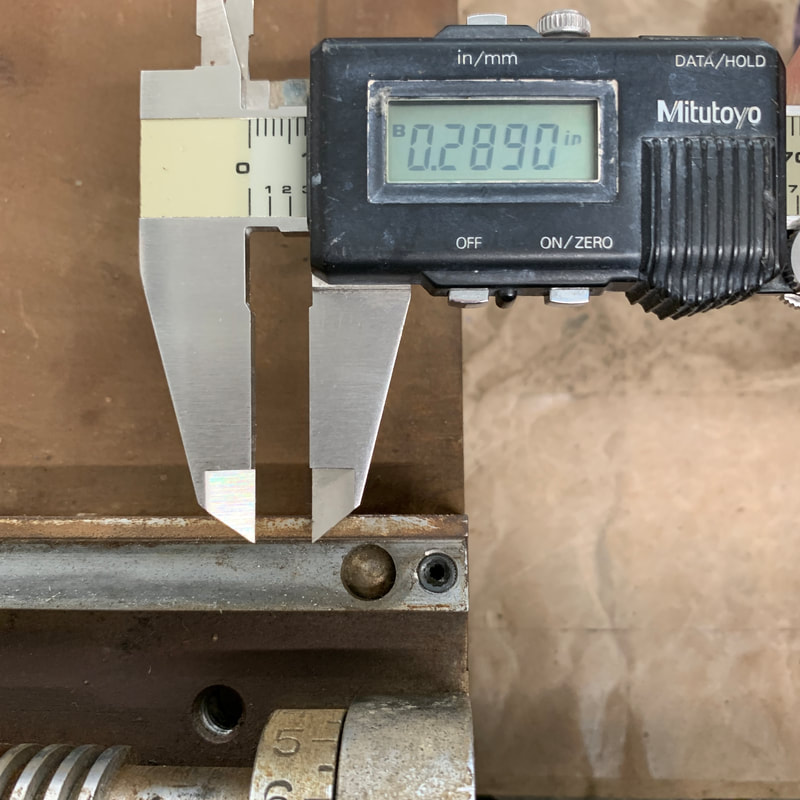
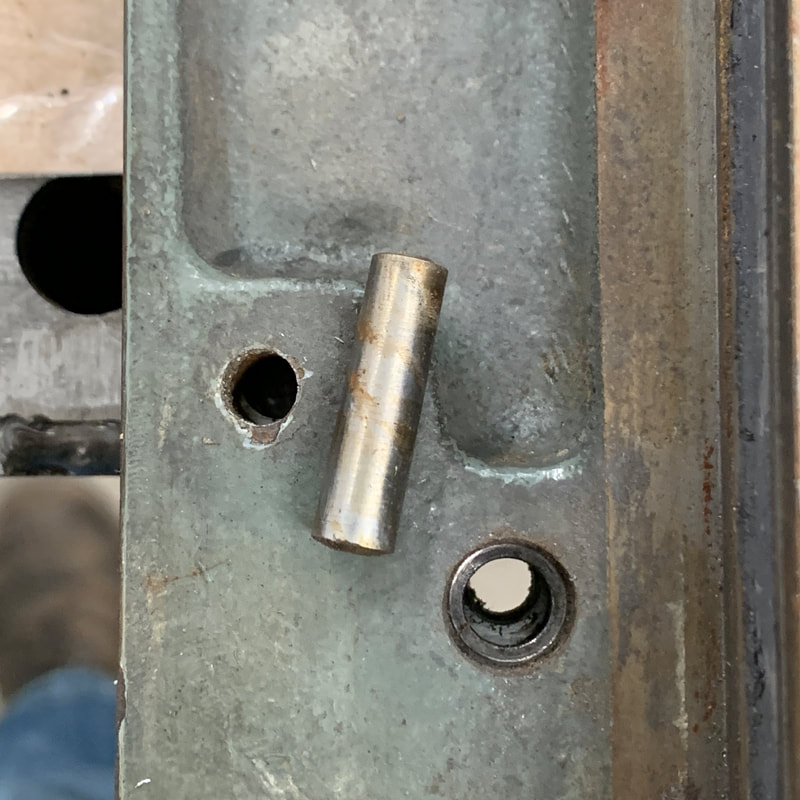
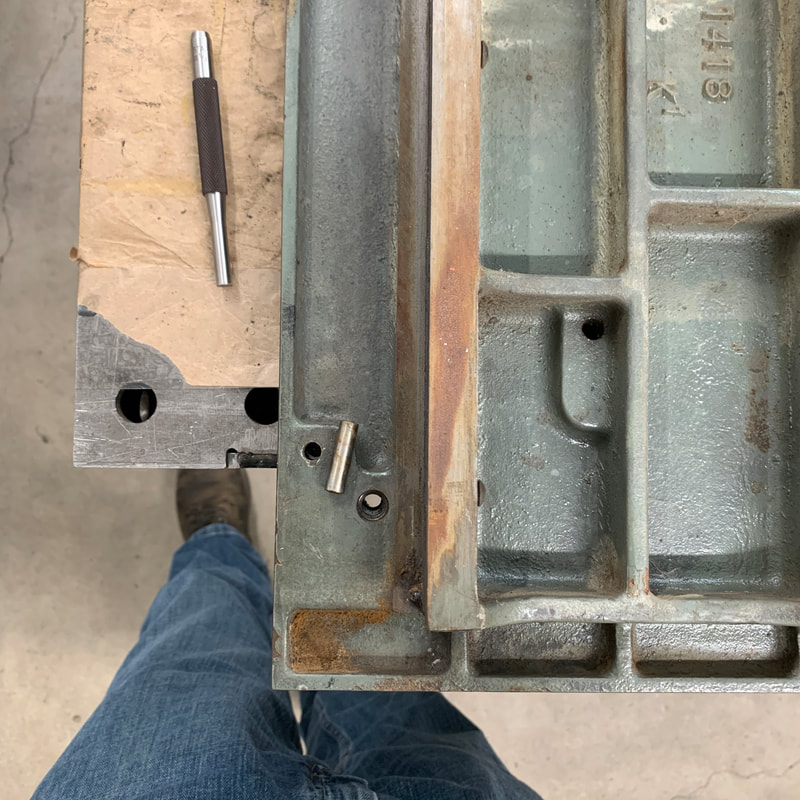
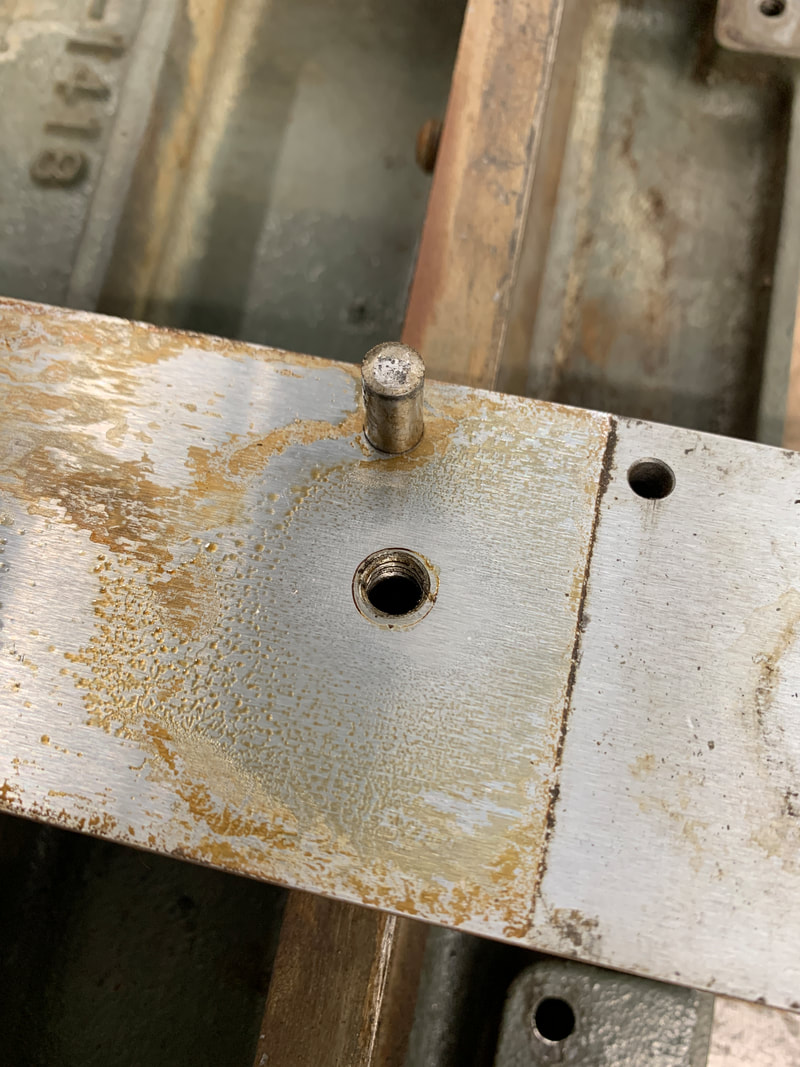
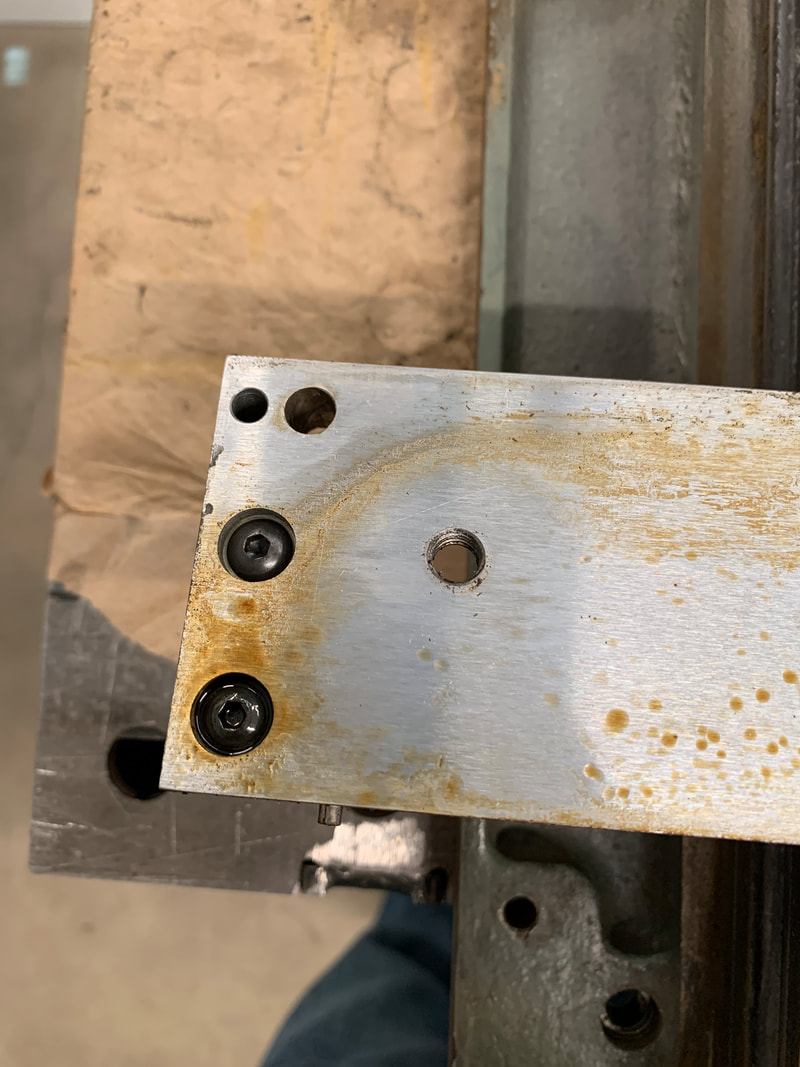
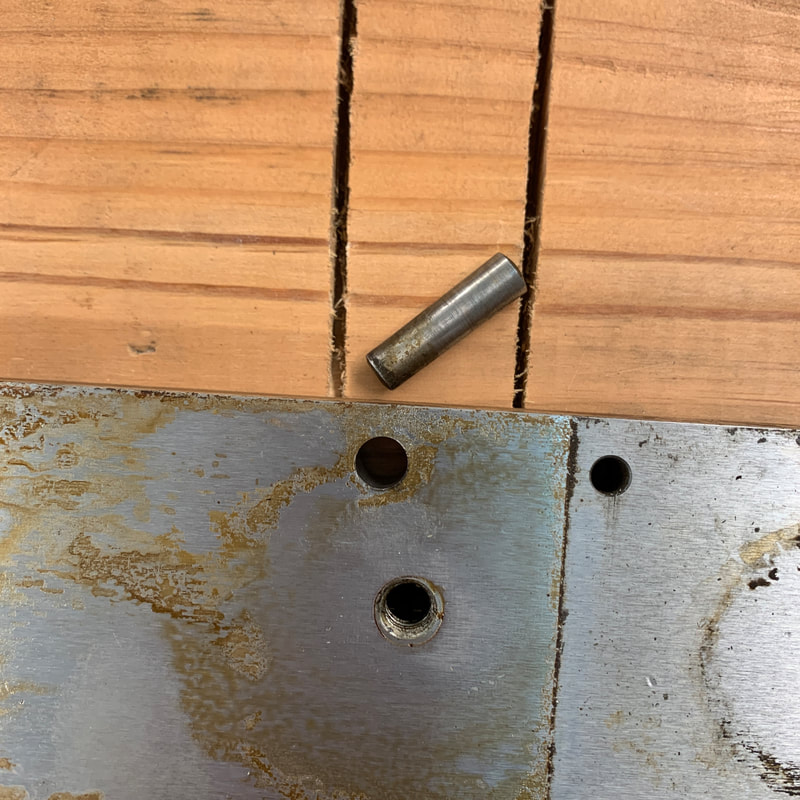
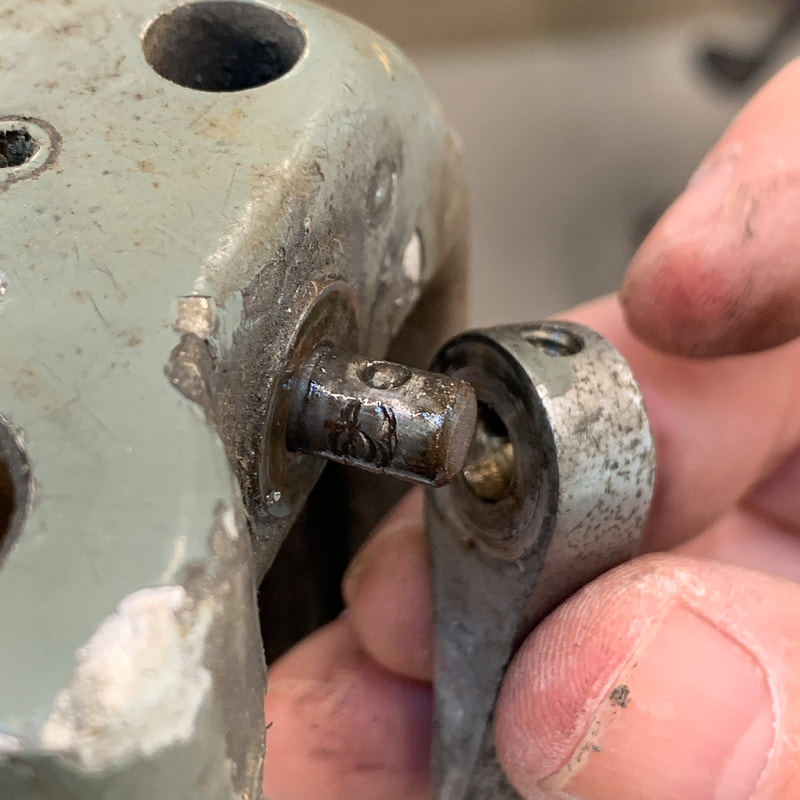
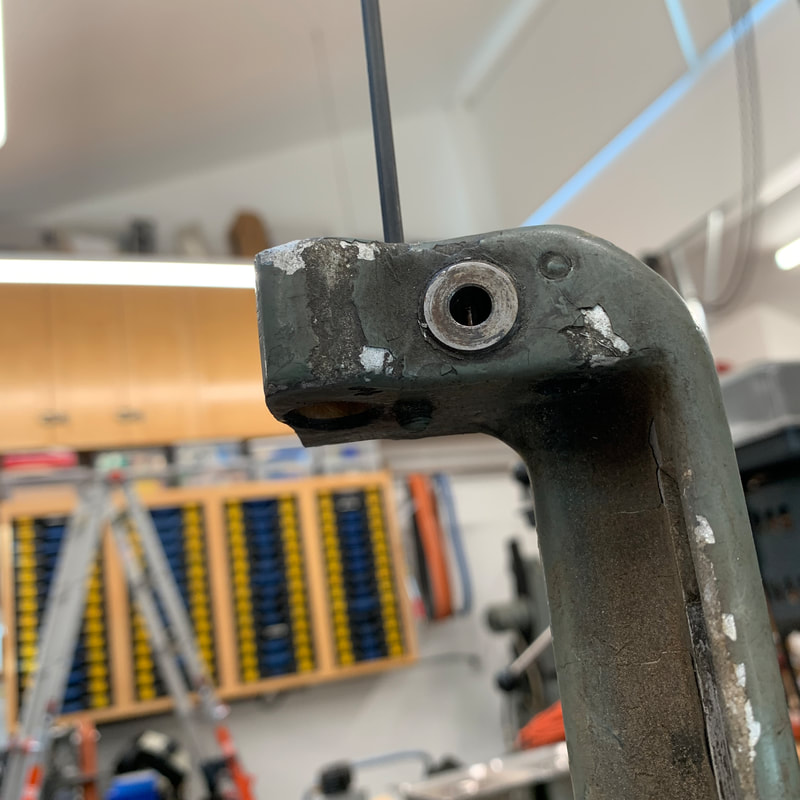
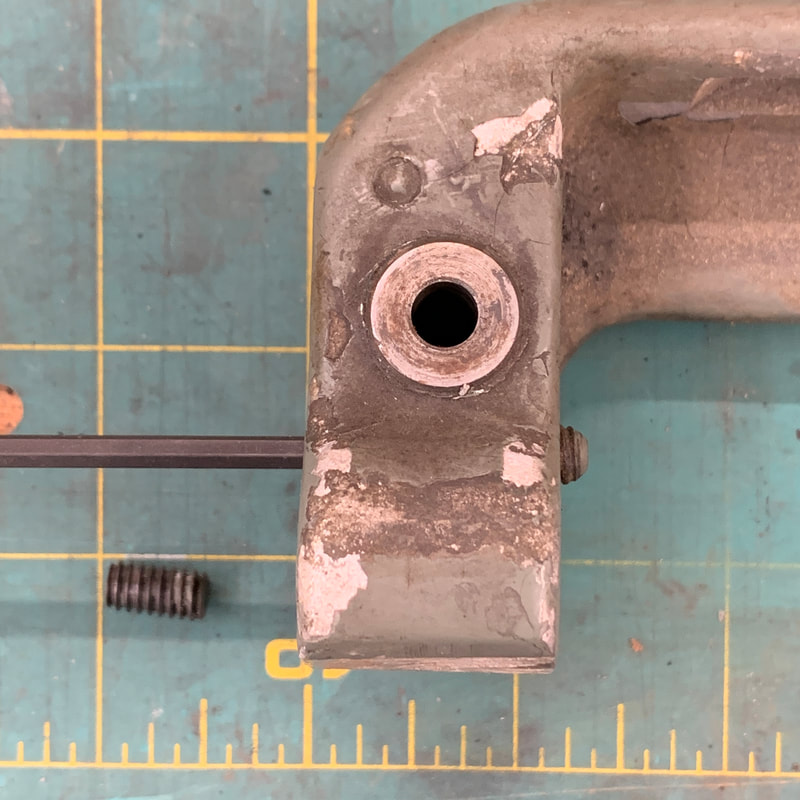
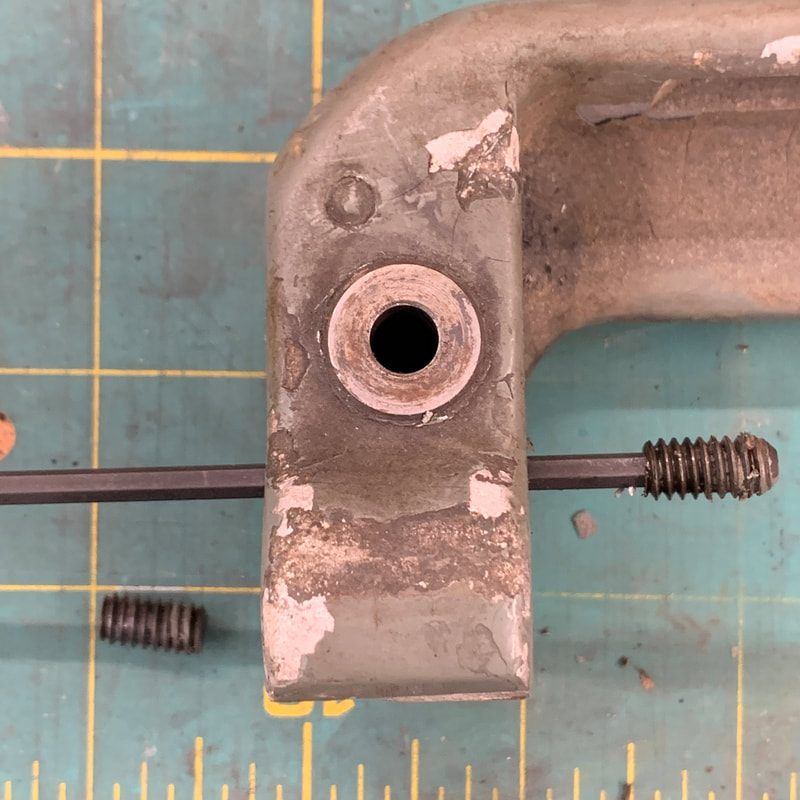
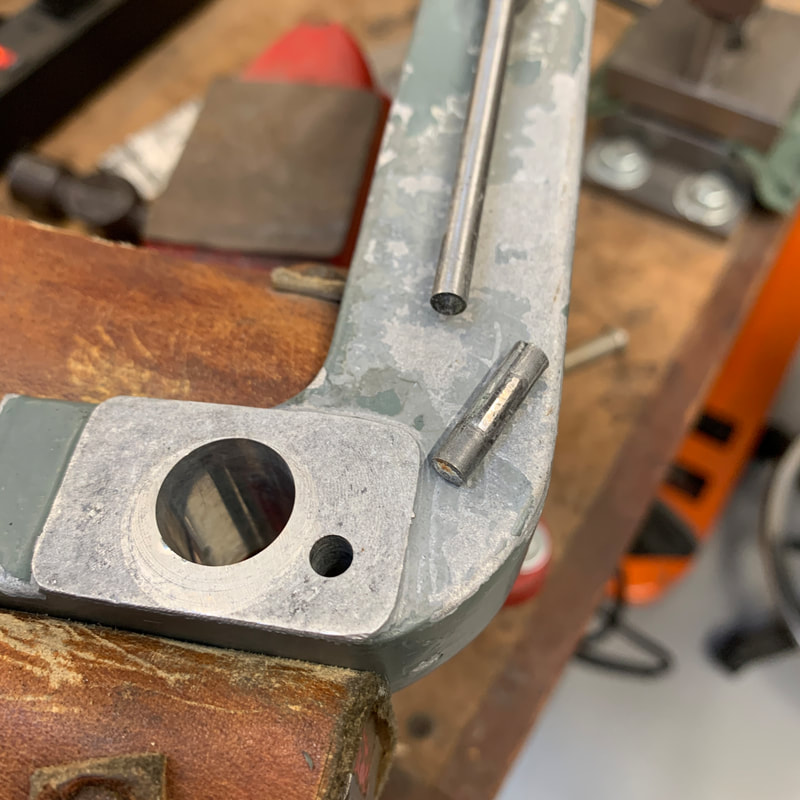
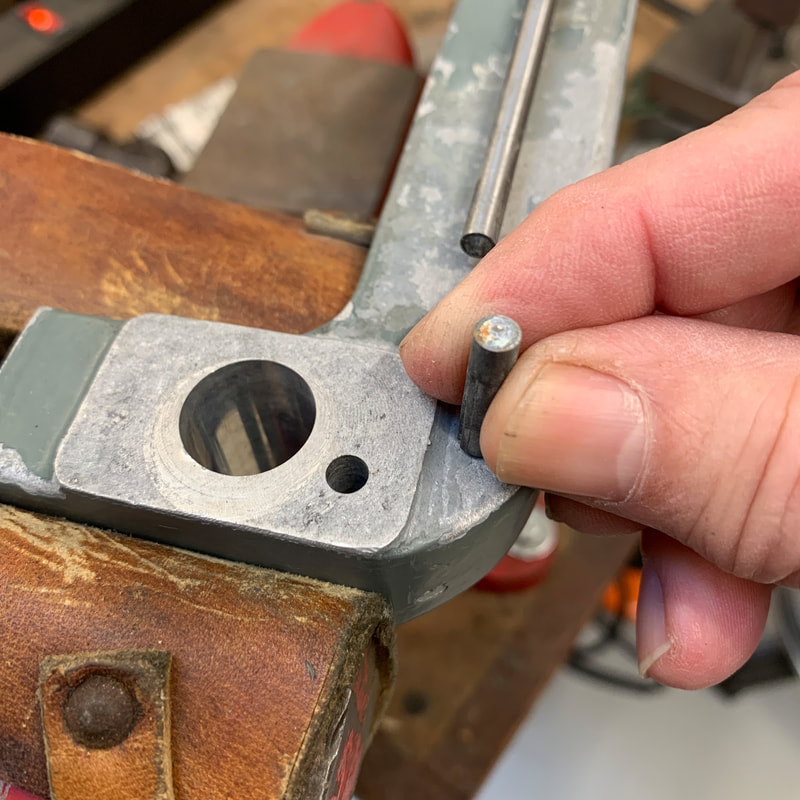
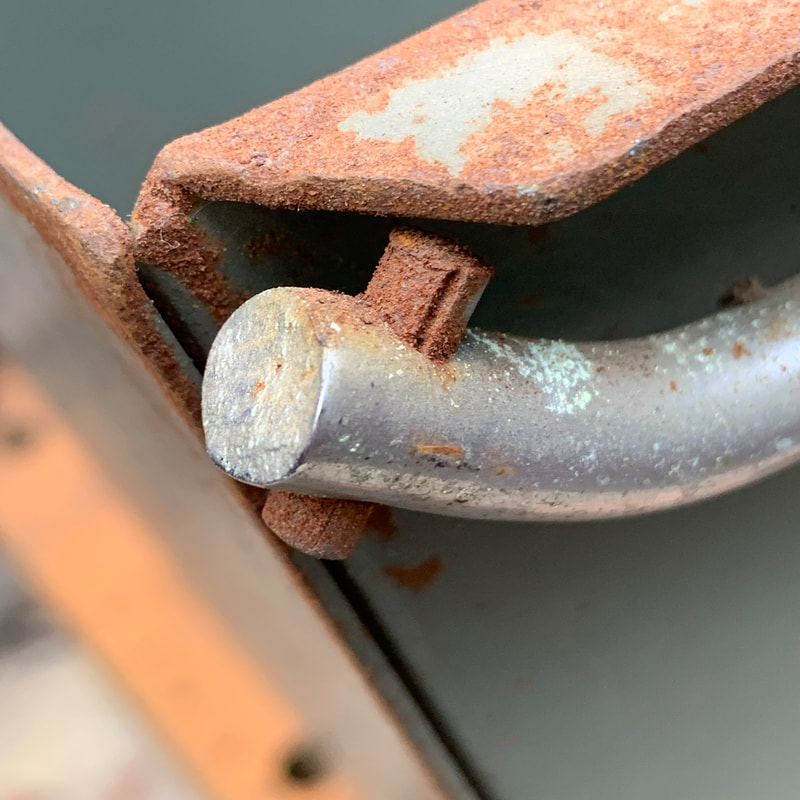
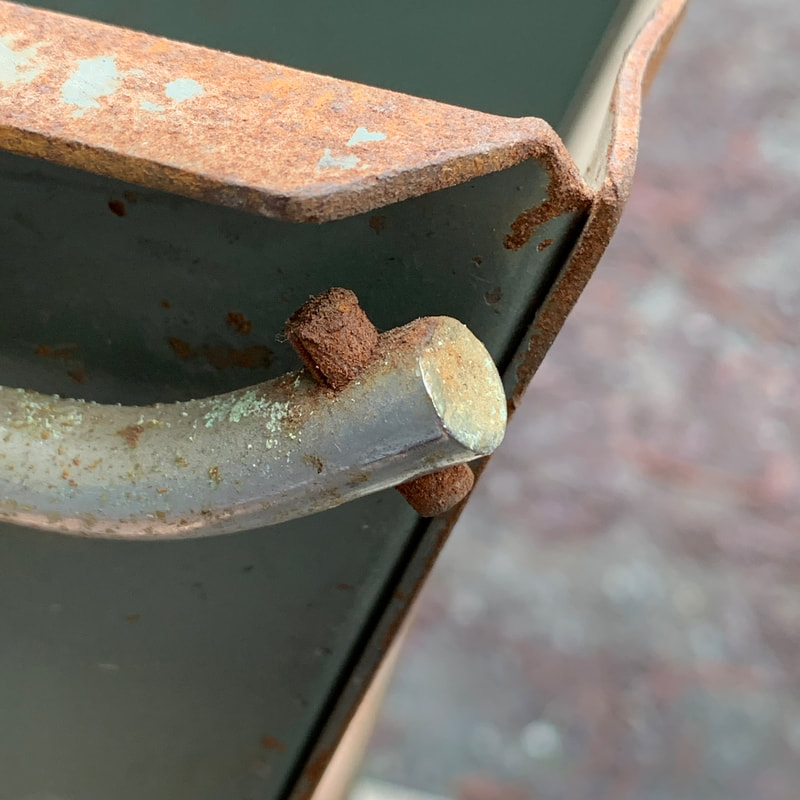
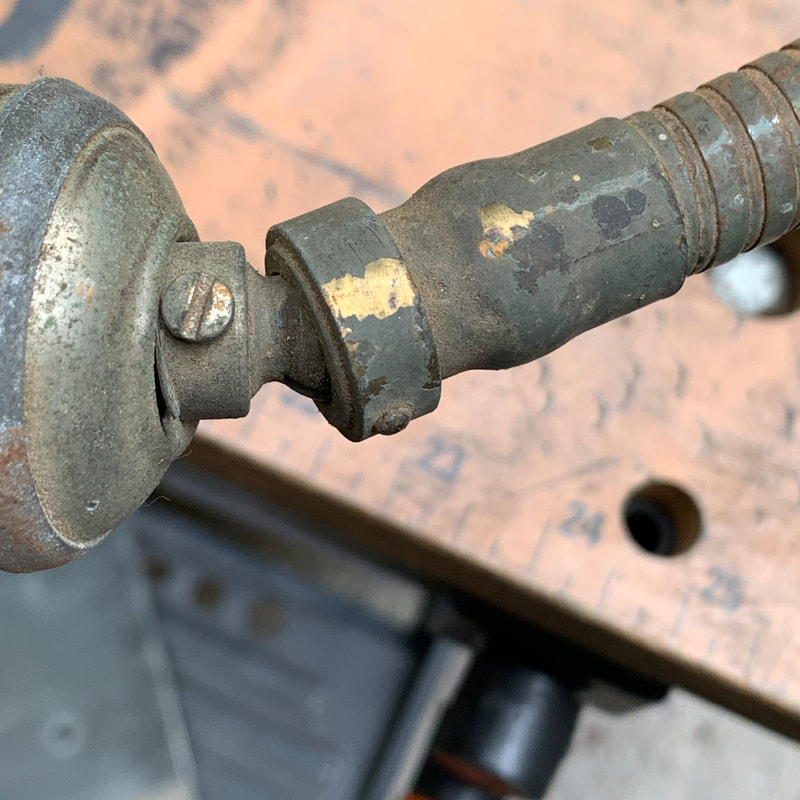
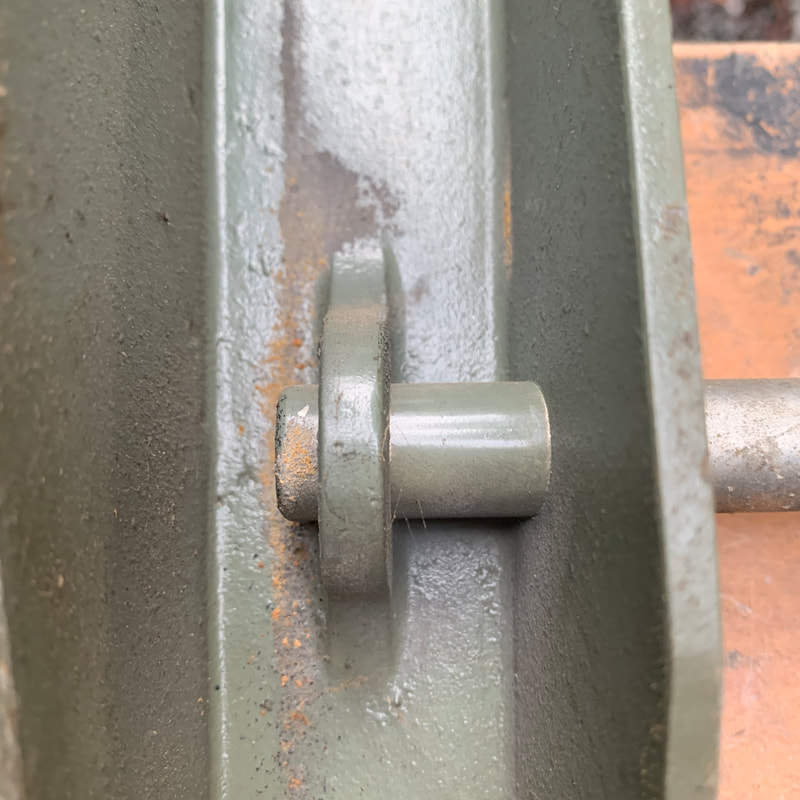
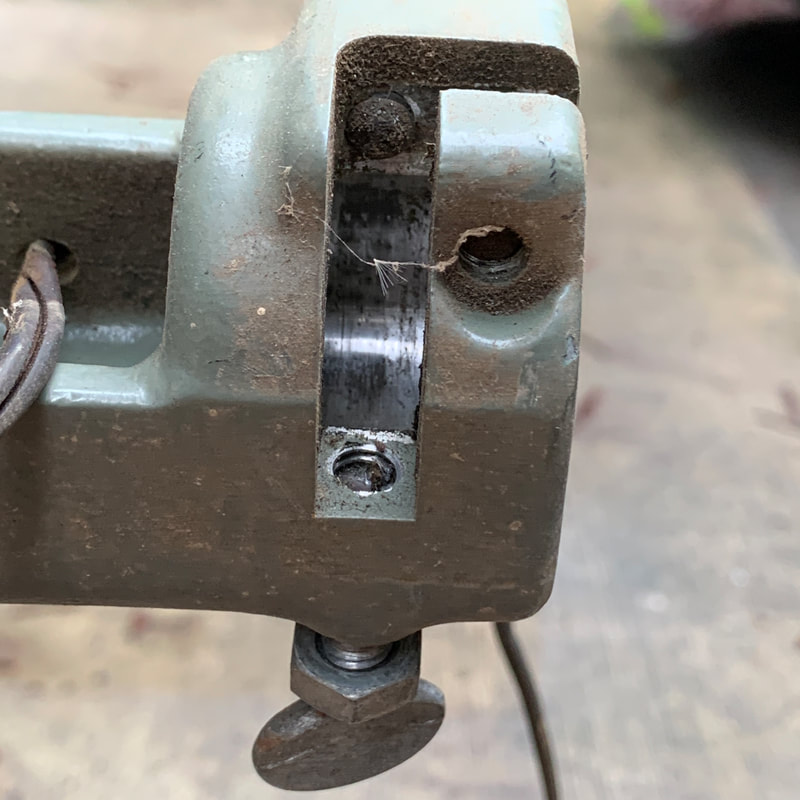
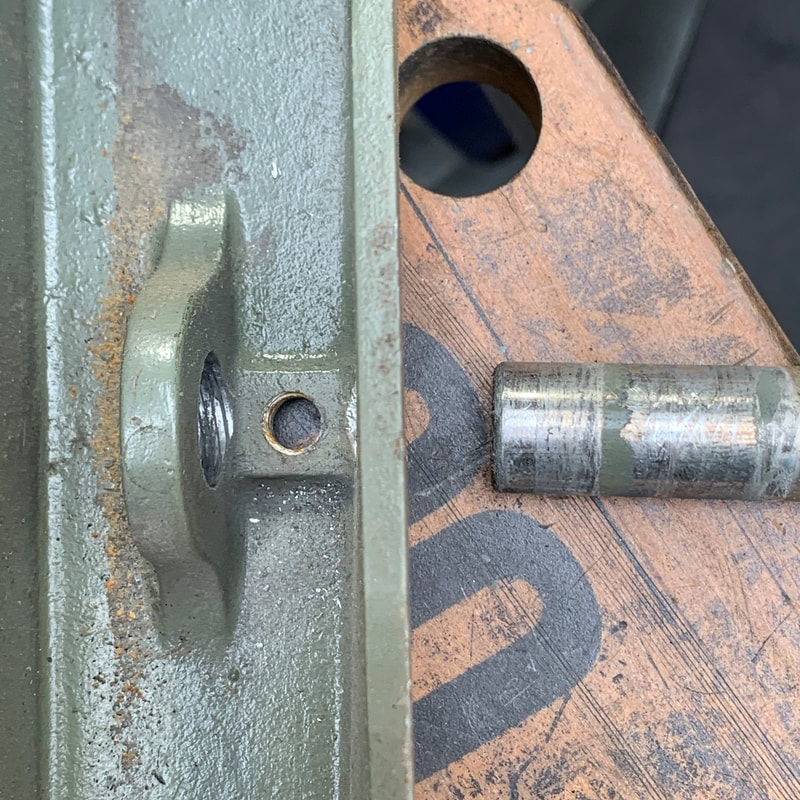
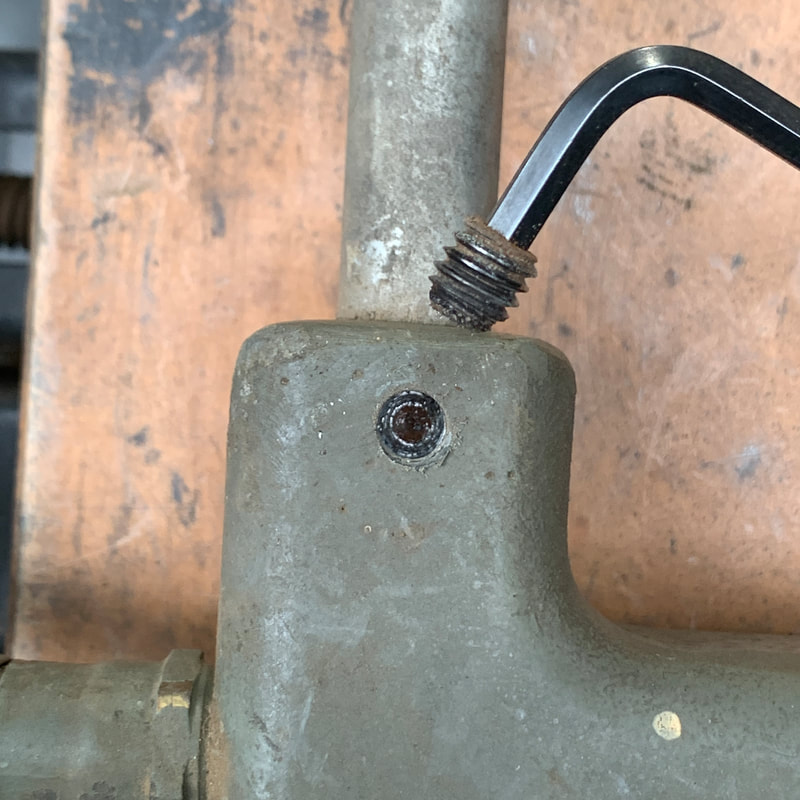
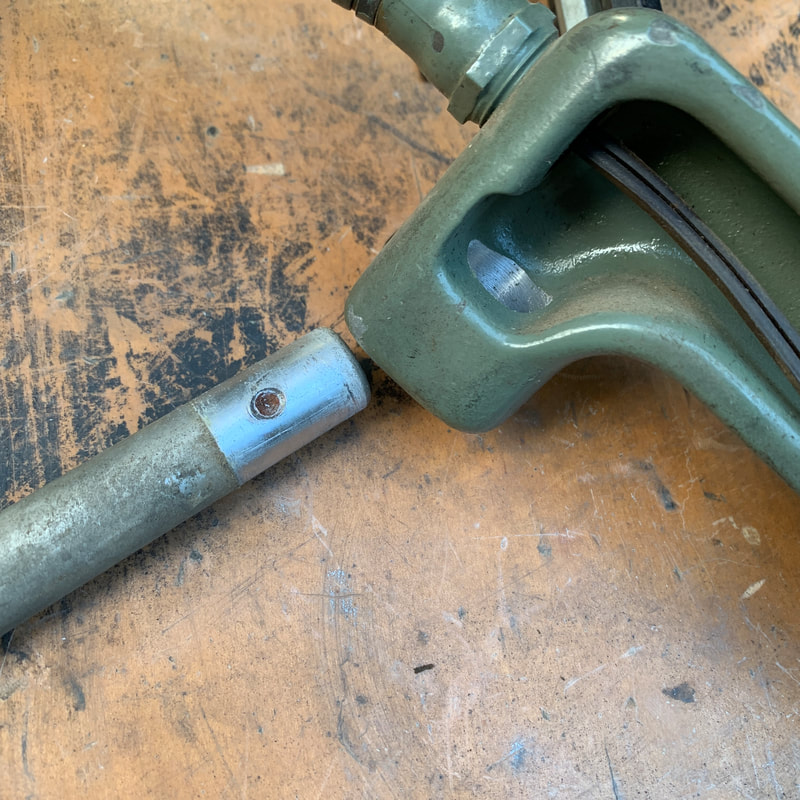
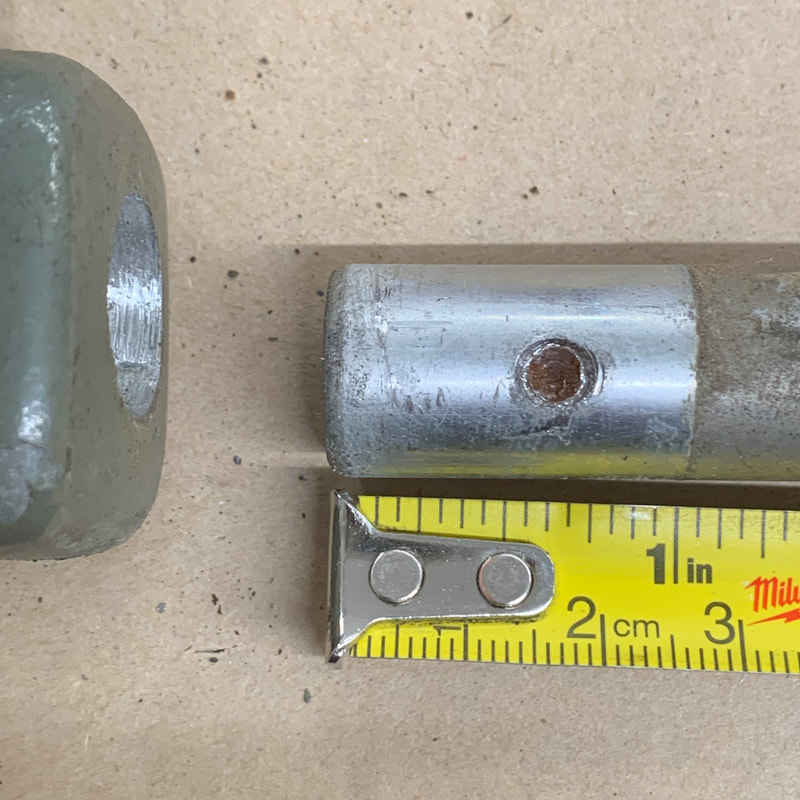
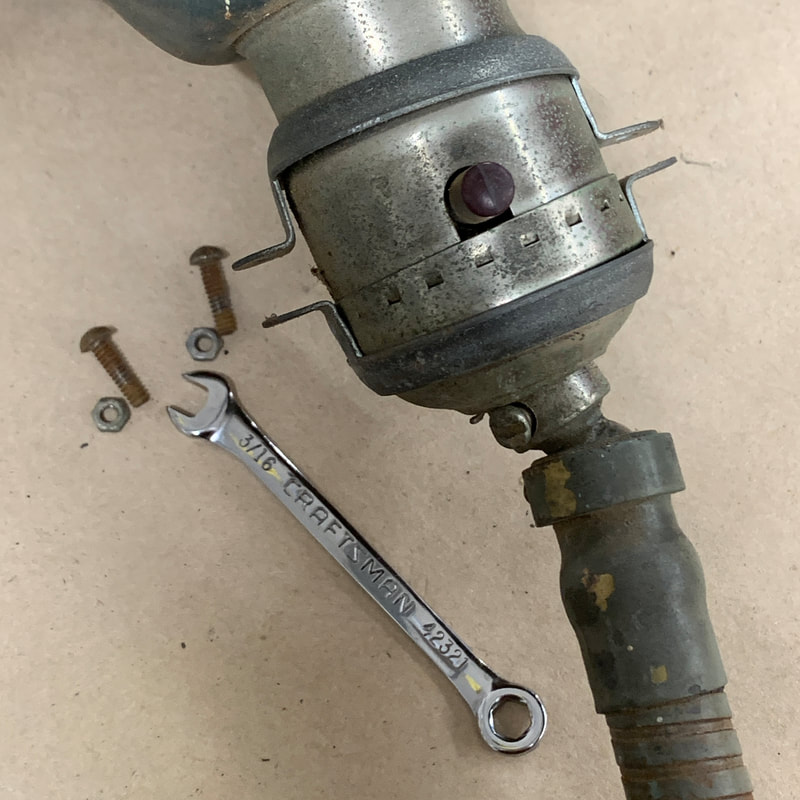
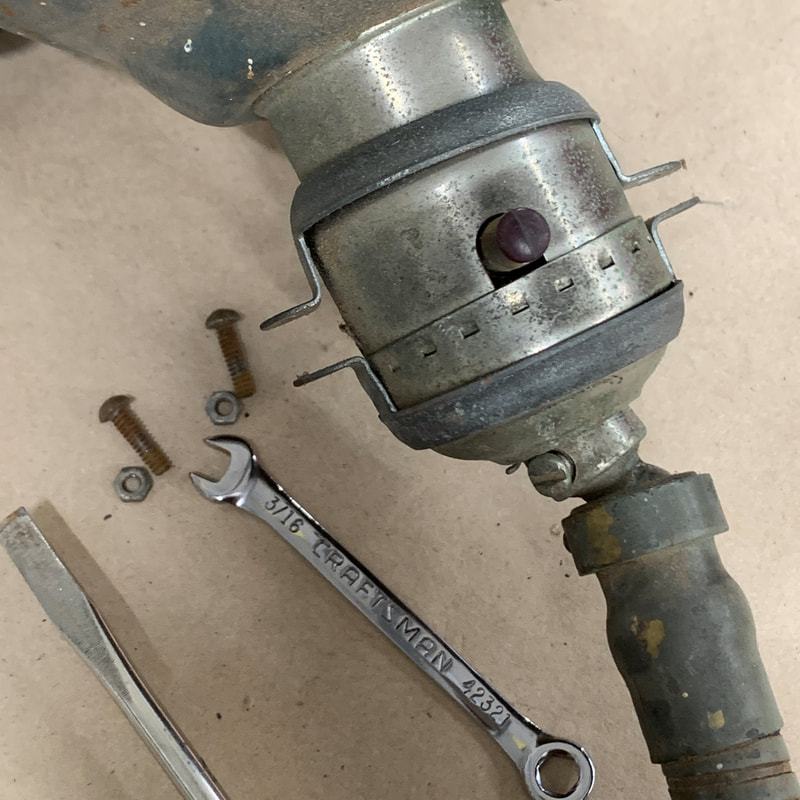
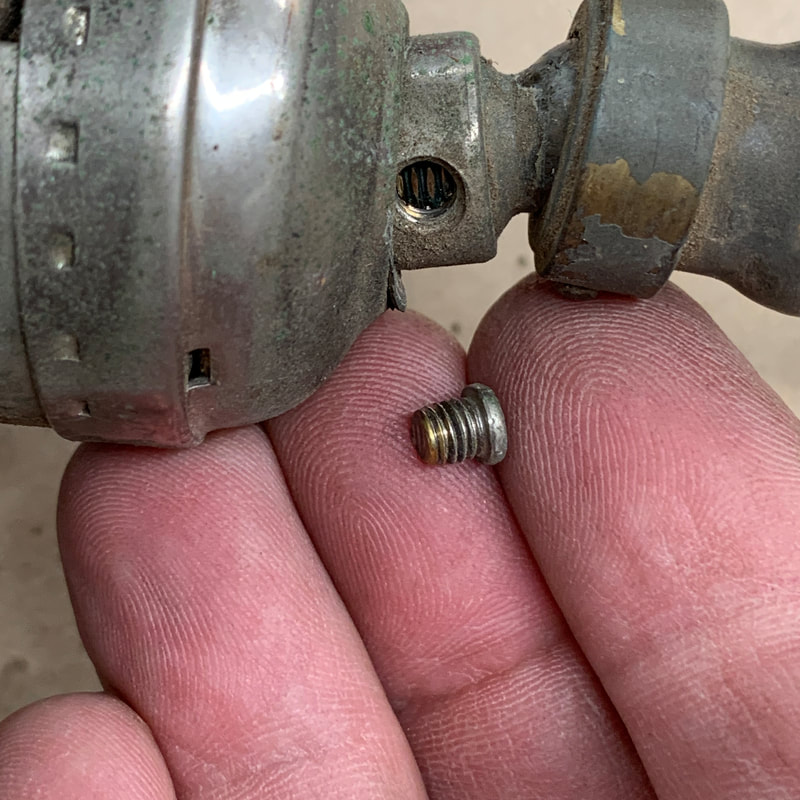
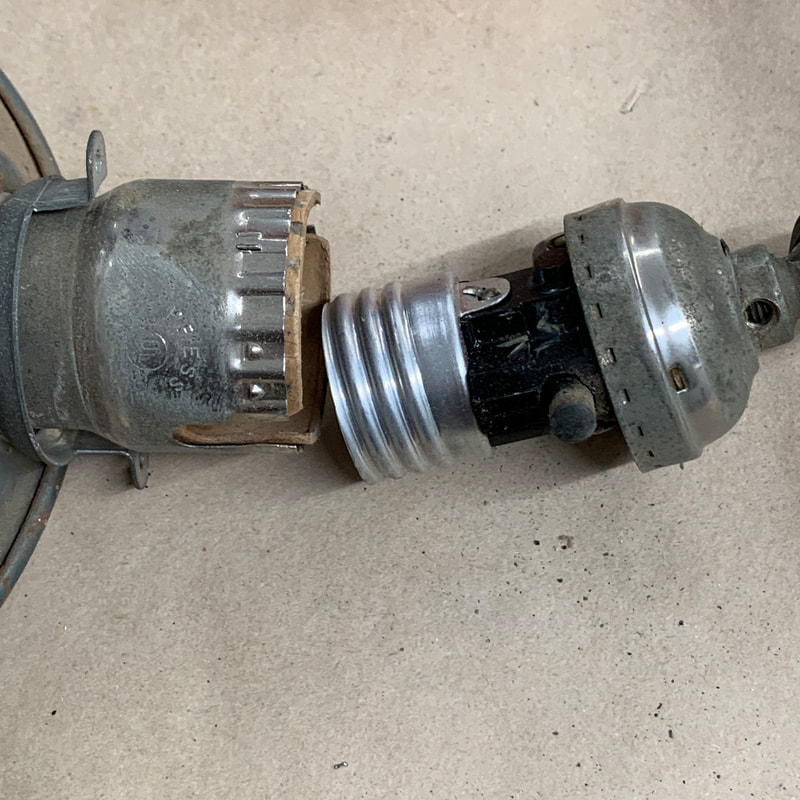
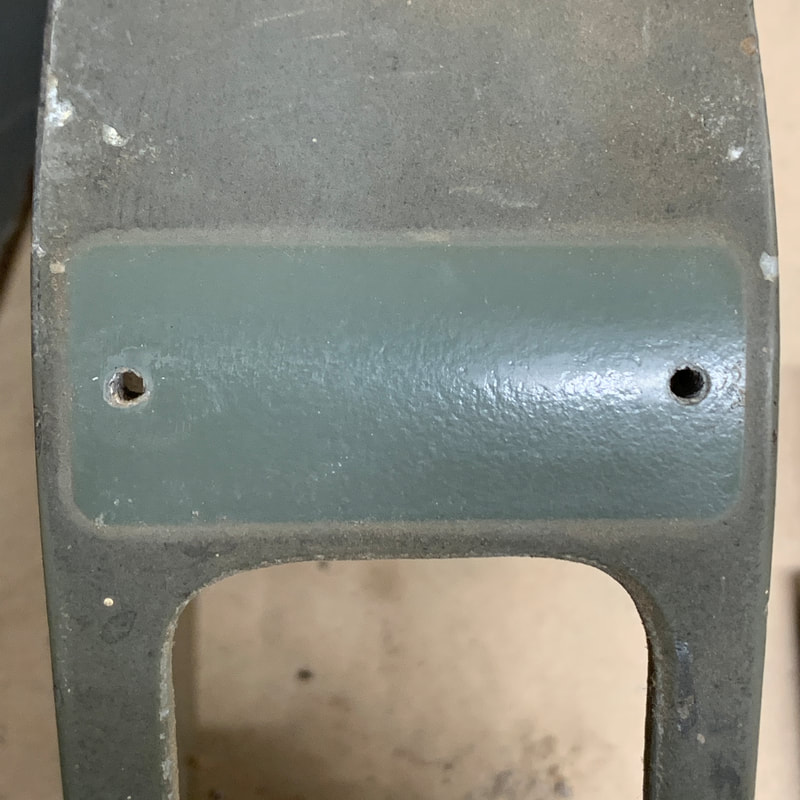
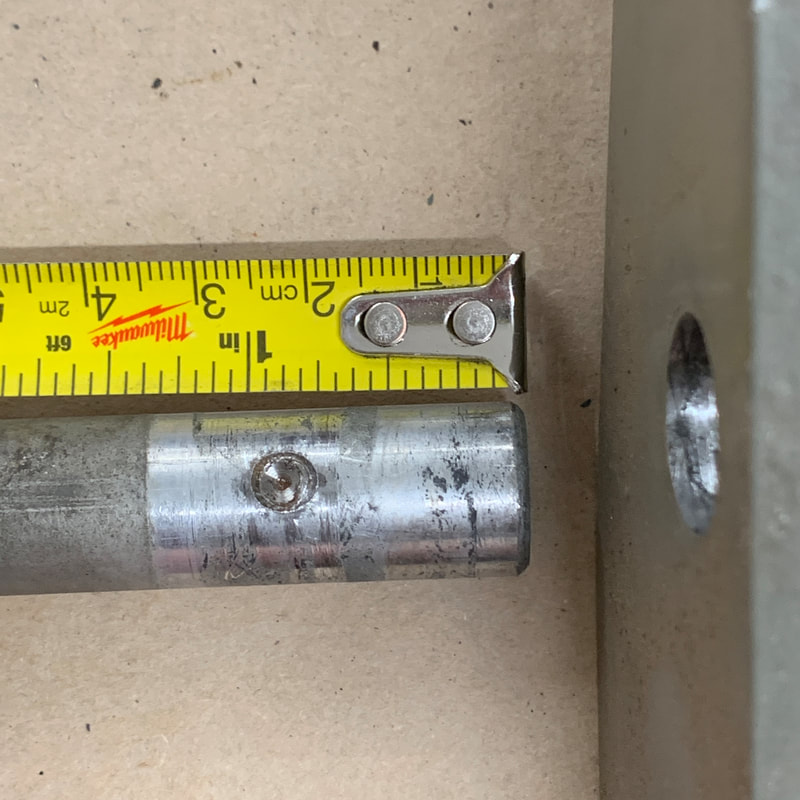
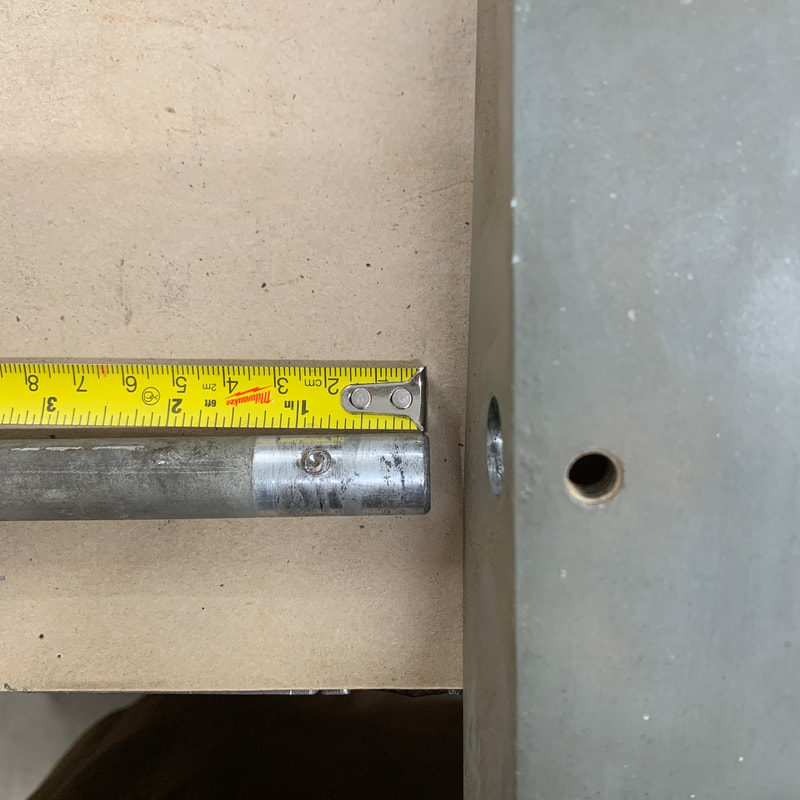
Light fixture mounting pin removal
|
                      |
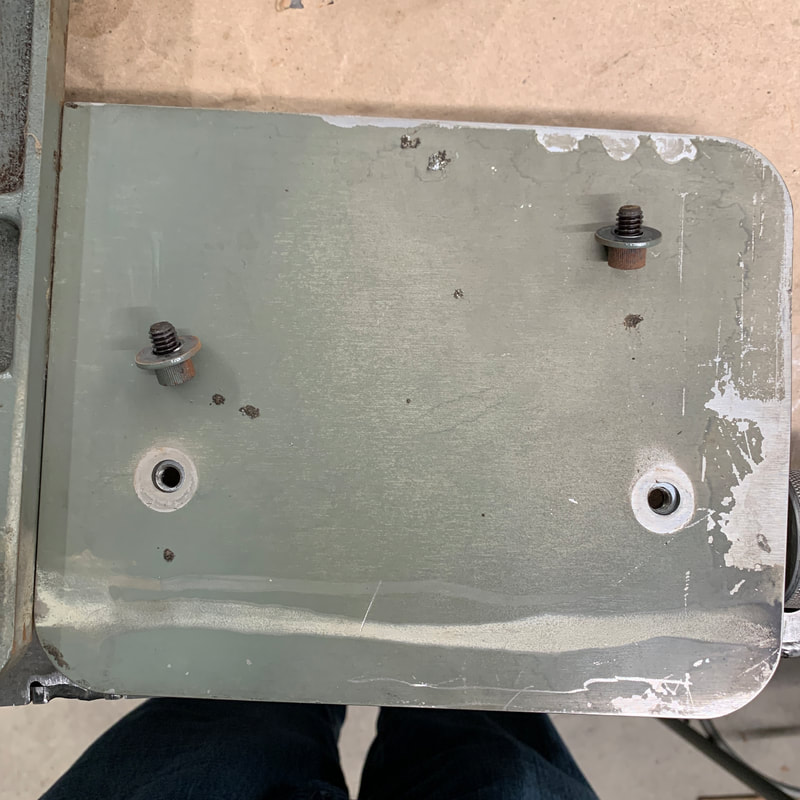
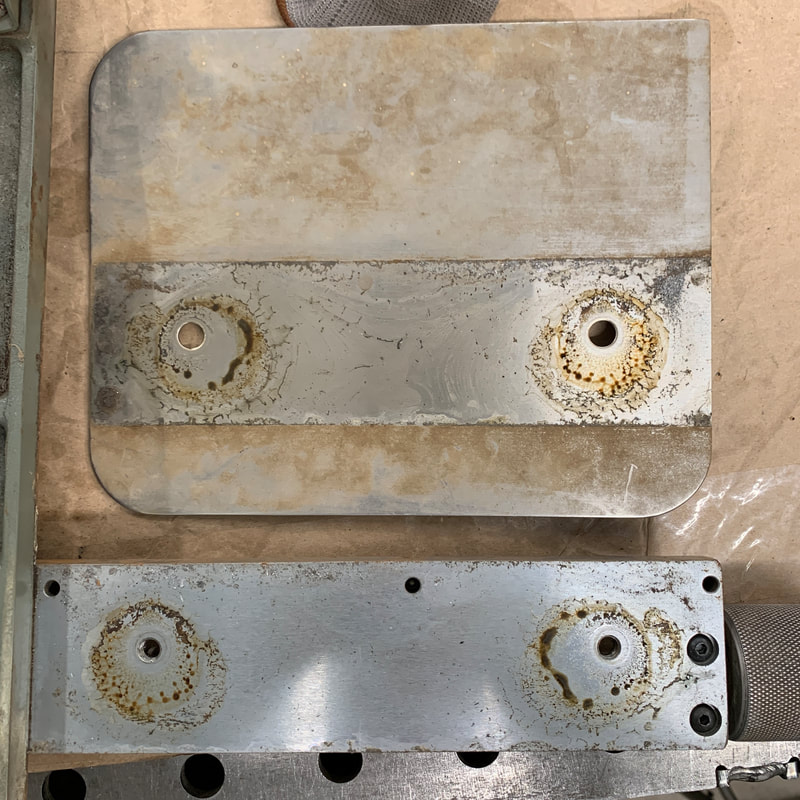
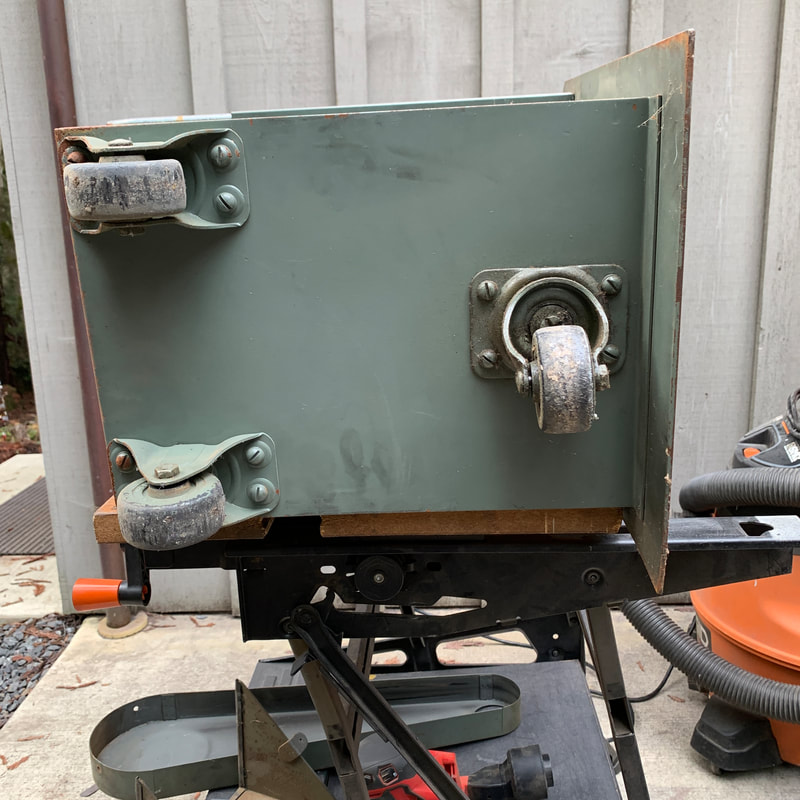
Rear (movable) sub-table removal
|
      |
Front (fixed) sub-table removal
|
  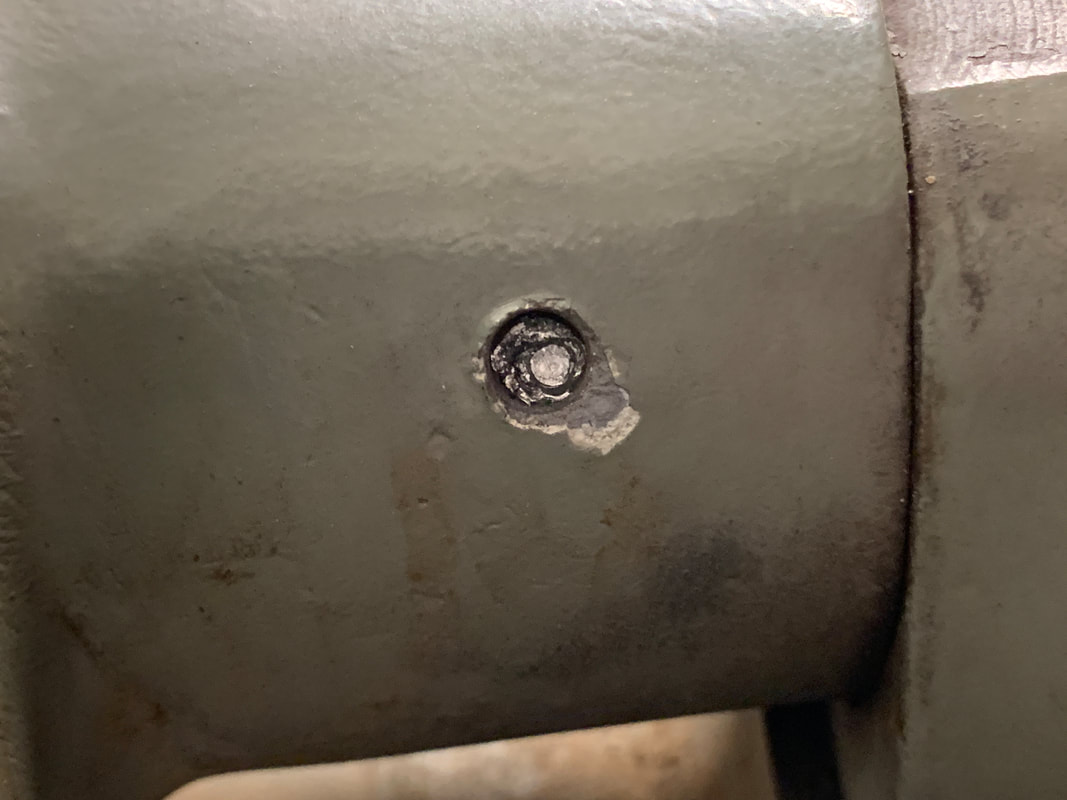   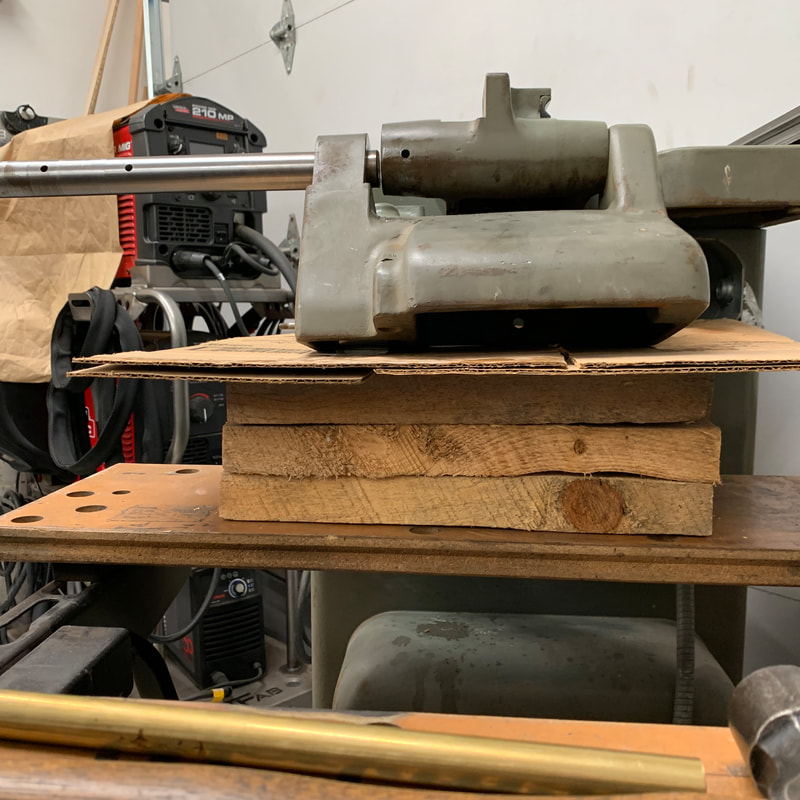 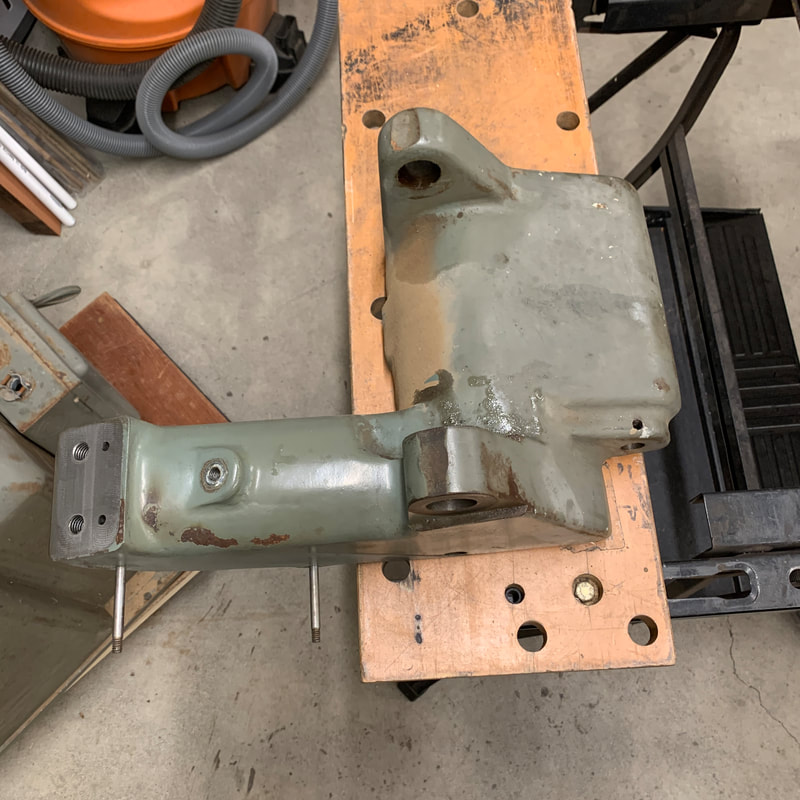 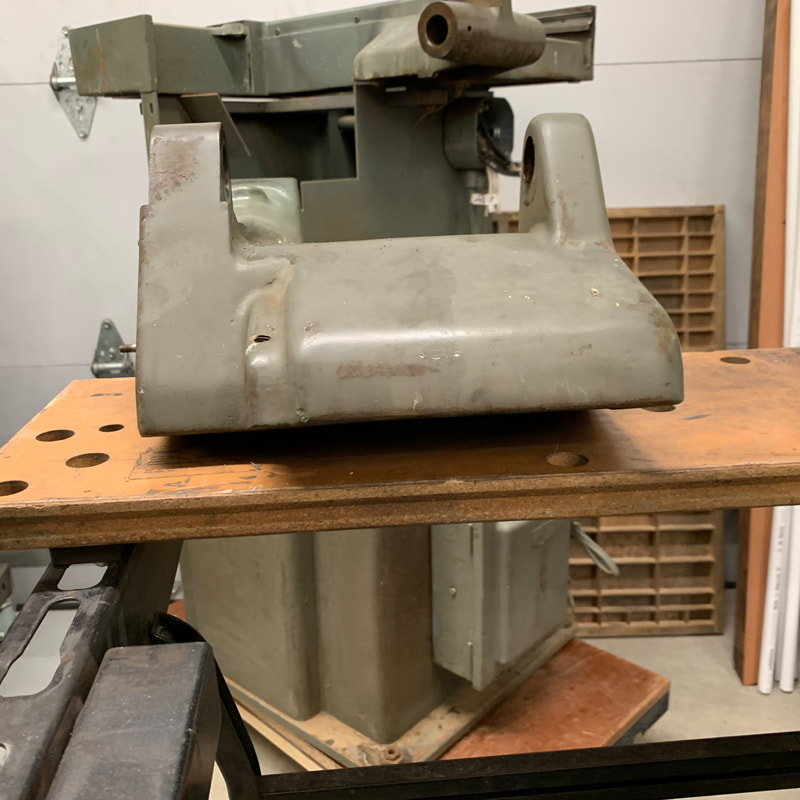 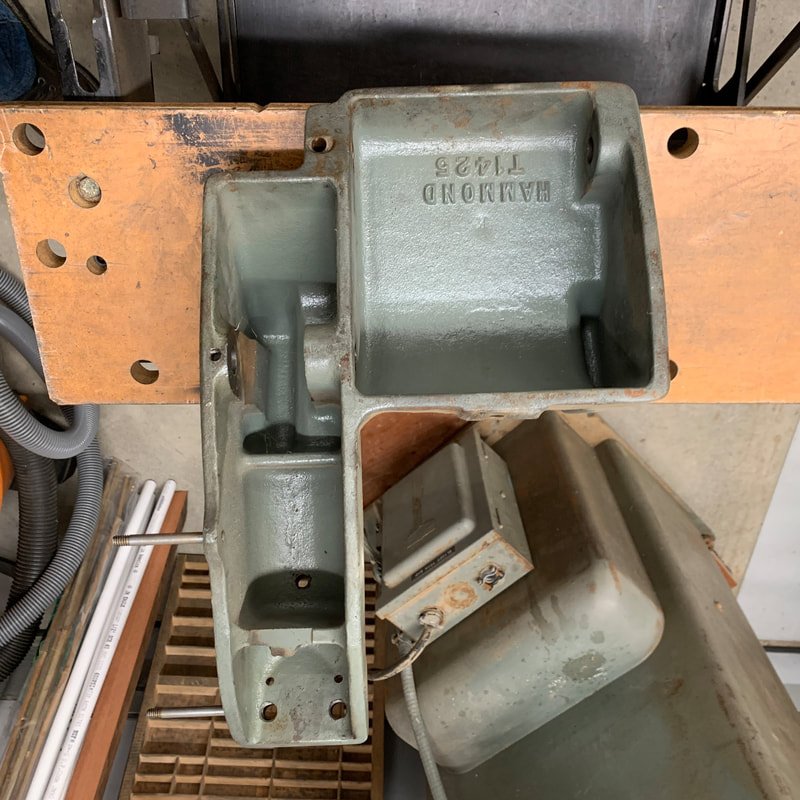 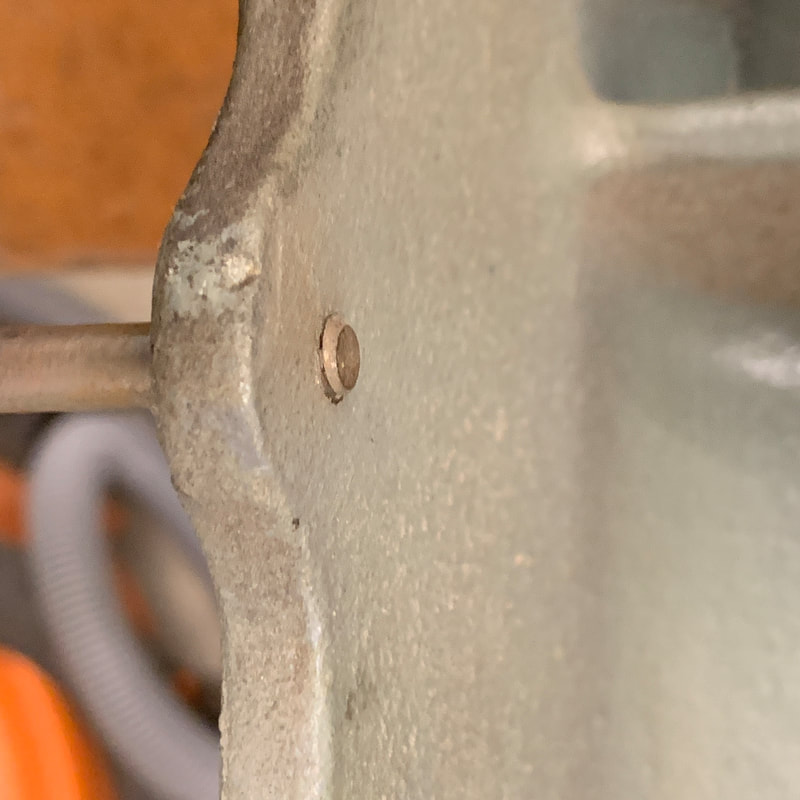  |
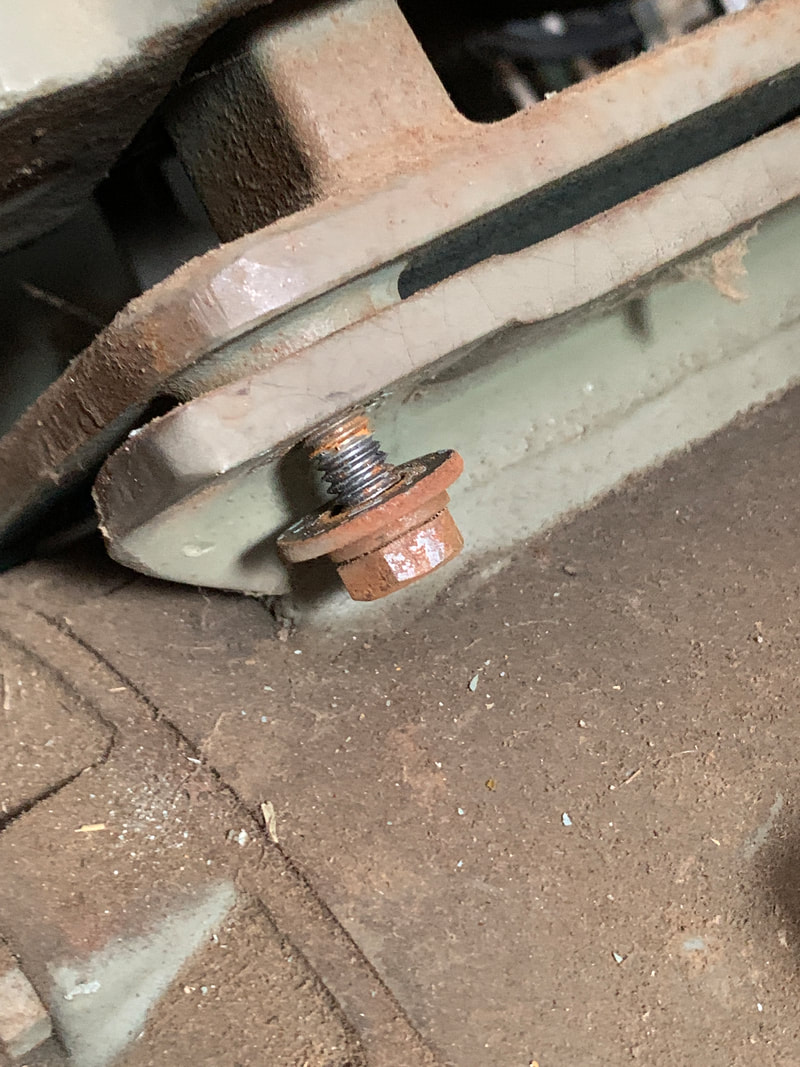
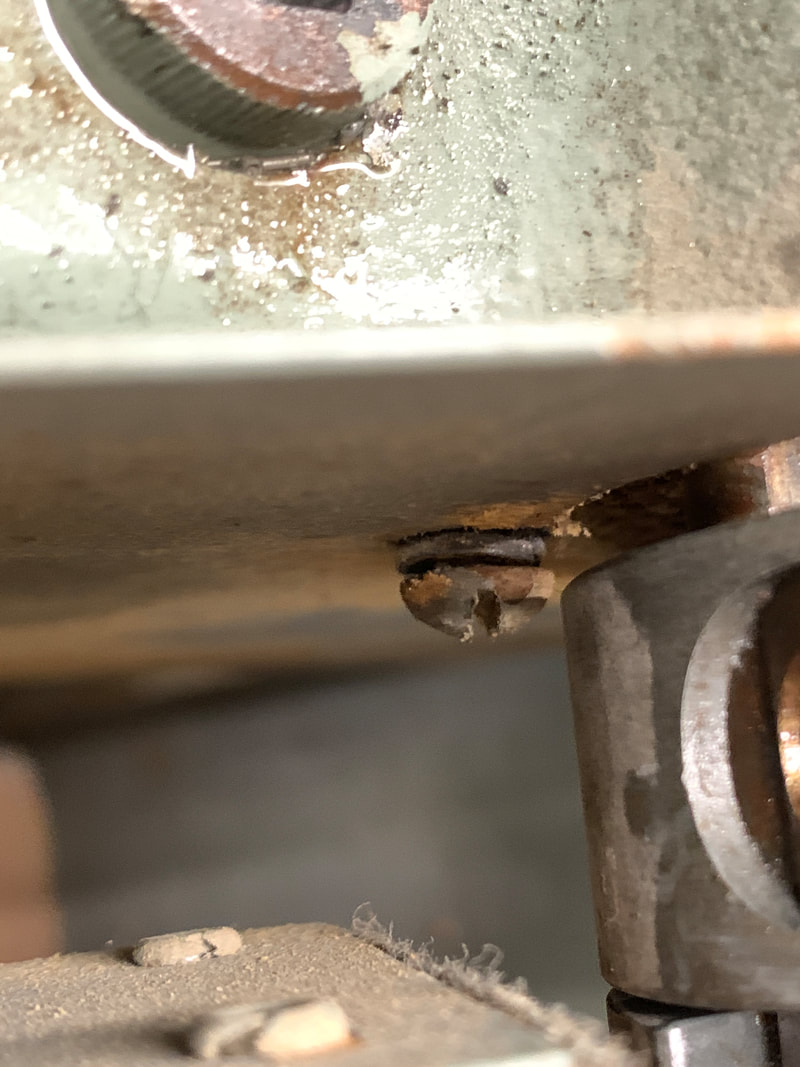
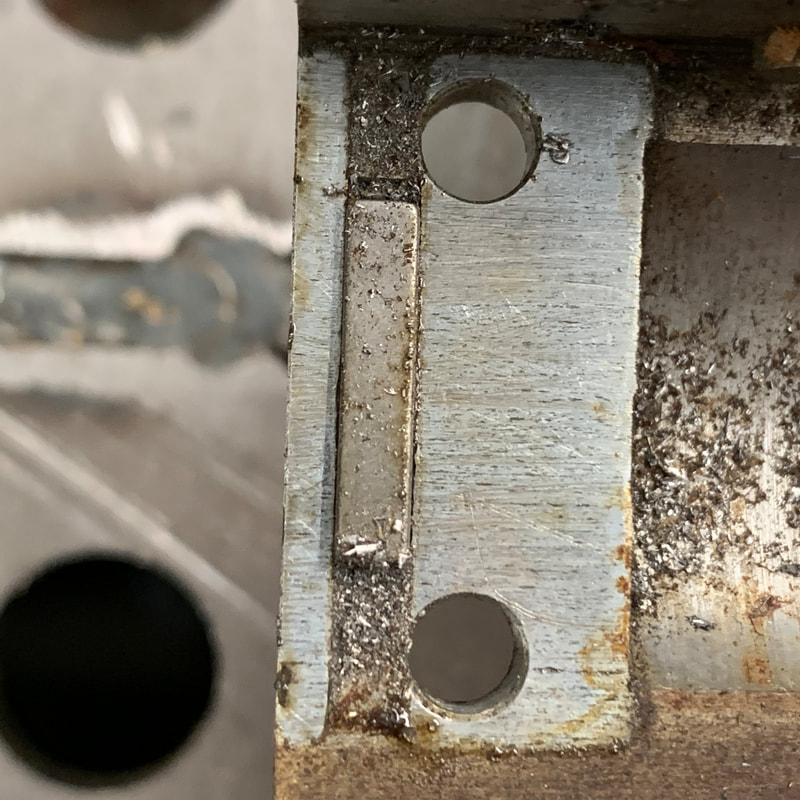
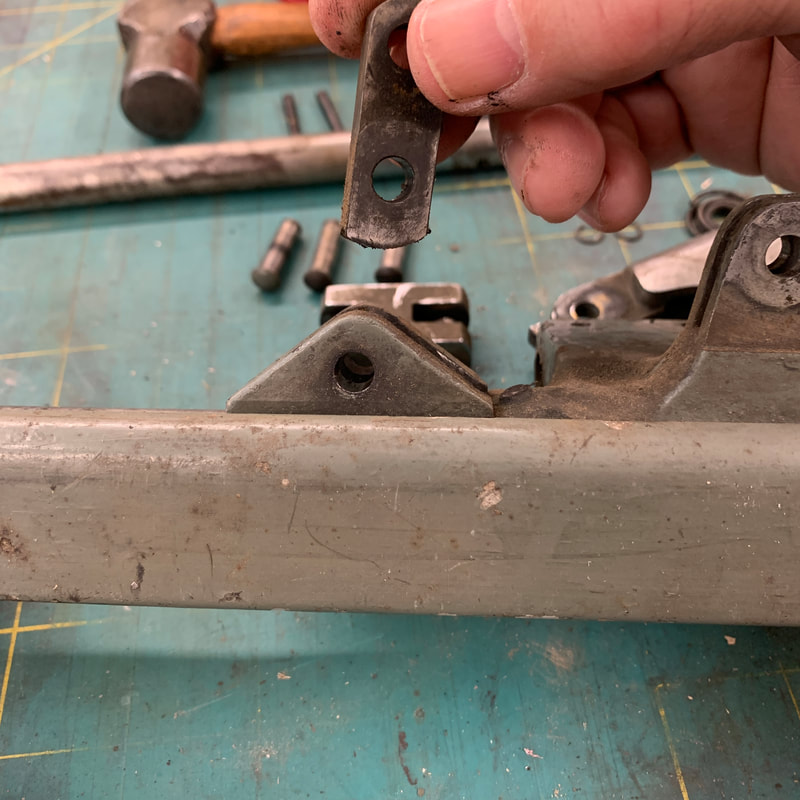
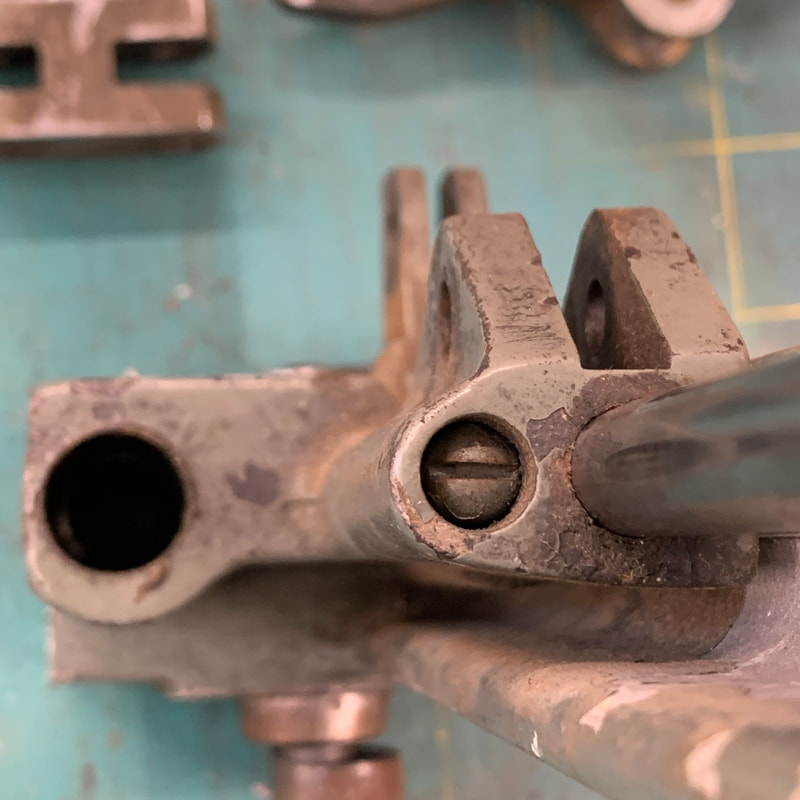
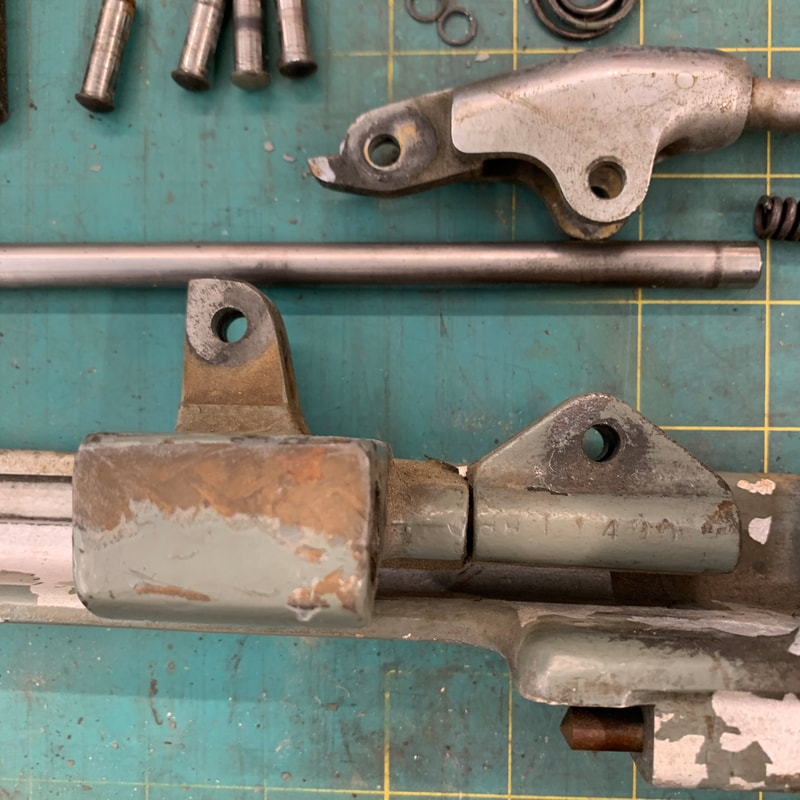
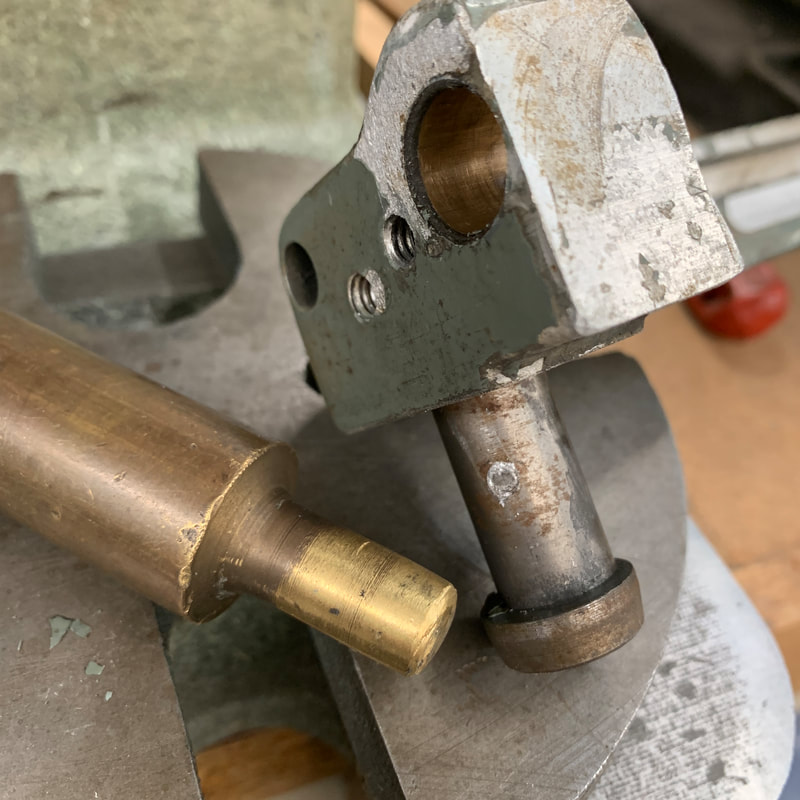
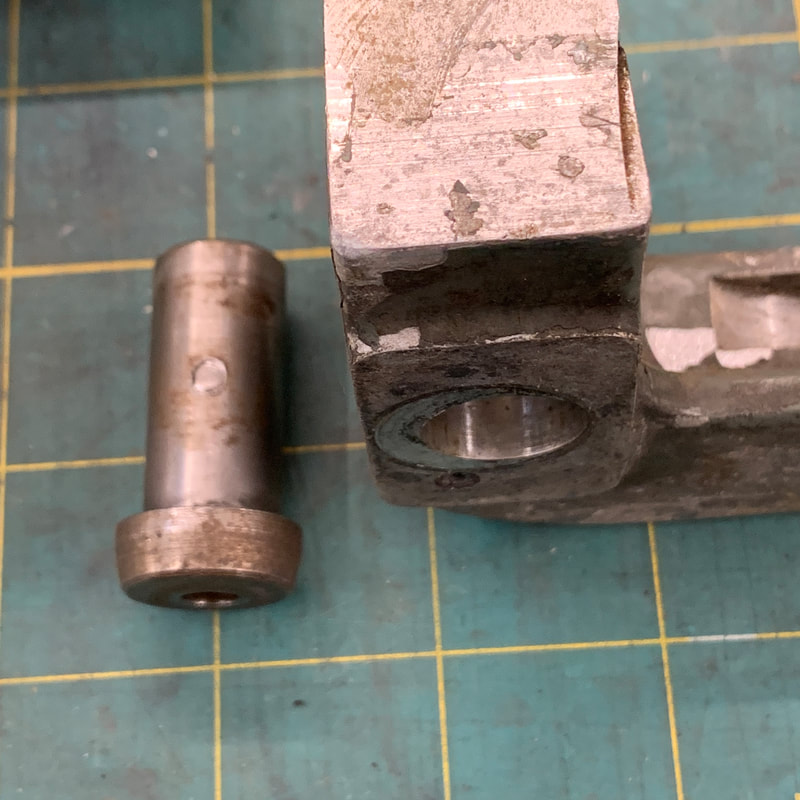
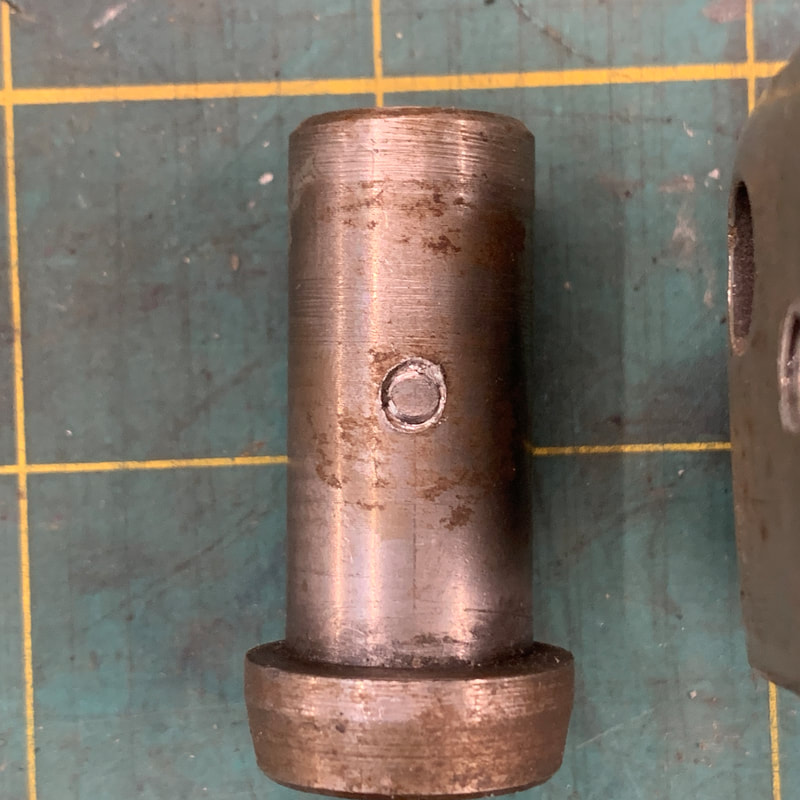
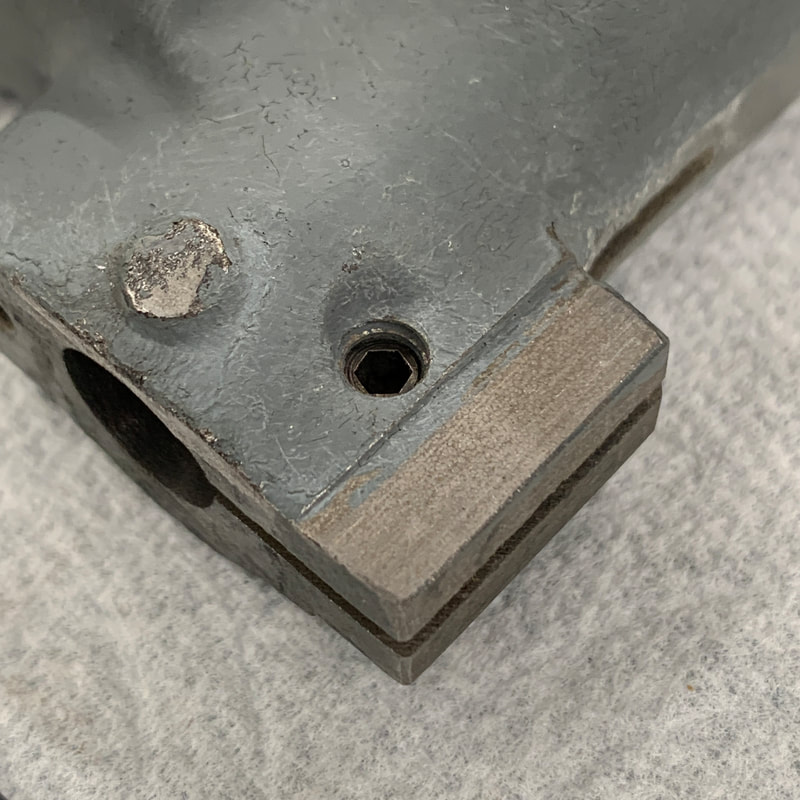
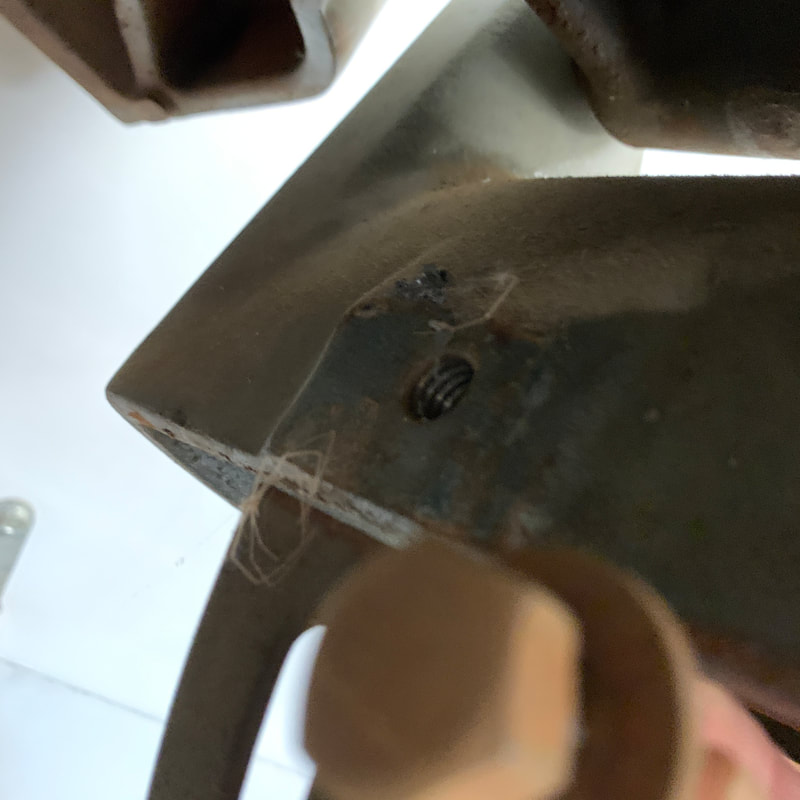
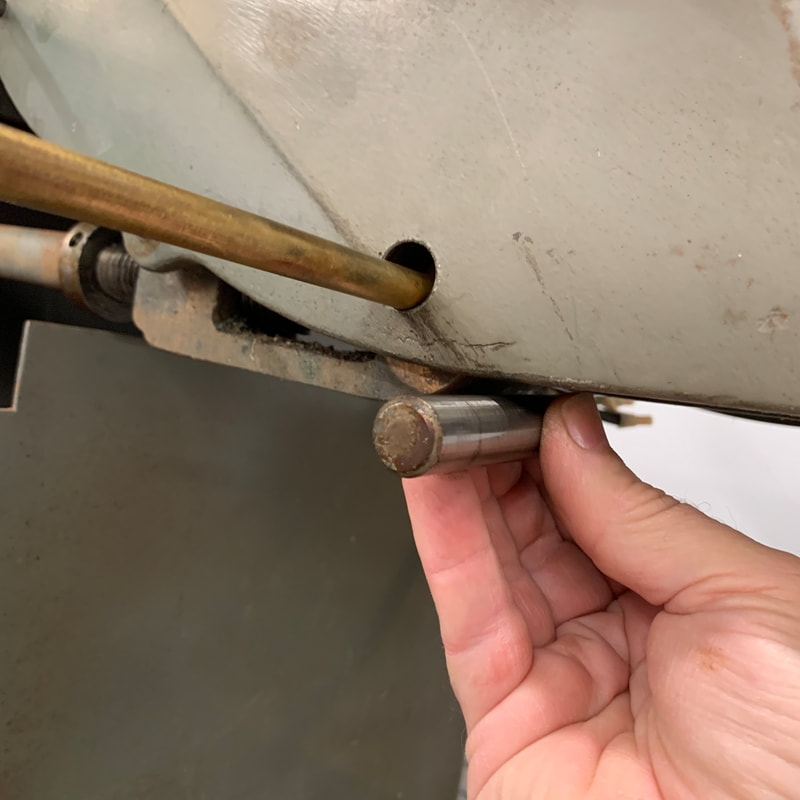
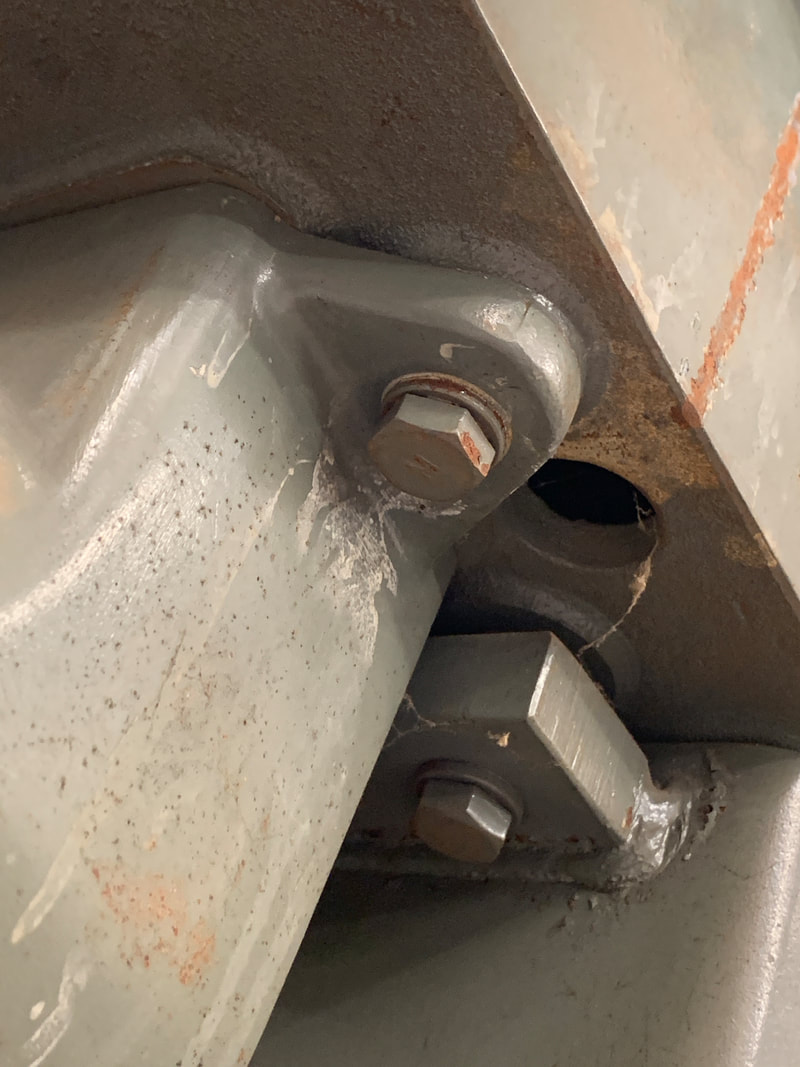
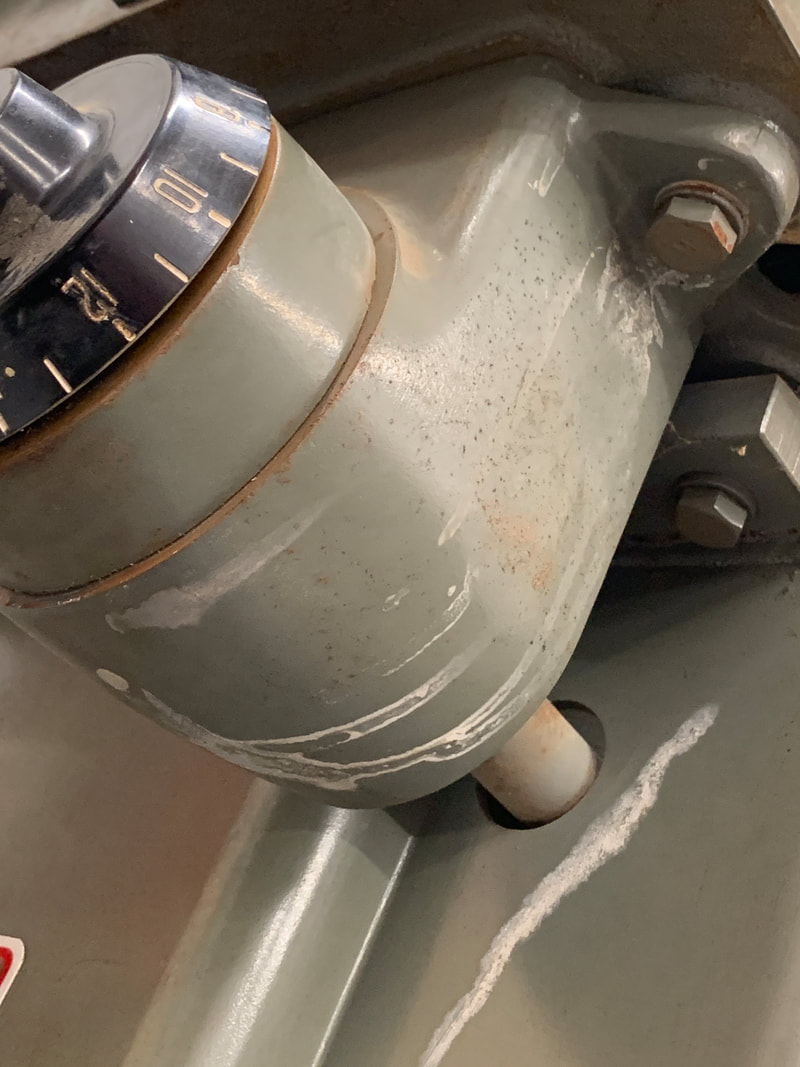
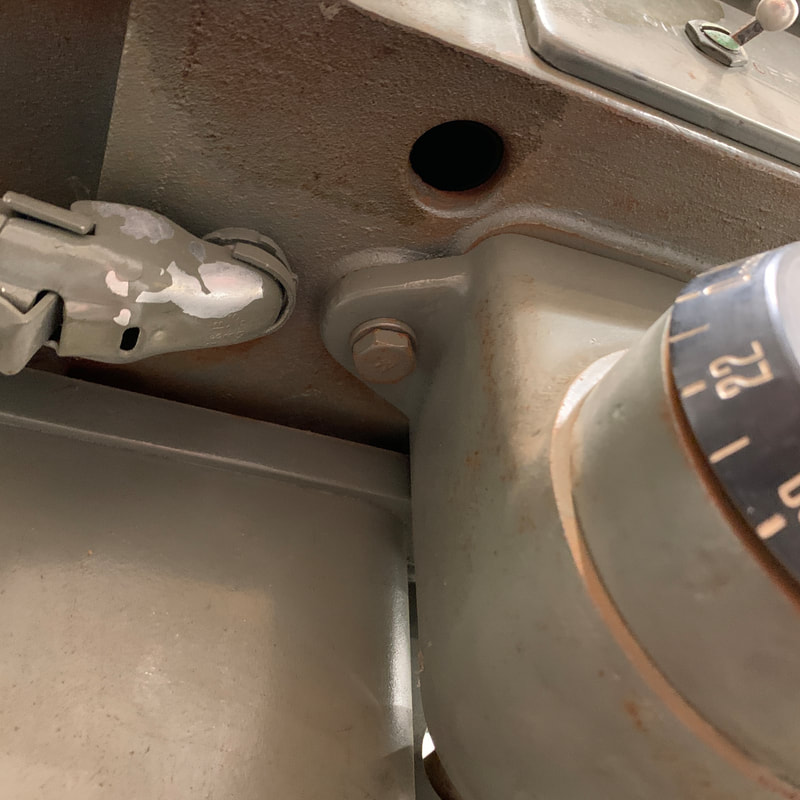
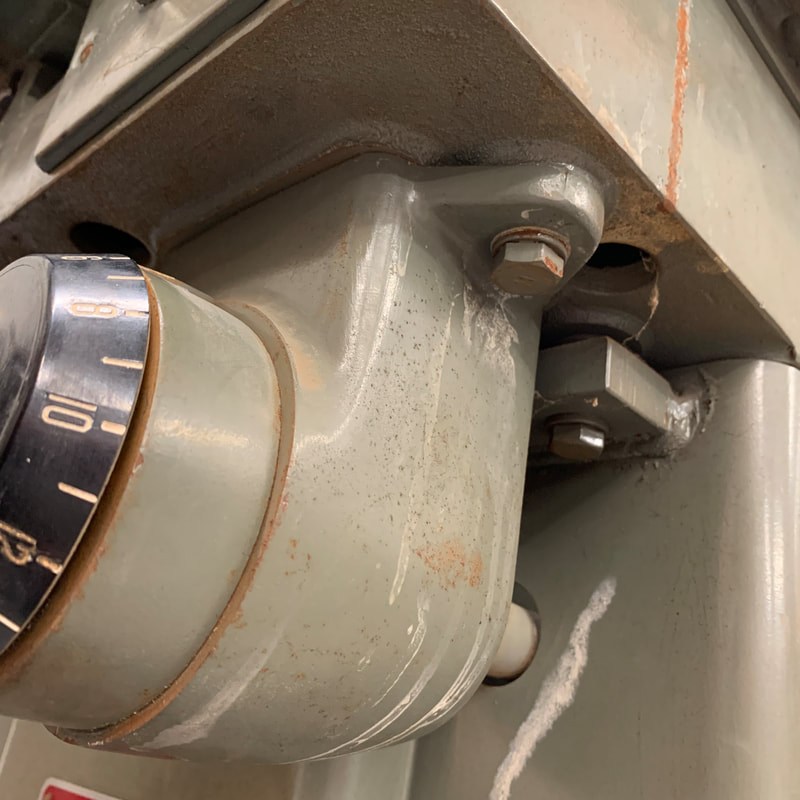
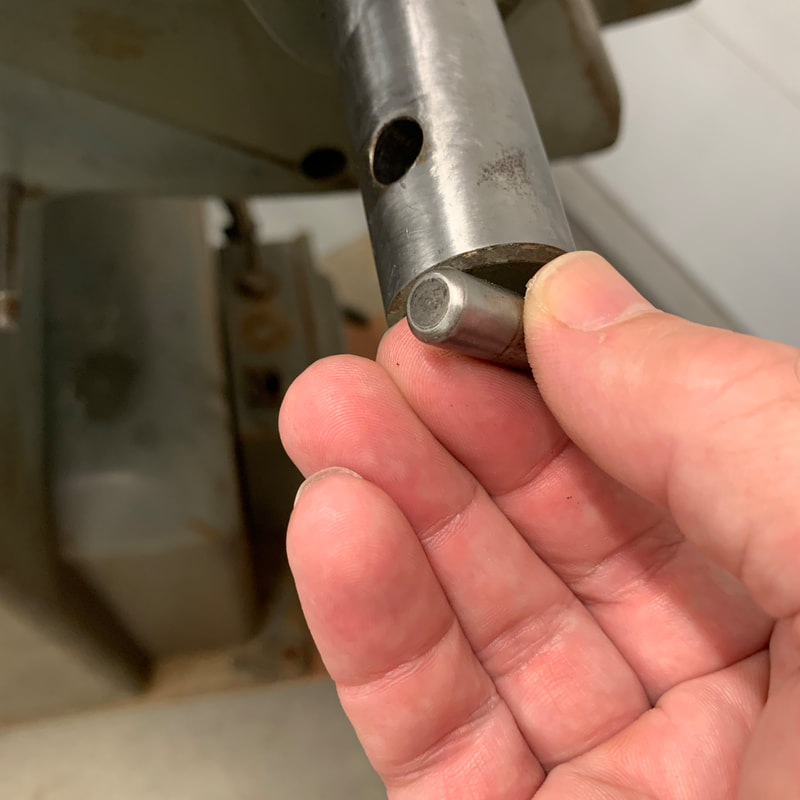
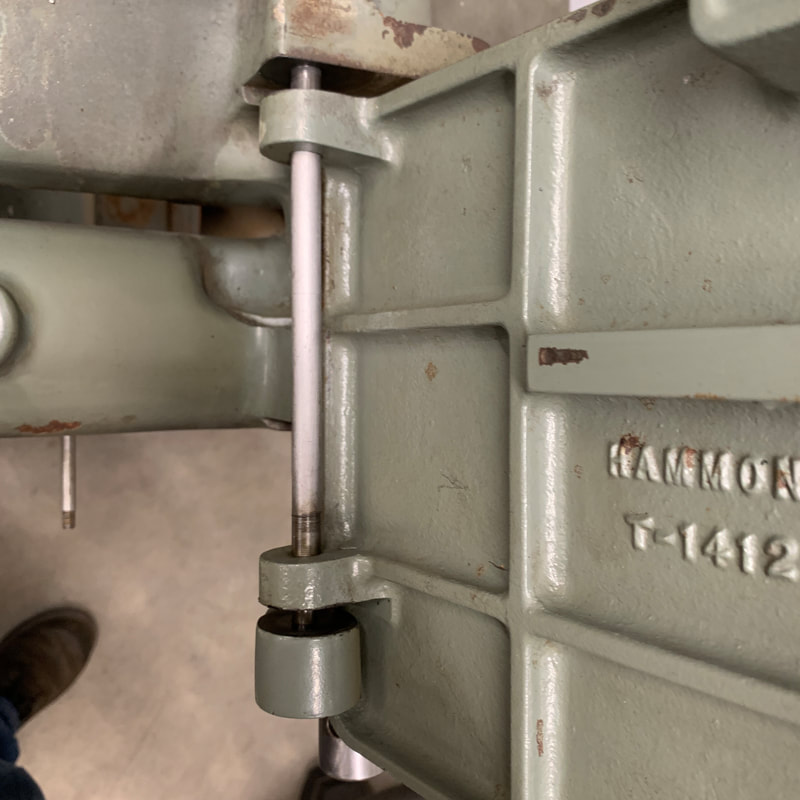
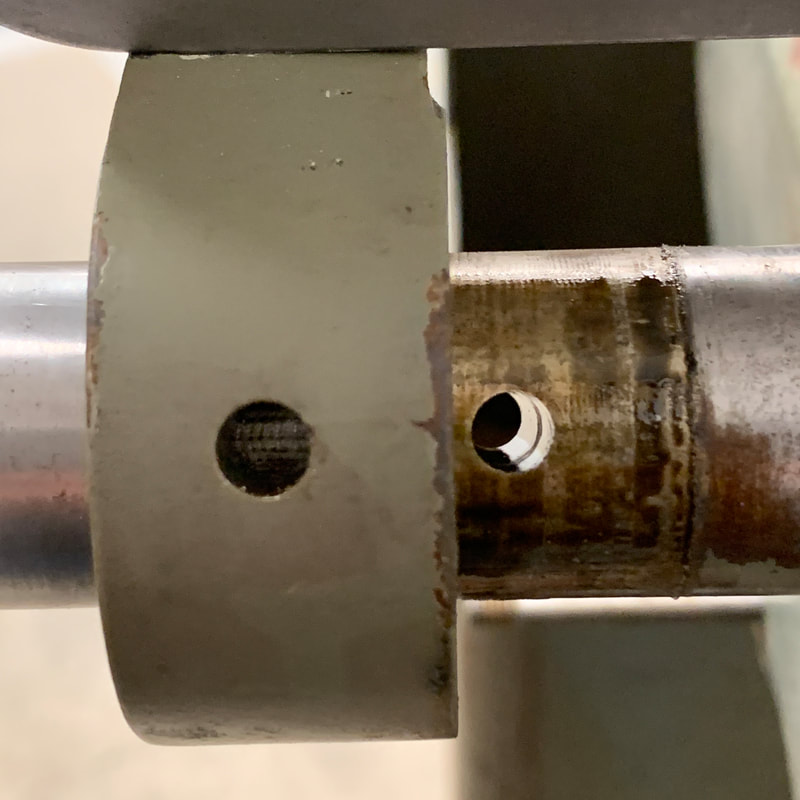
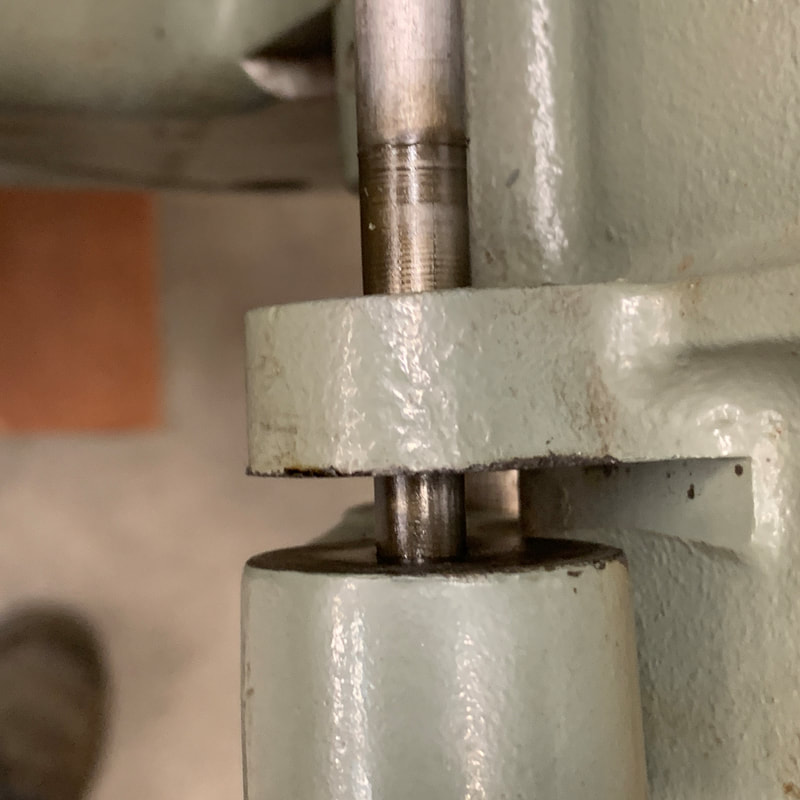
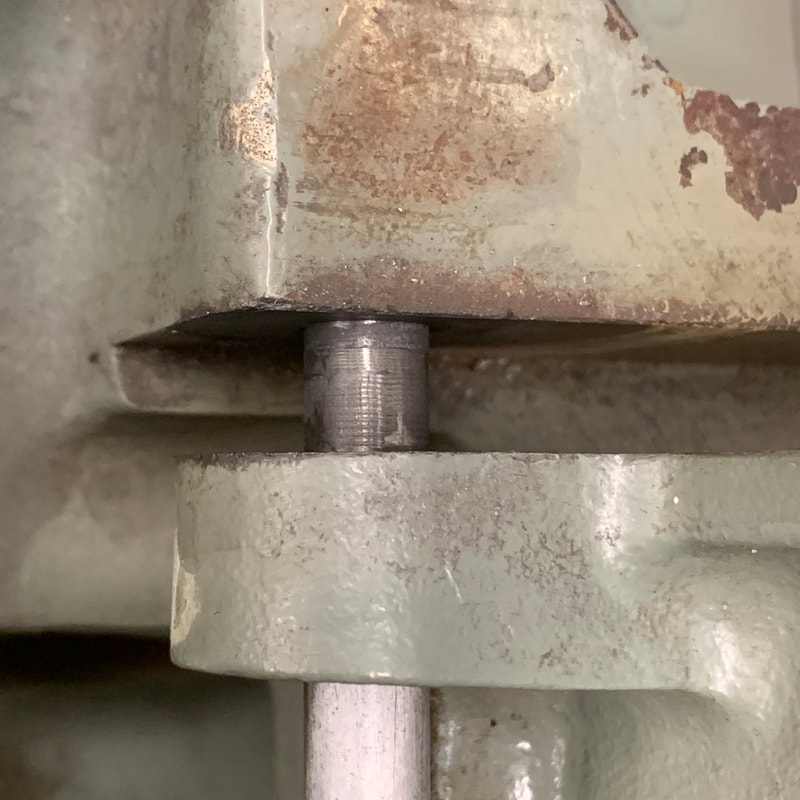
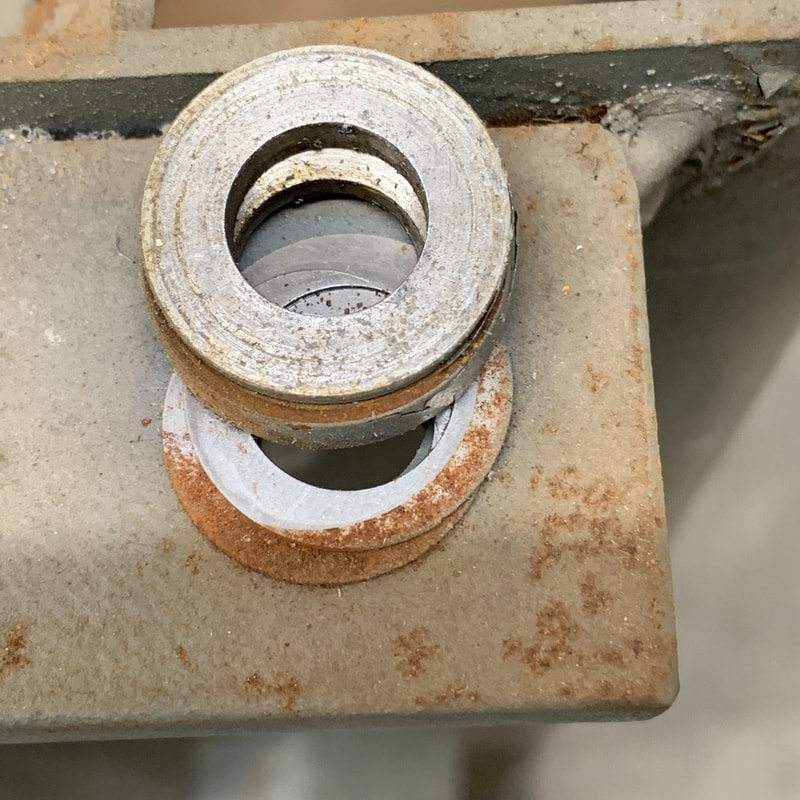
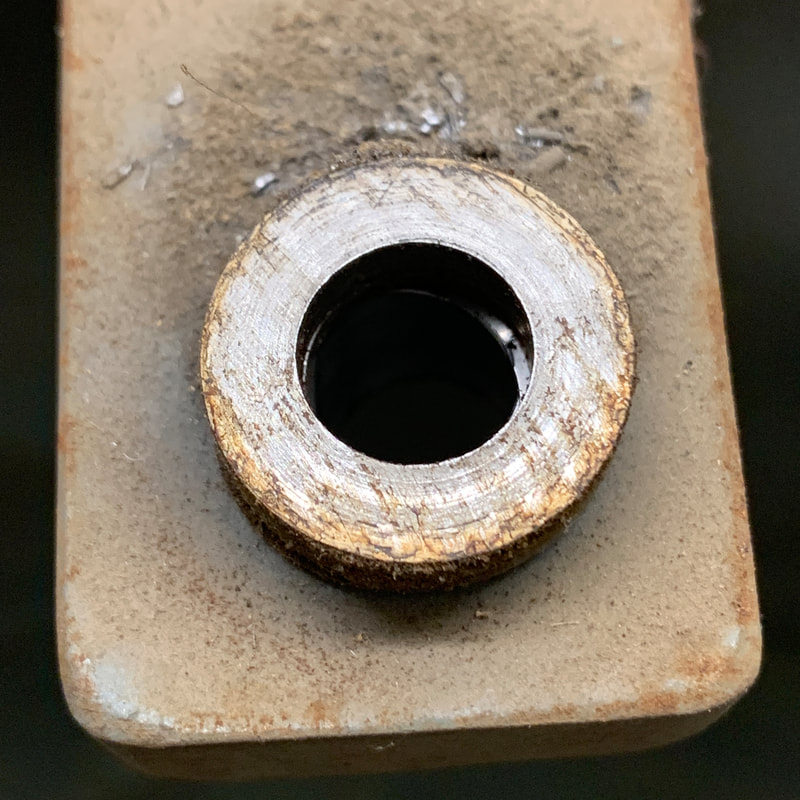
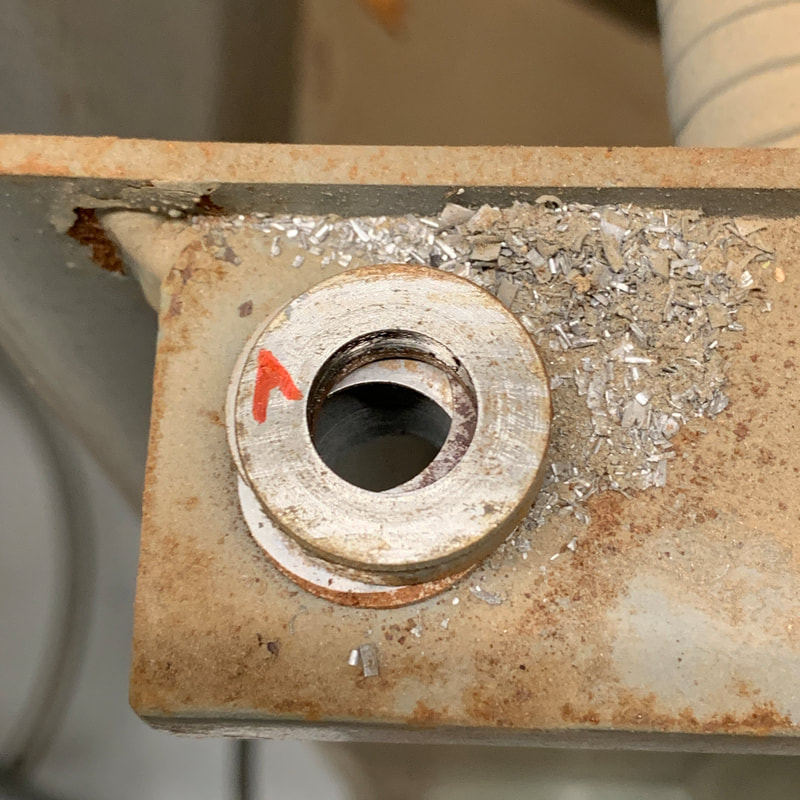
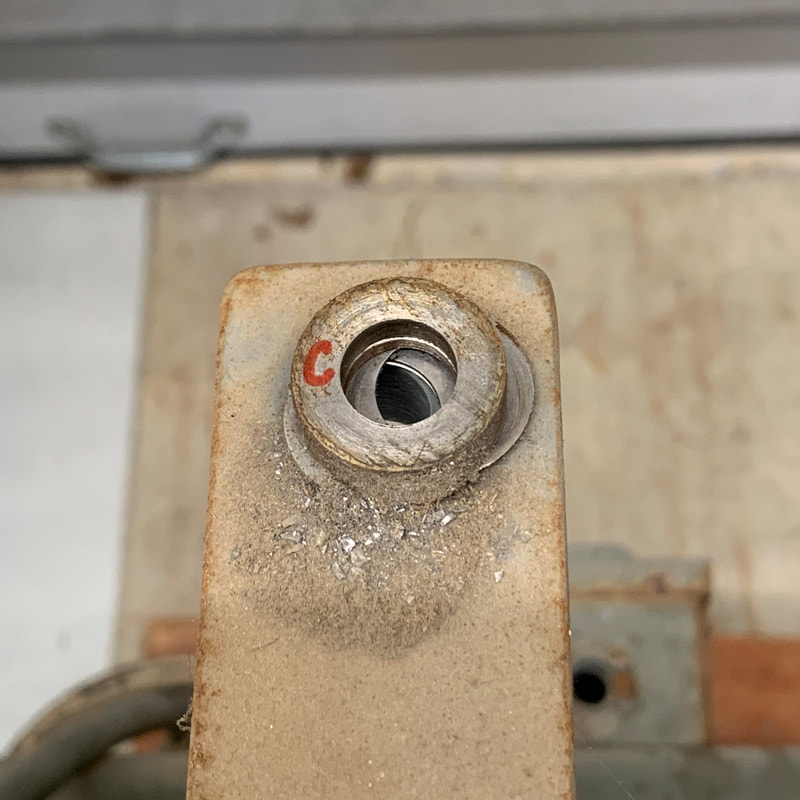
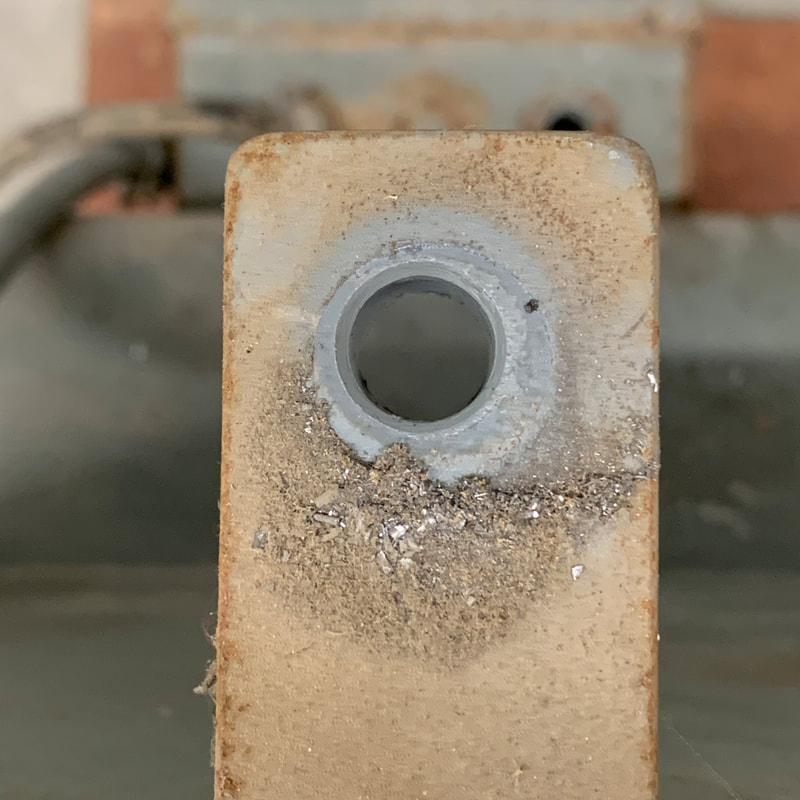
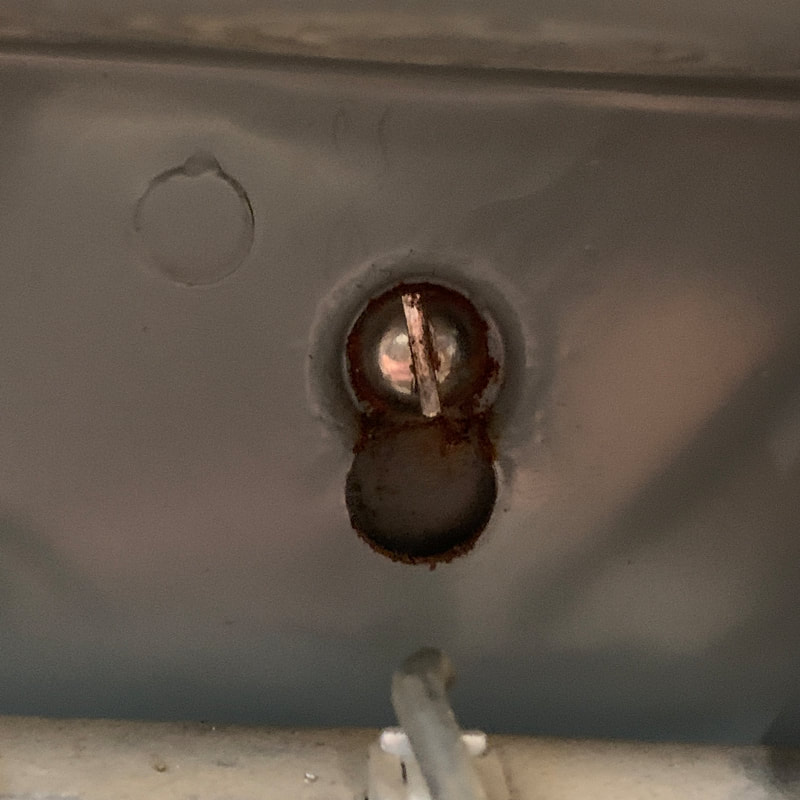
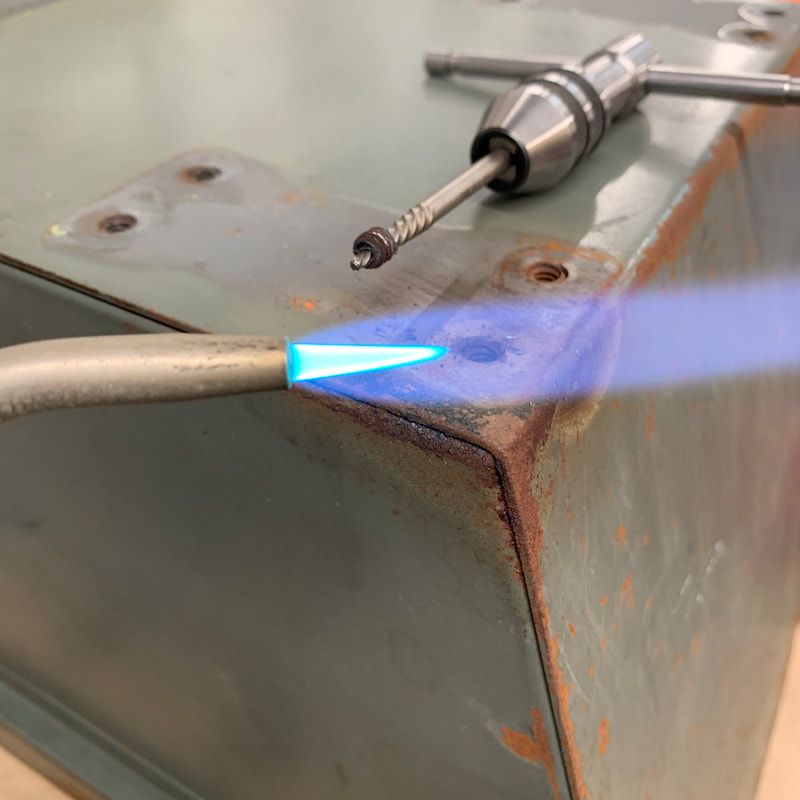
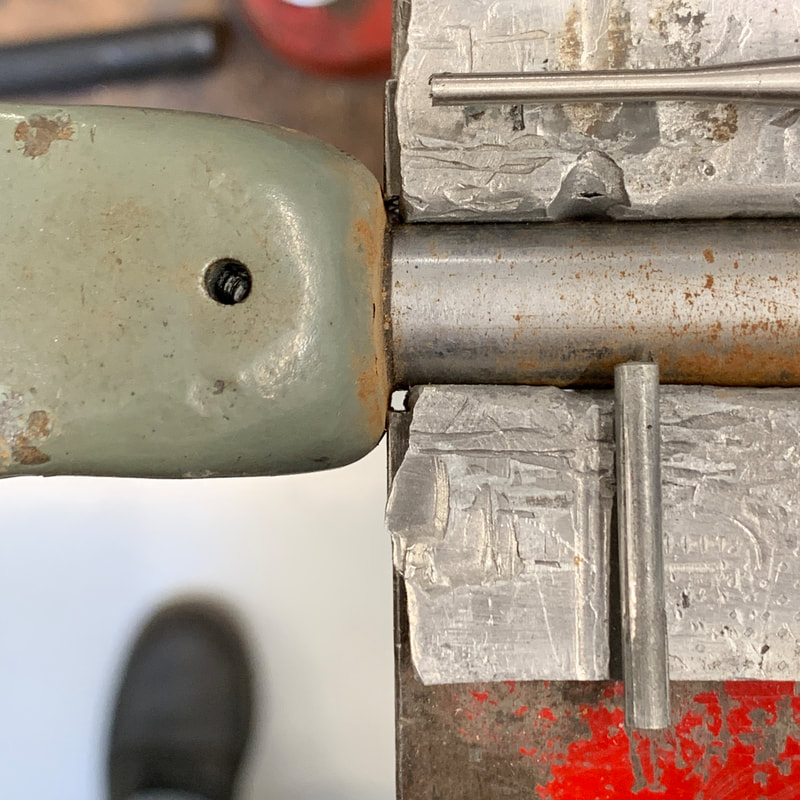
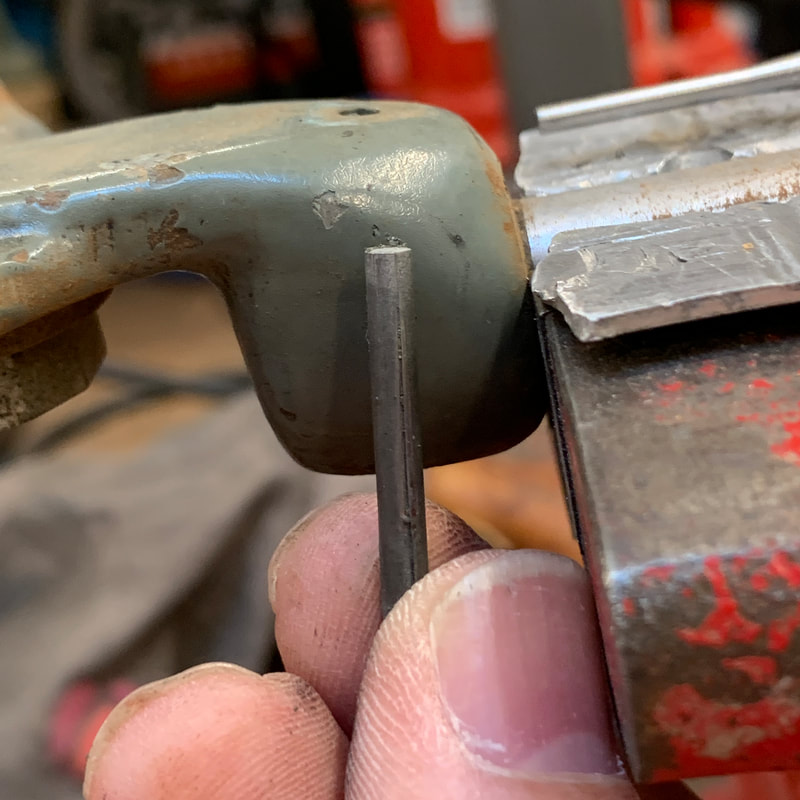
Spindle and motor mount casting removal
These taper pins had to be drilled out. |
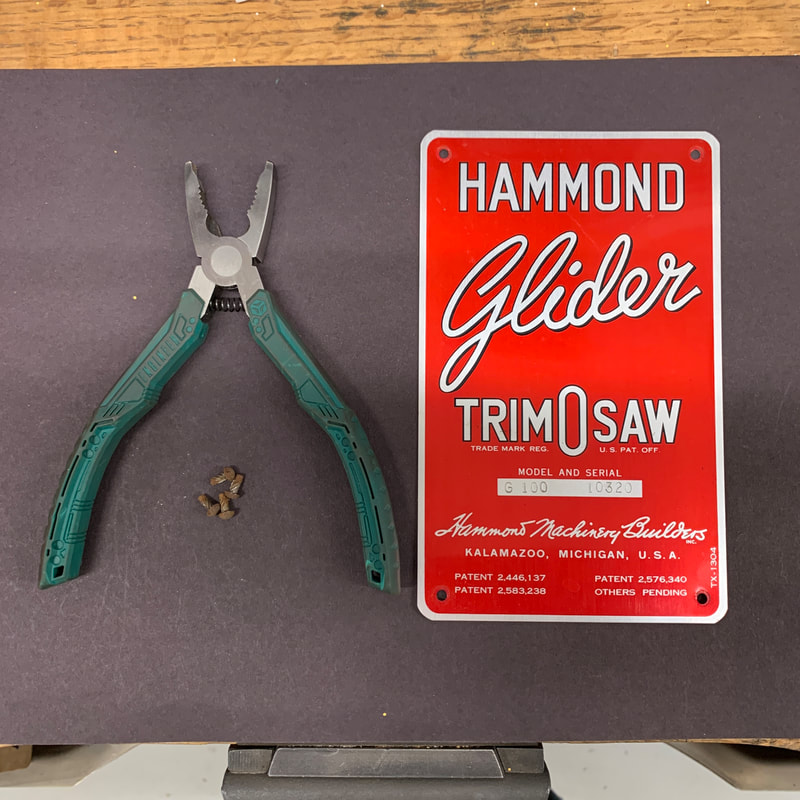 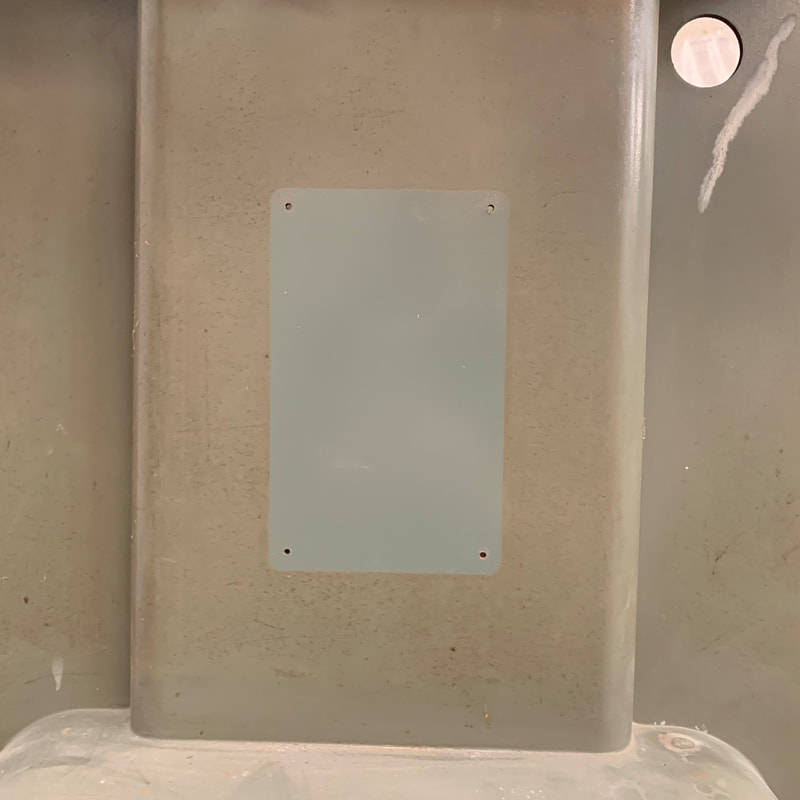 |
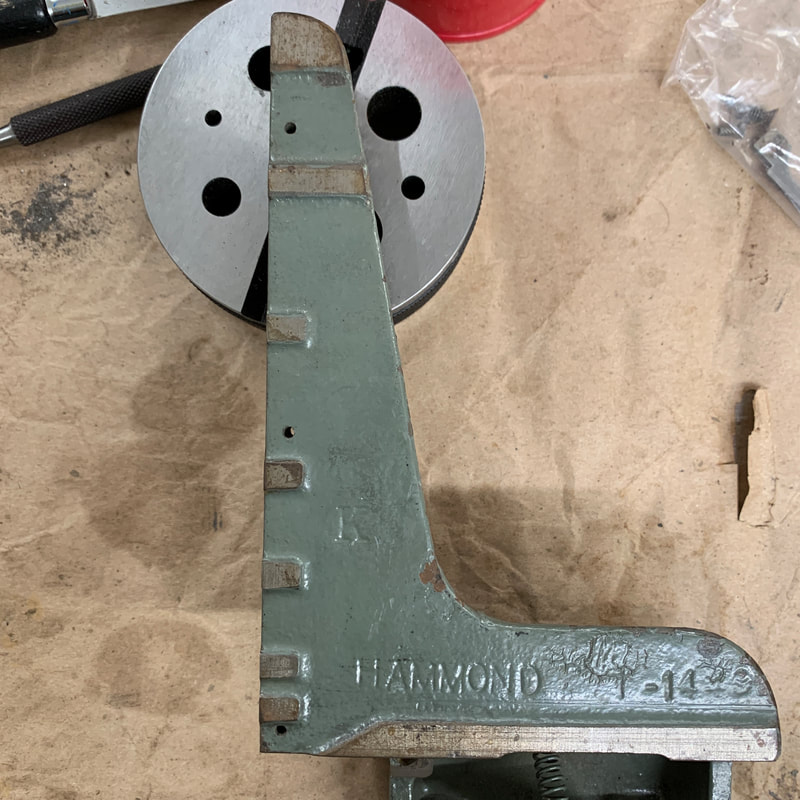
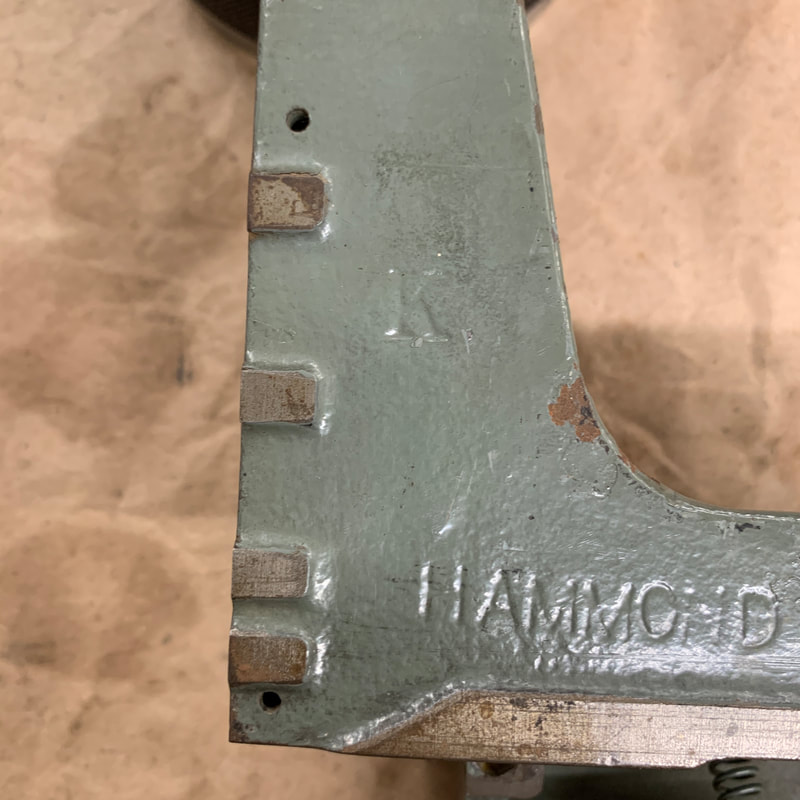
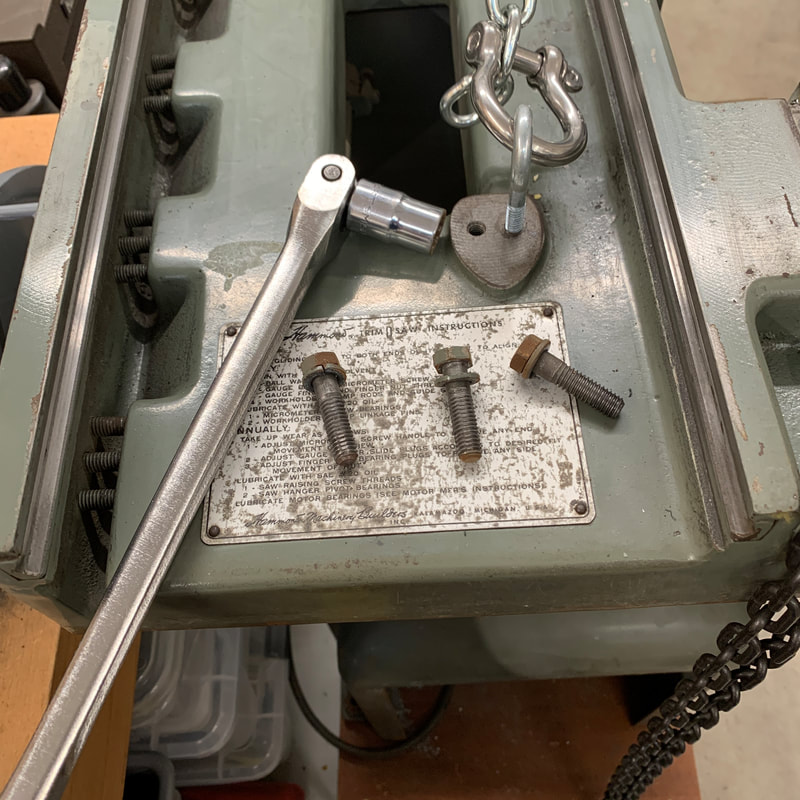
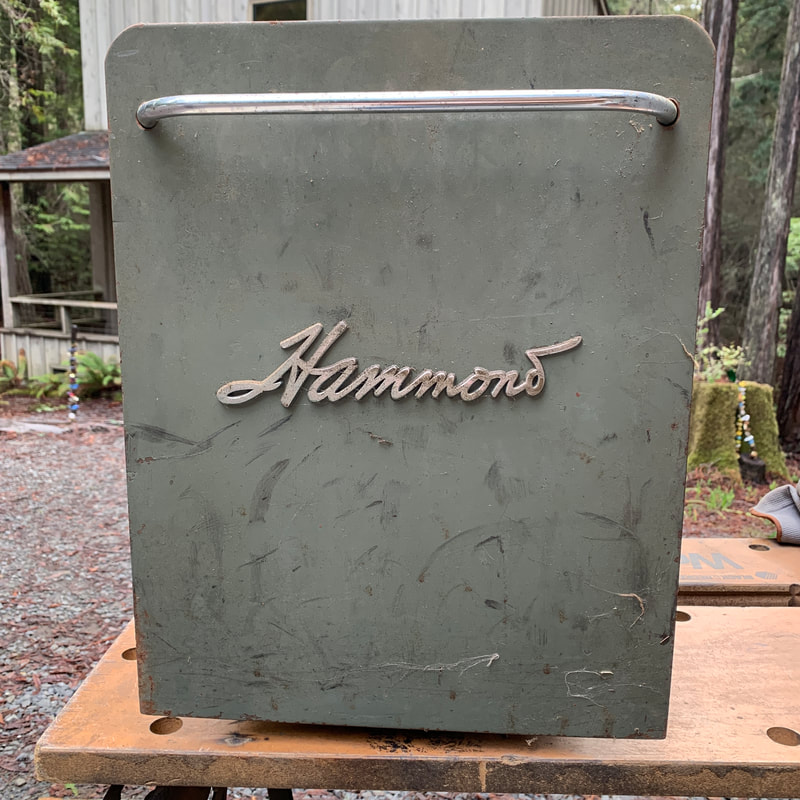
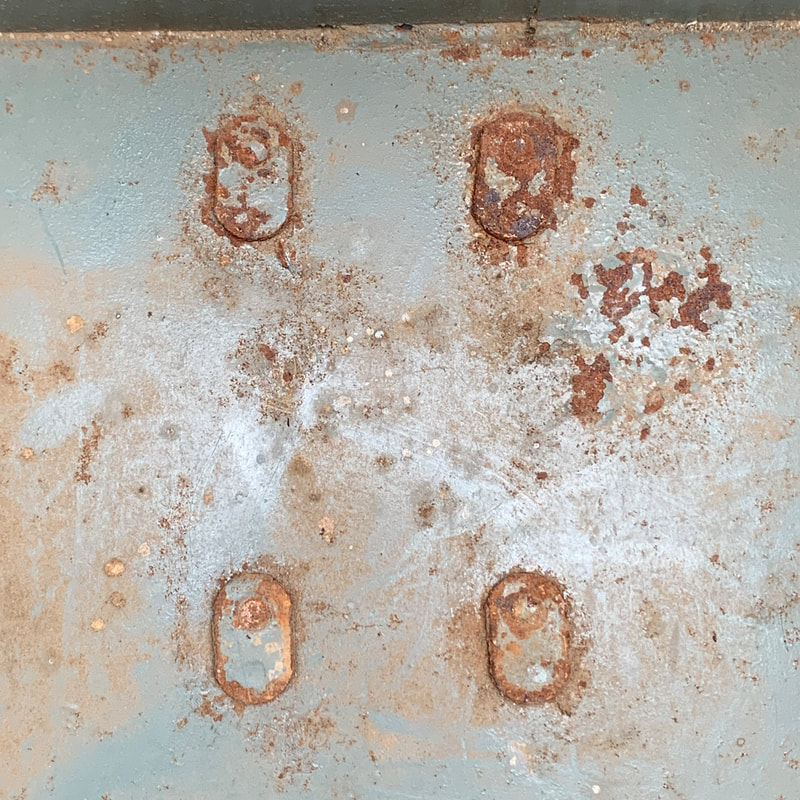
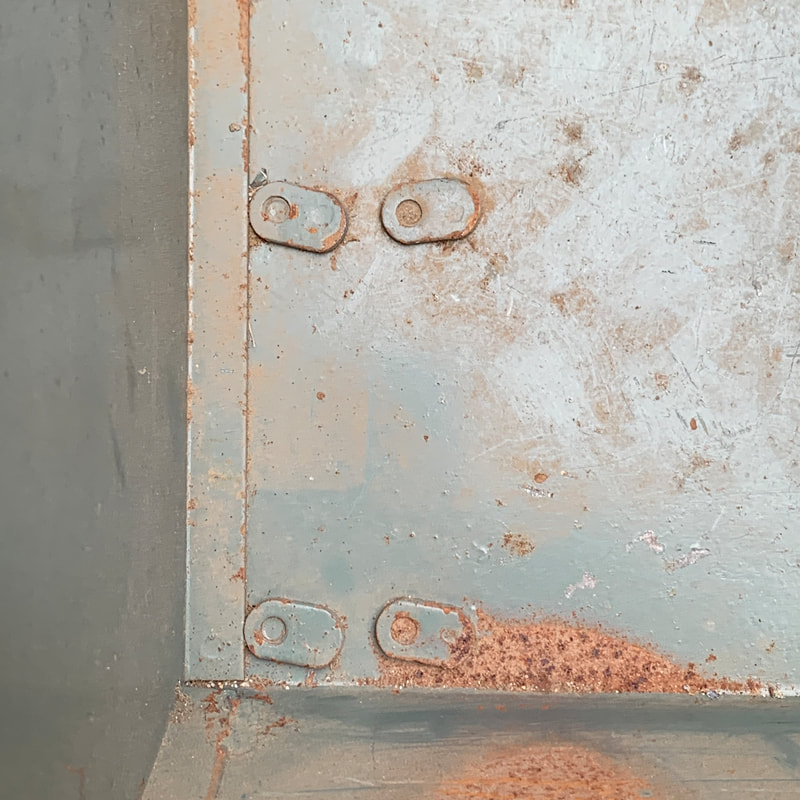
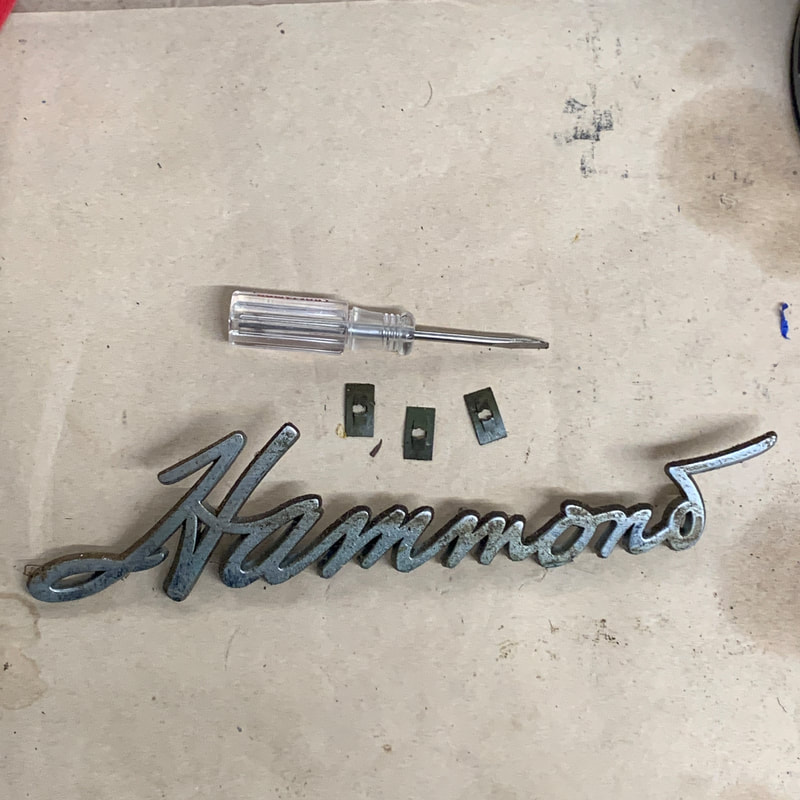
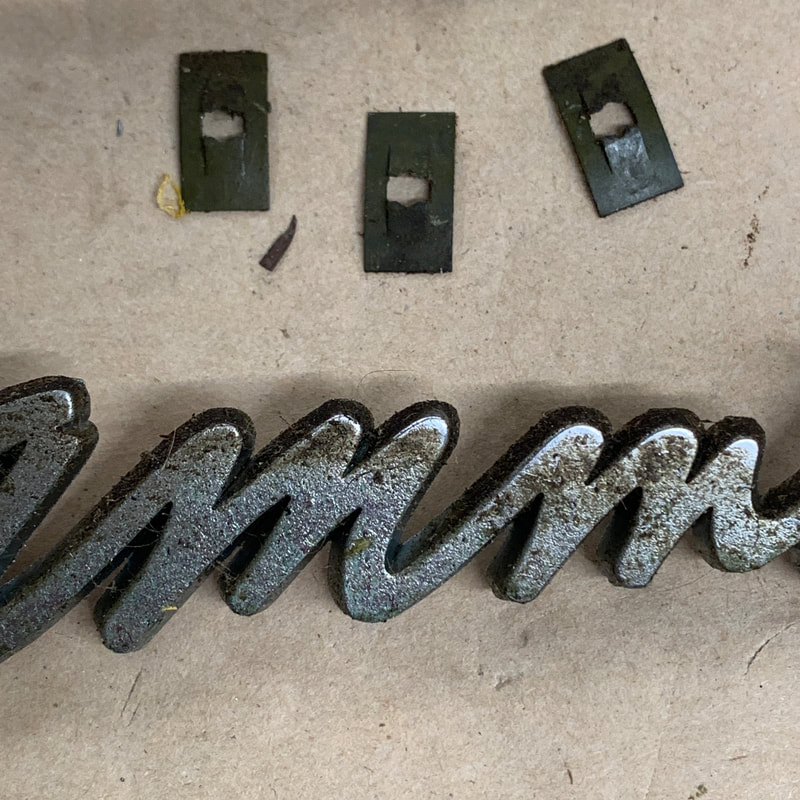
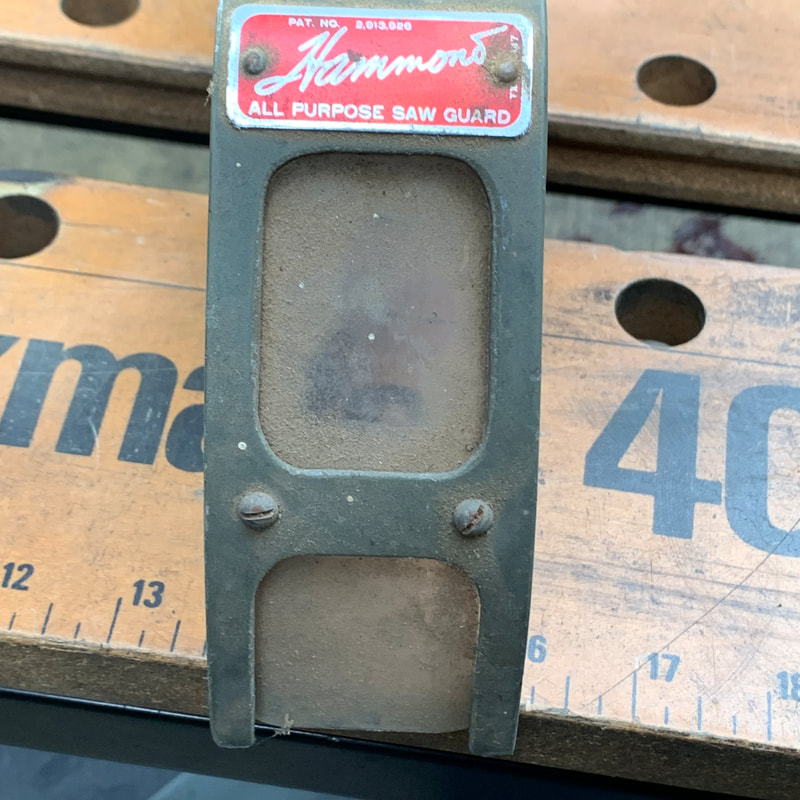
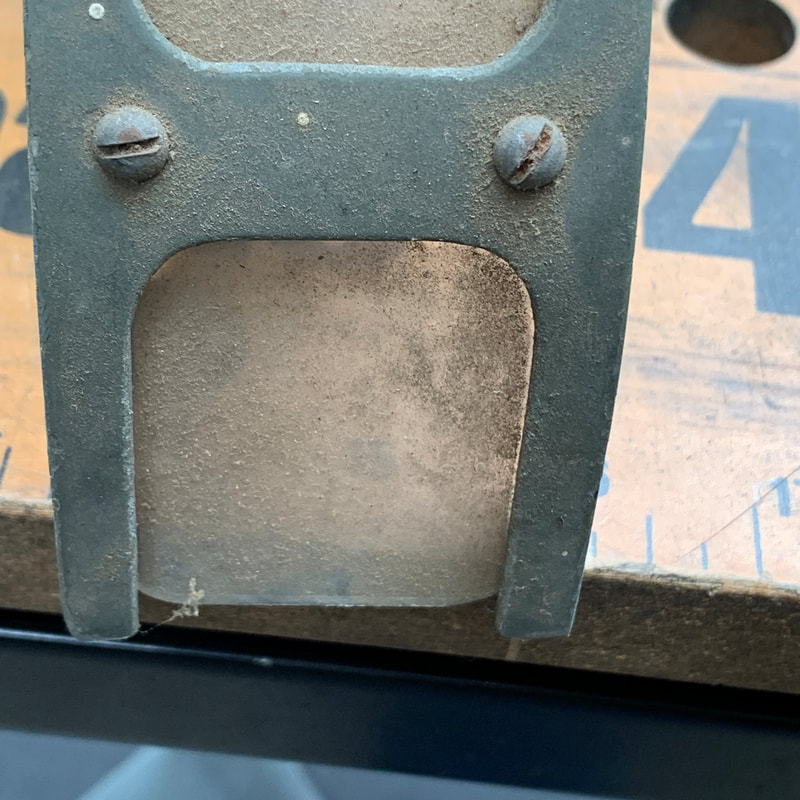
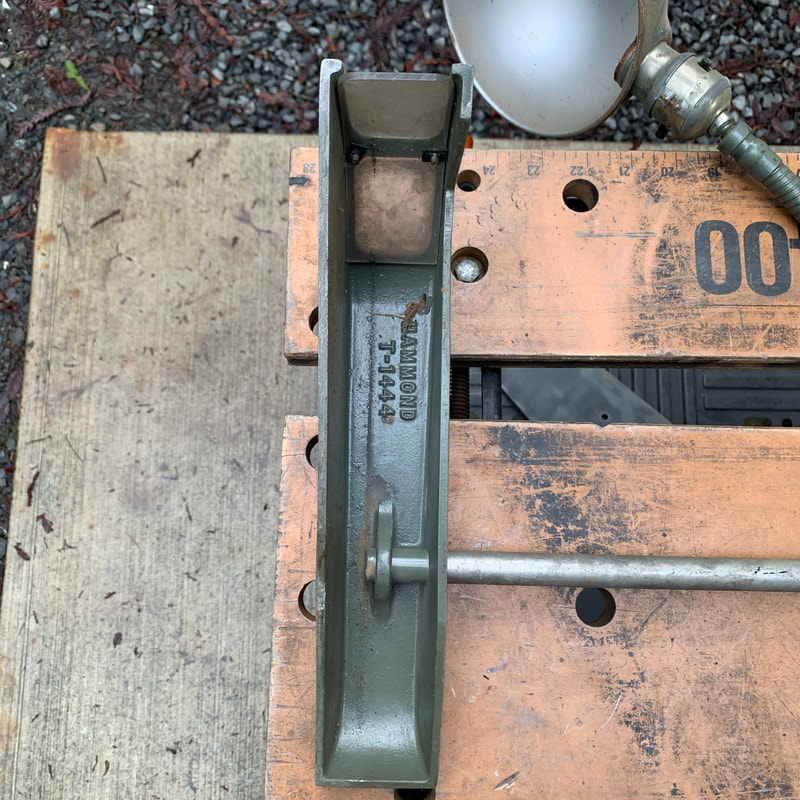
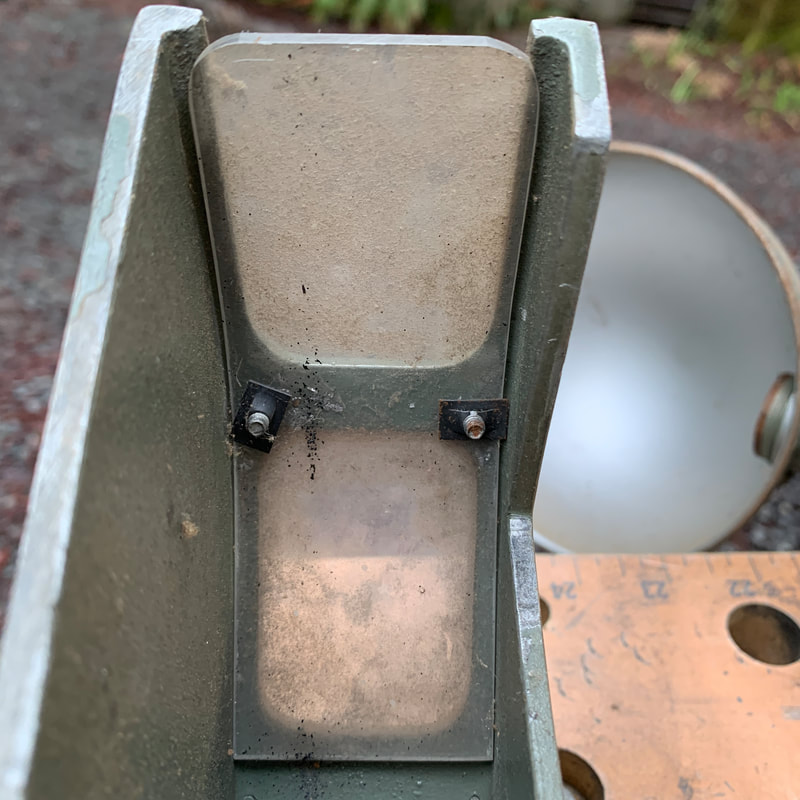
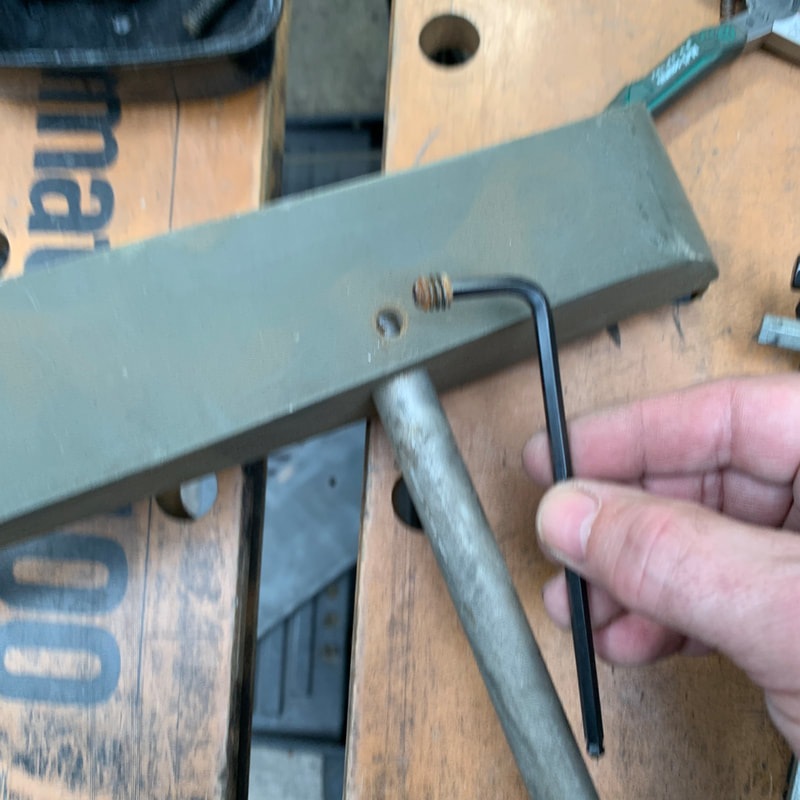
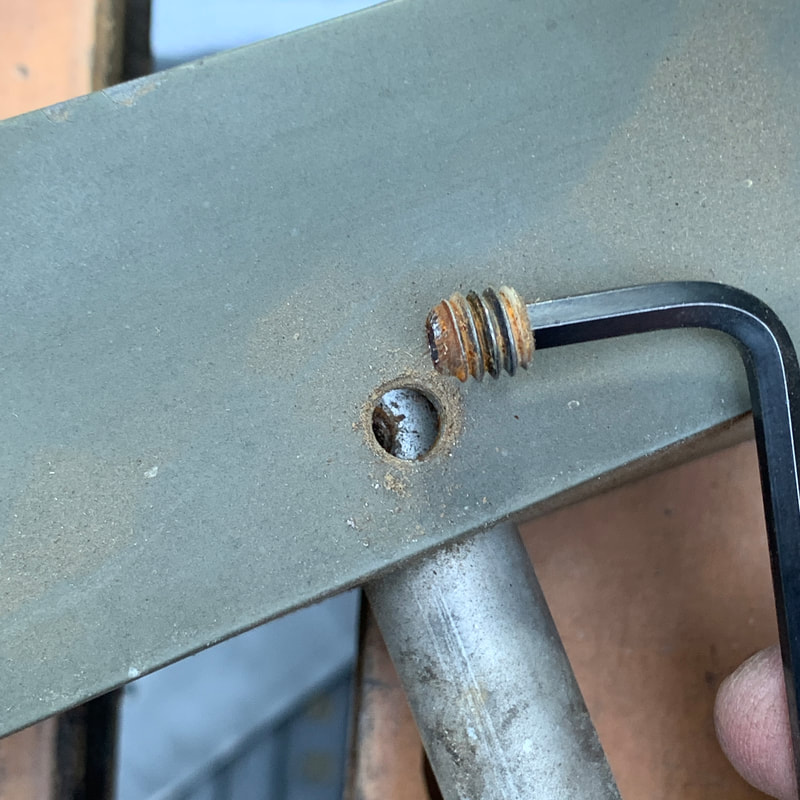
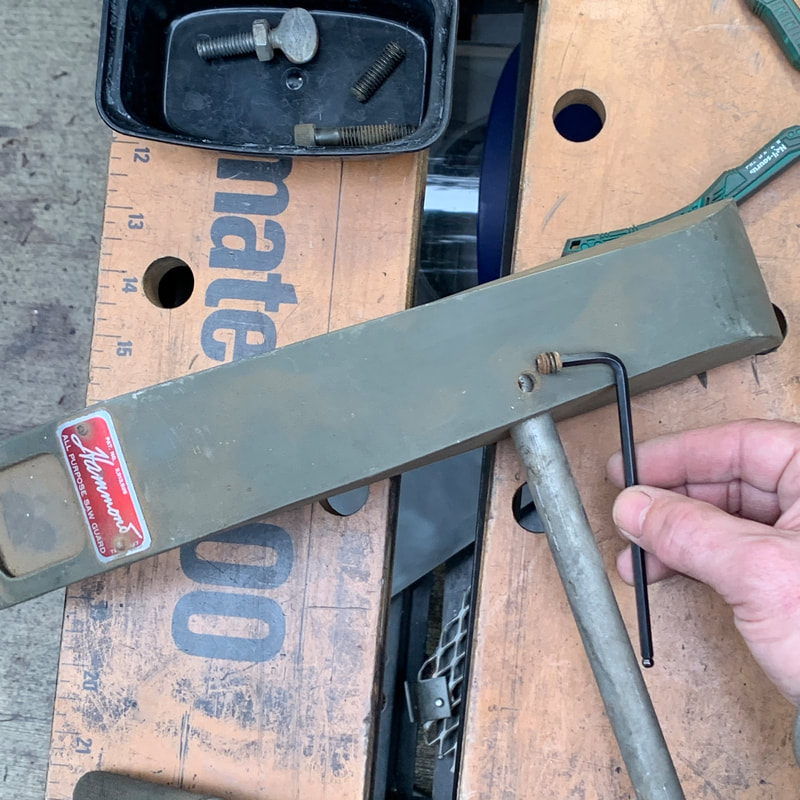
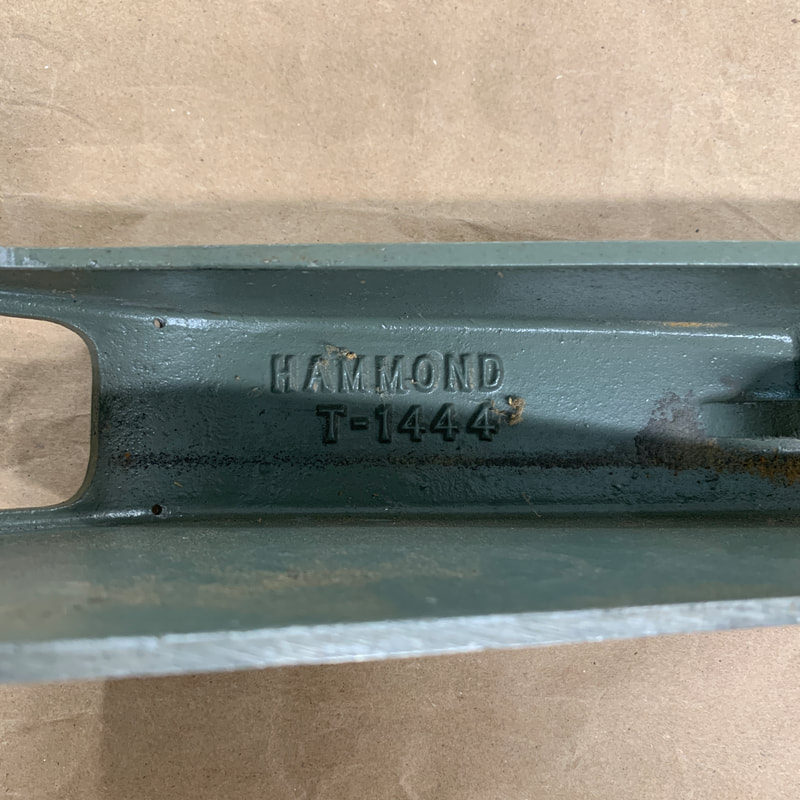
Nameplate removal
|
 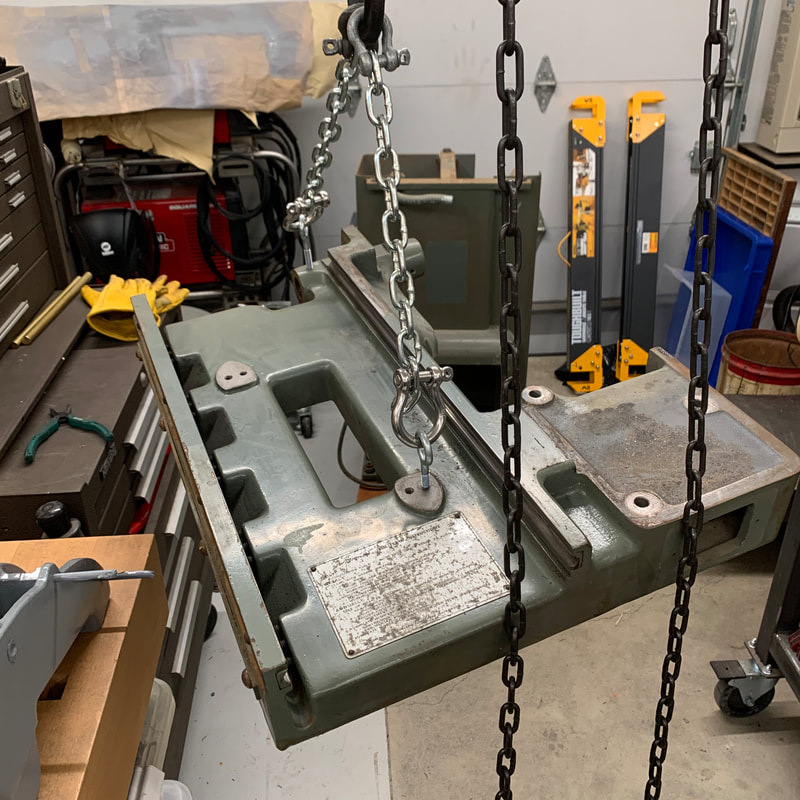                      |
Top casting removal
|
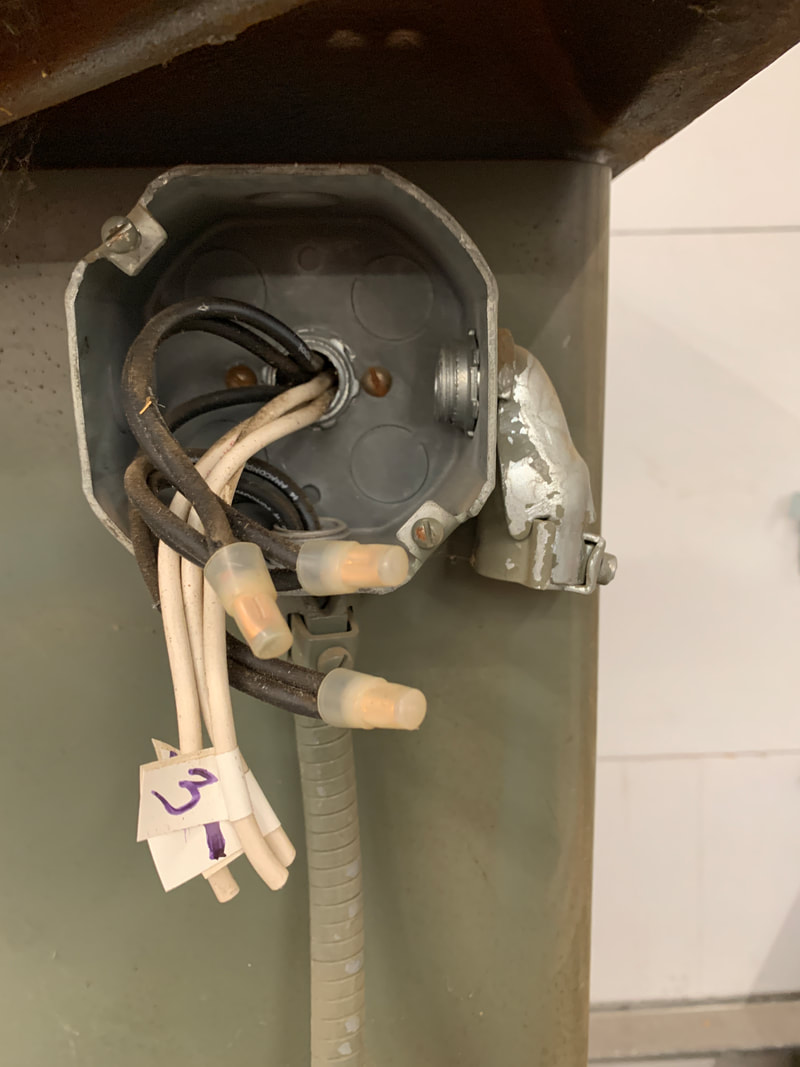   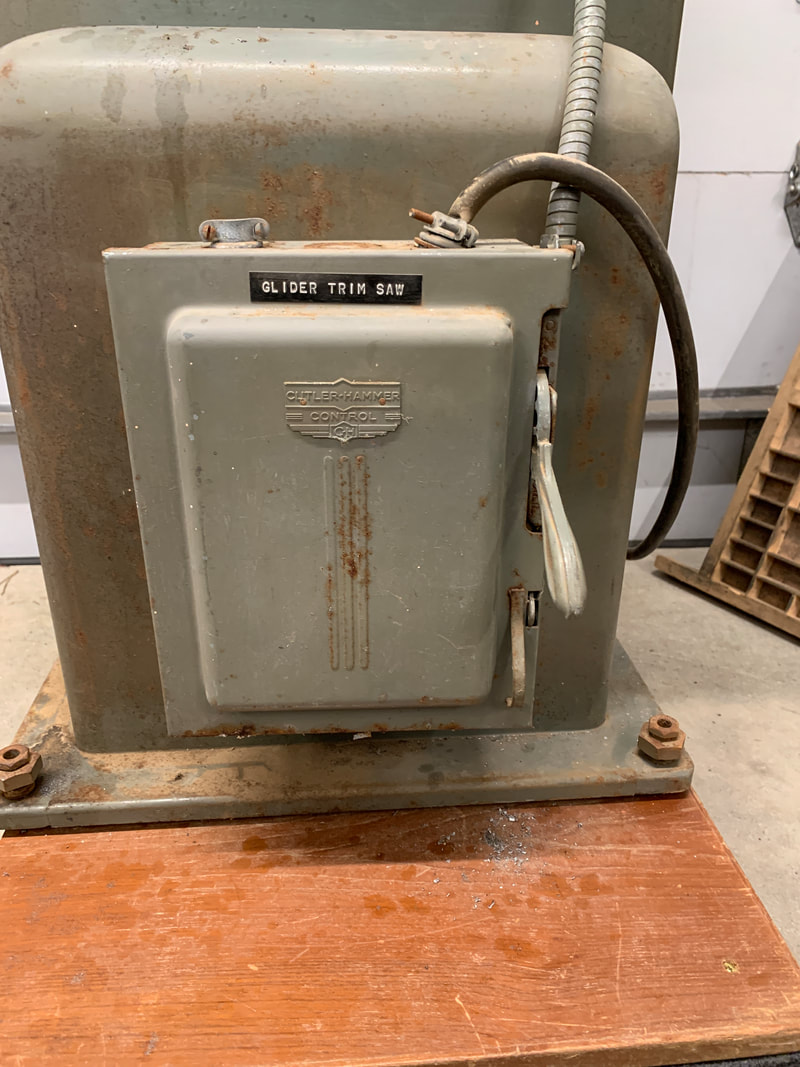 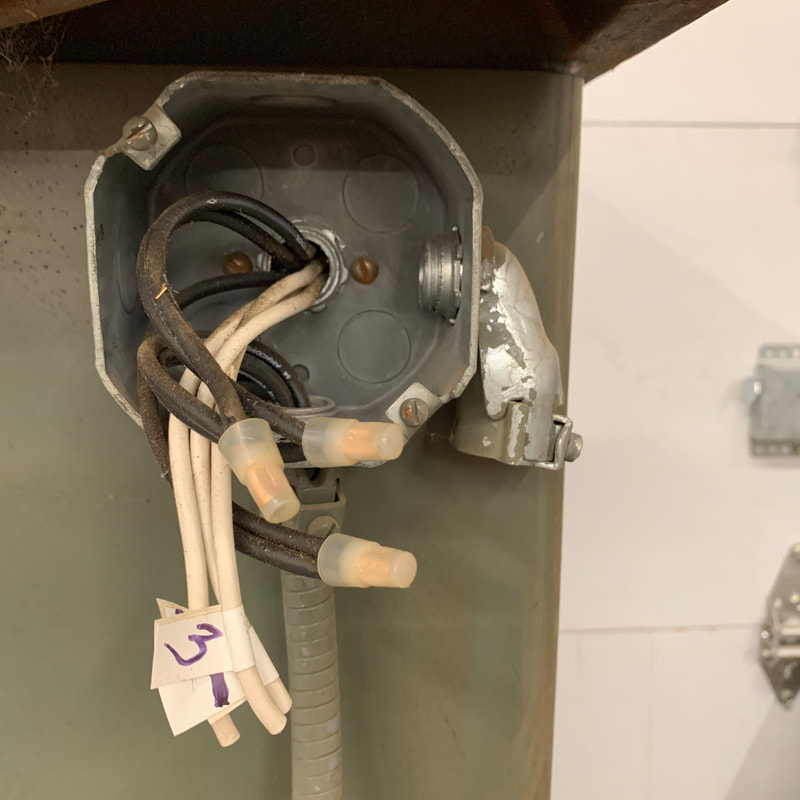 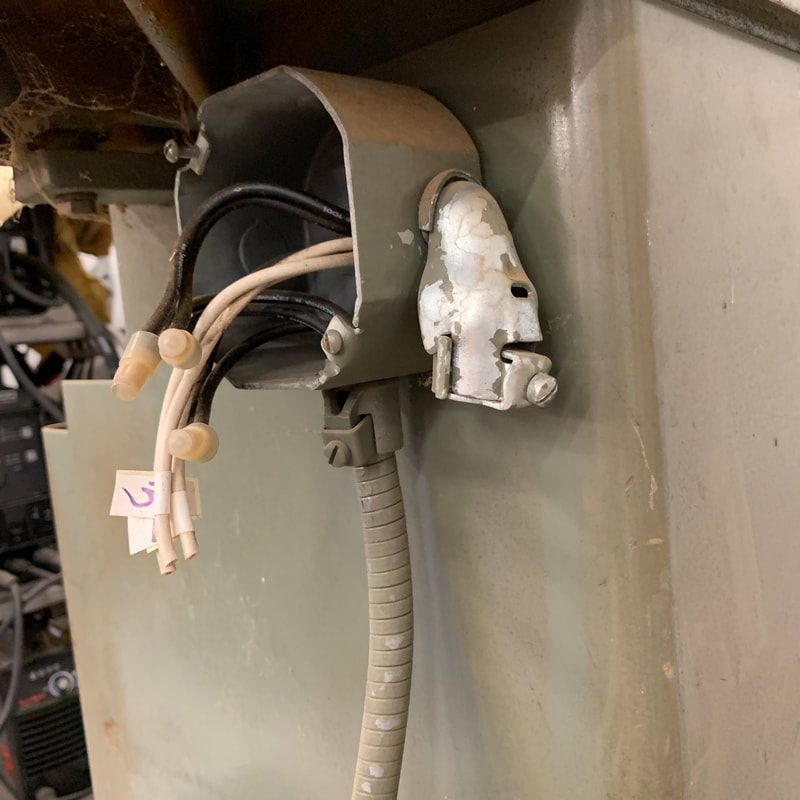 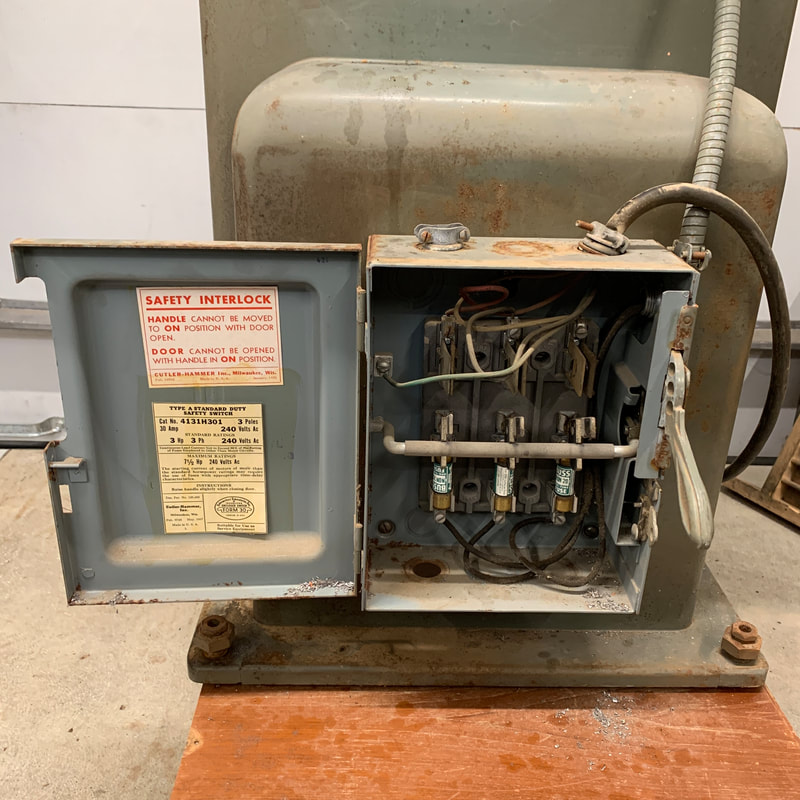 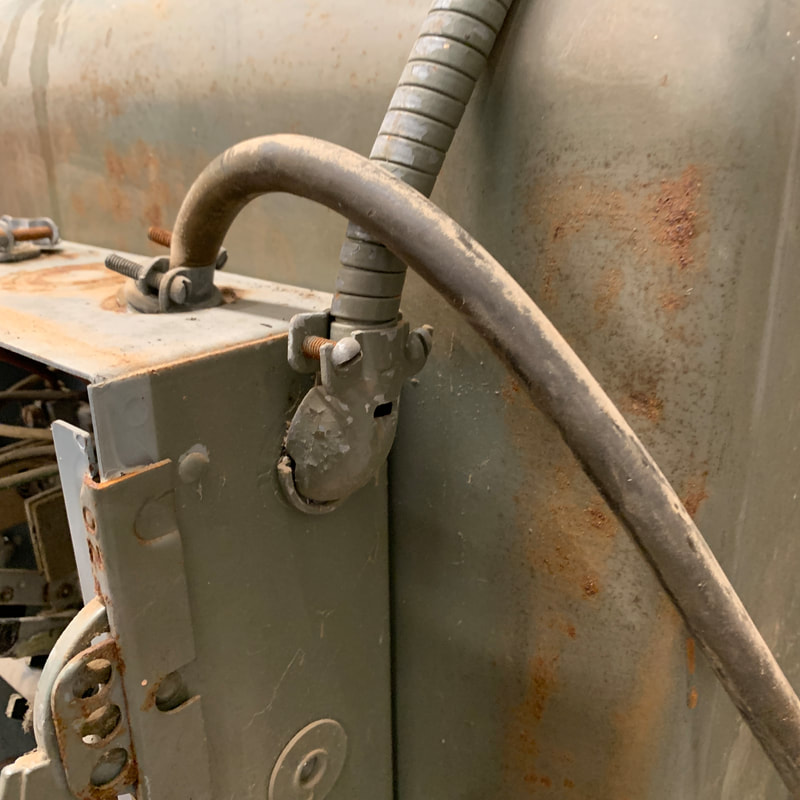 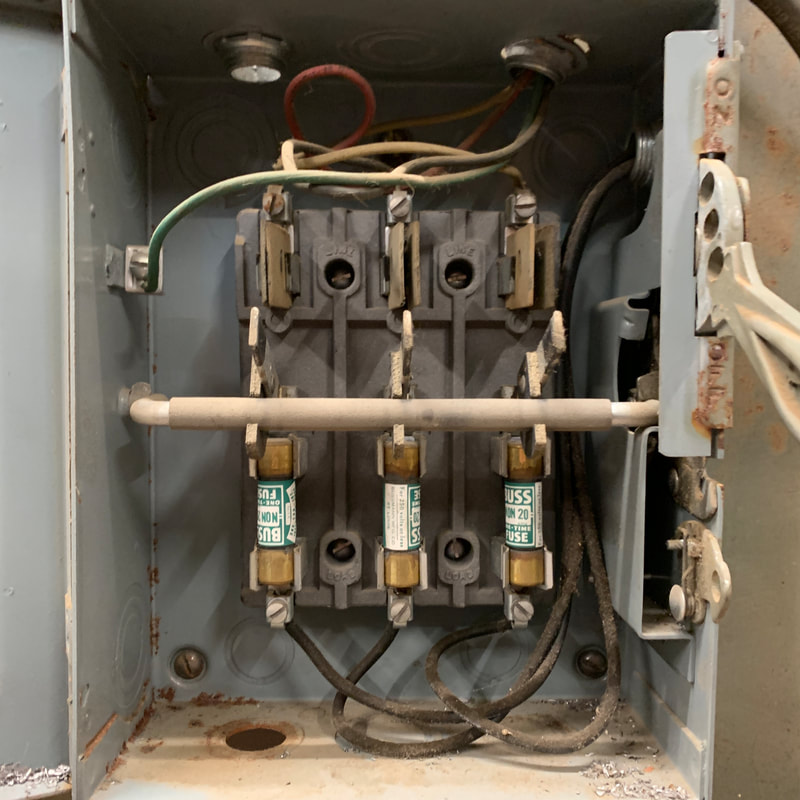   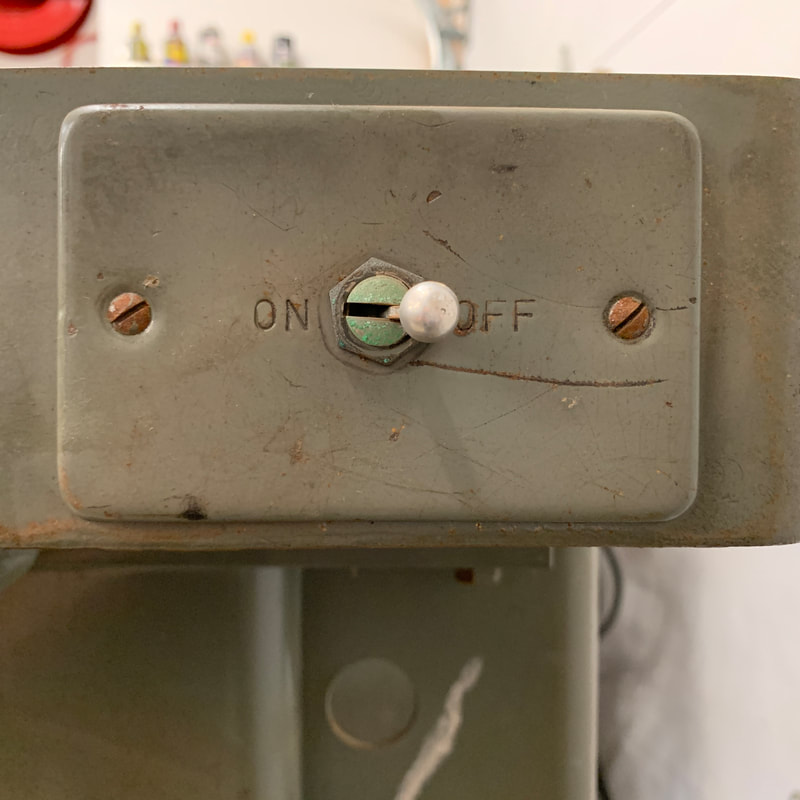 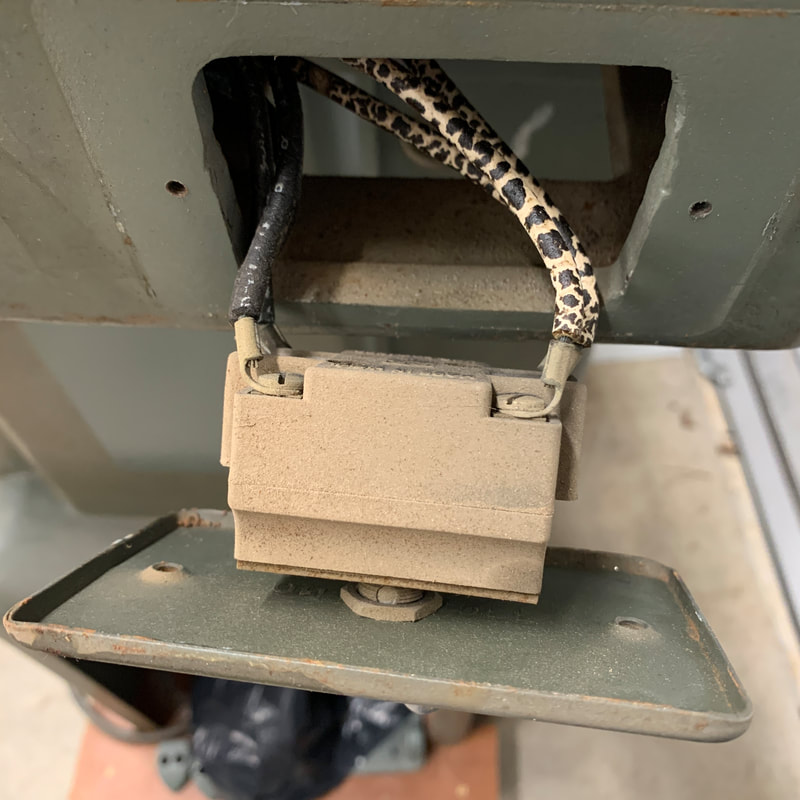 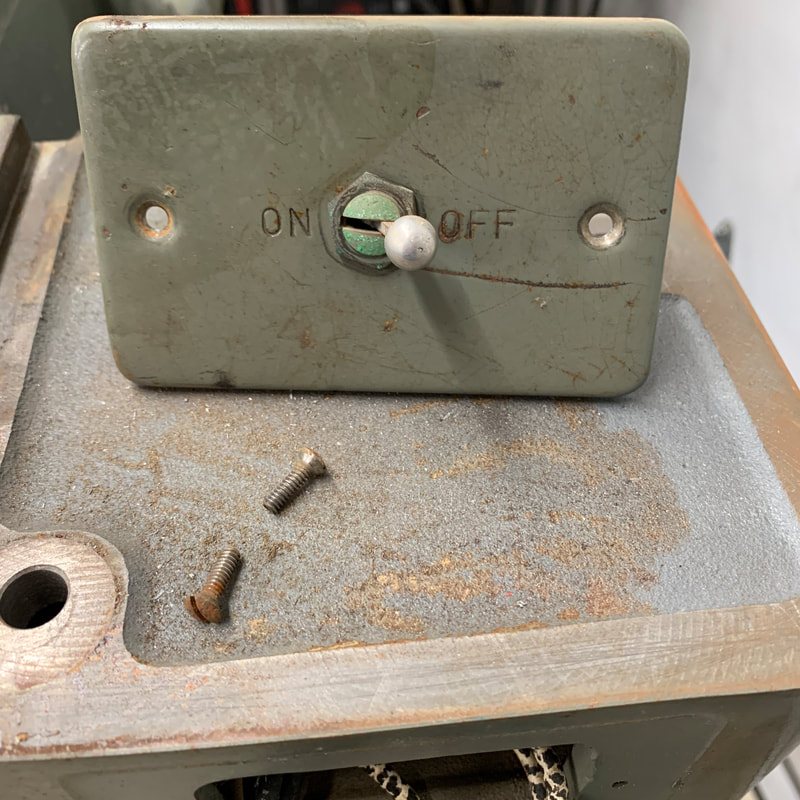 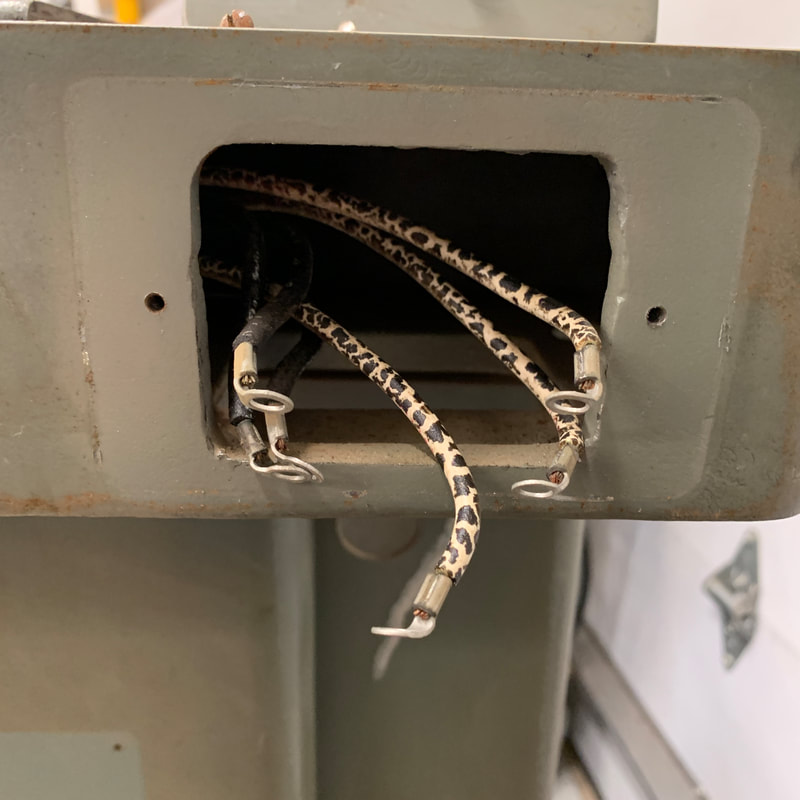 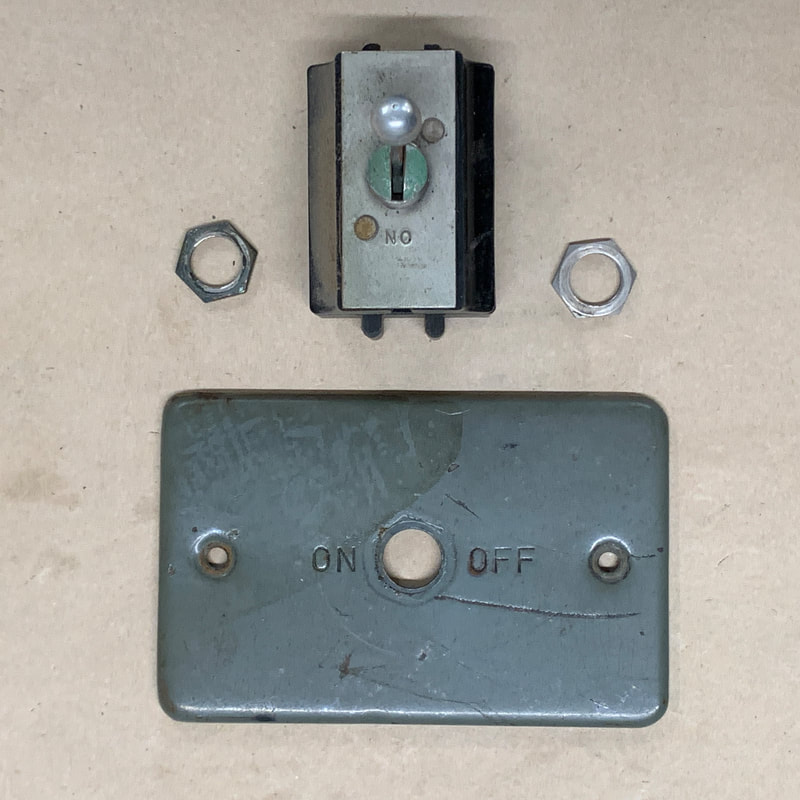  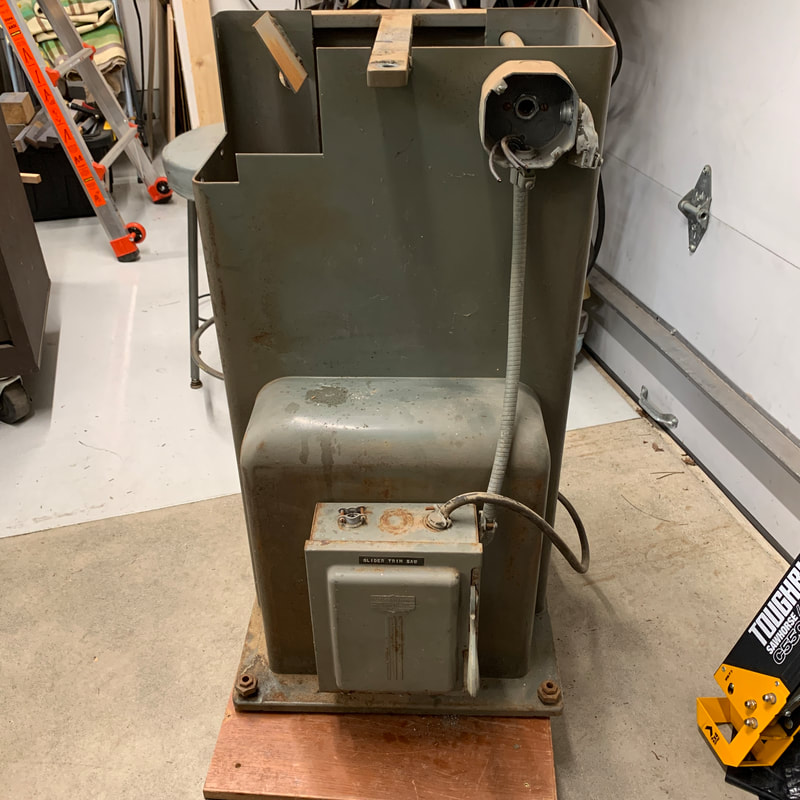 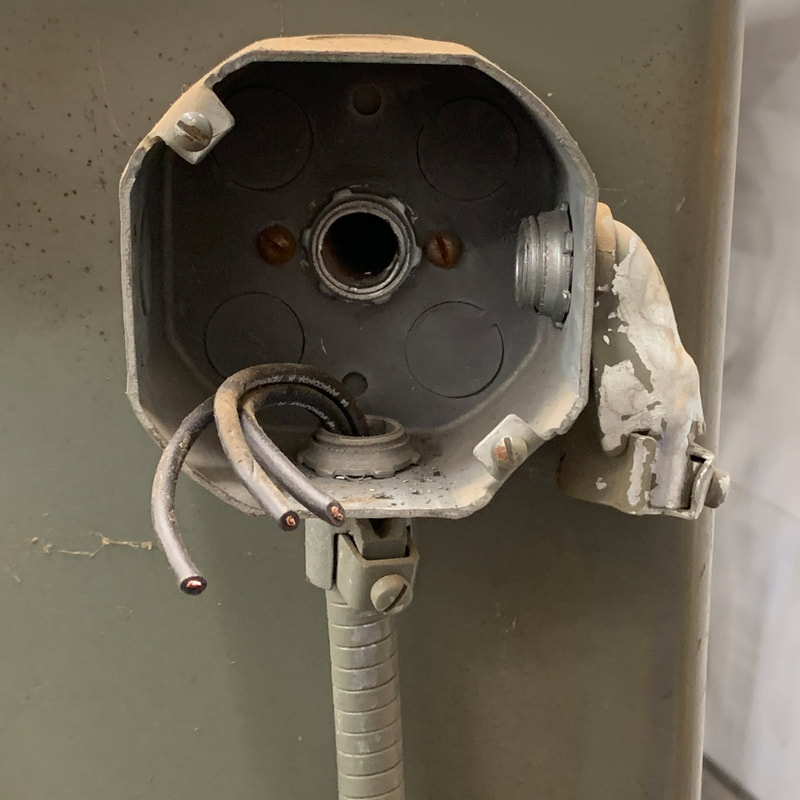  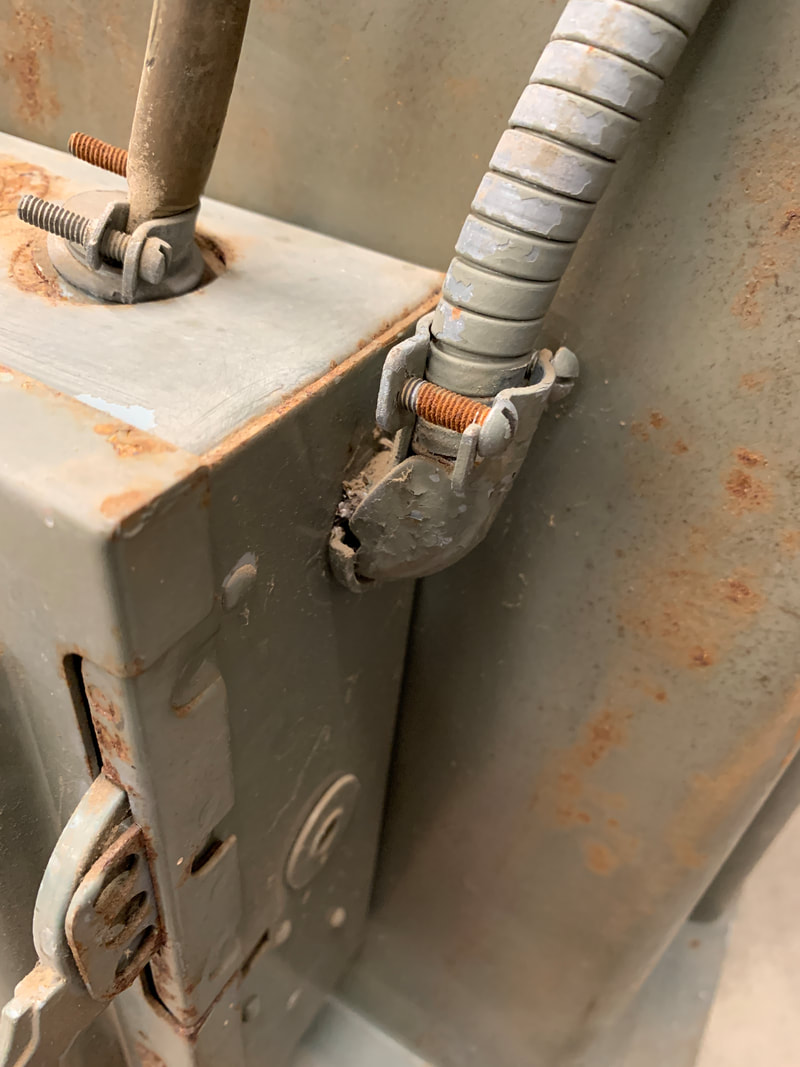   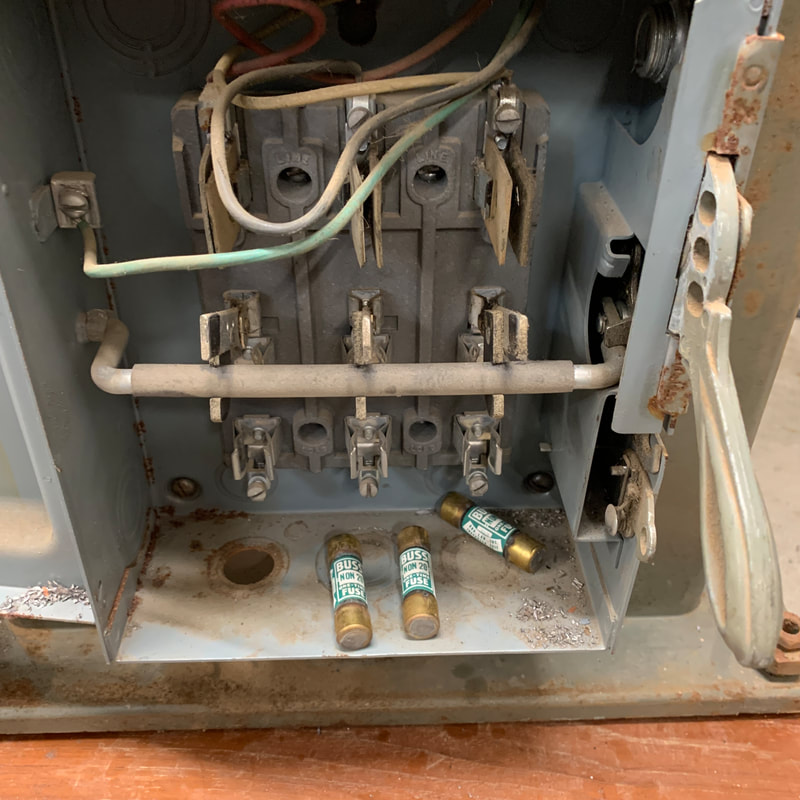 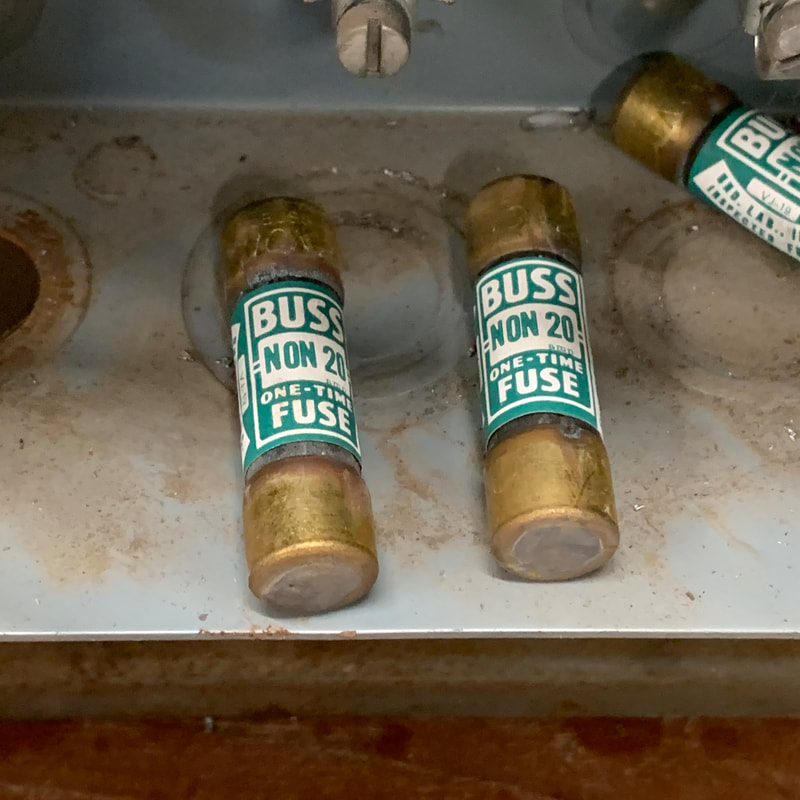  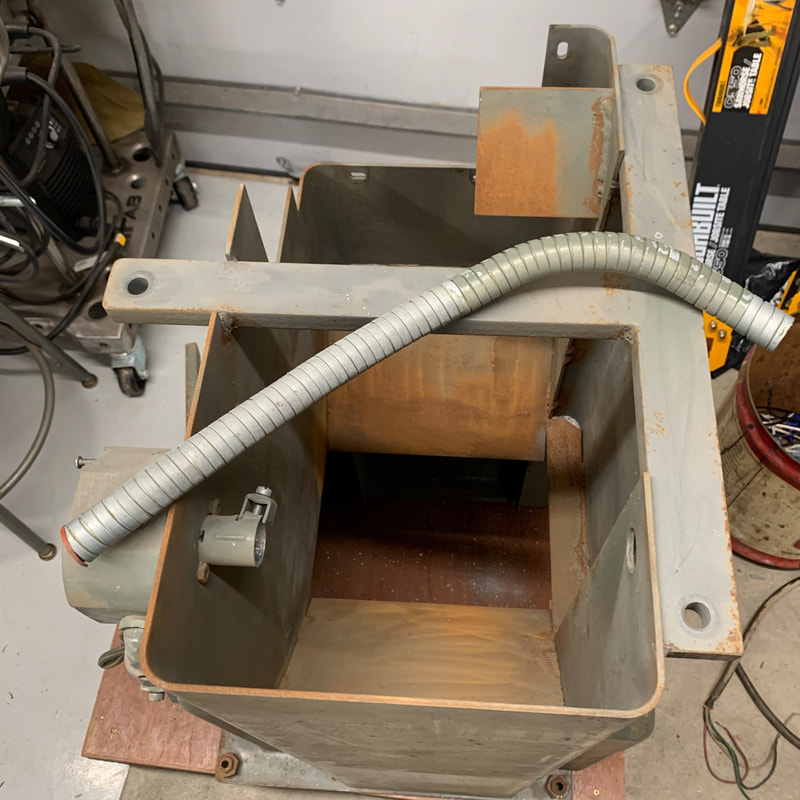 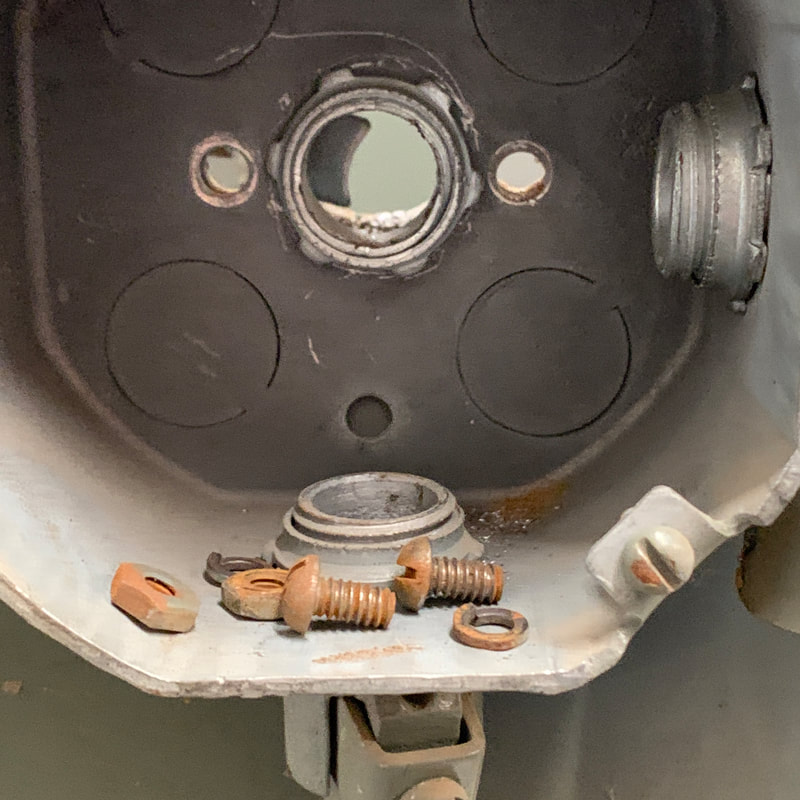 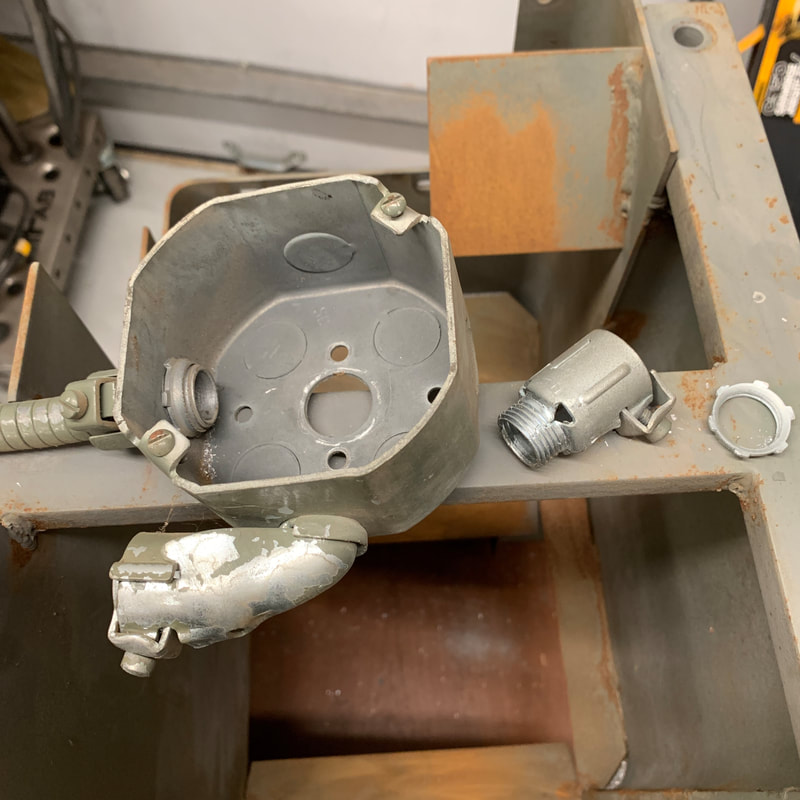      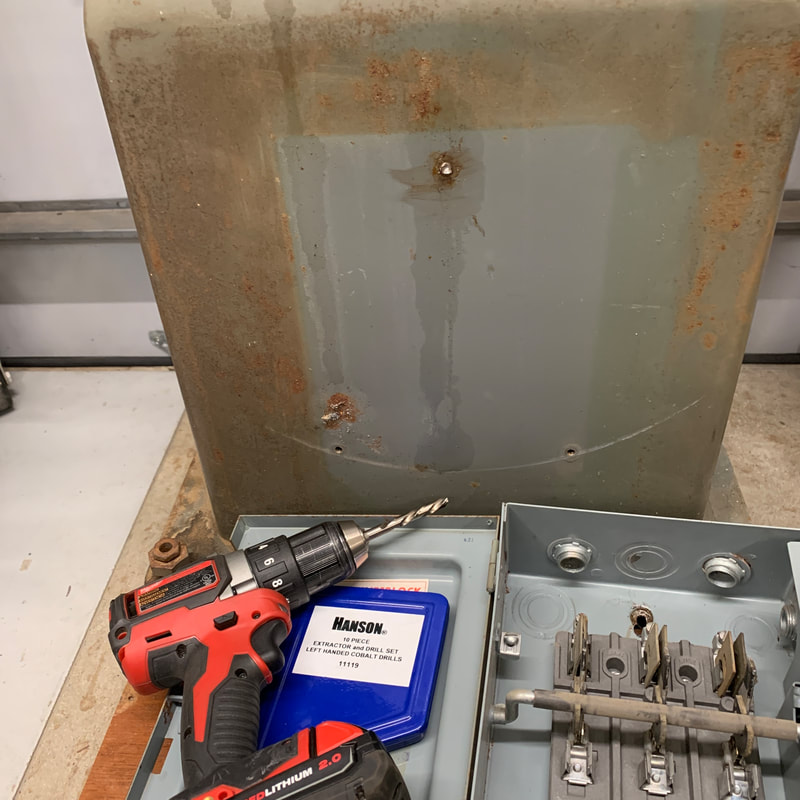  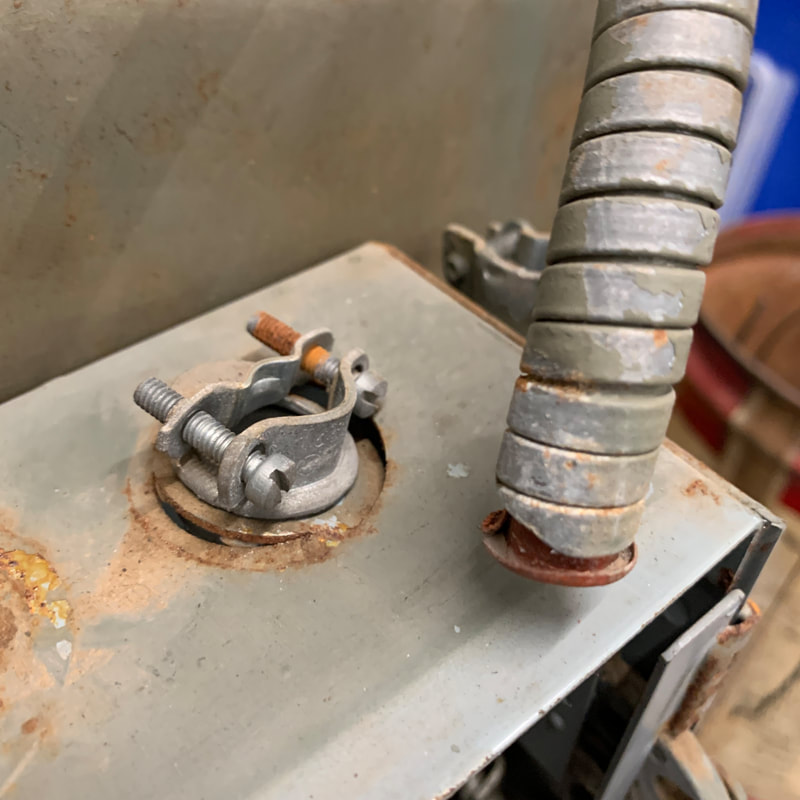 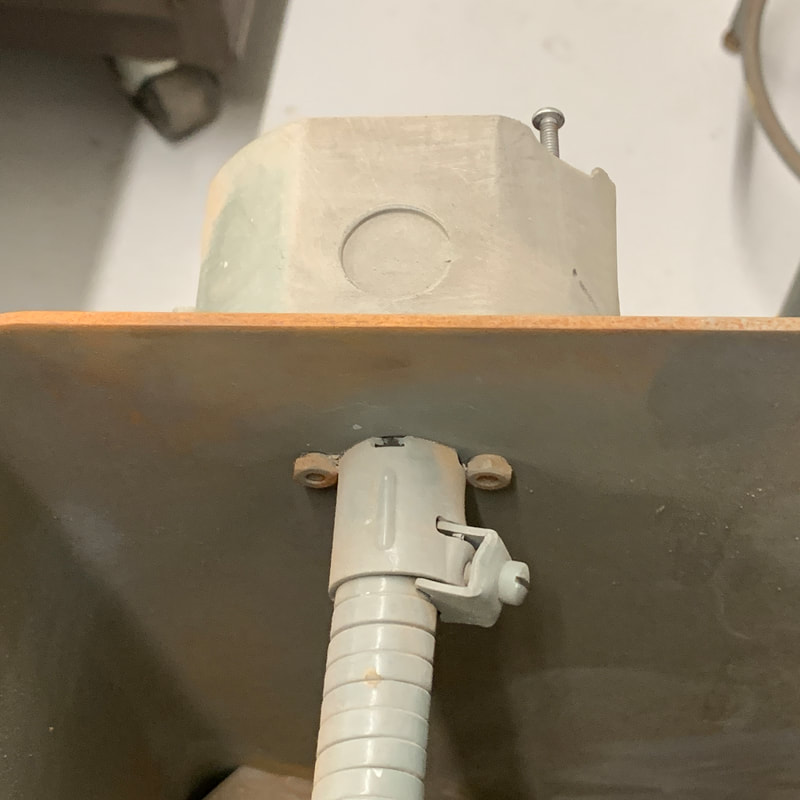  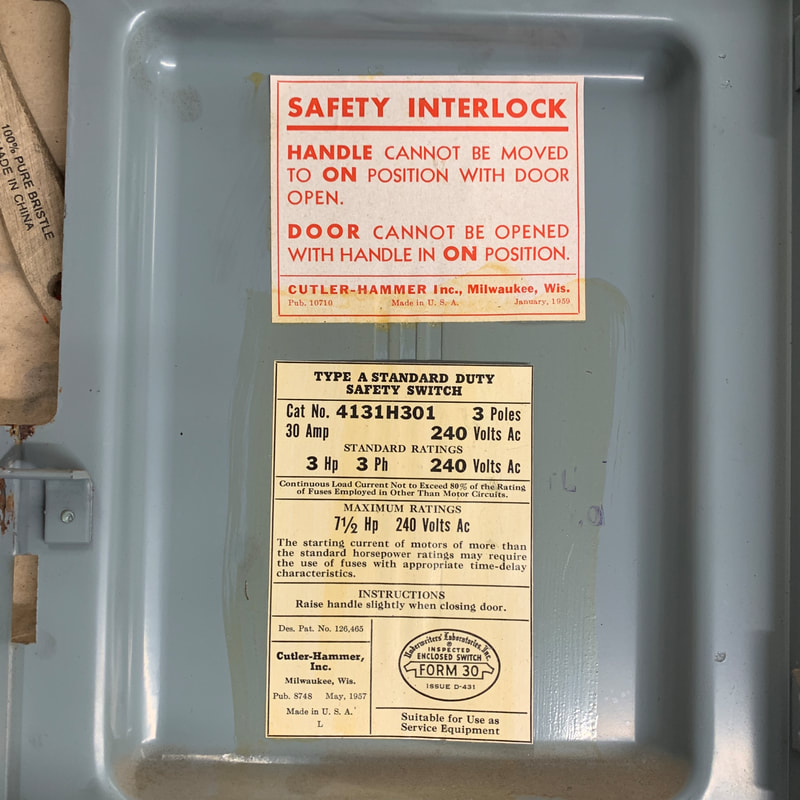 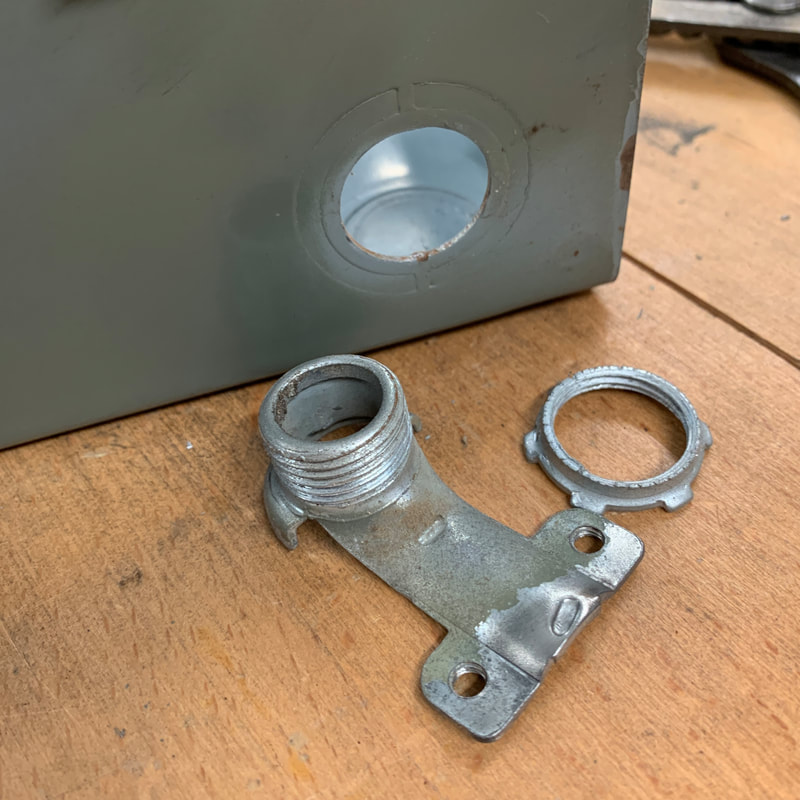 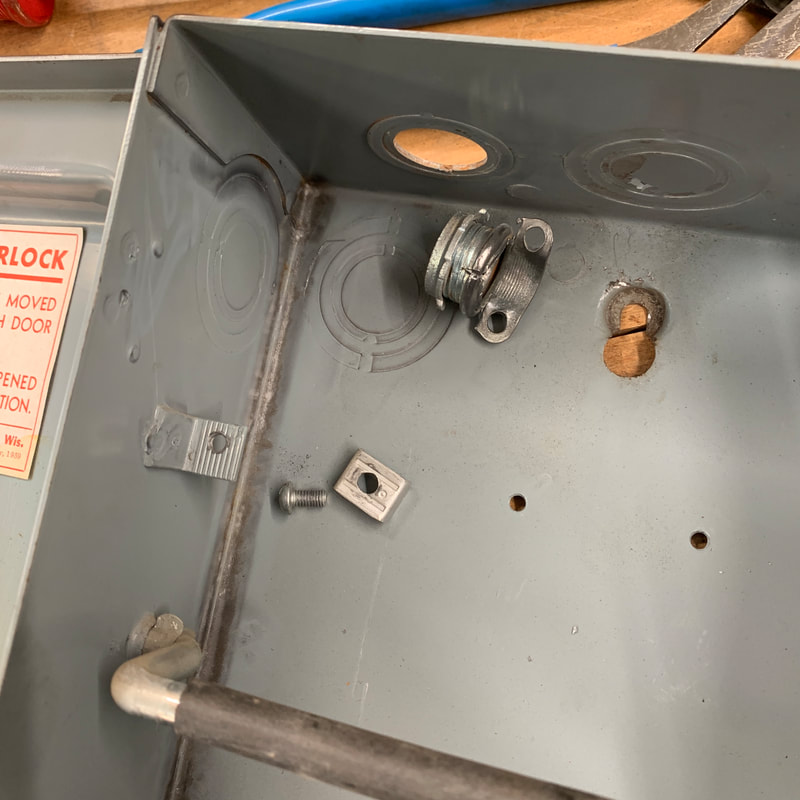 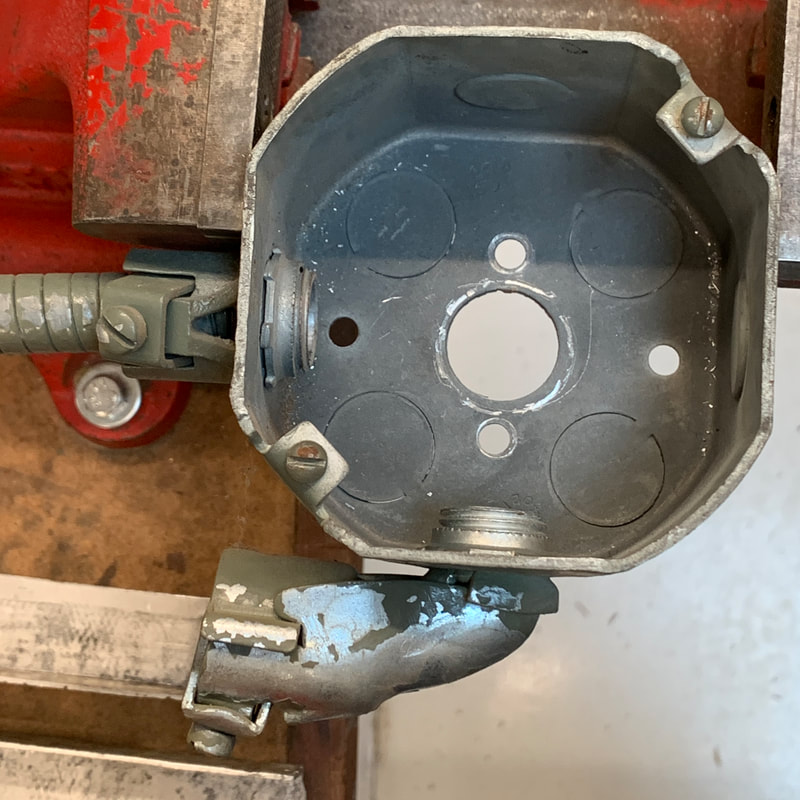 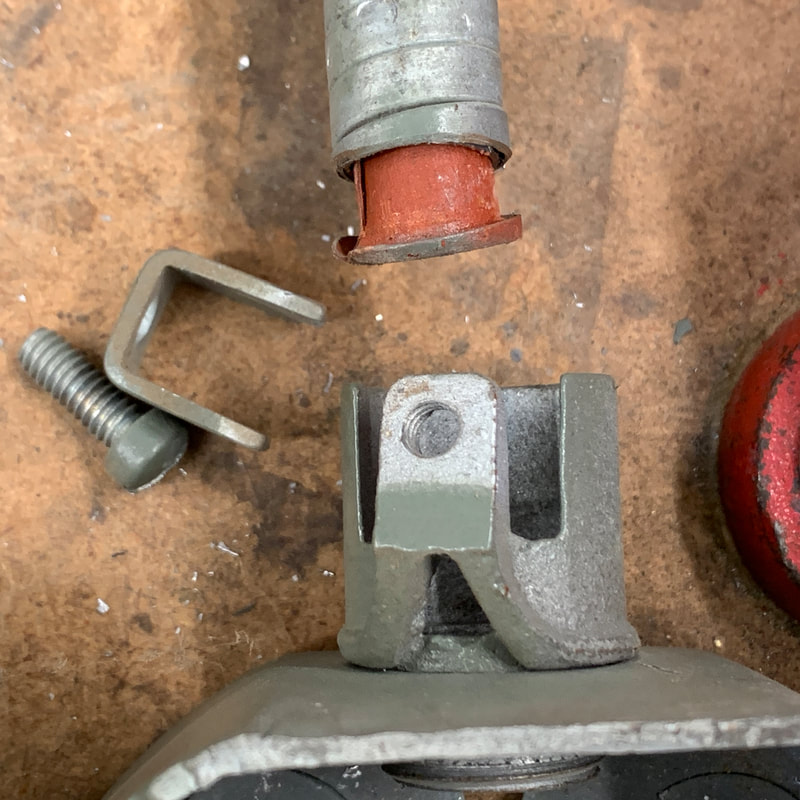 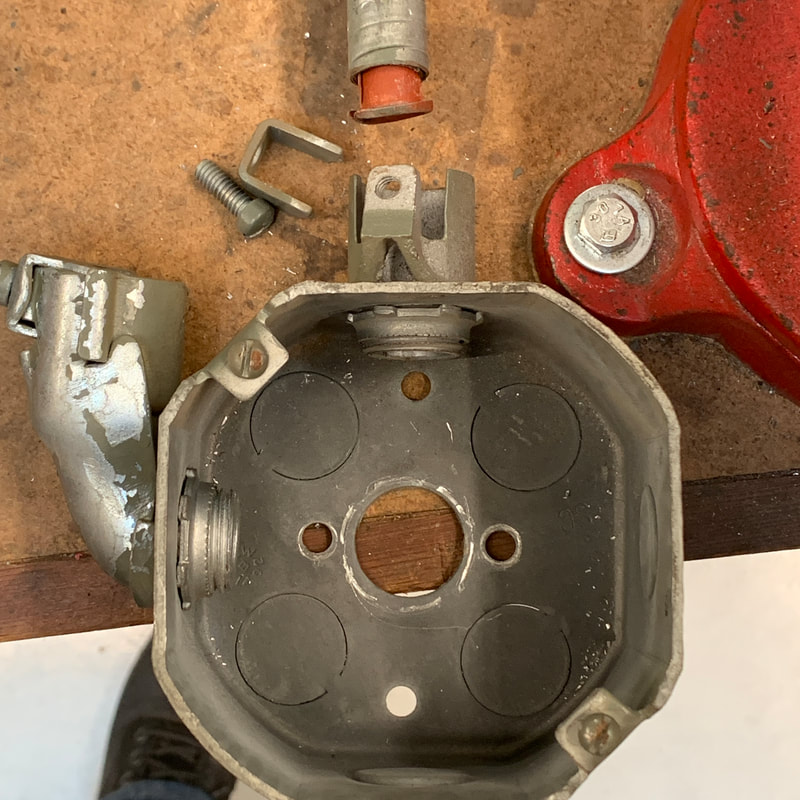 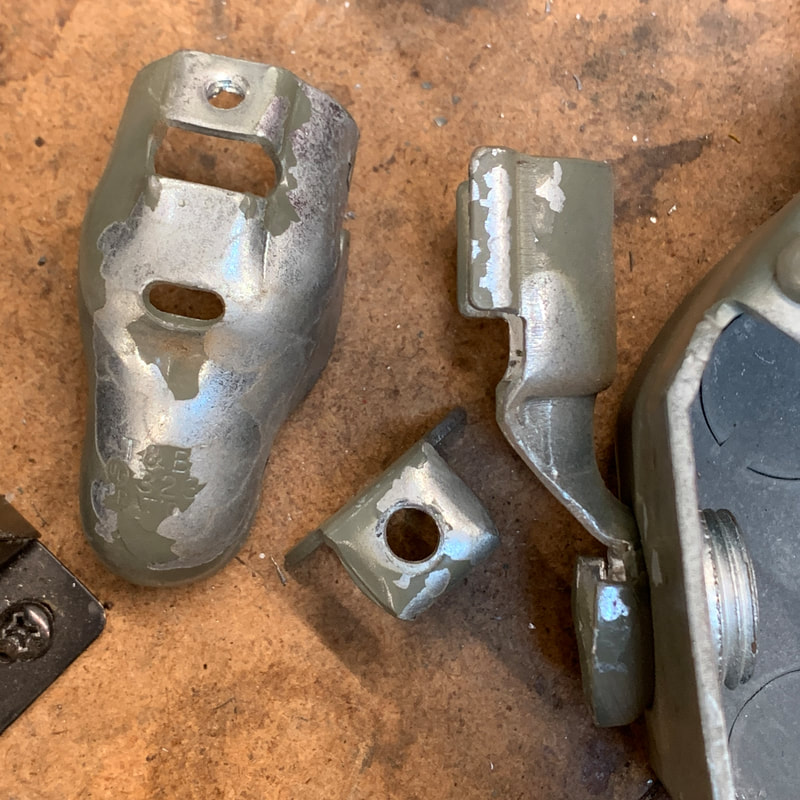 |
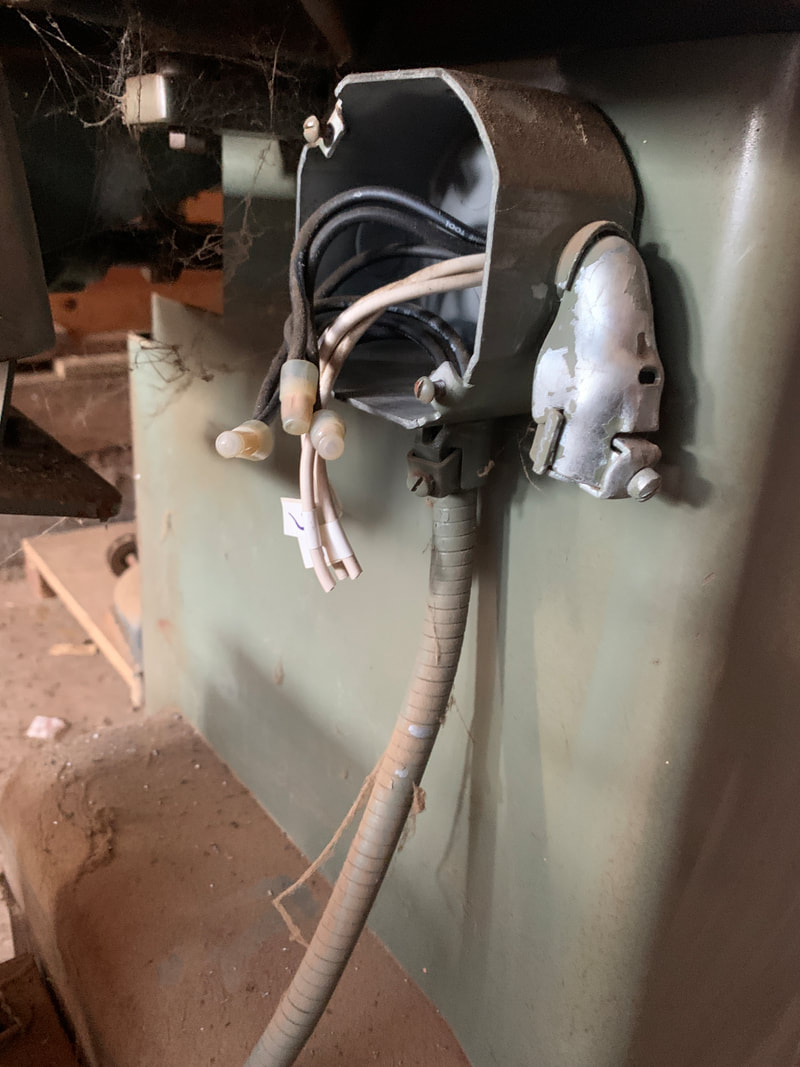
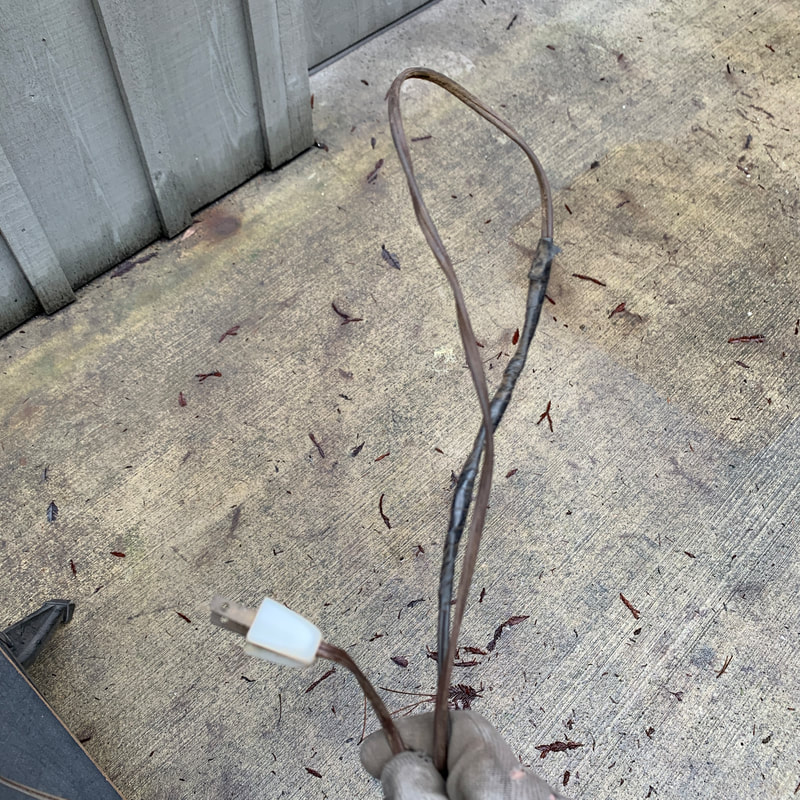
Electrical removal
|
 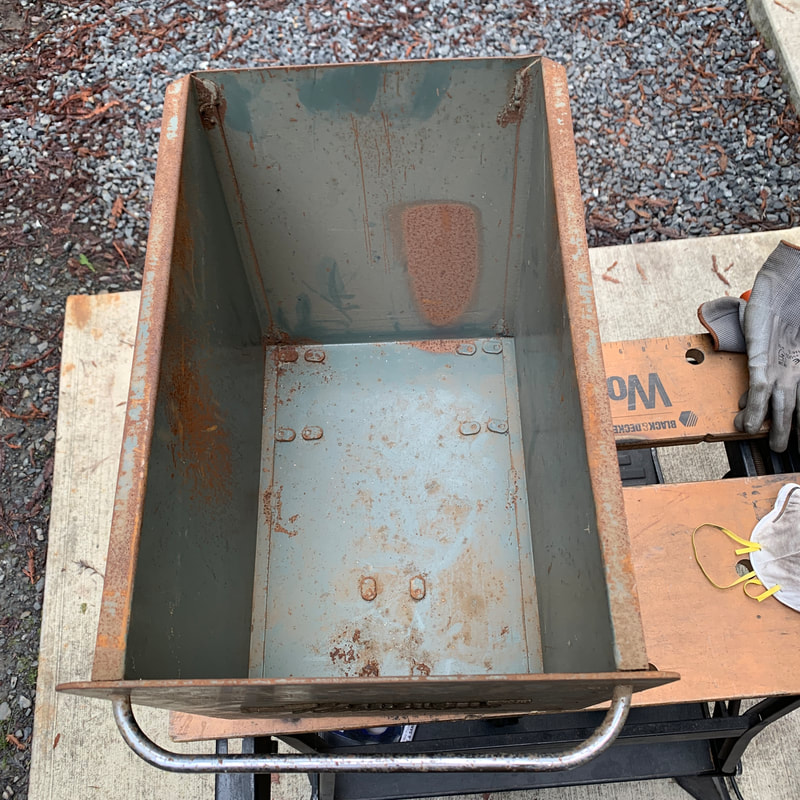 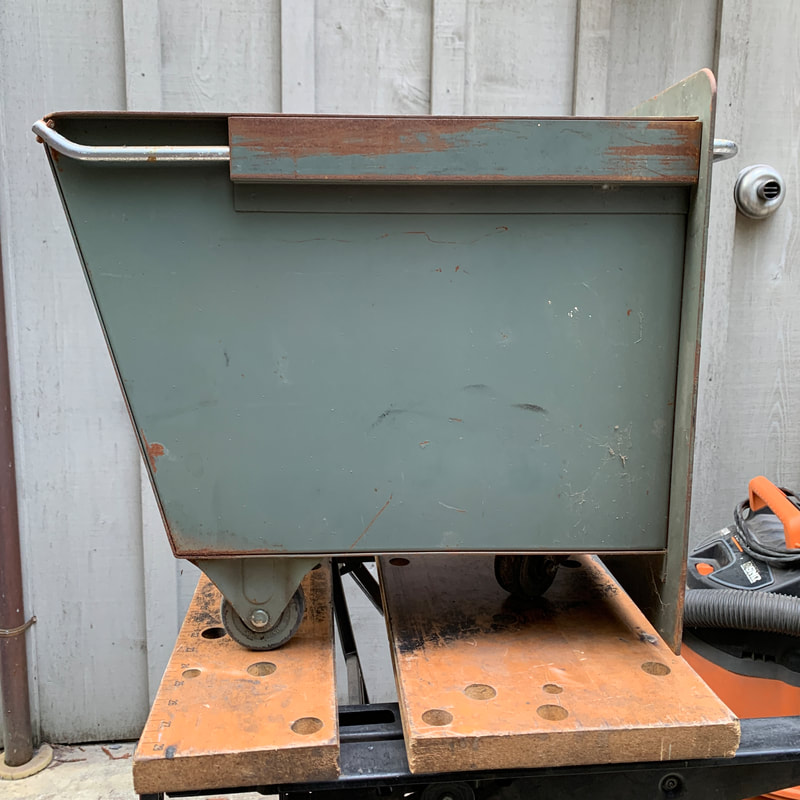 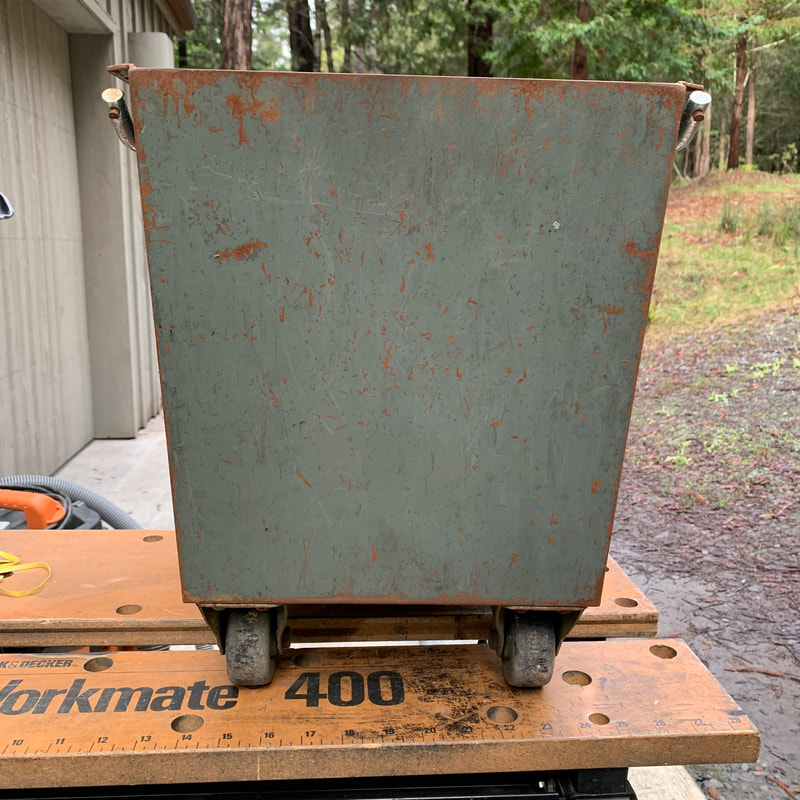 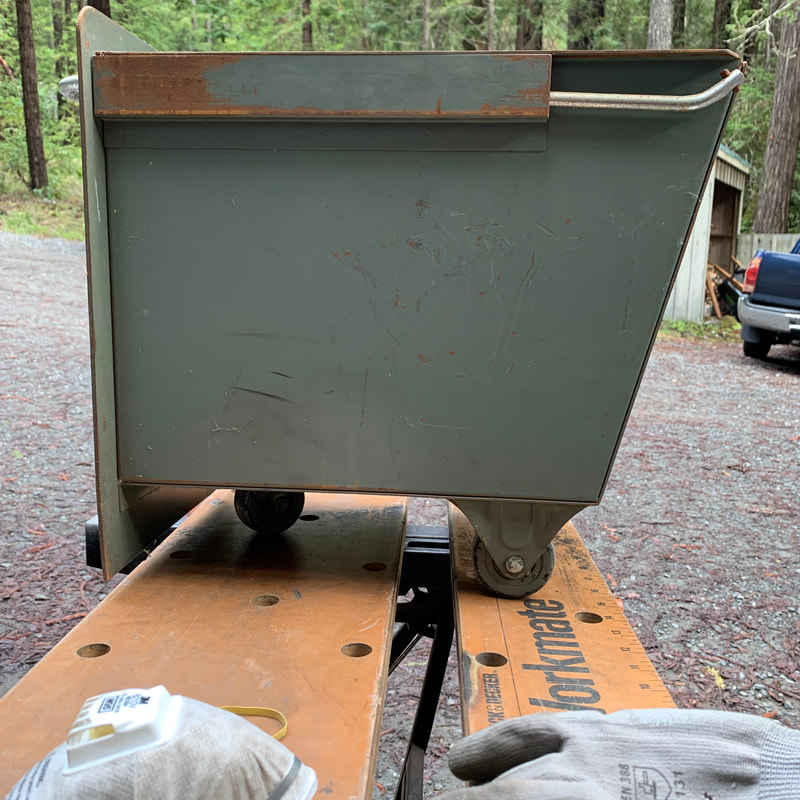 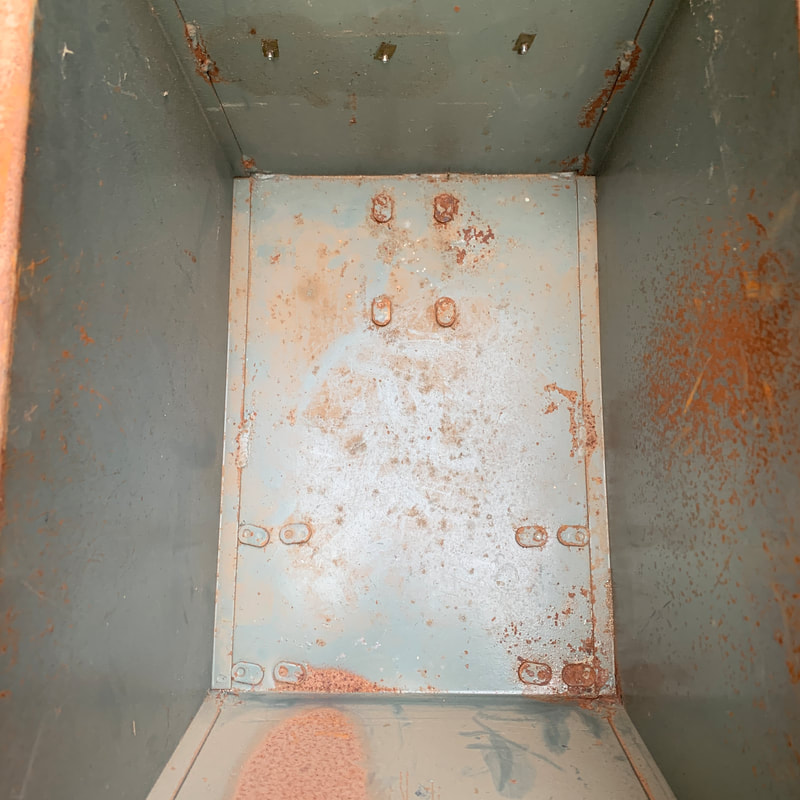       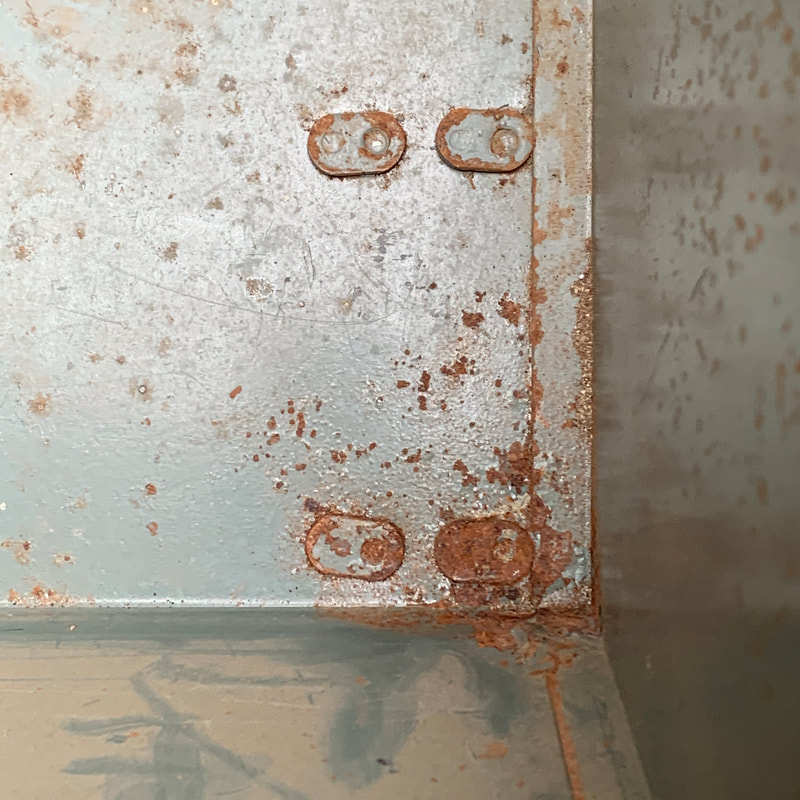                       |
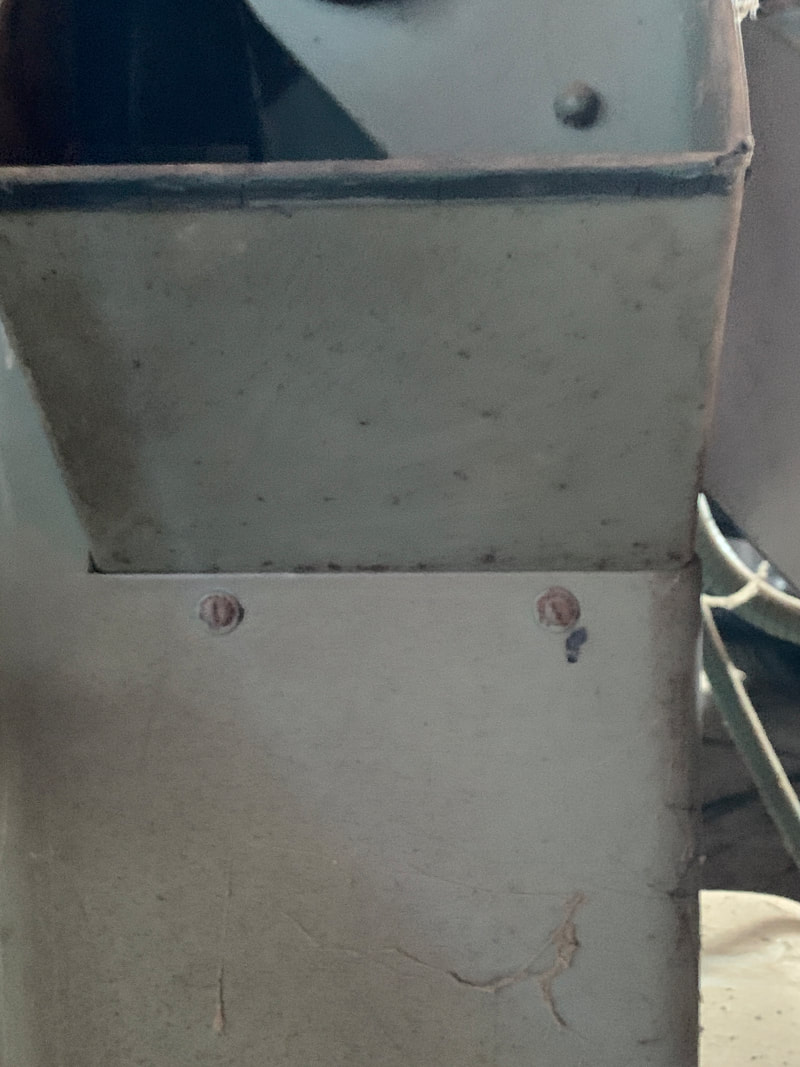
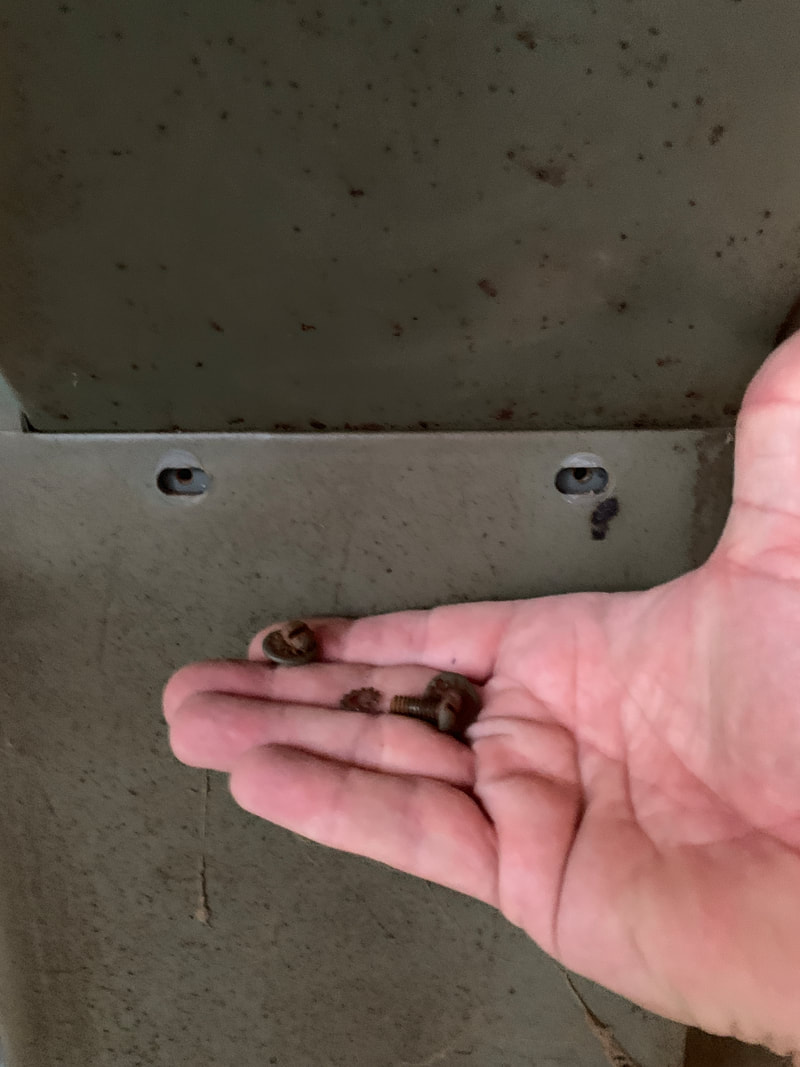
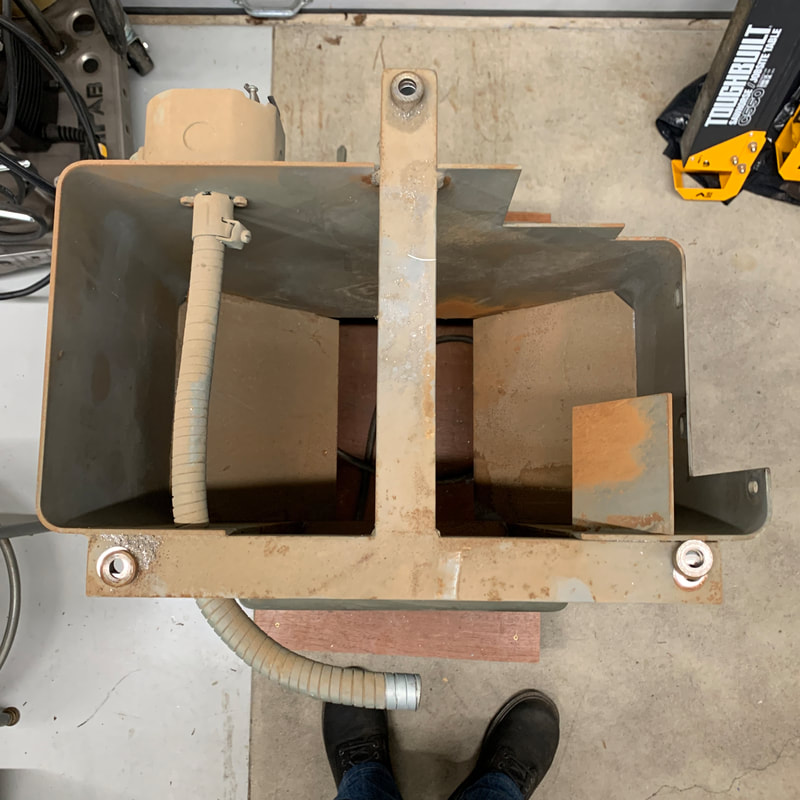
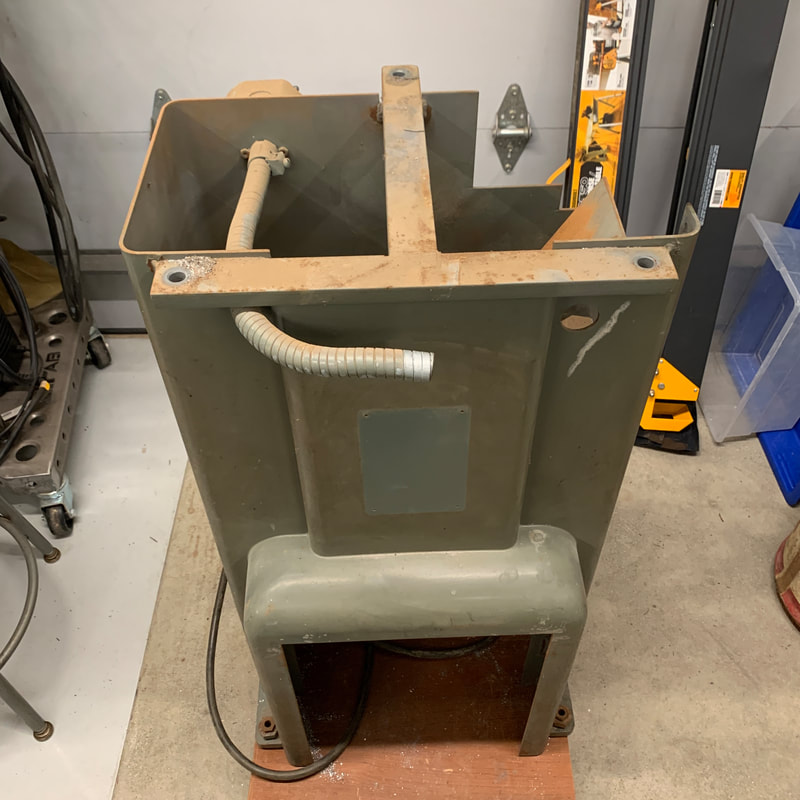
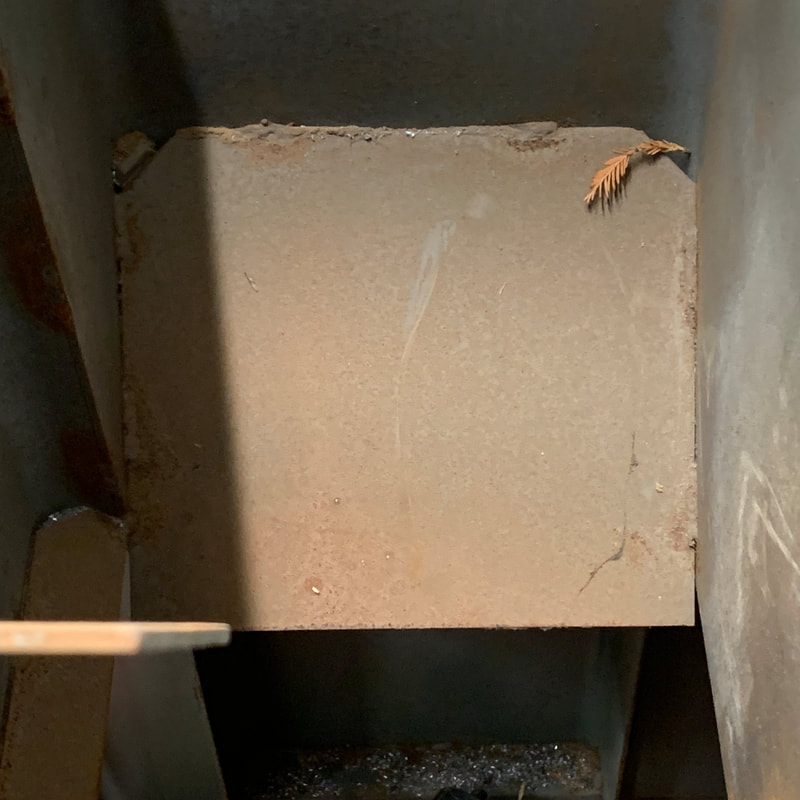
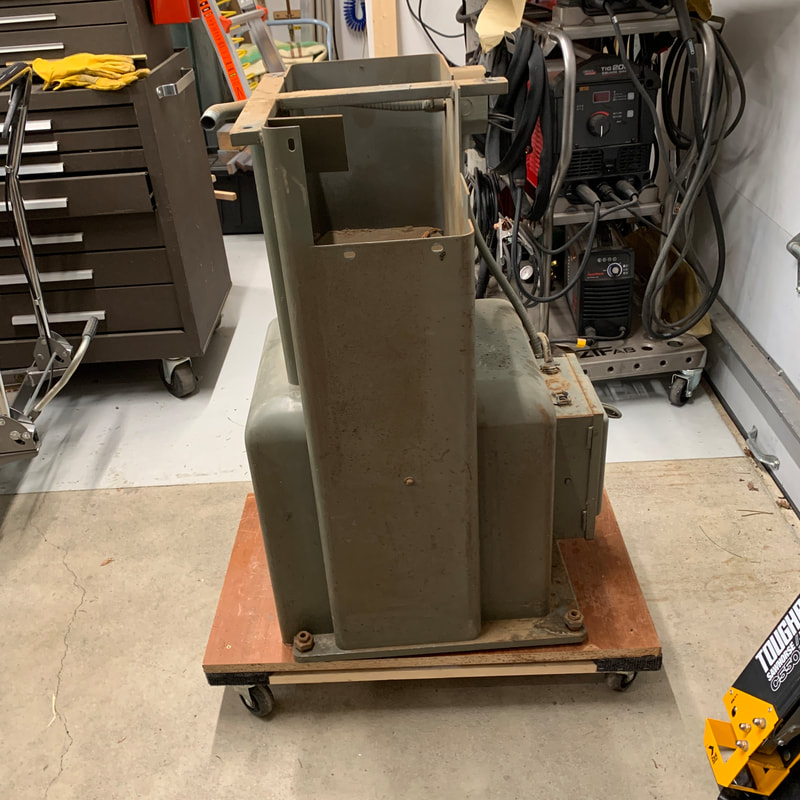
Chip bin disassembly
|
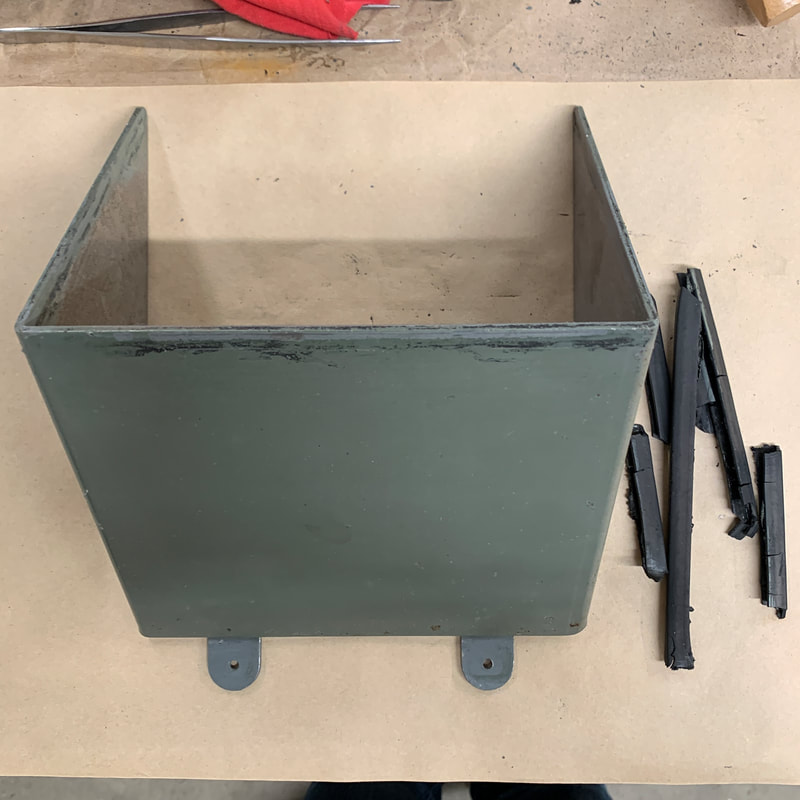 |
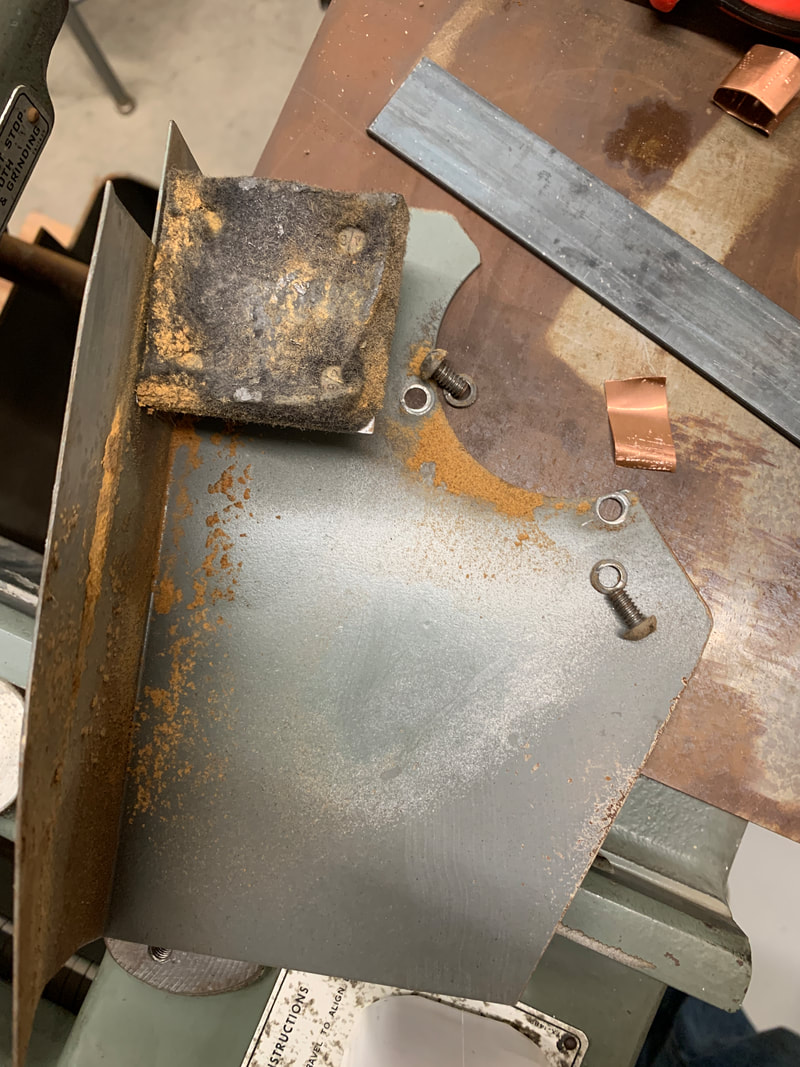
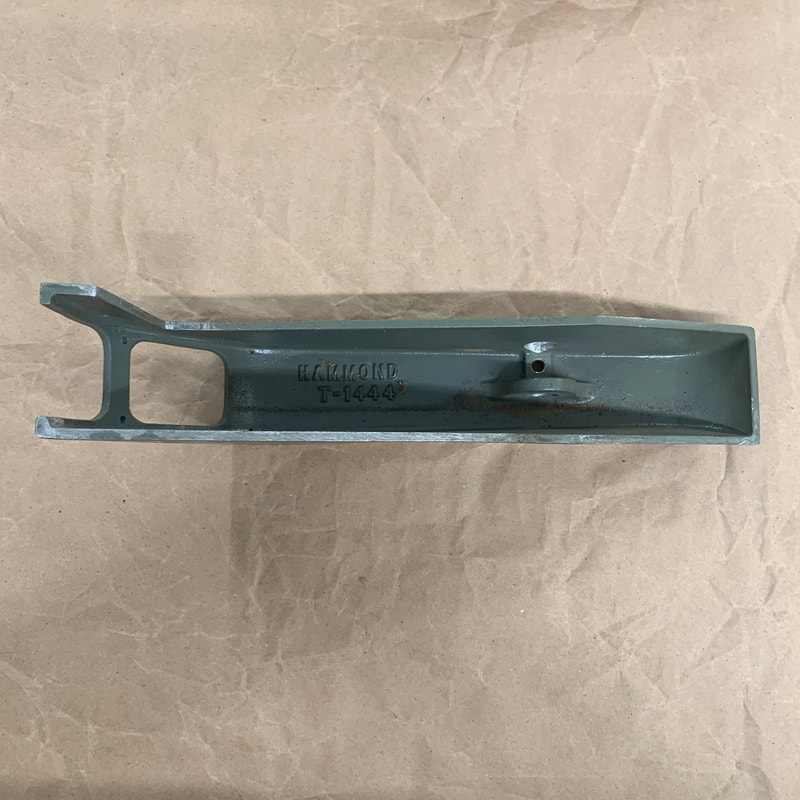
Chip chute disassembly
The rubber safety edging had perished and was replaced with a similar material sourced from McMaster. |
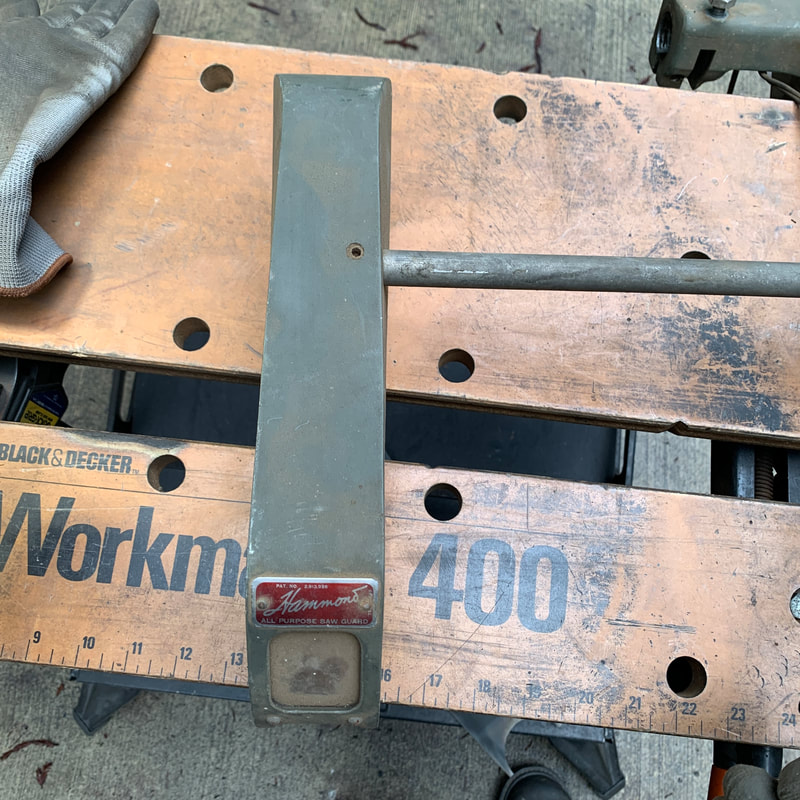 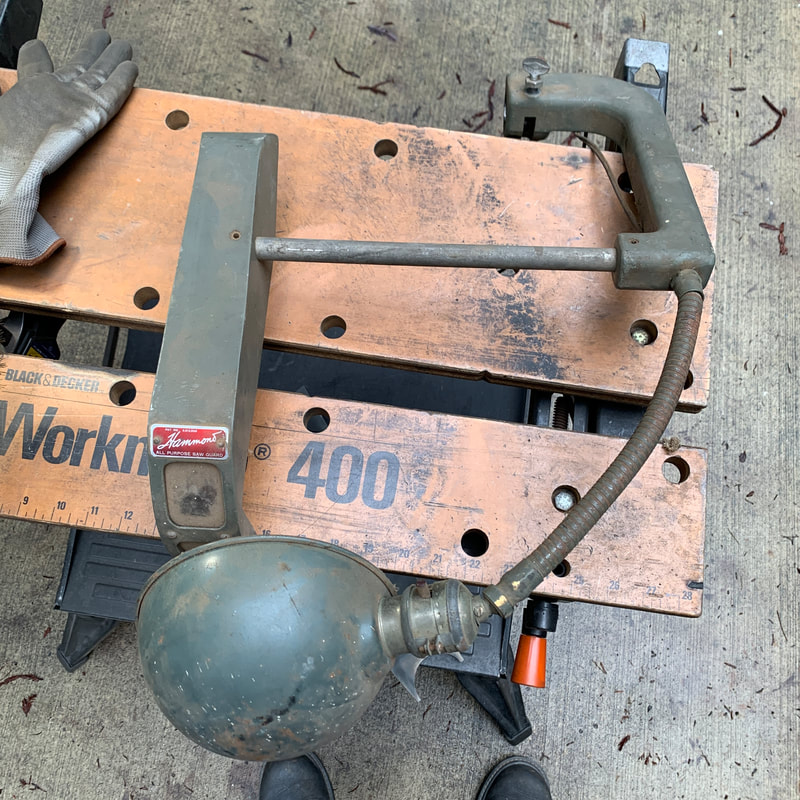     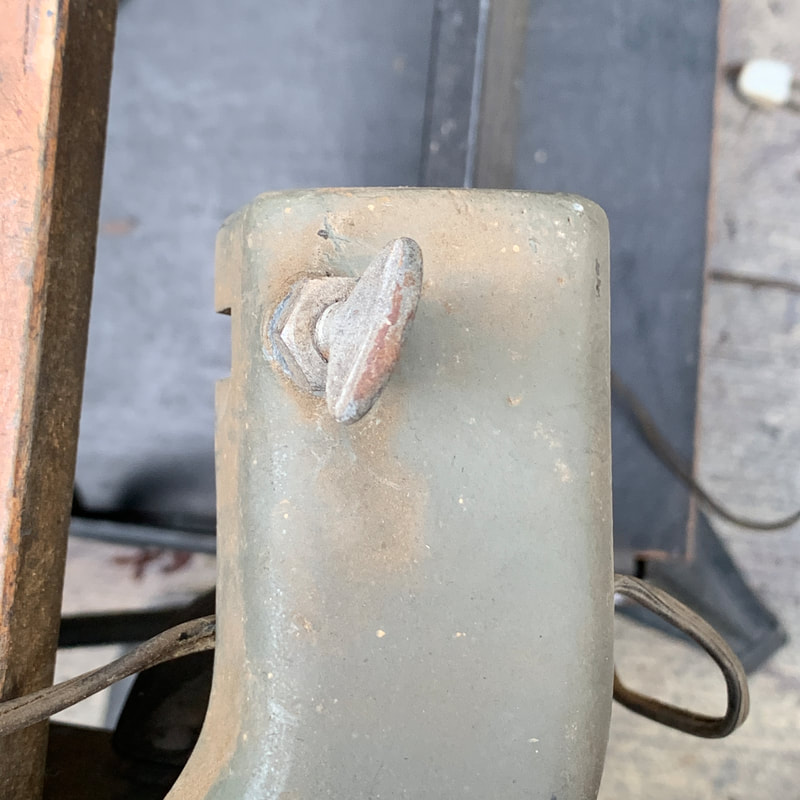  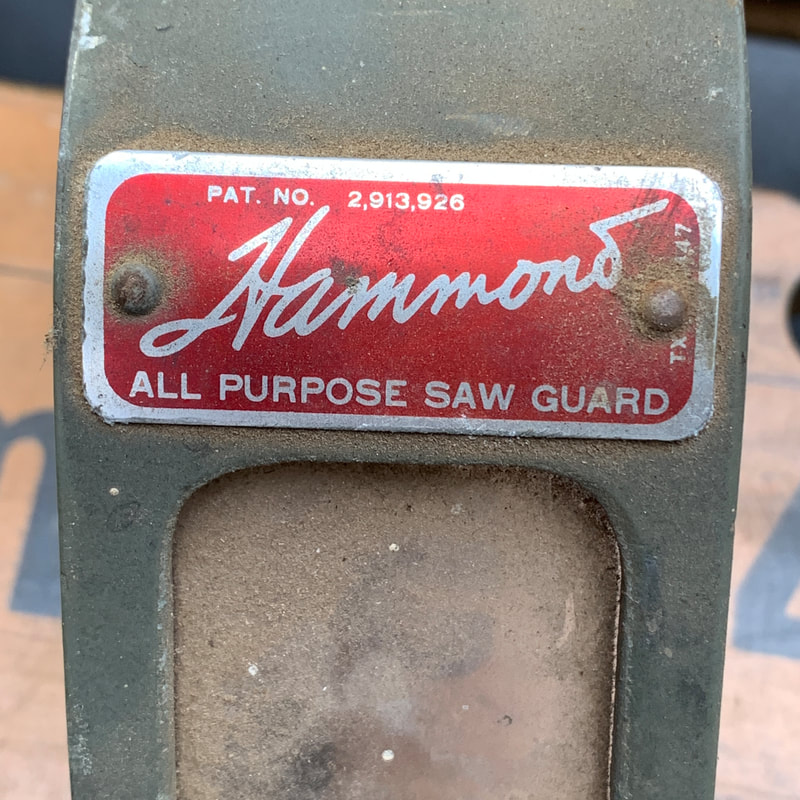           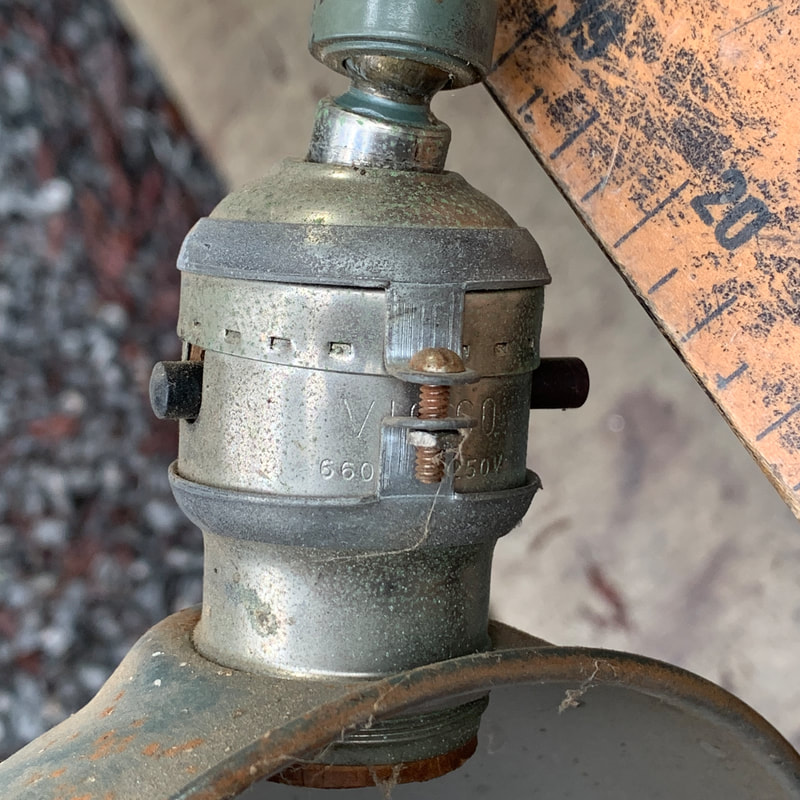 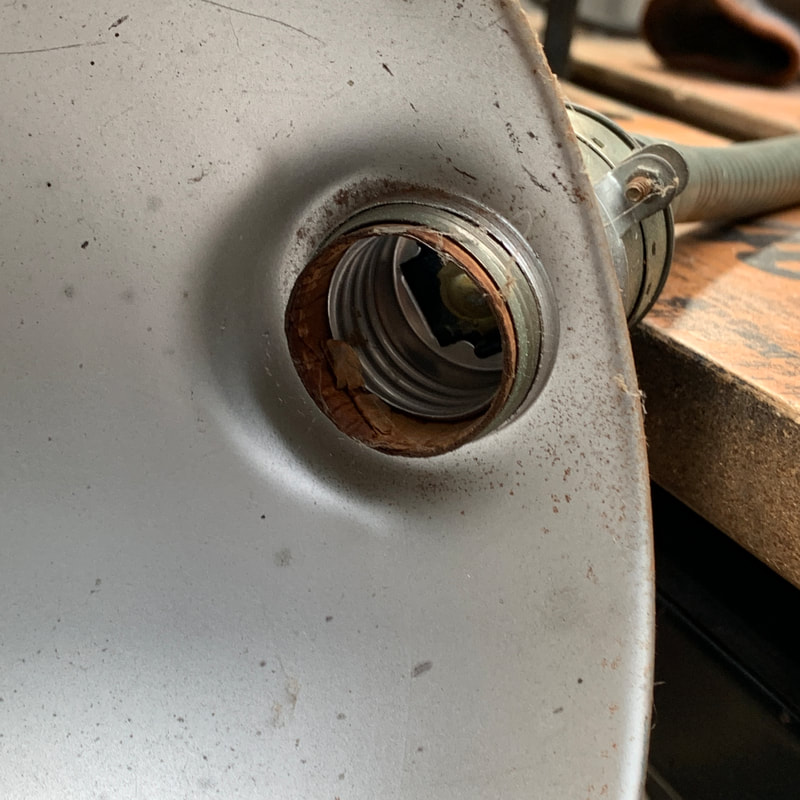             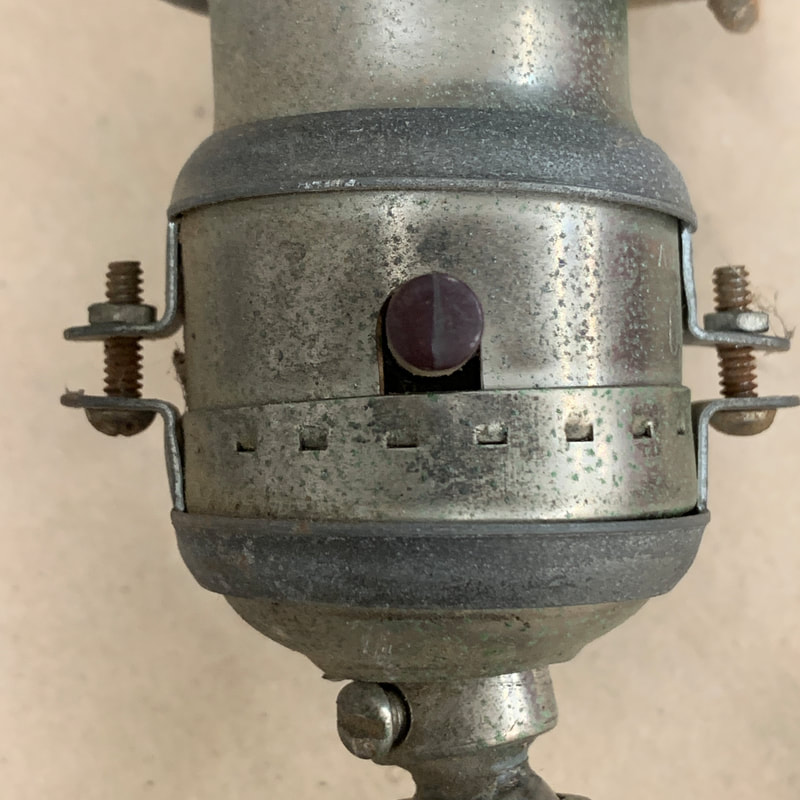     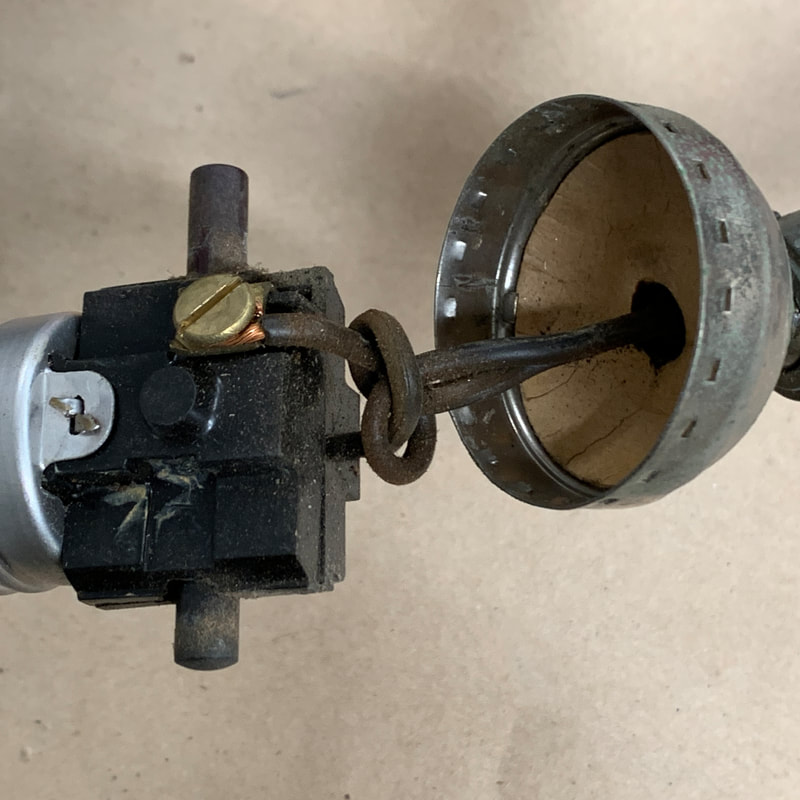 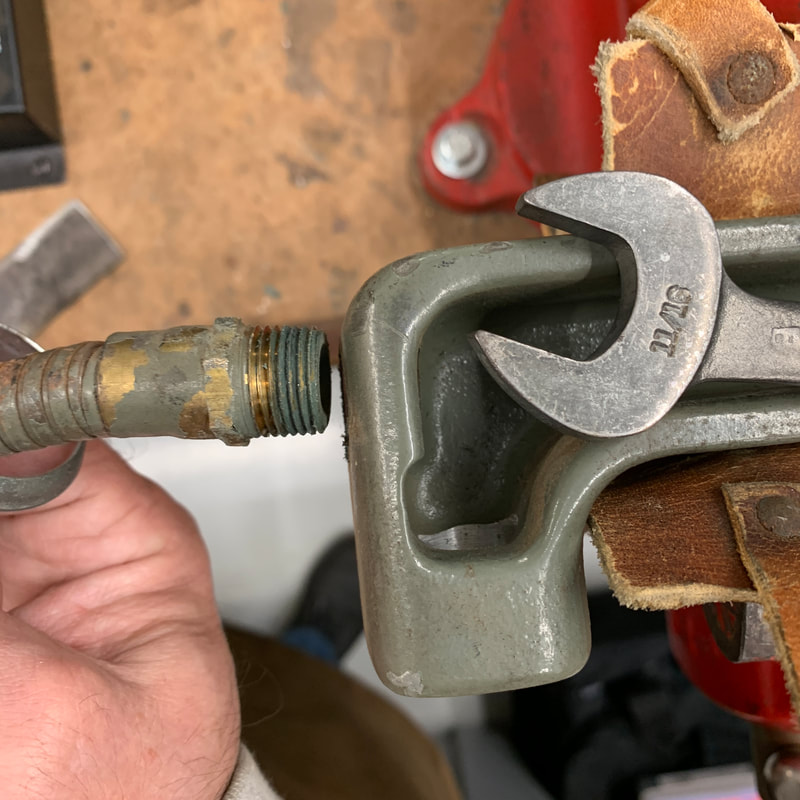 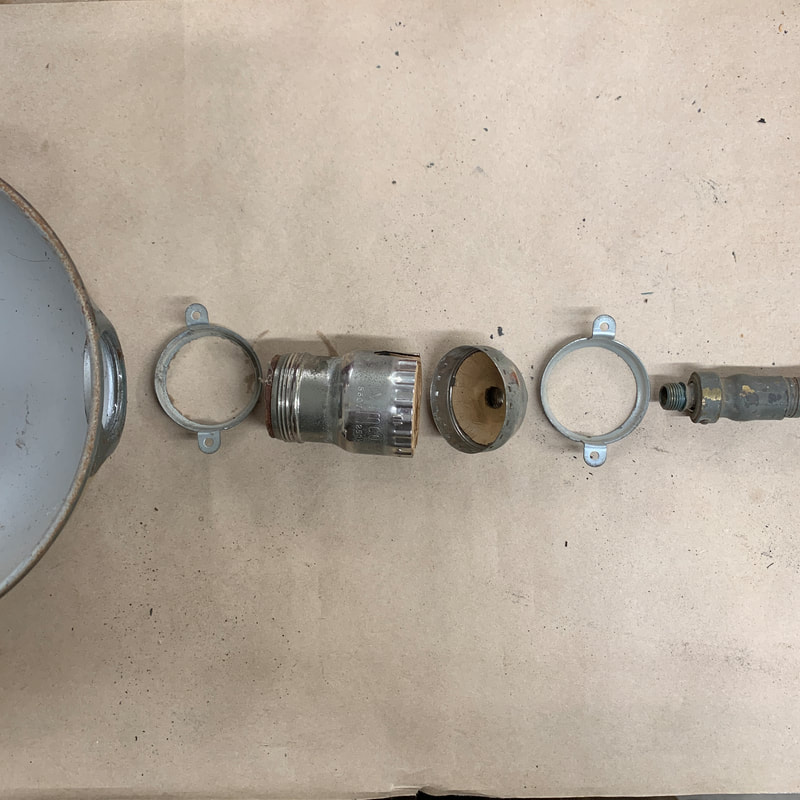 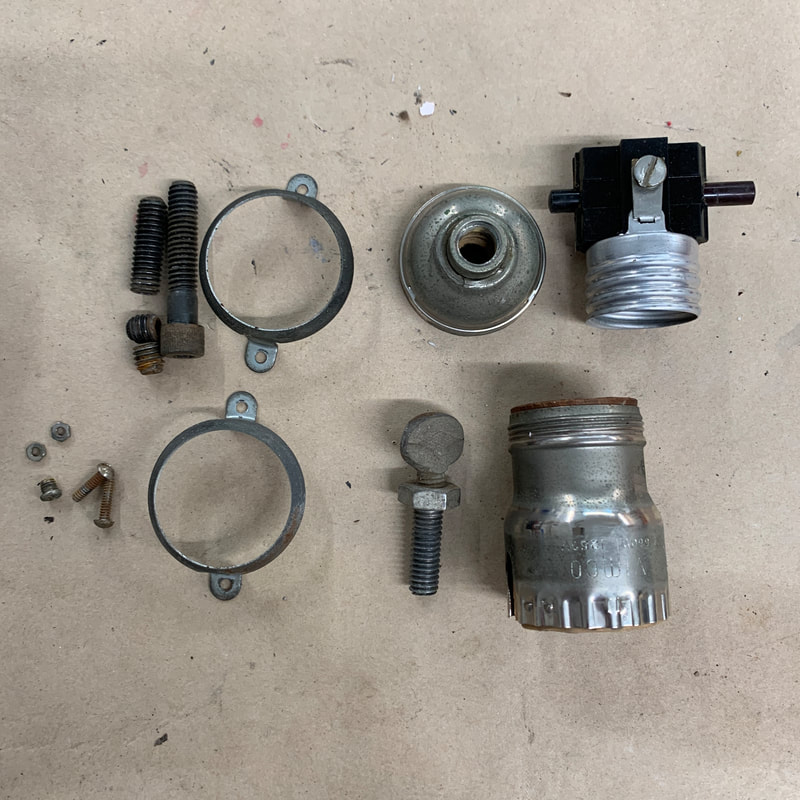           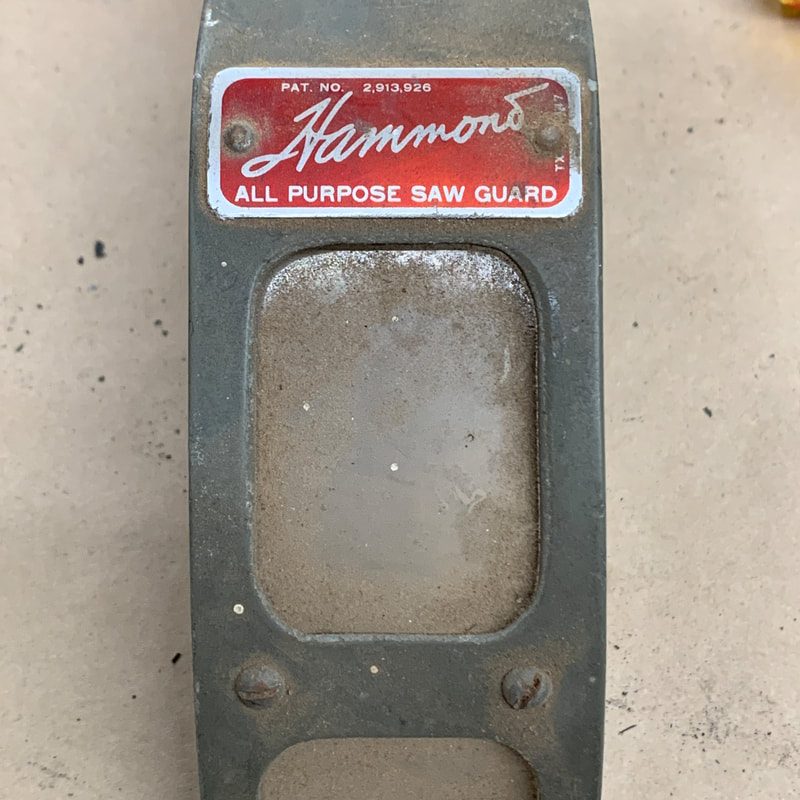  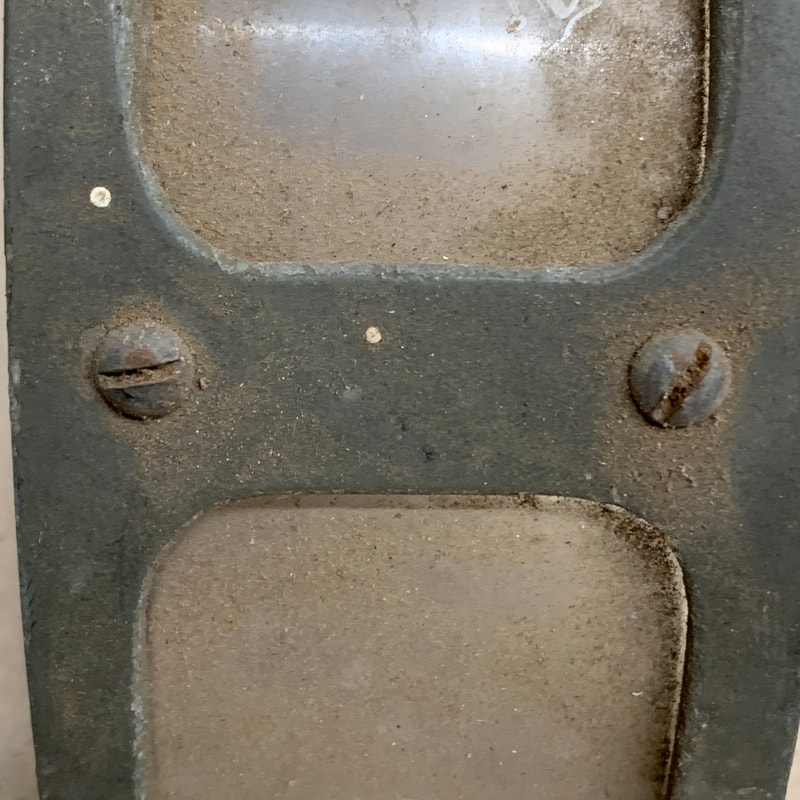 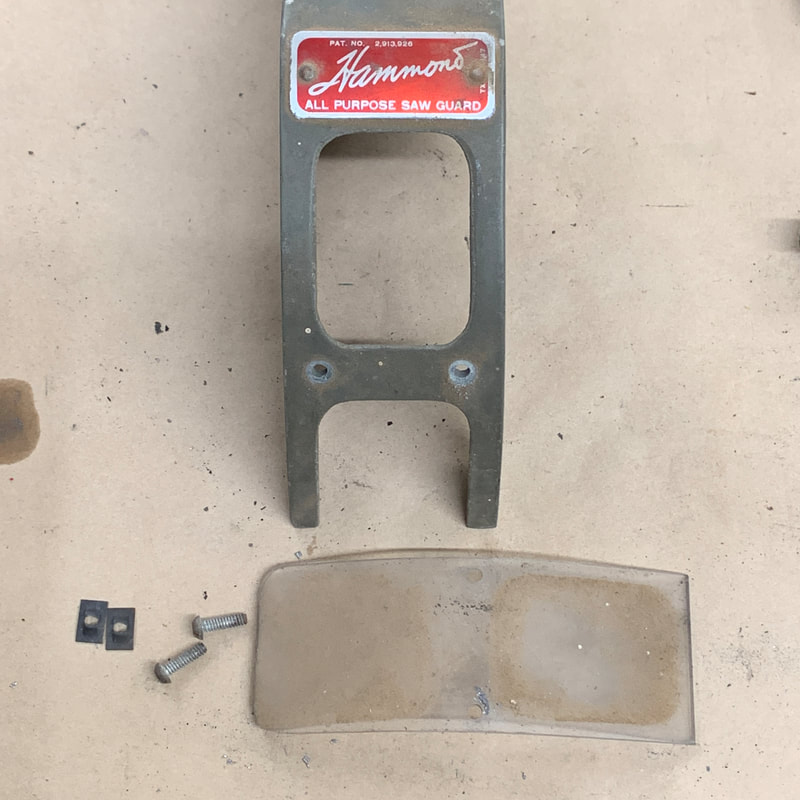 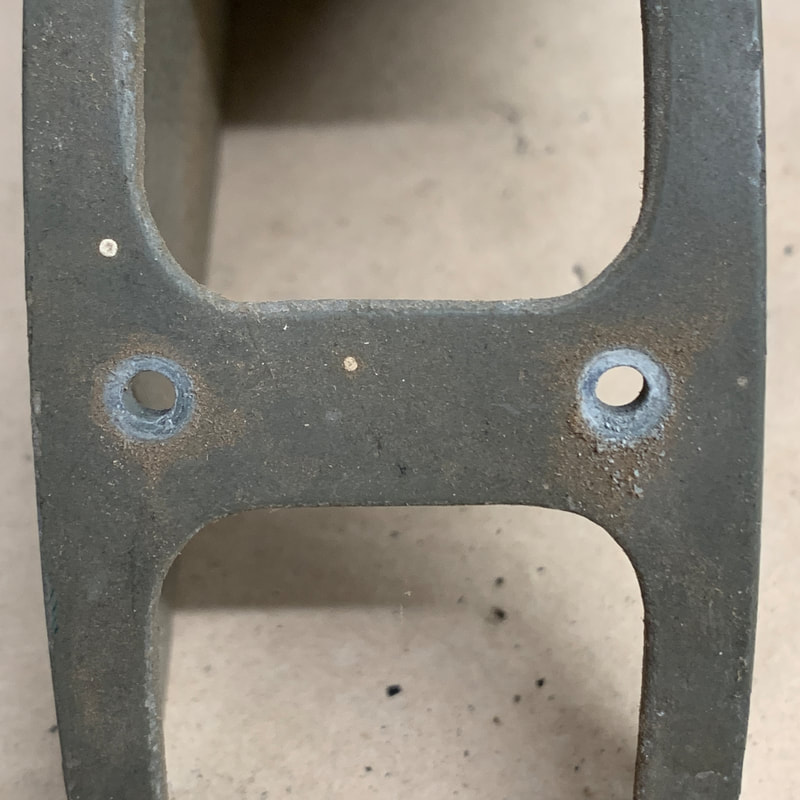            |
Blade guard and work light disassembly
|
                      |
Batter gauge disassembly
|
     |
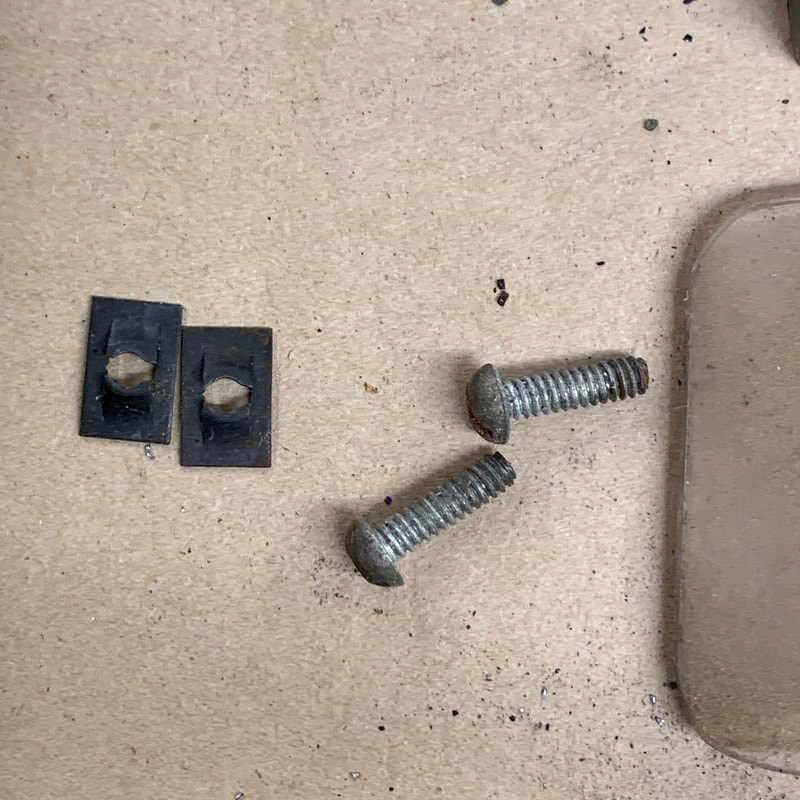
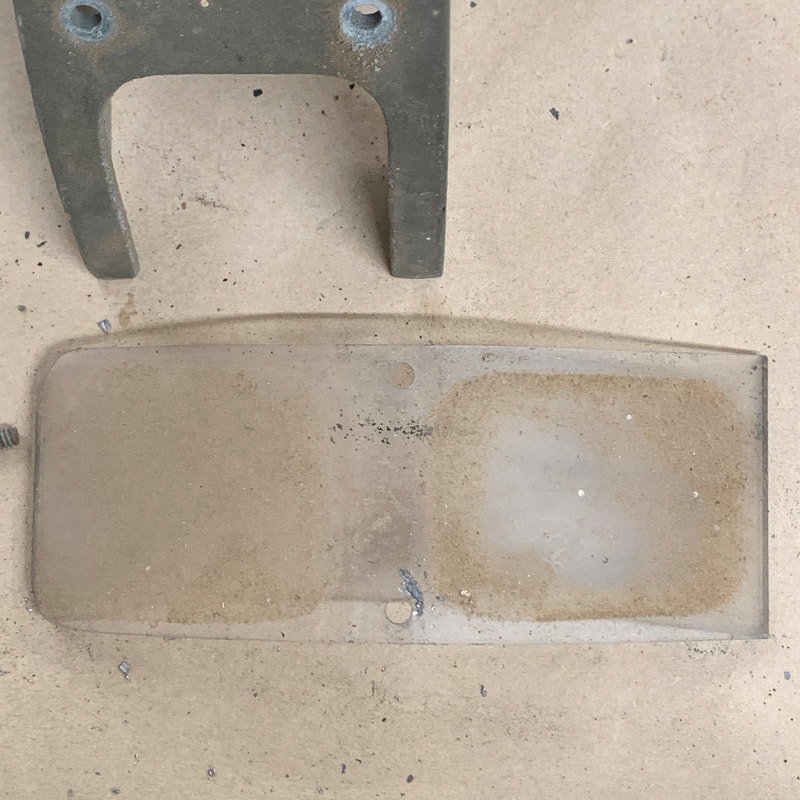
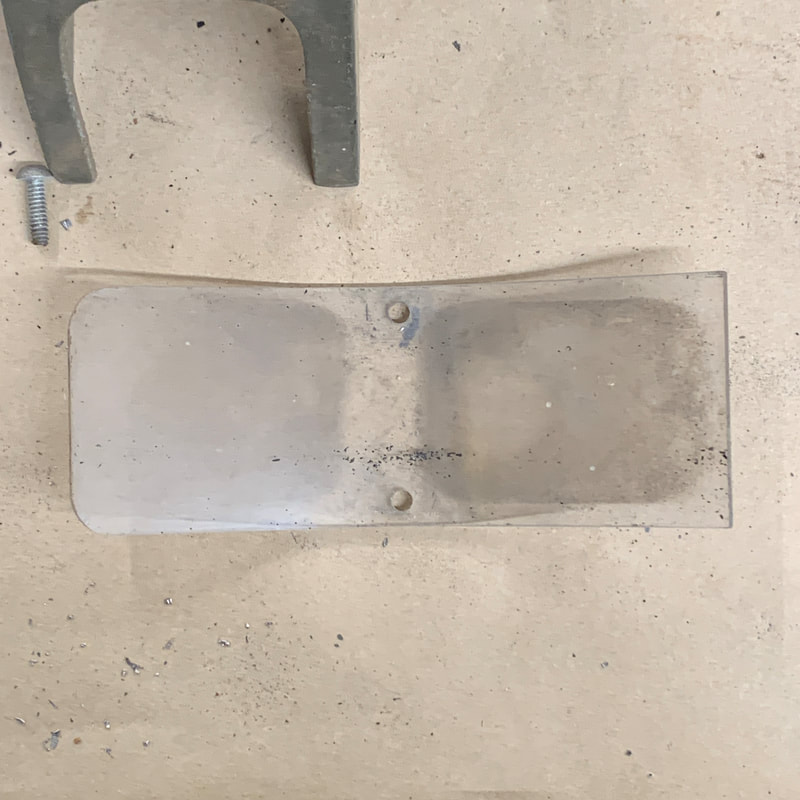
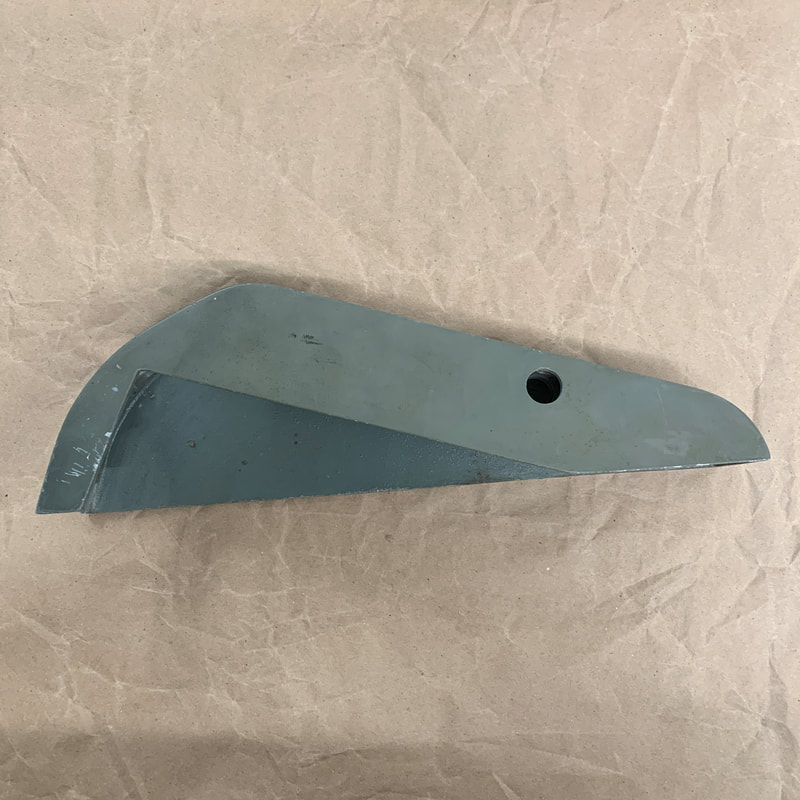
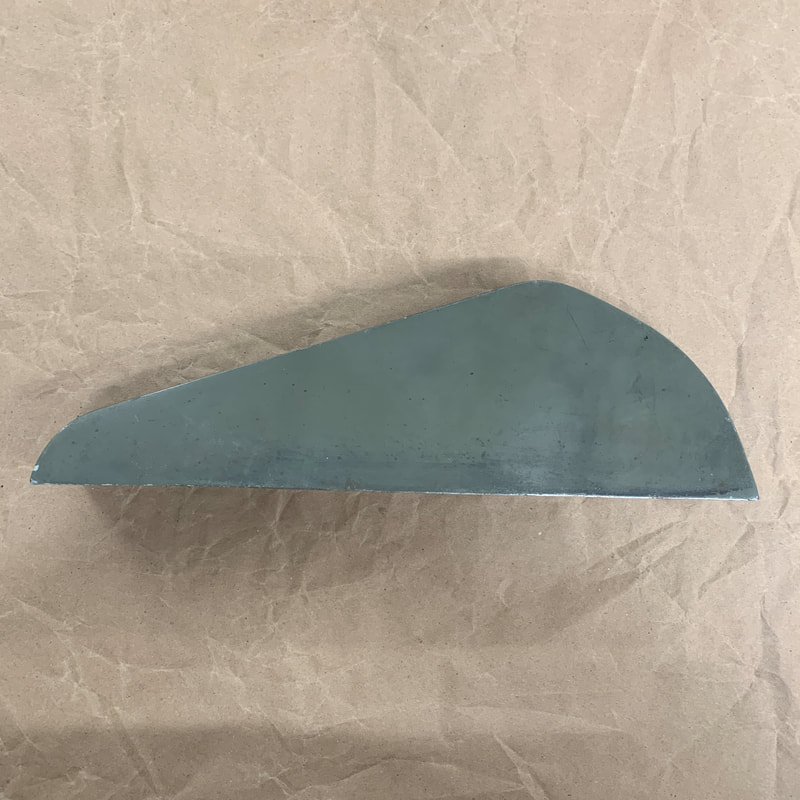
Chip shield disassembly
|
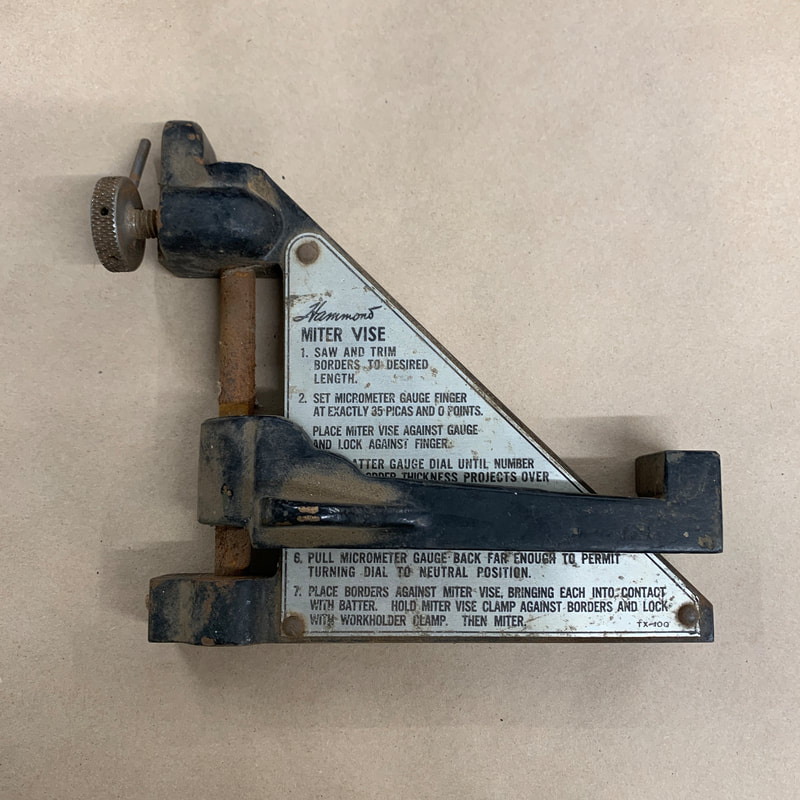 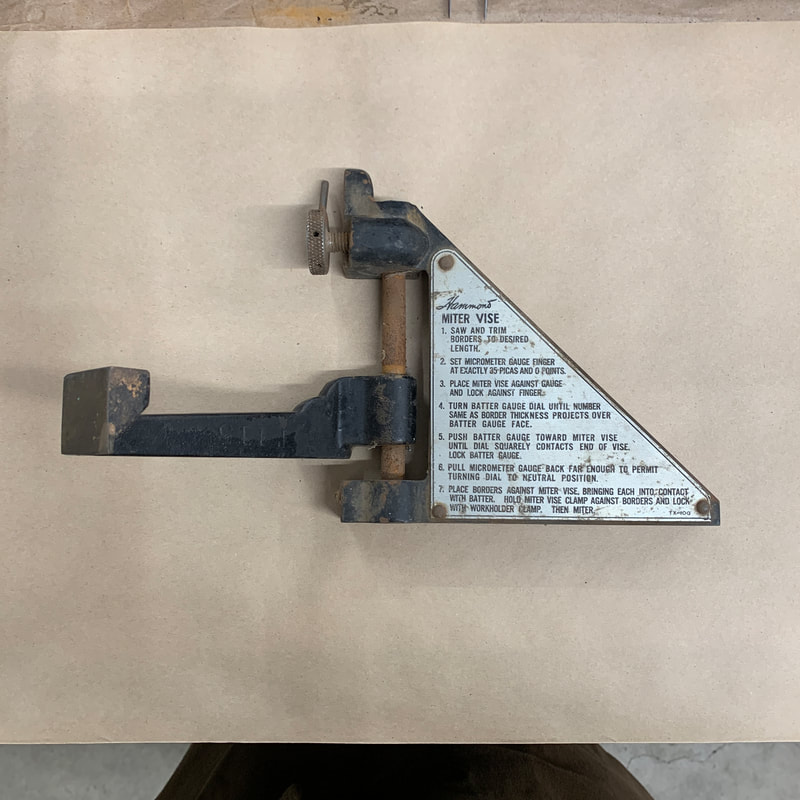 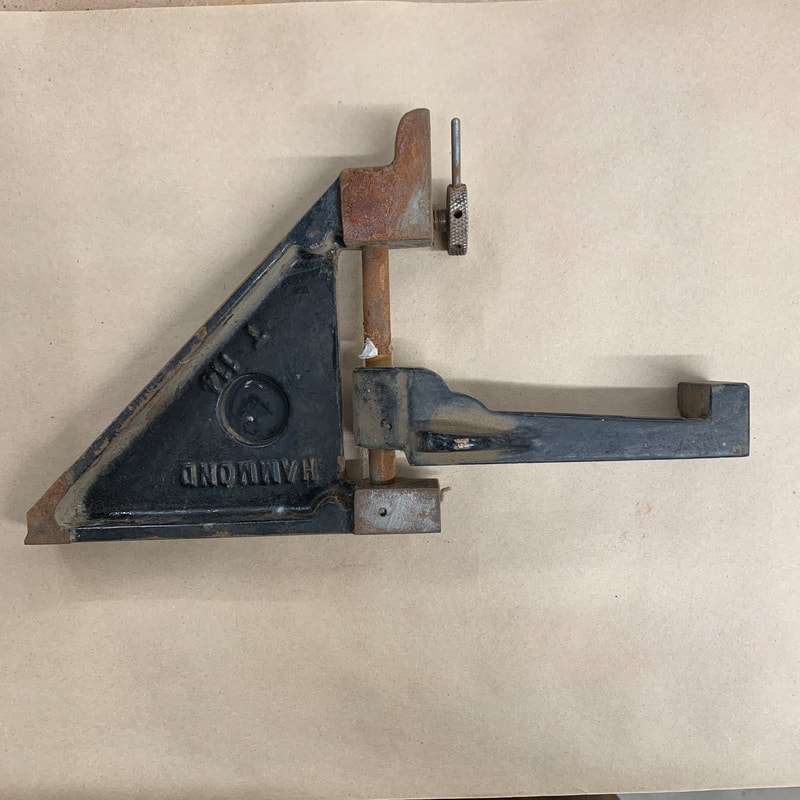 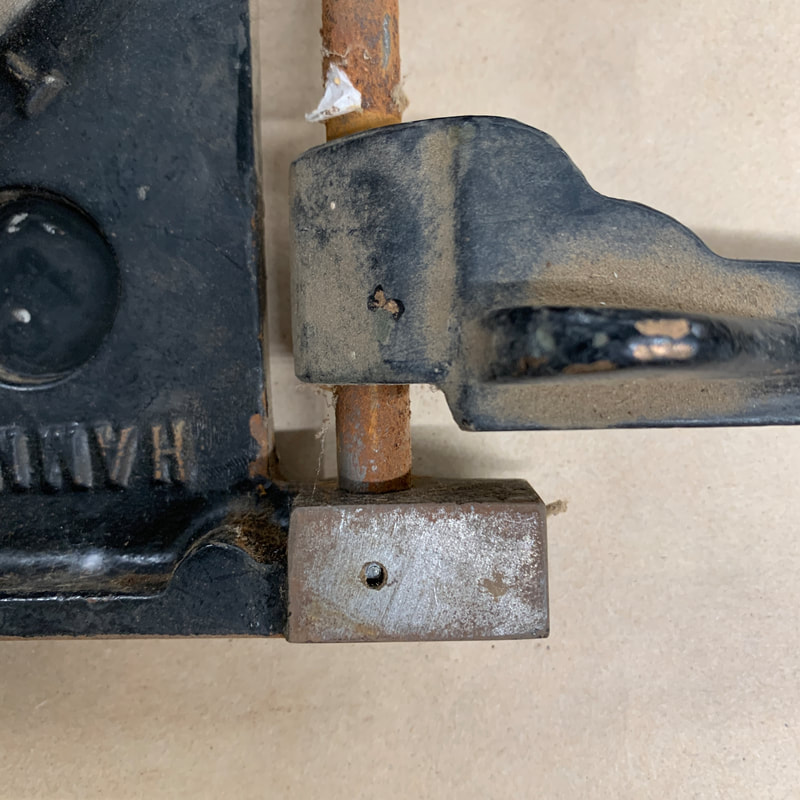  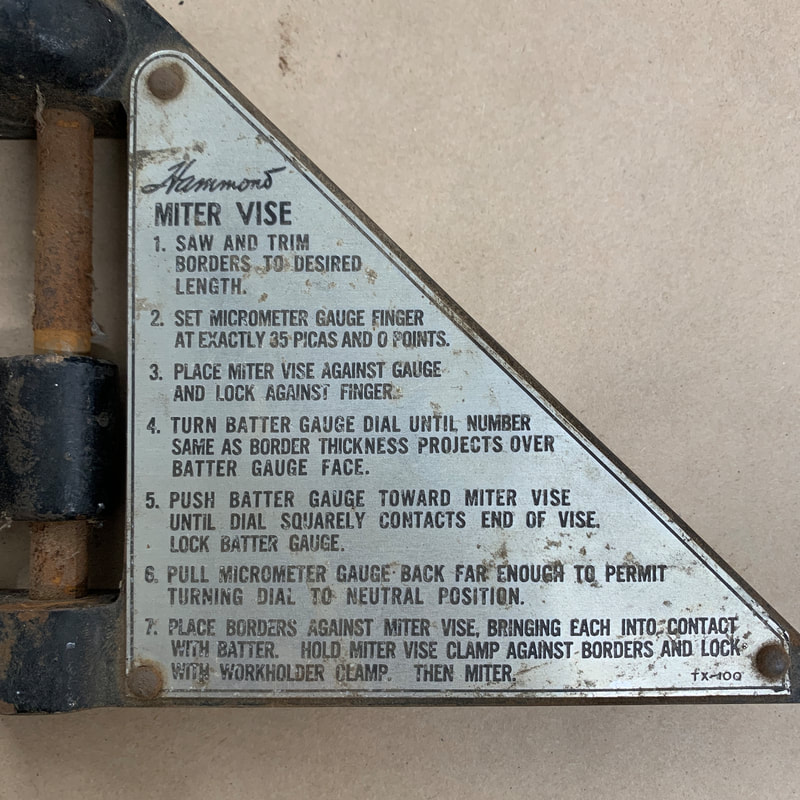 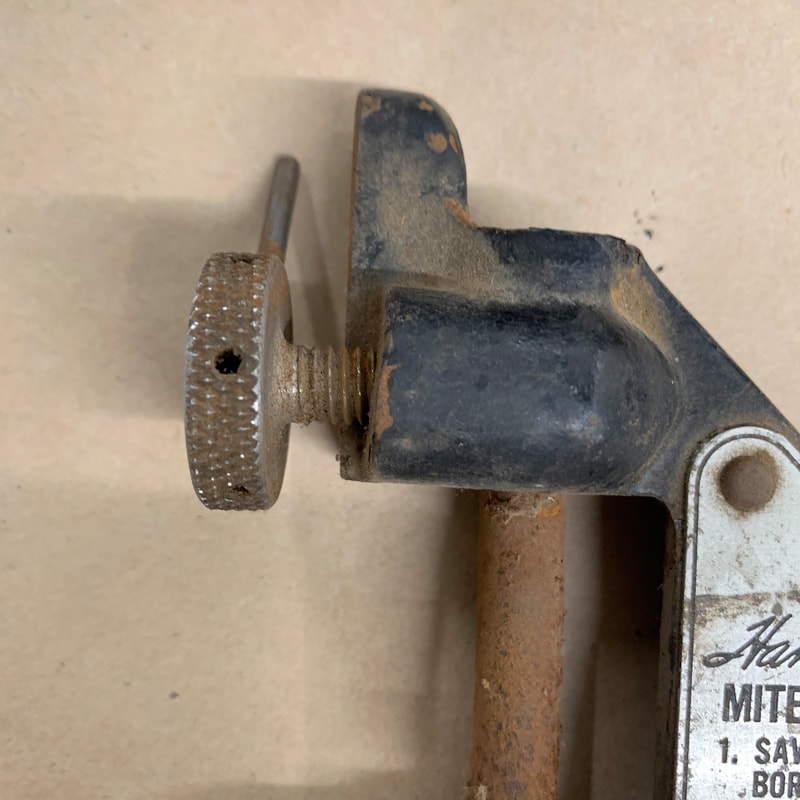 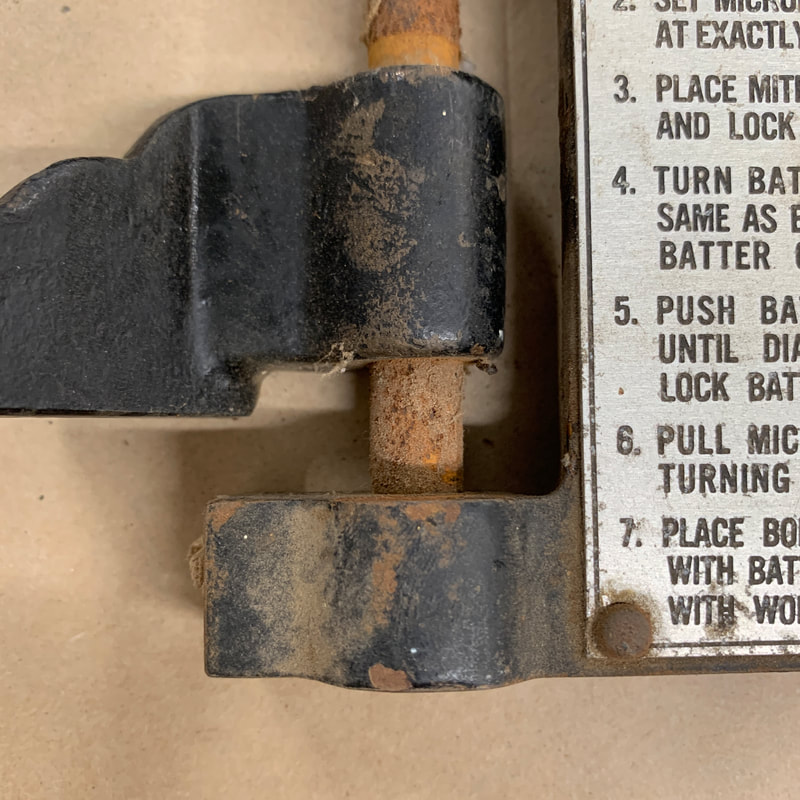 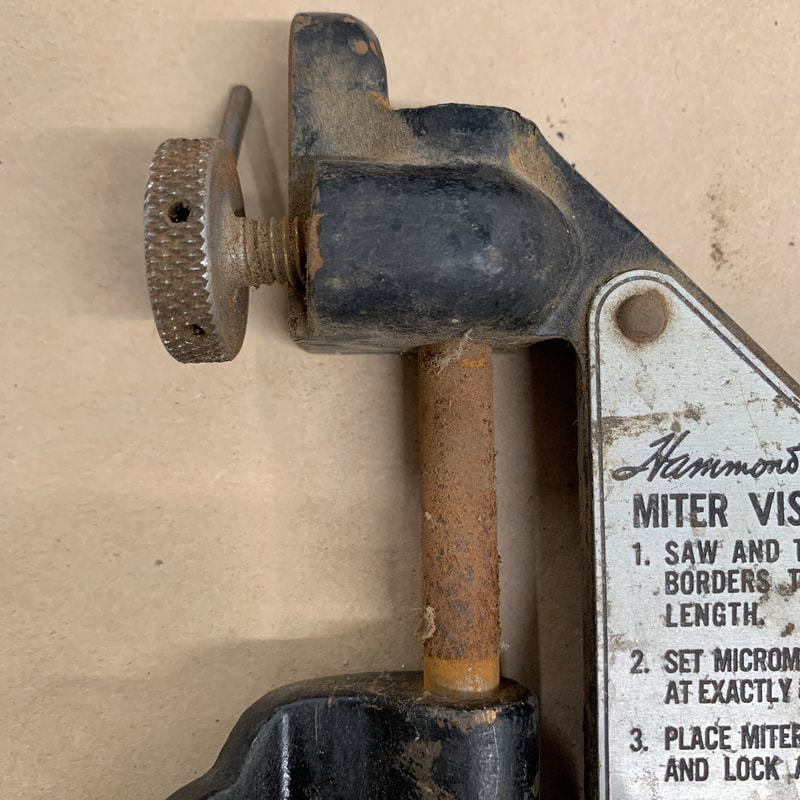  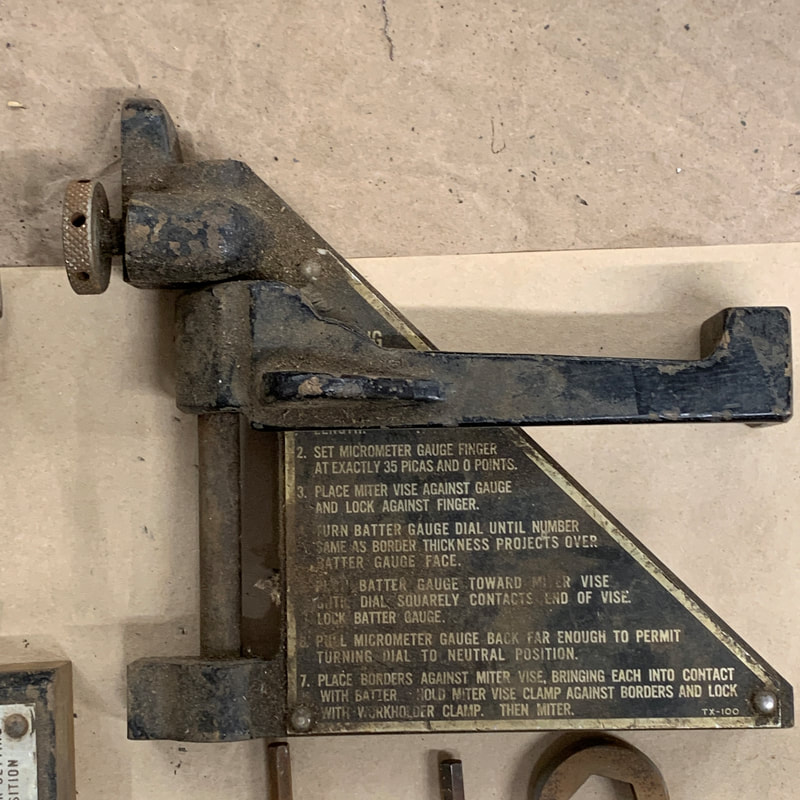 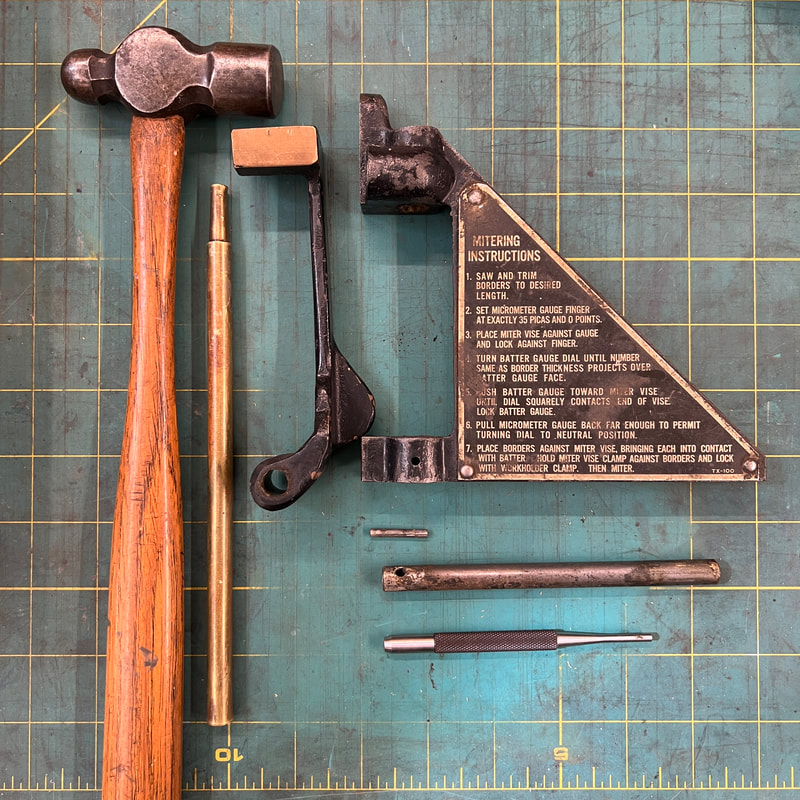 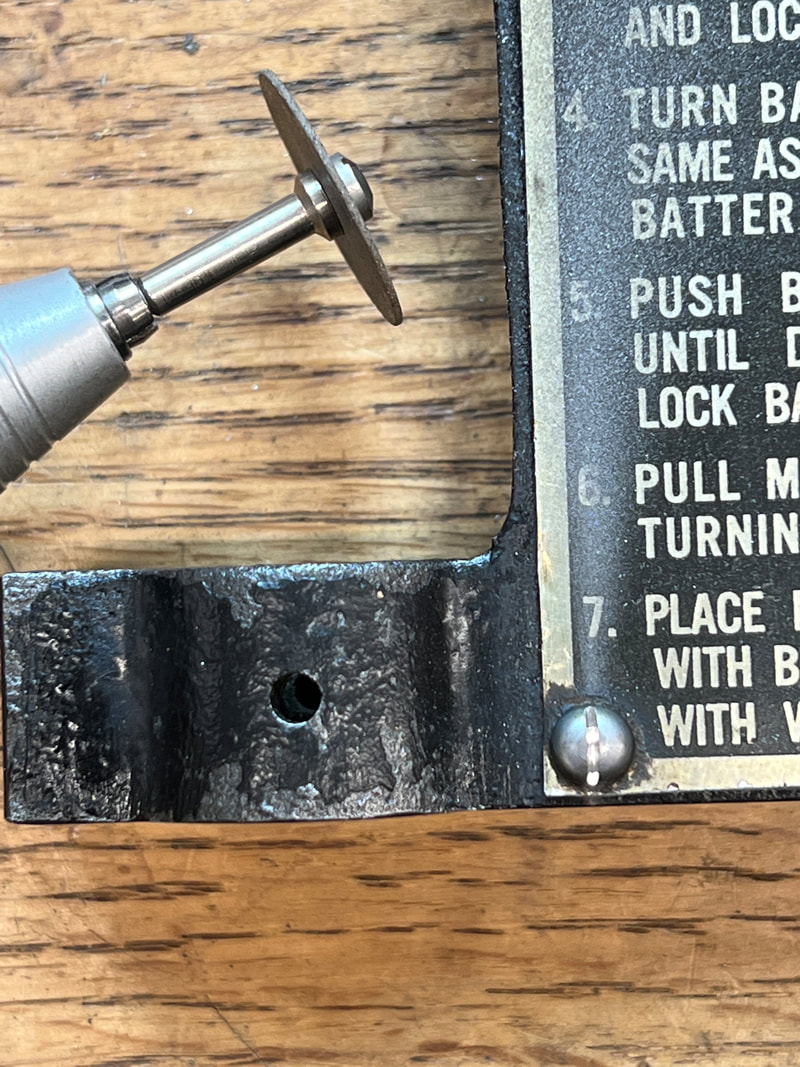 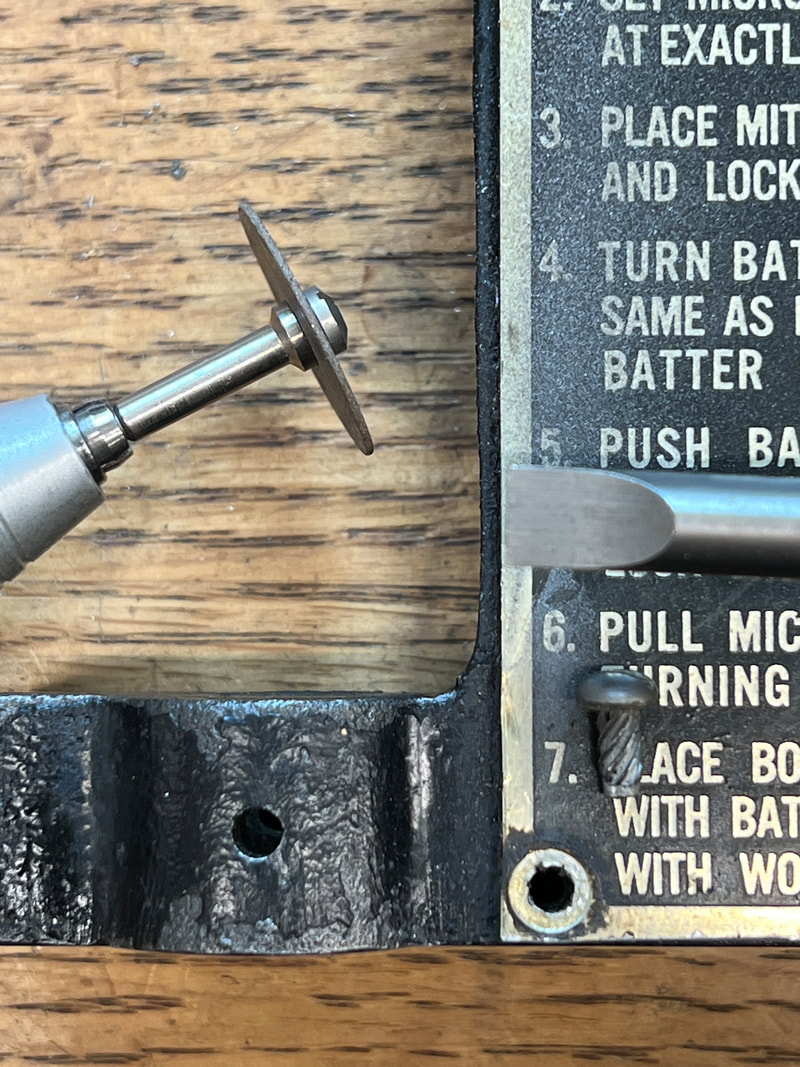 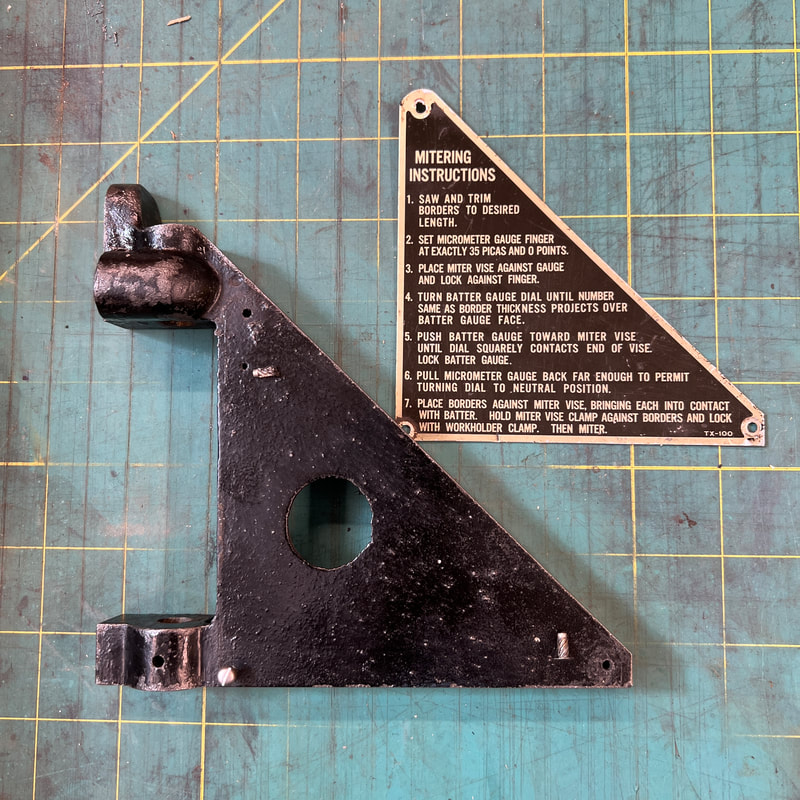  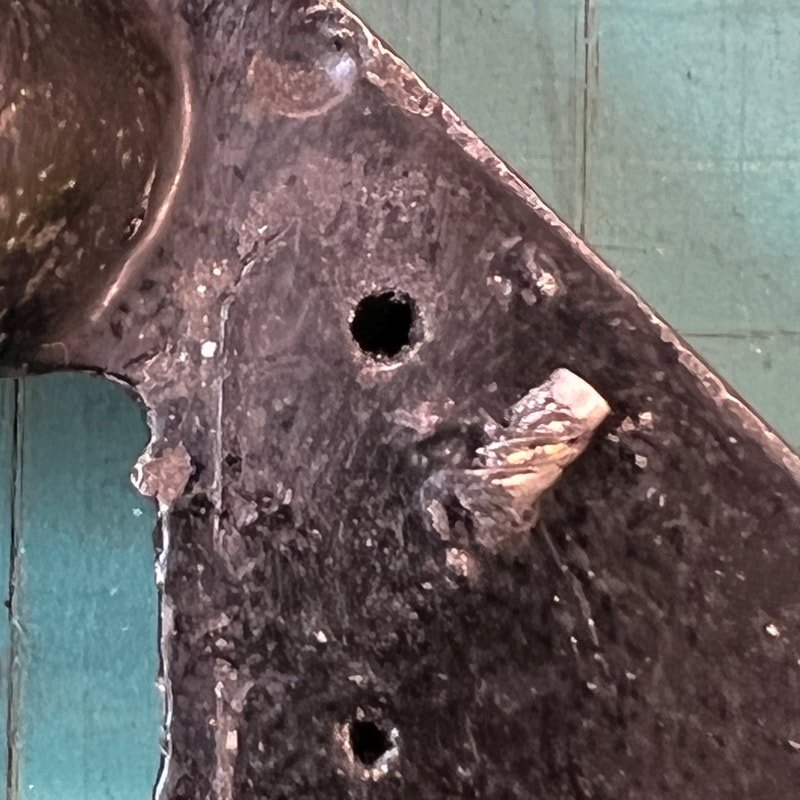 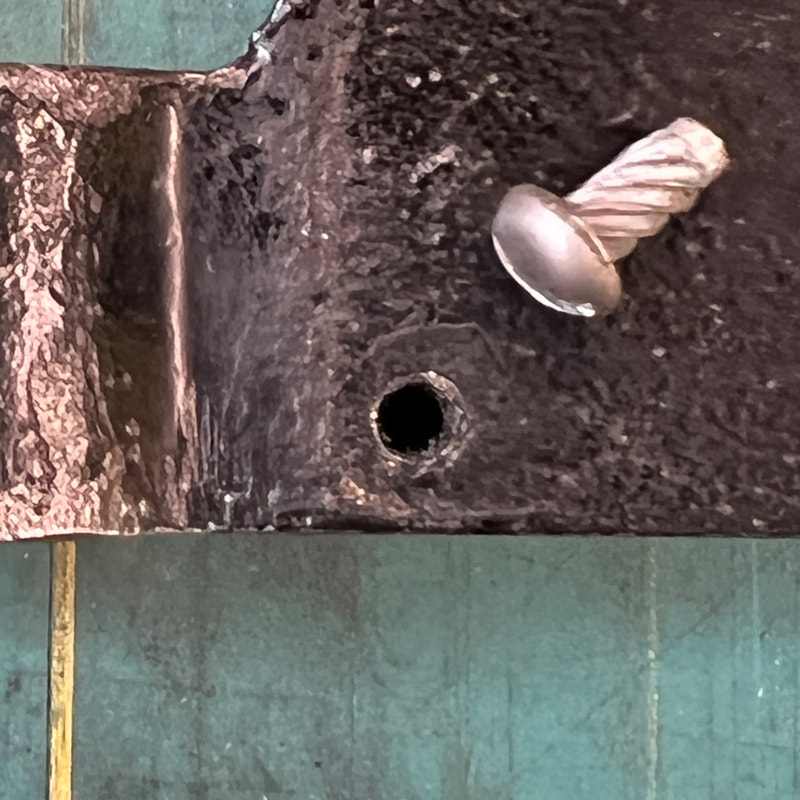 |
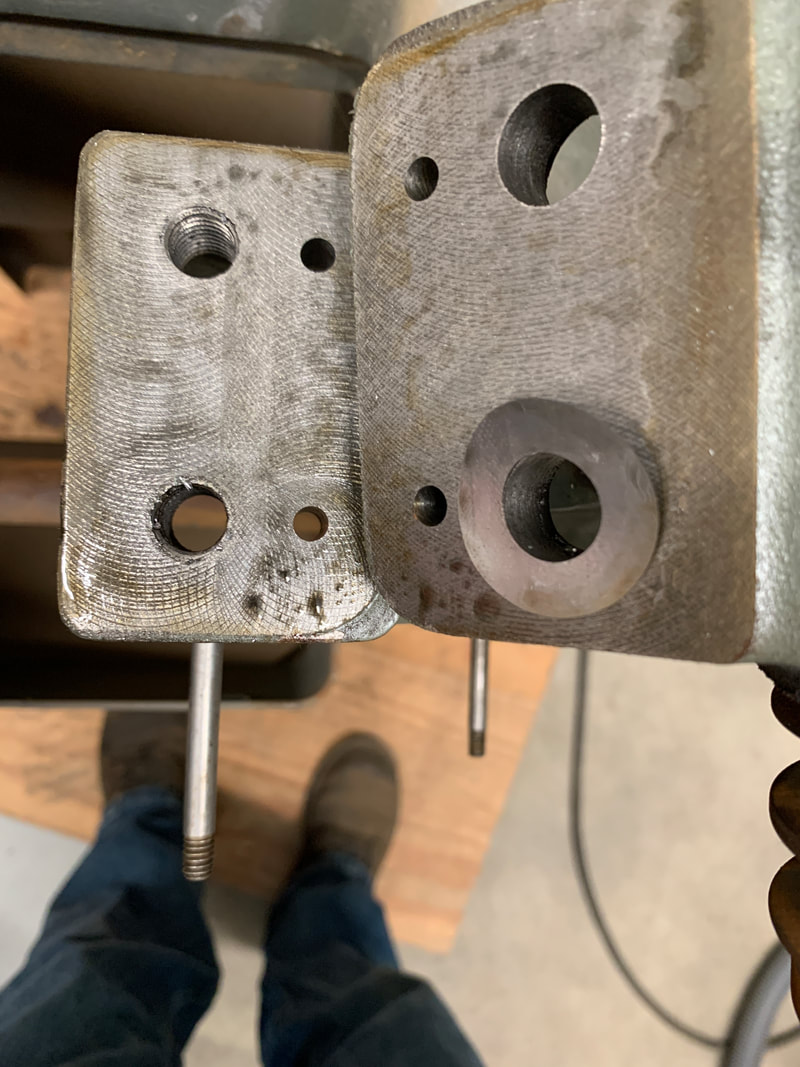
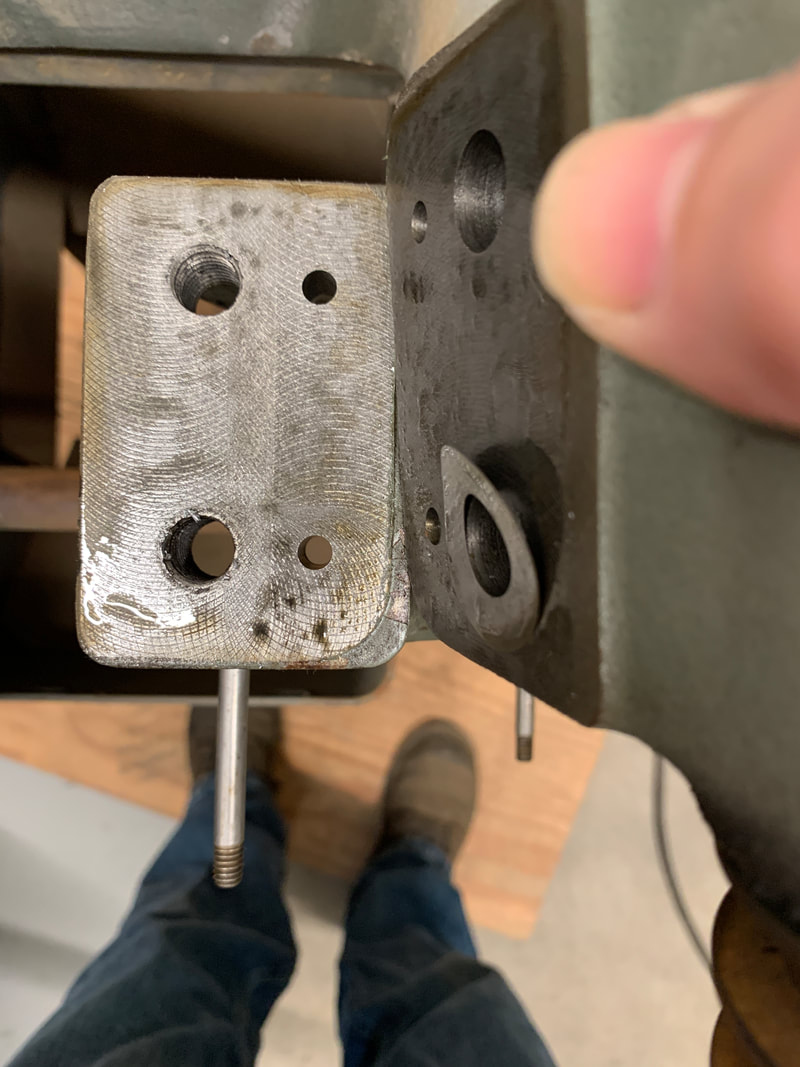
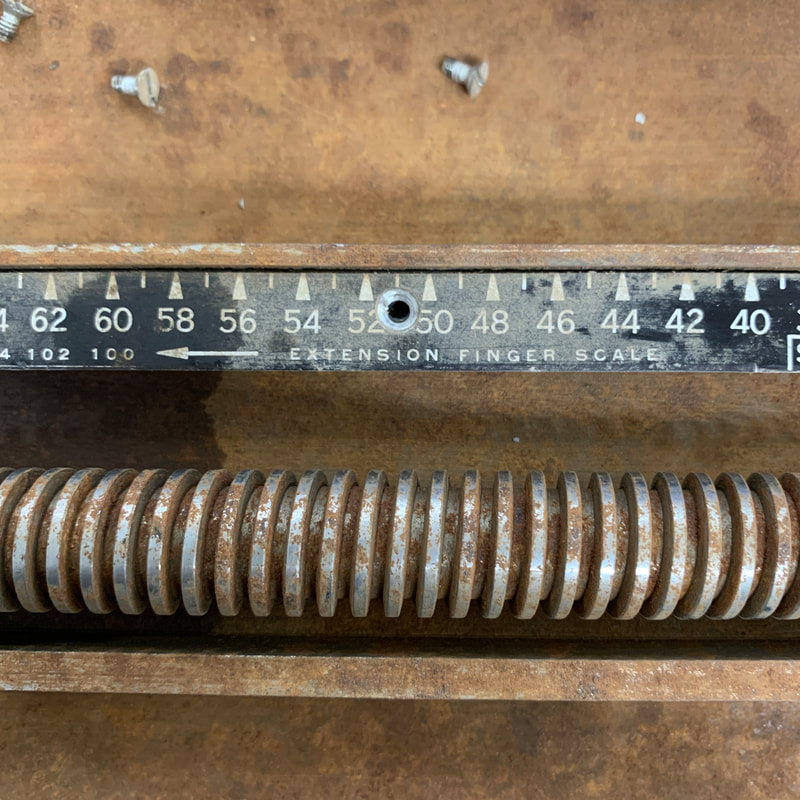
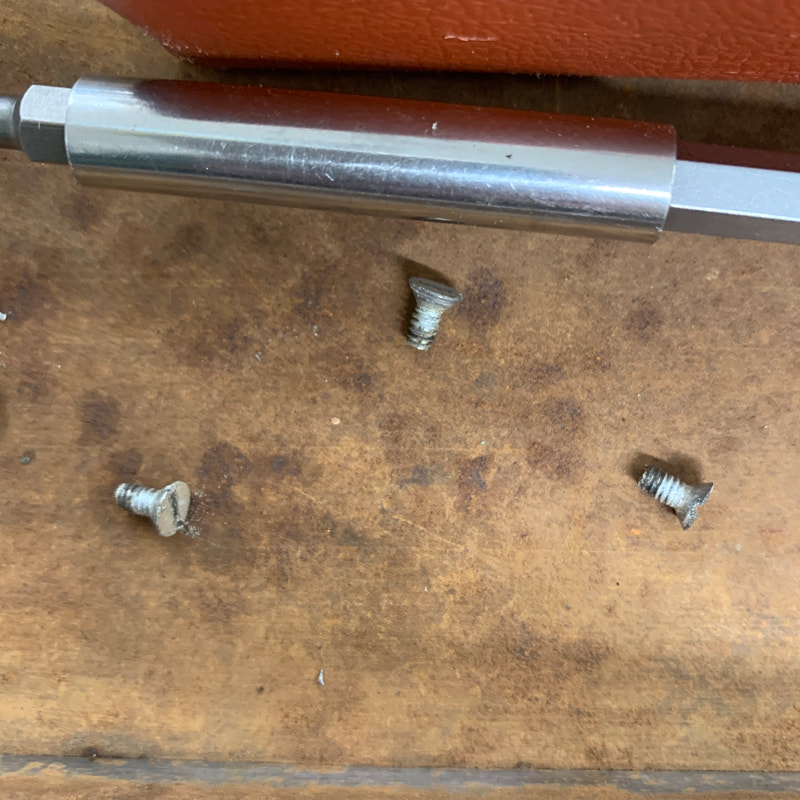
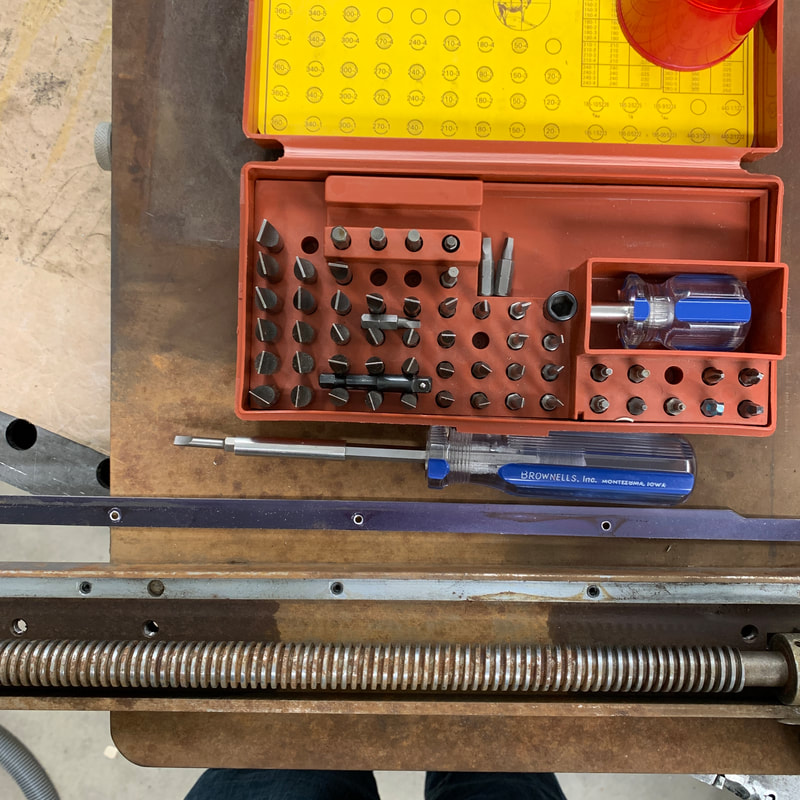
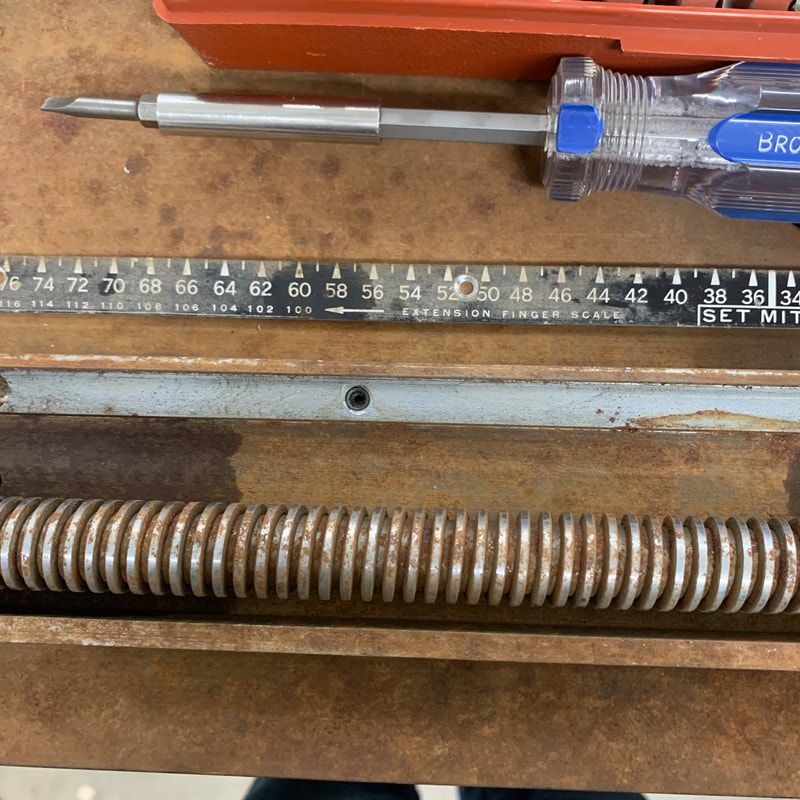
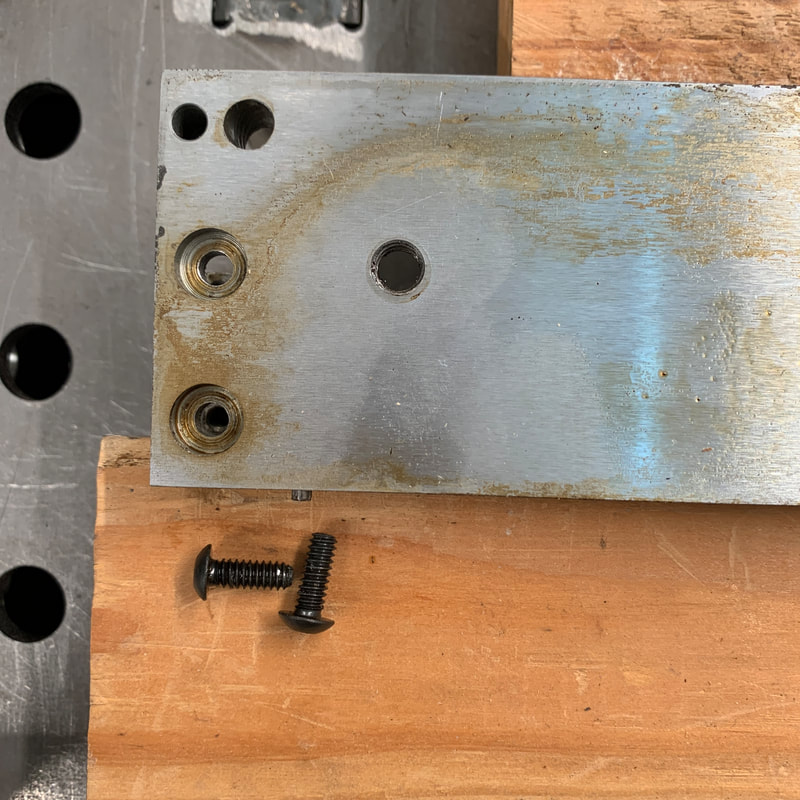
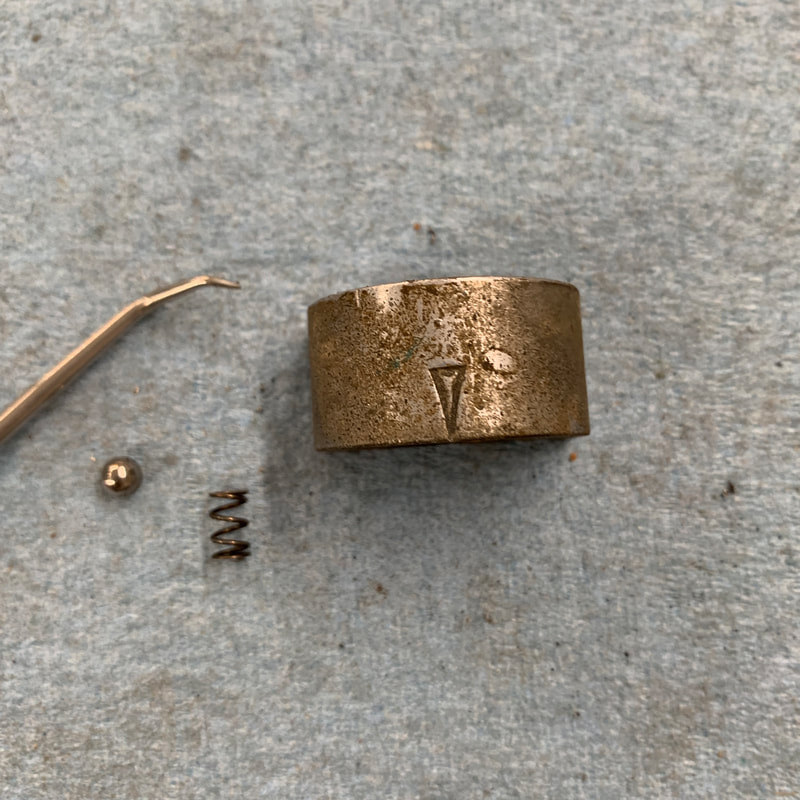
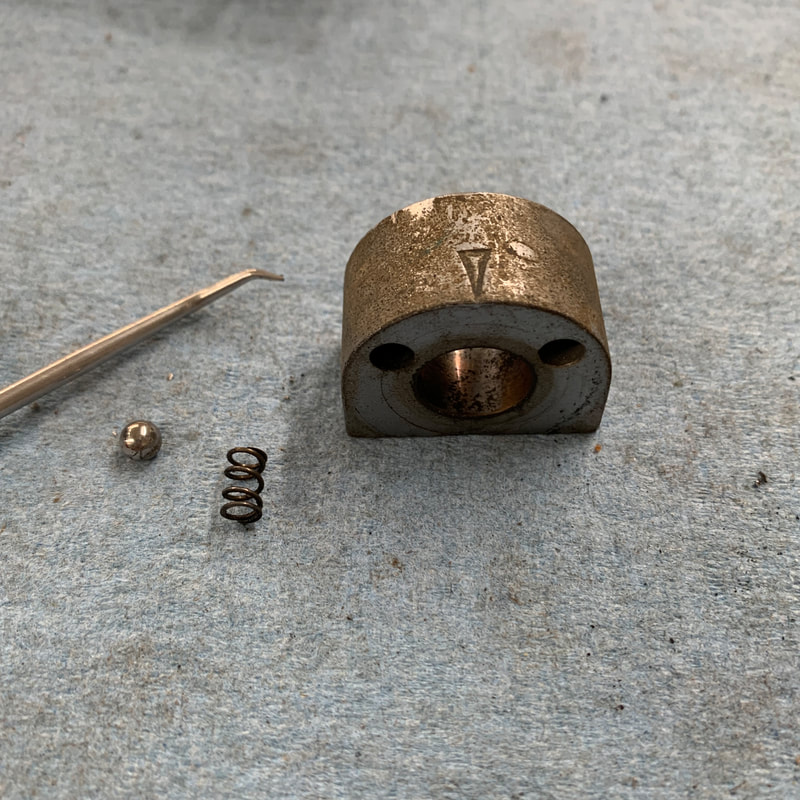
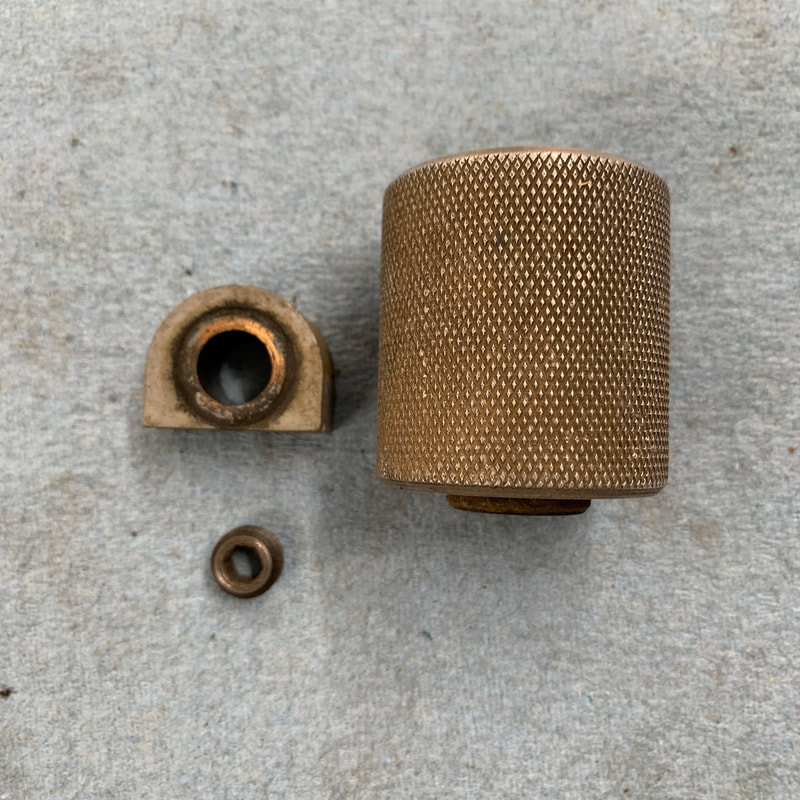
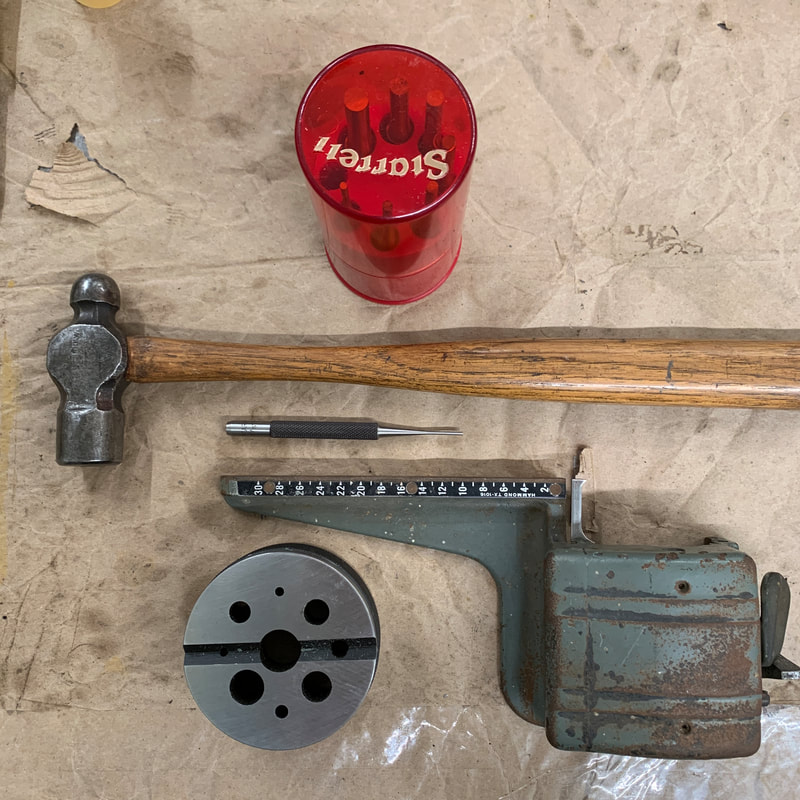
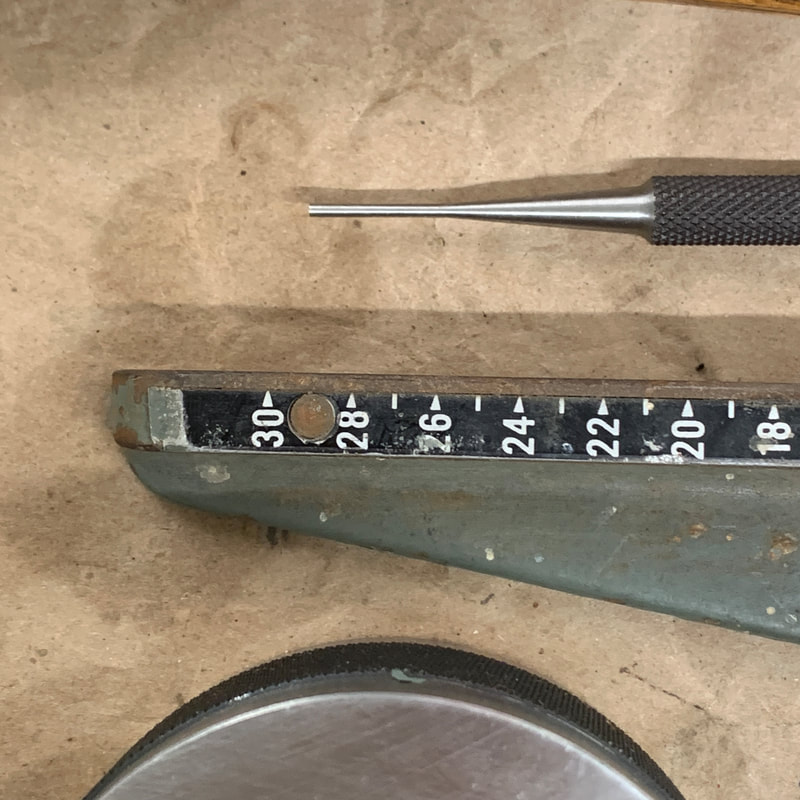
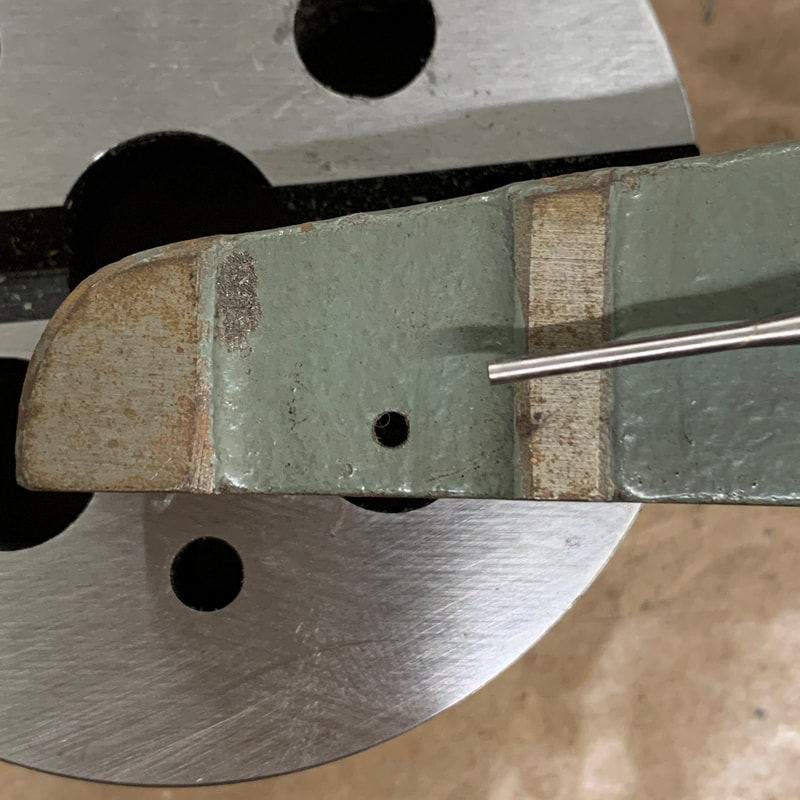
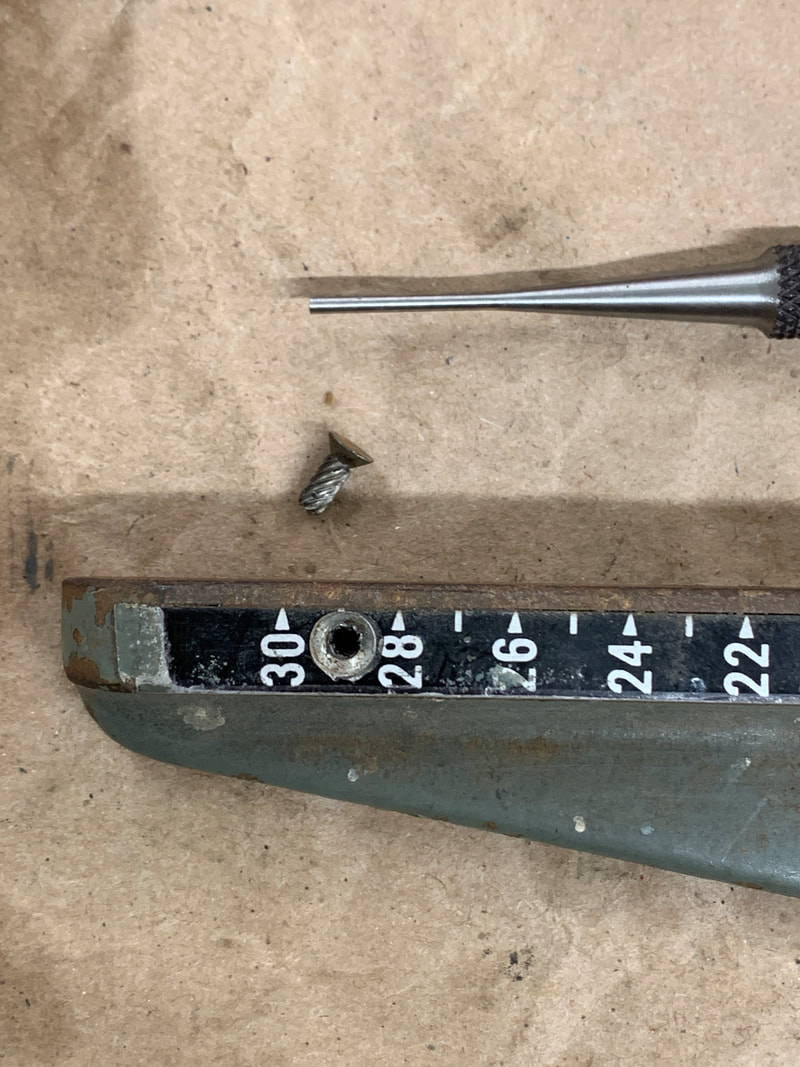
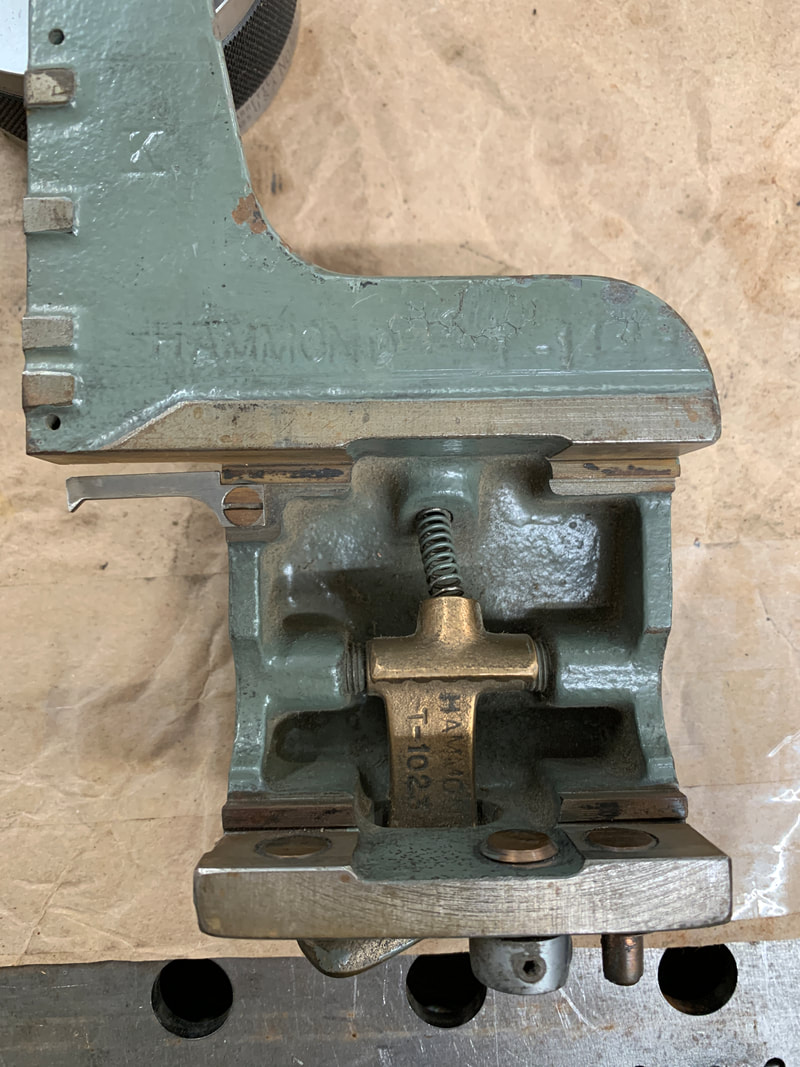
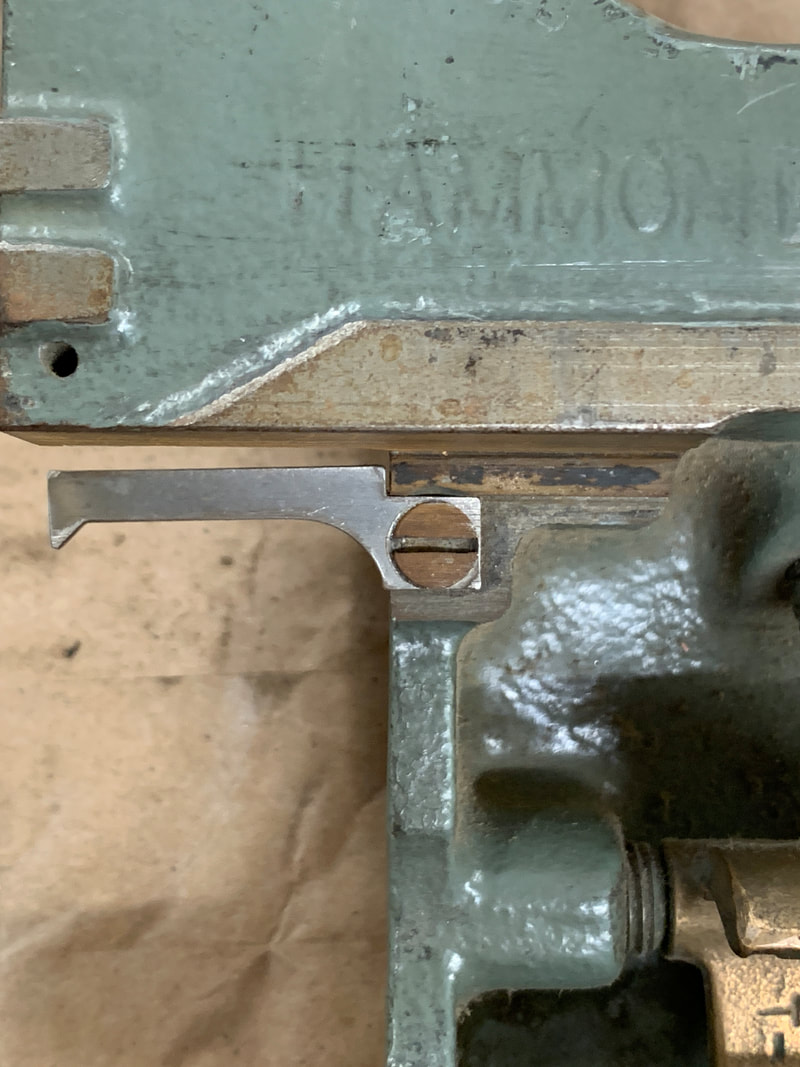
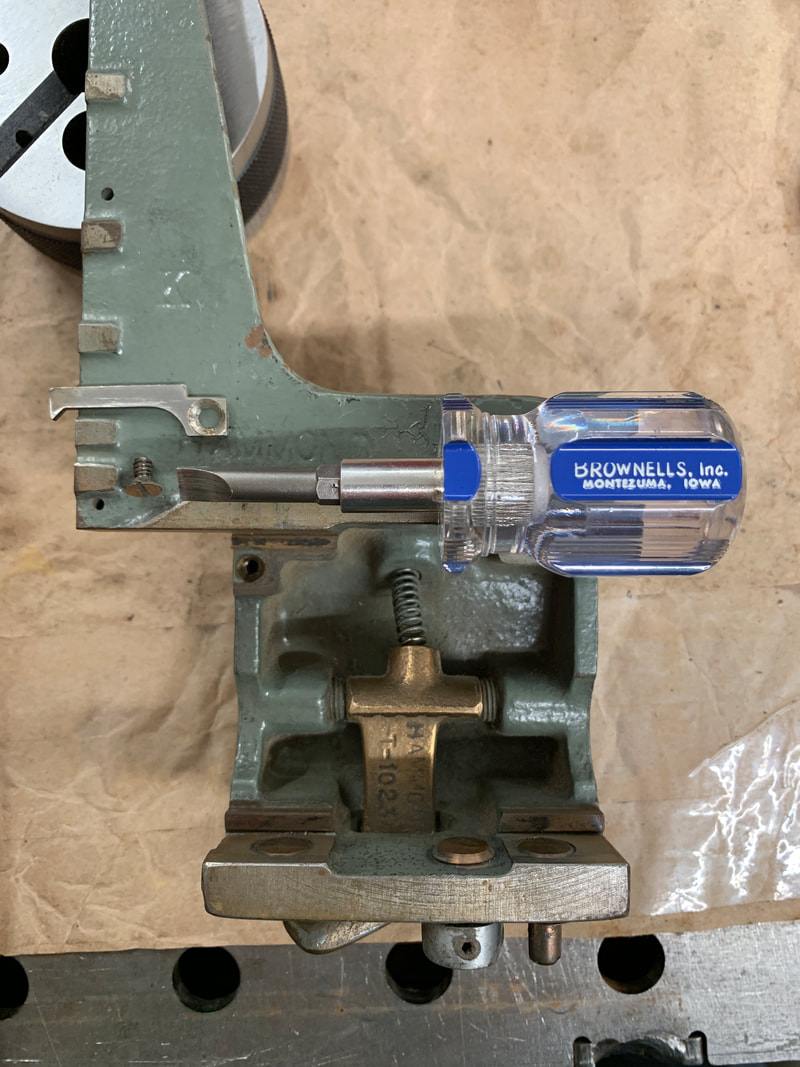
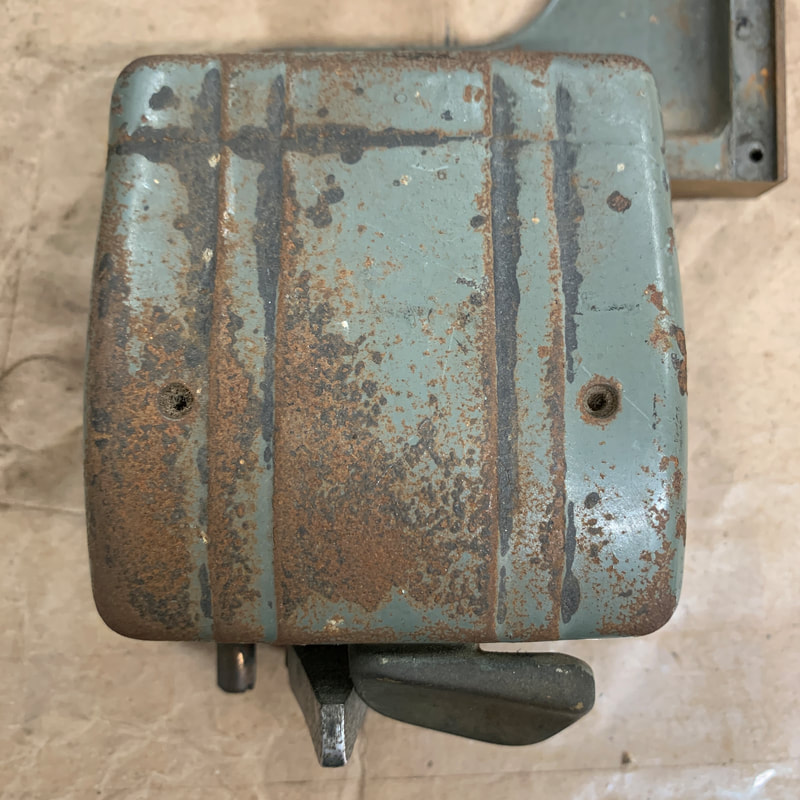
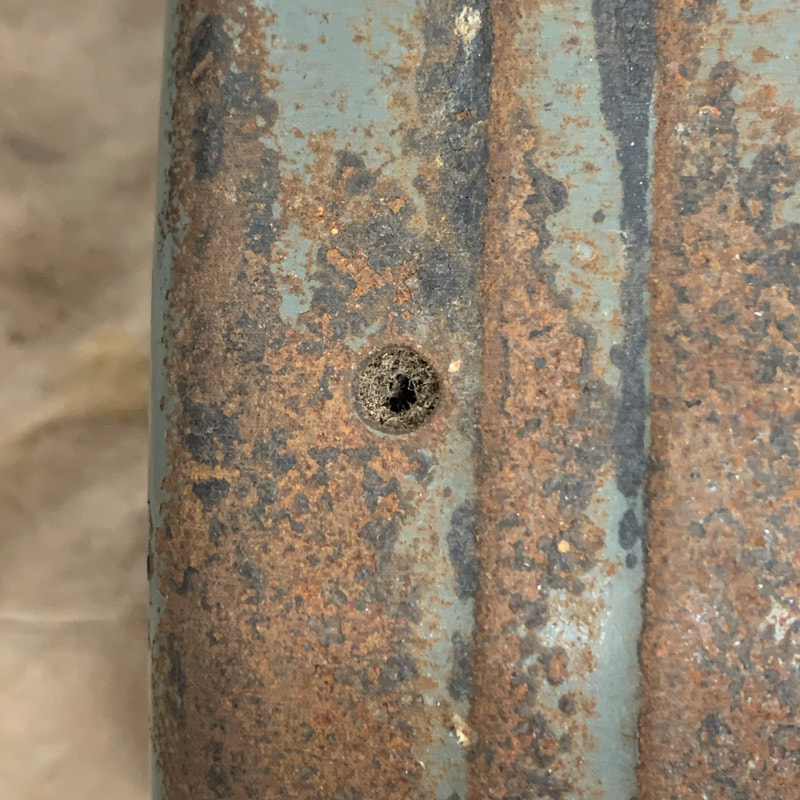
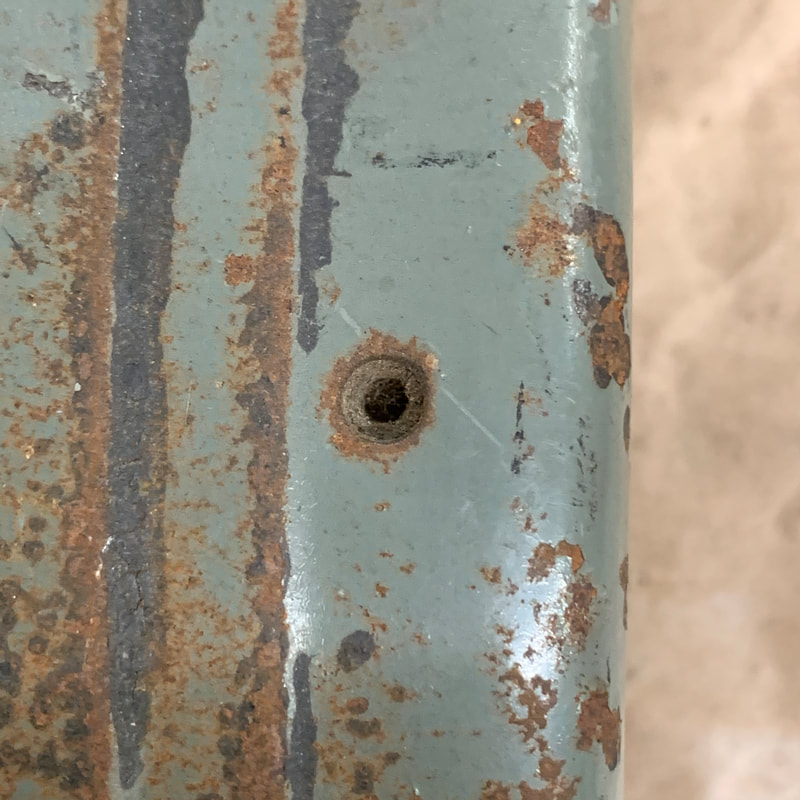
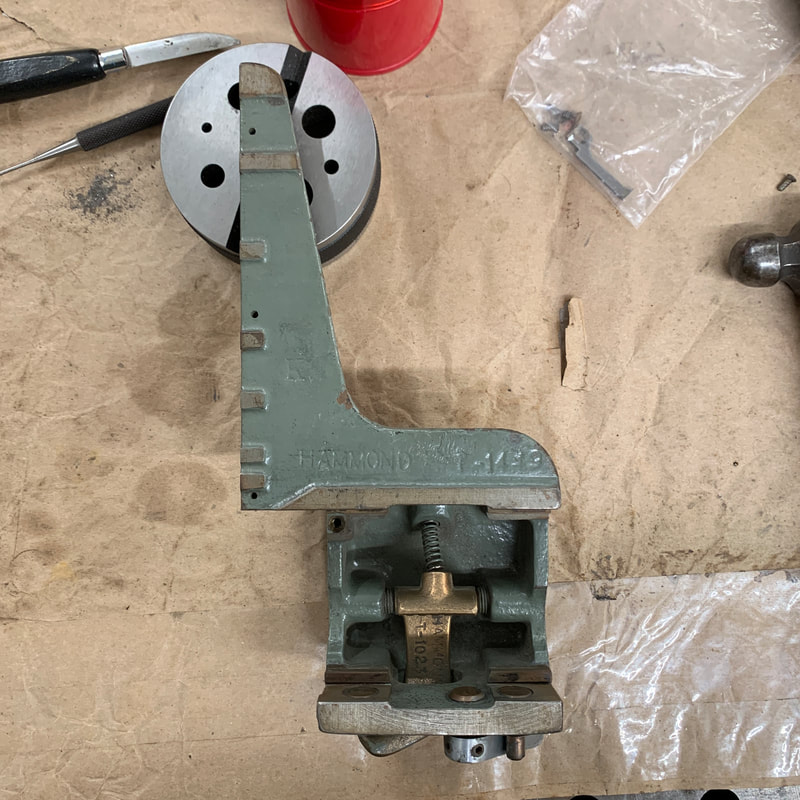
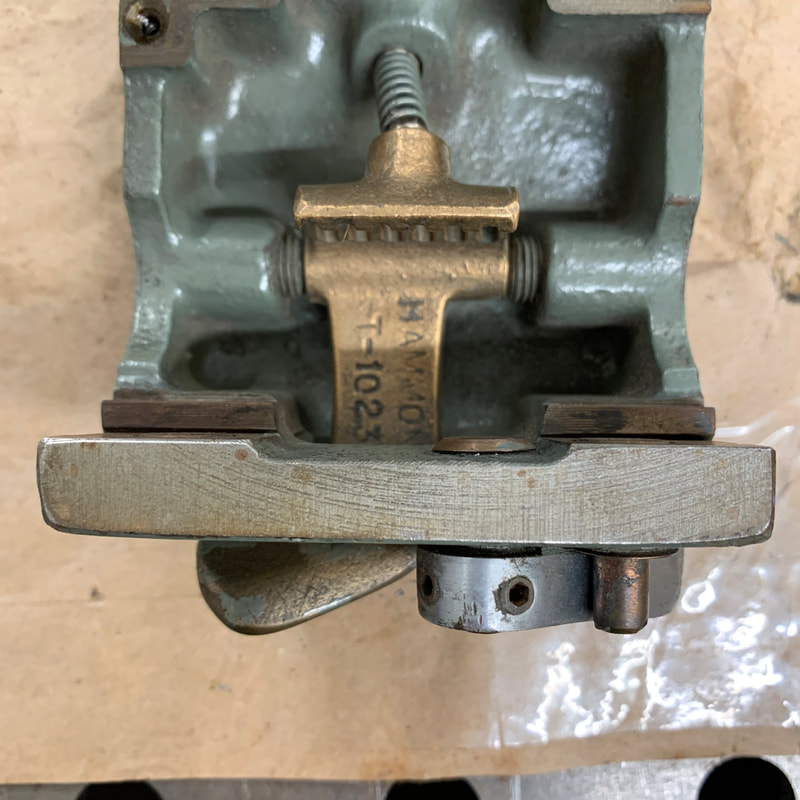
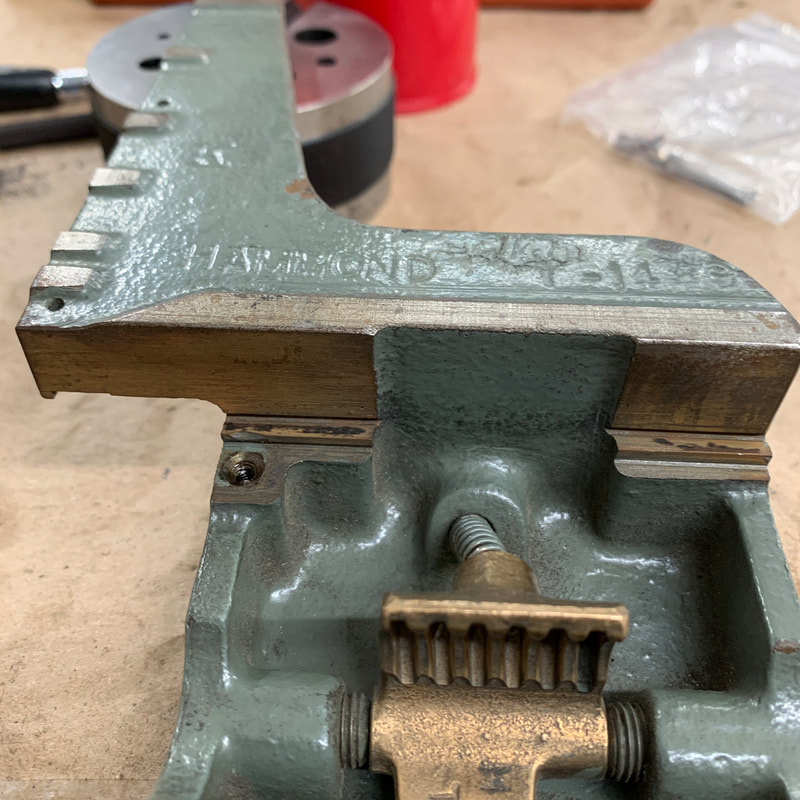
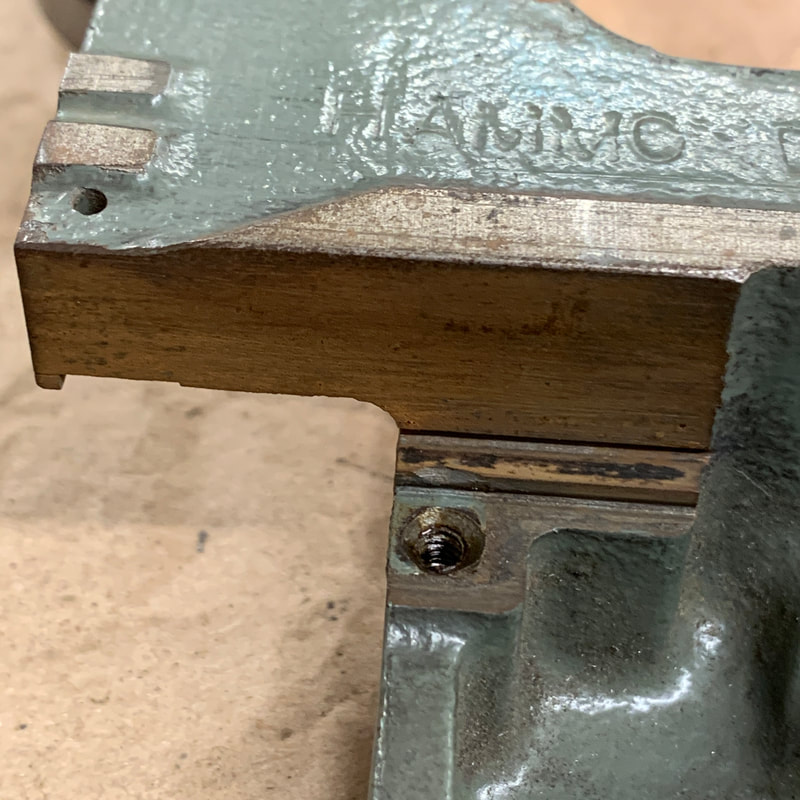
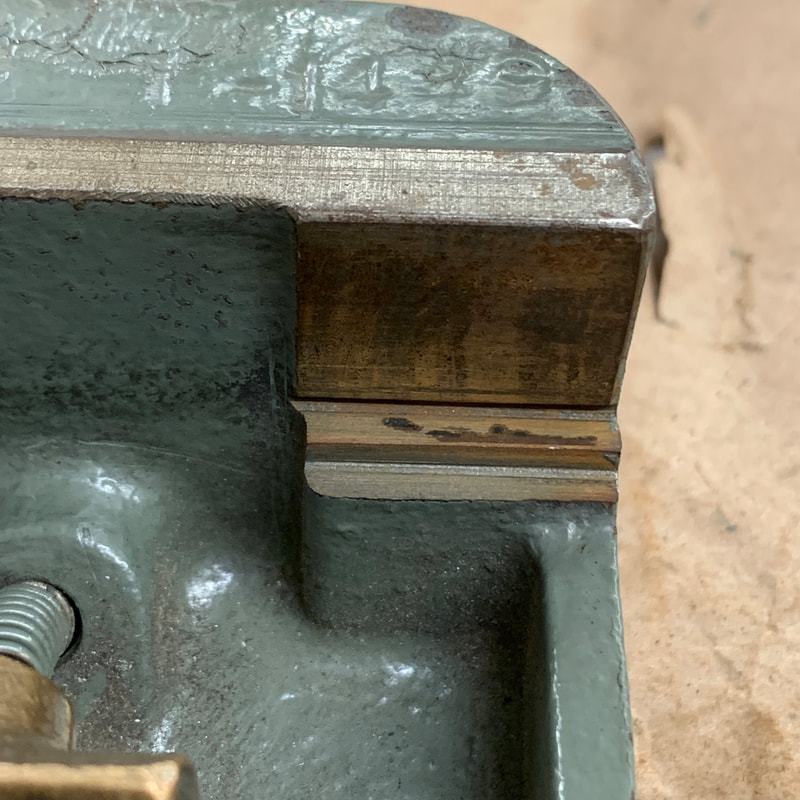
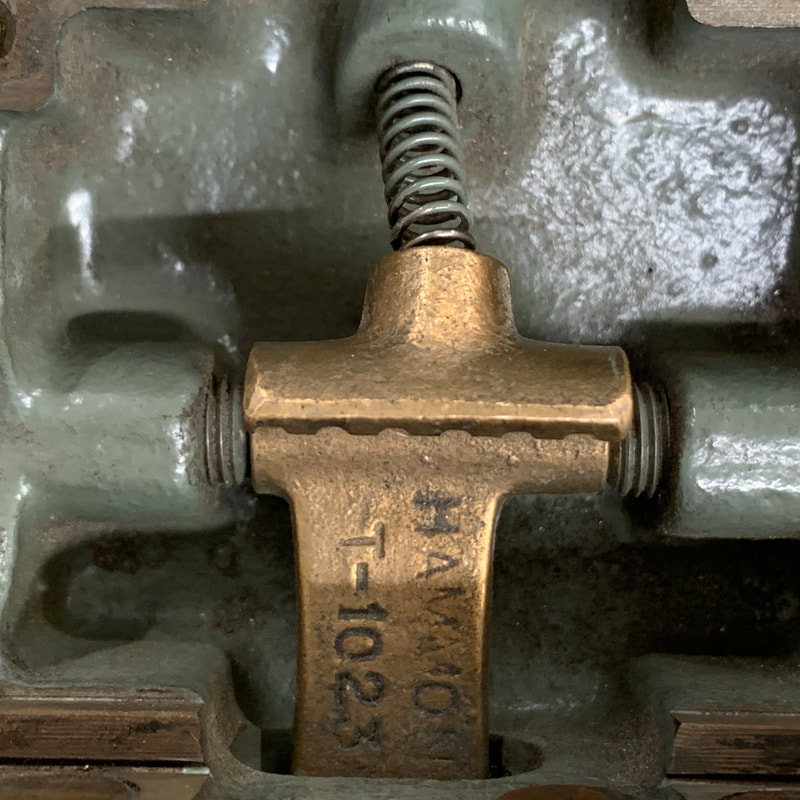
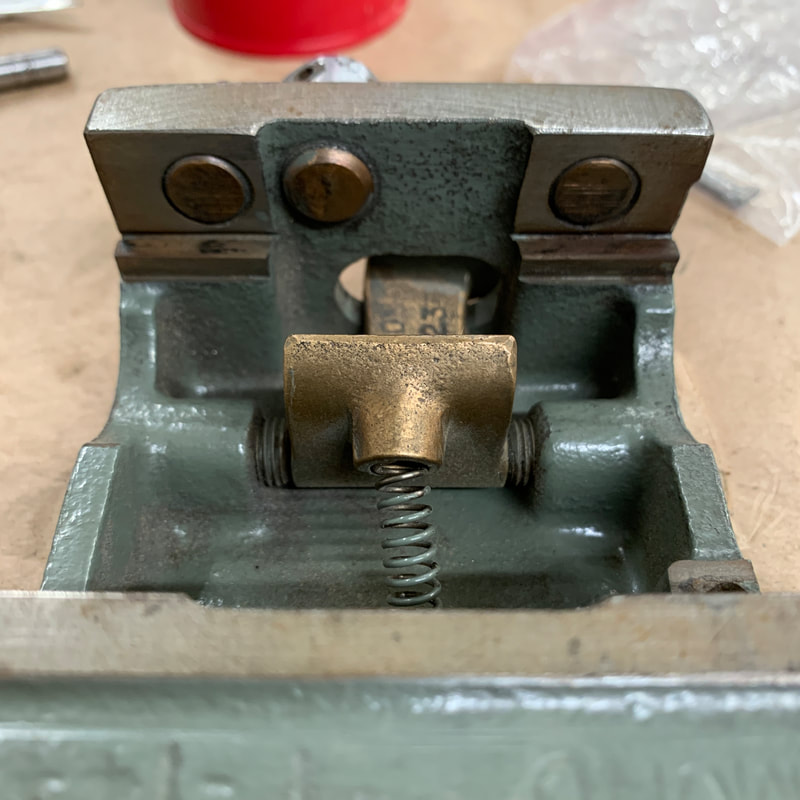
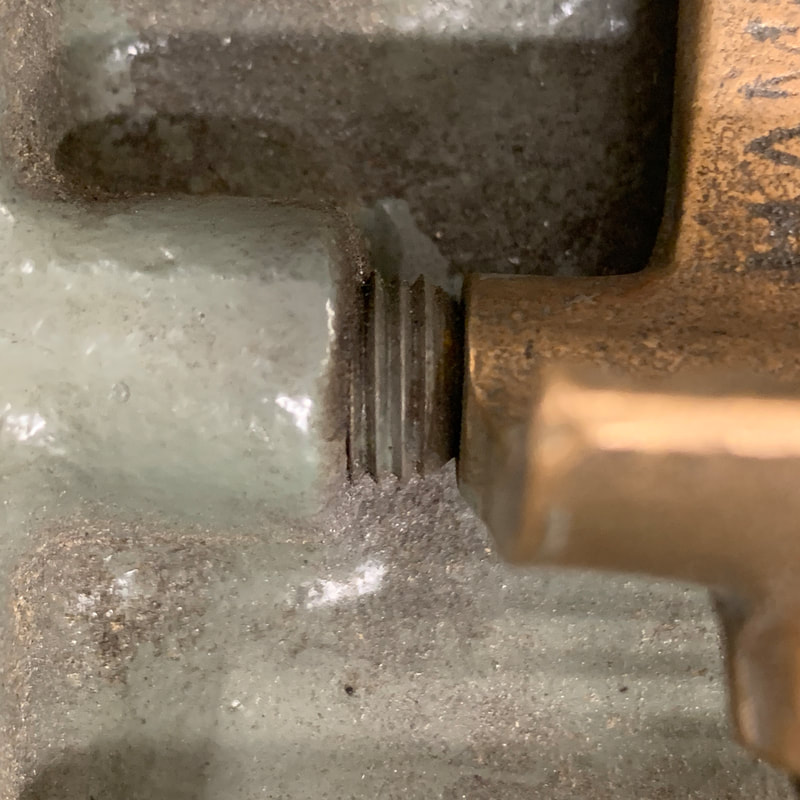
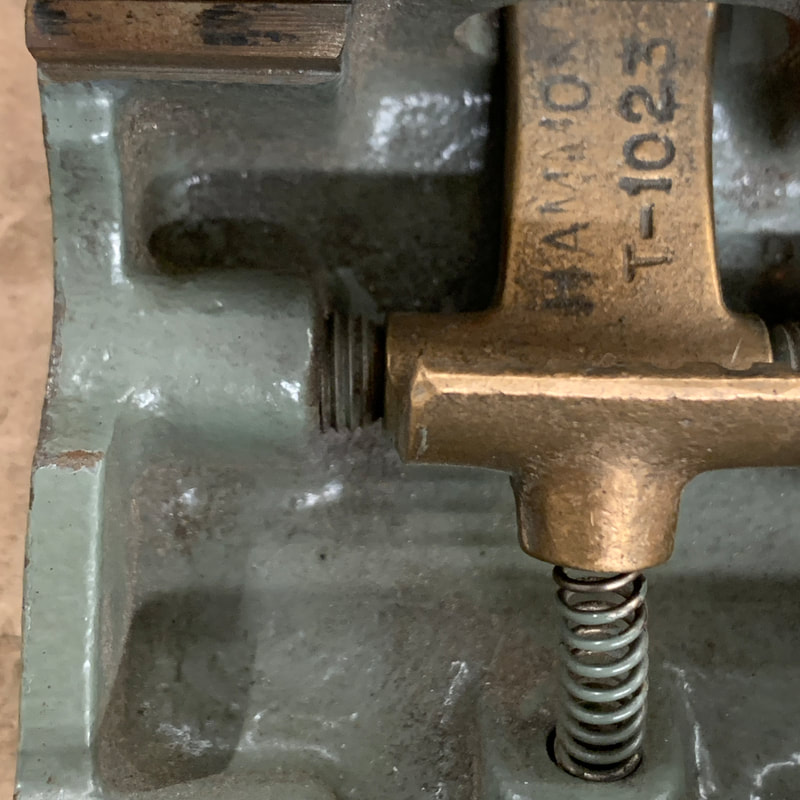
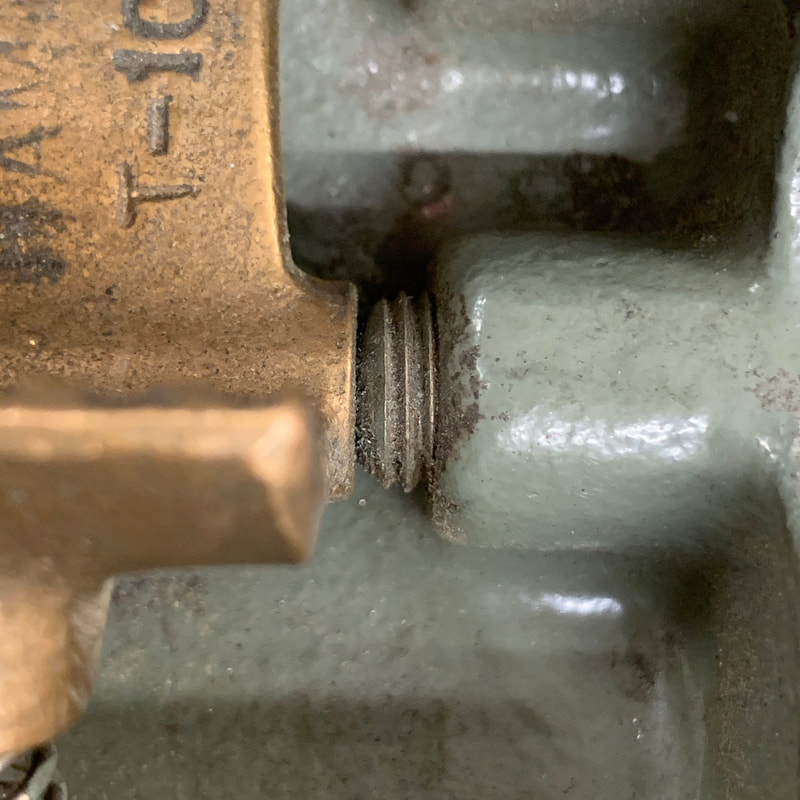
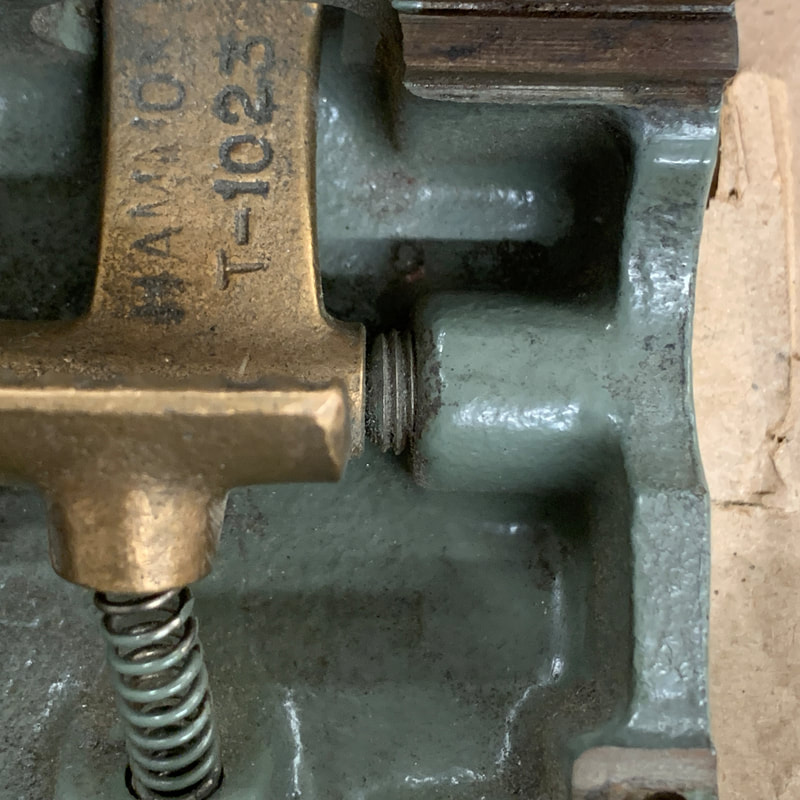
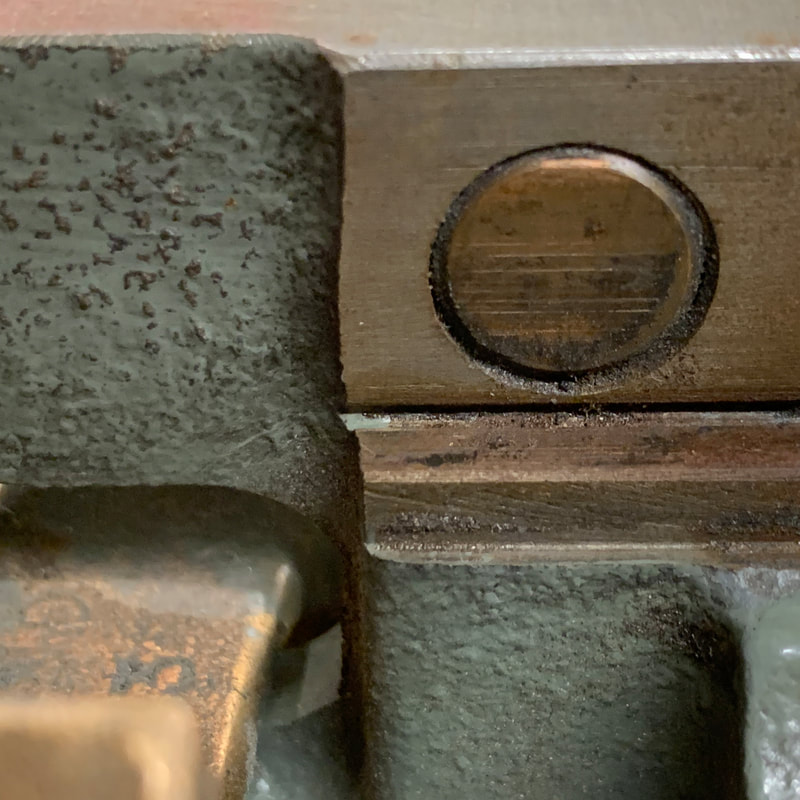
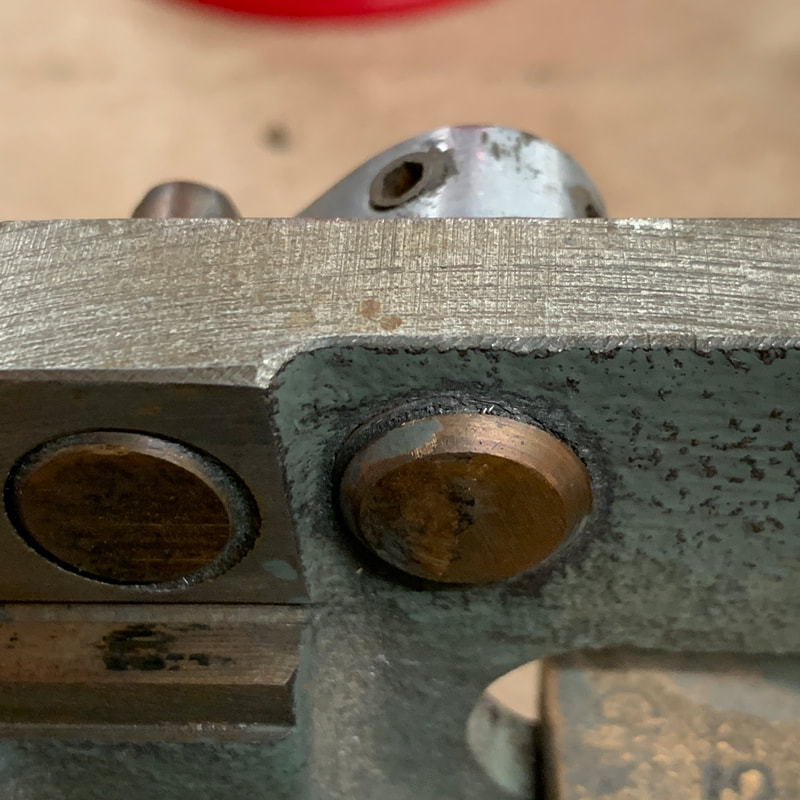
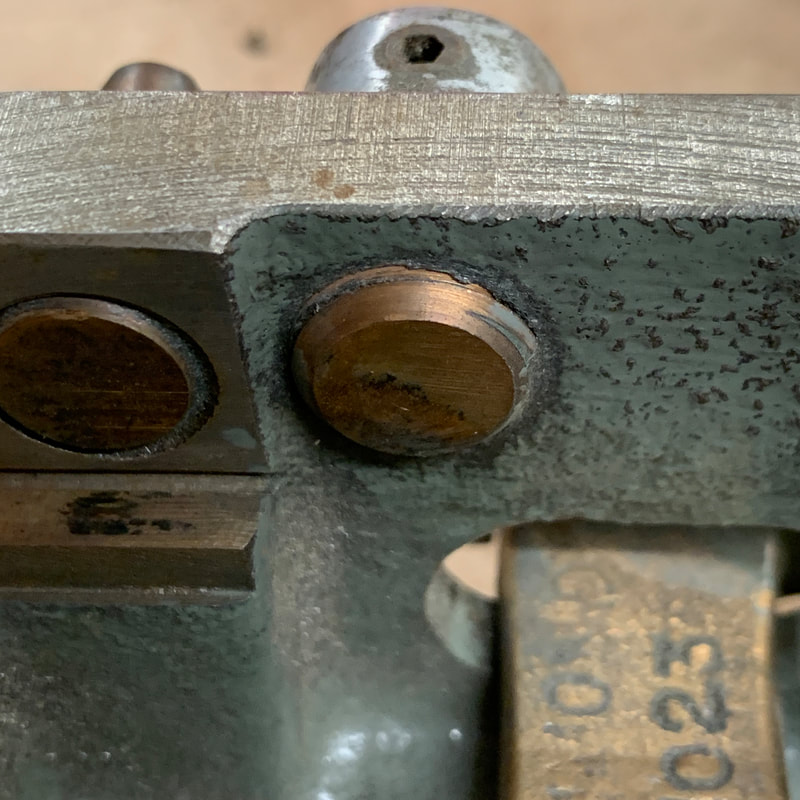
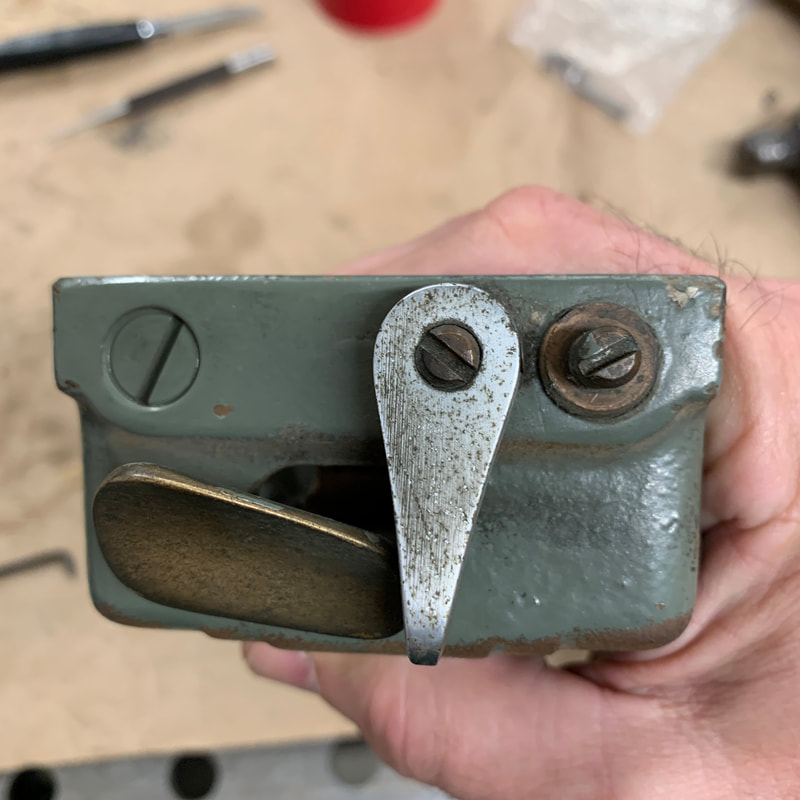
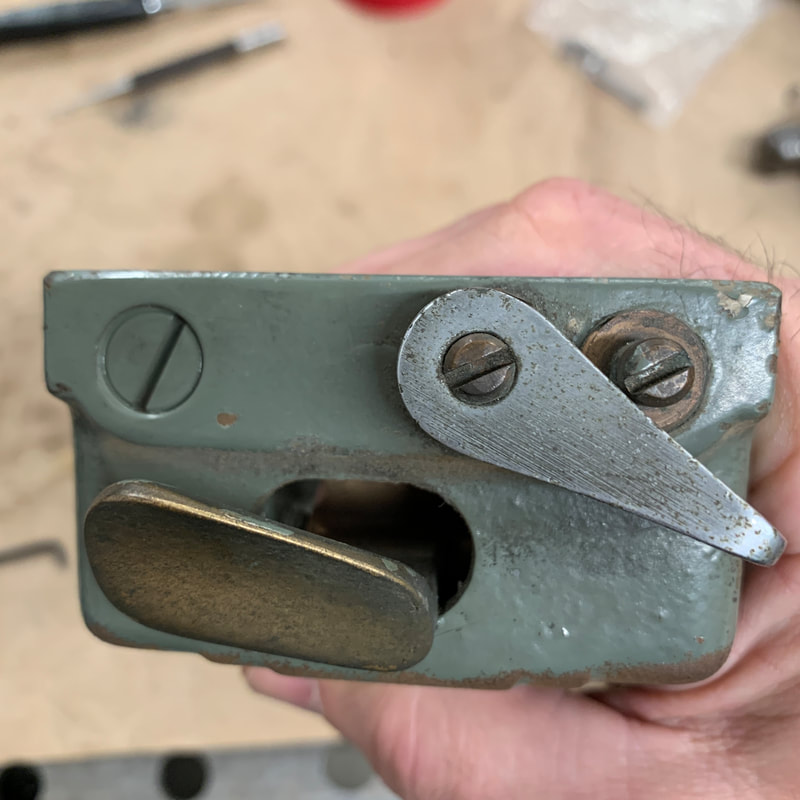
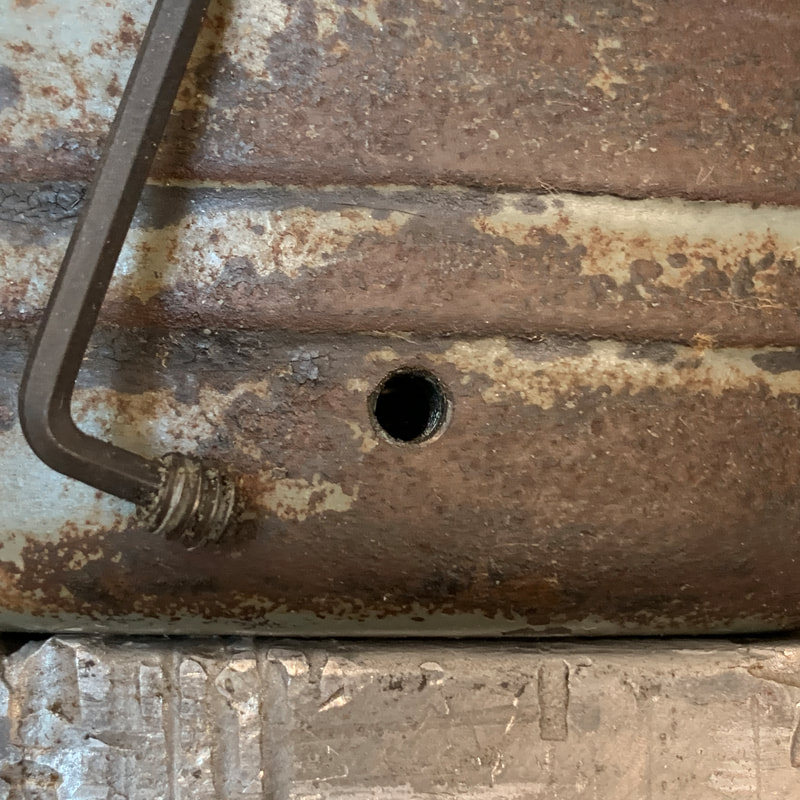
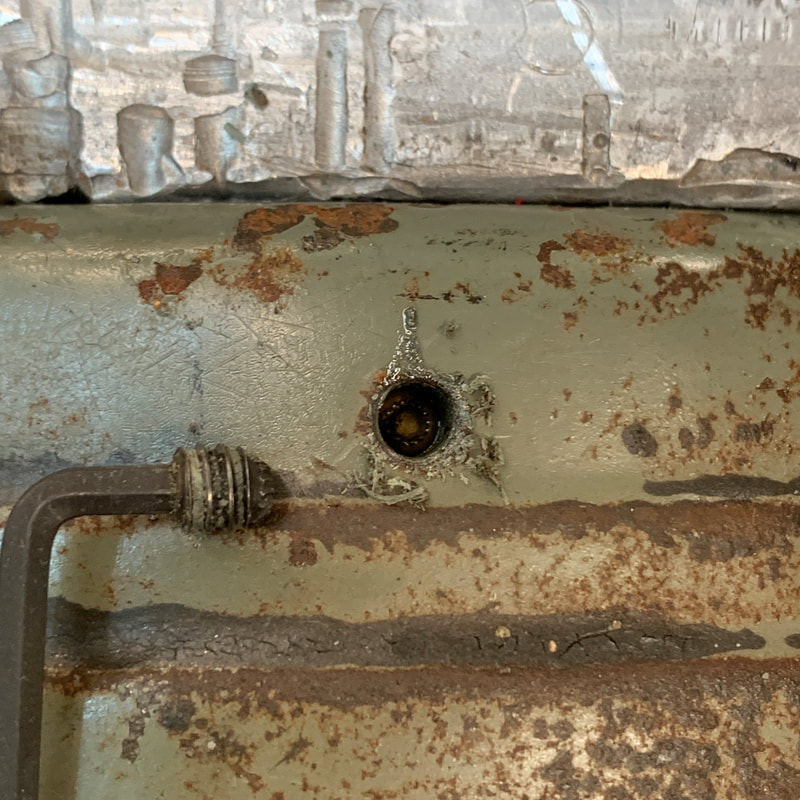
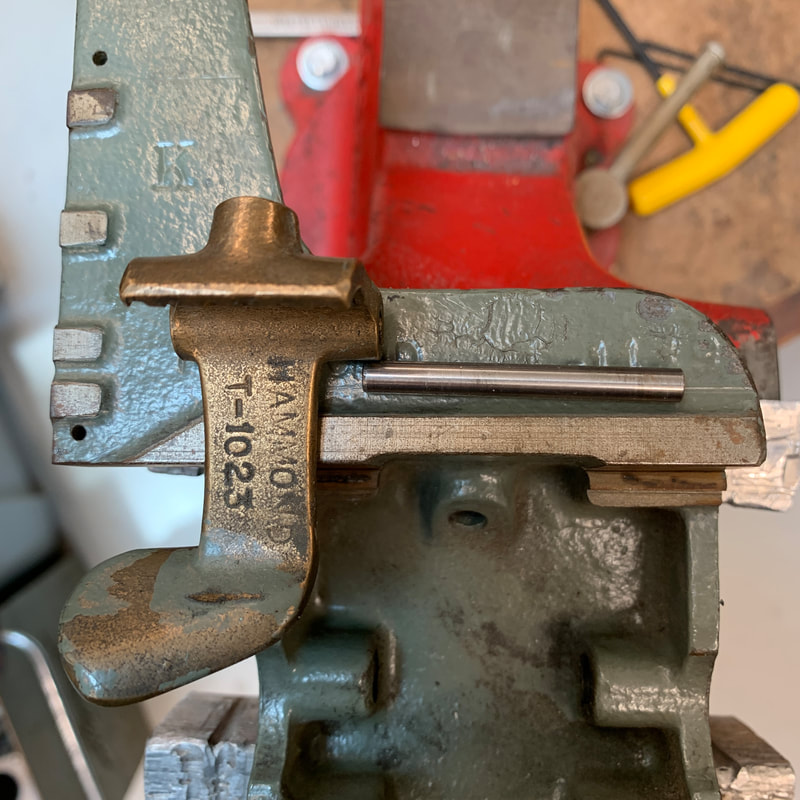
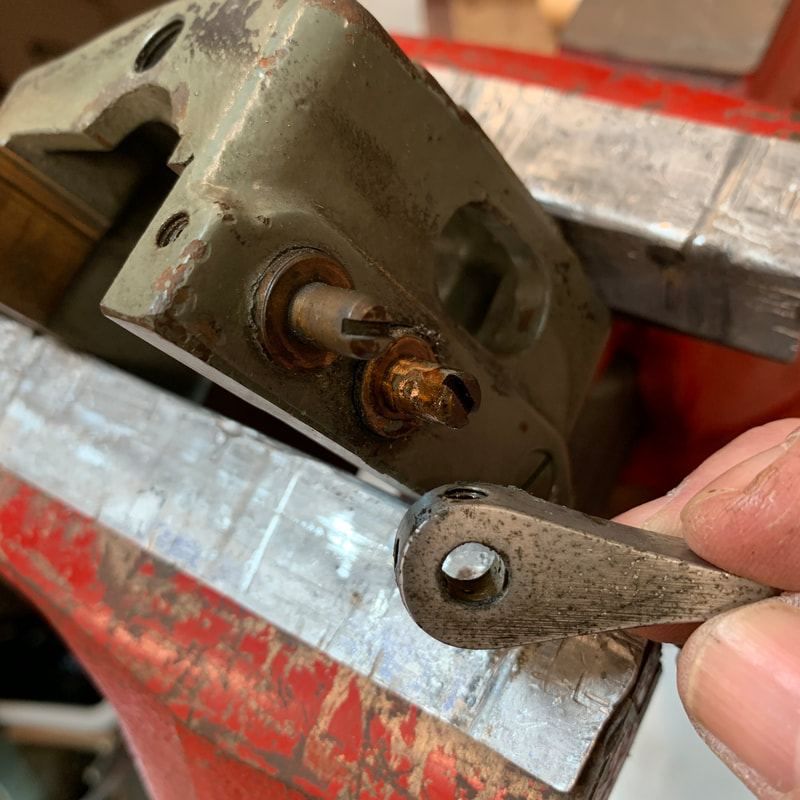
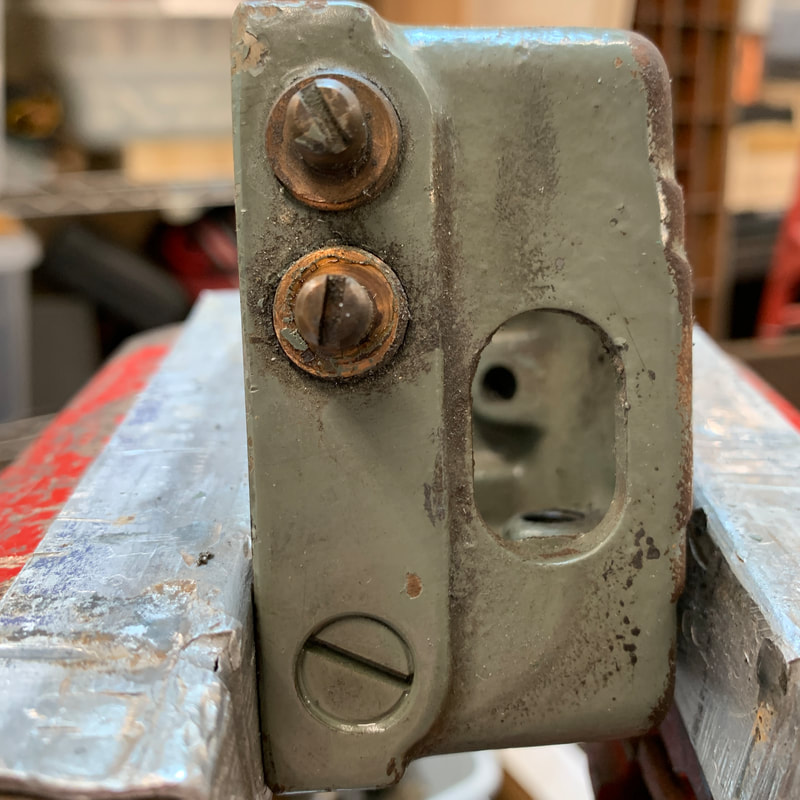
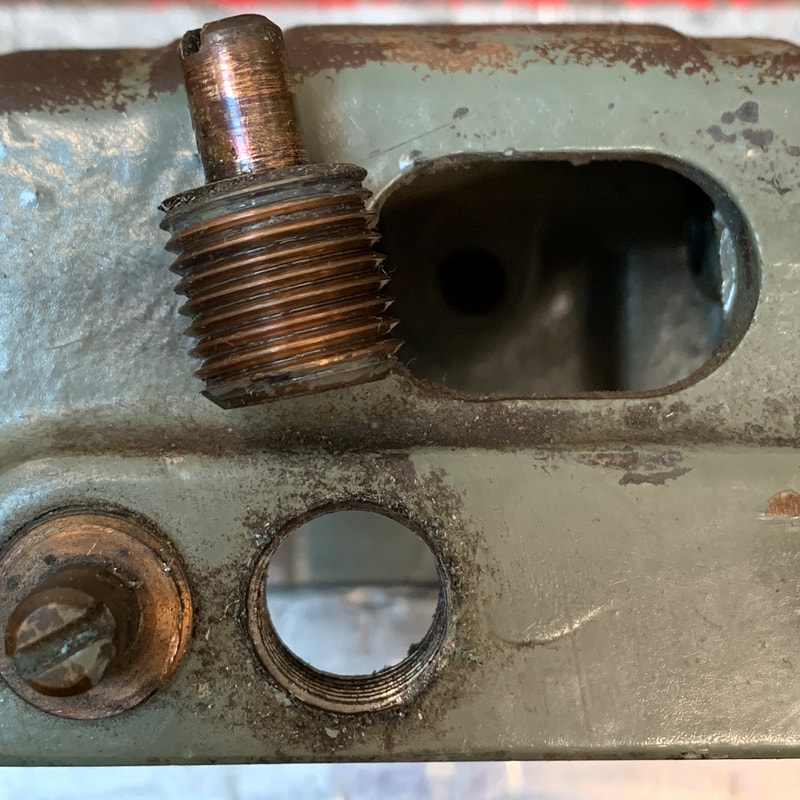
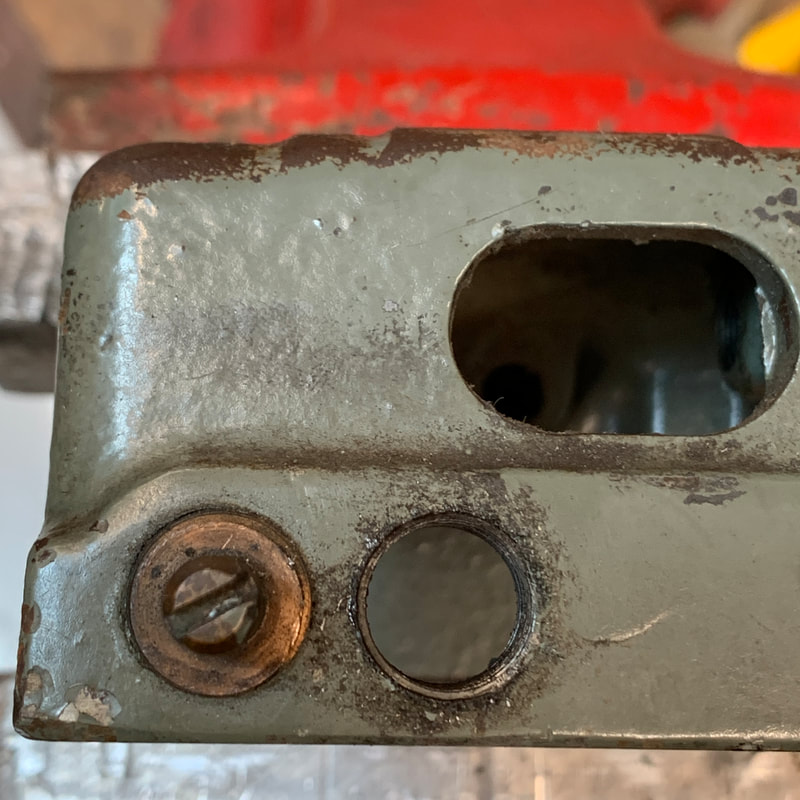
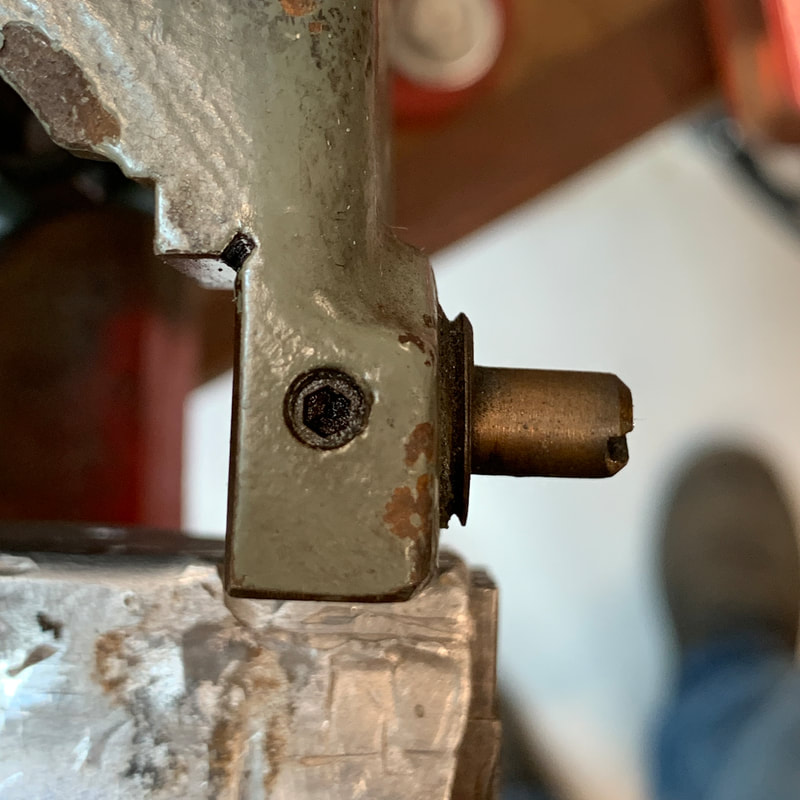
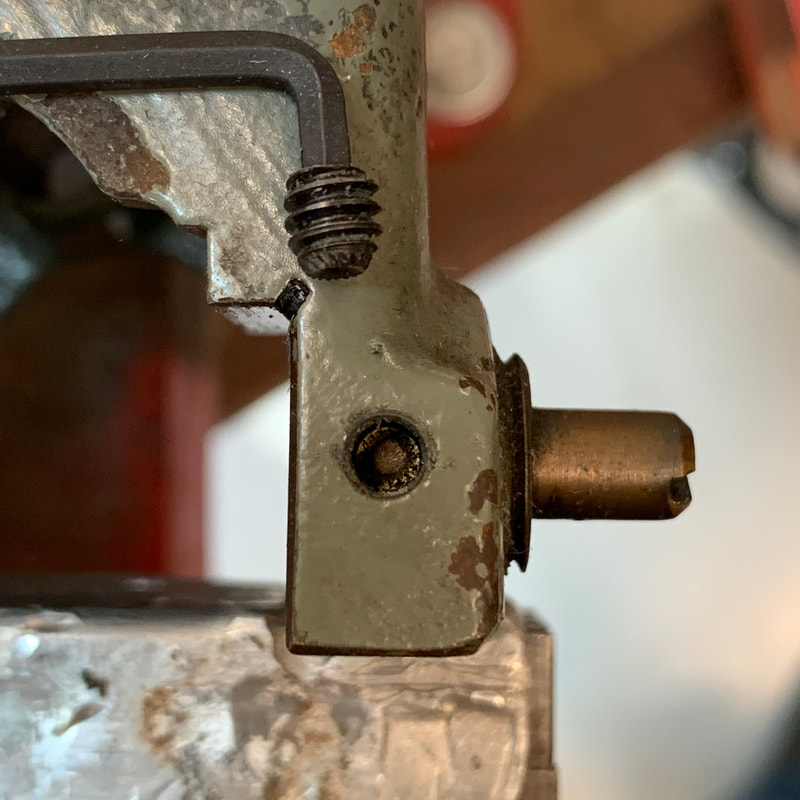
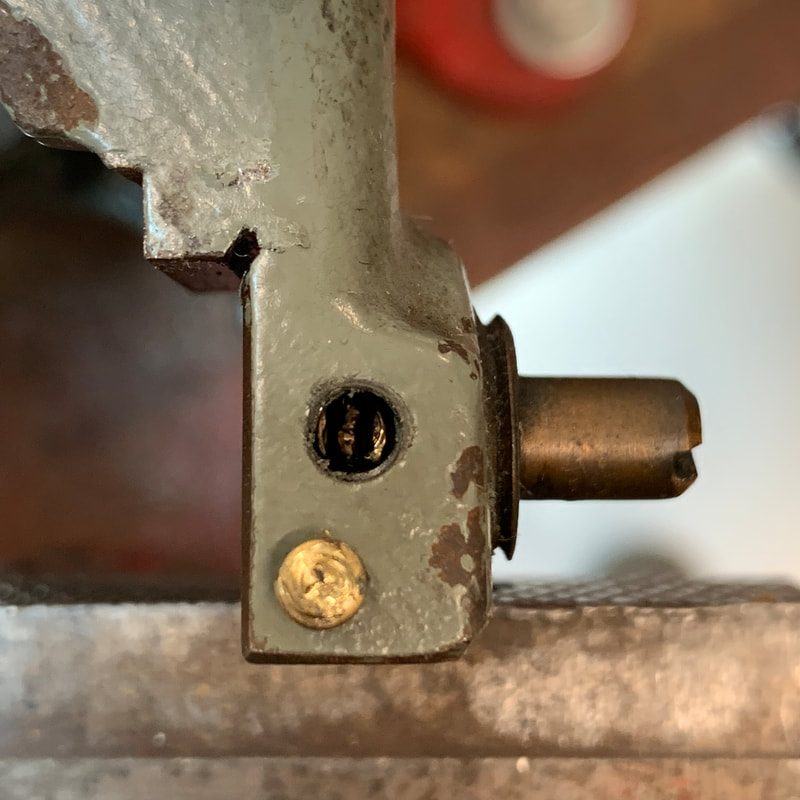
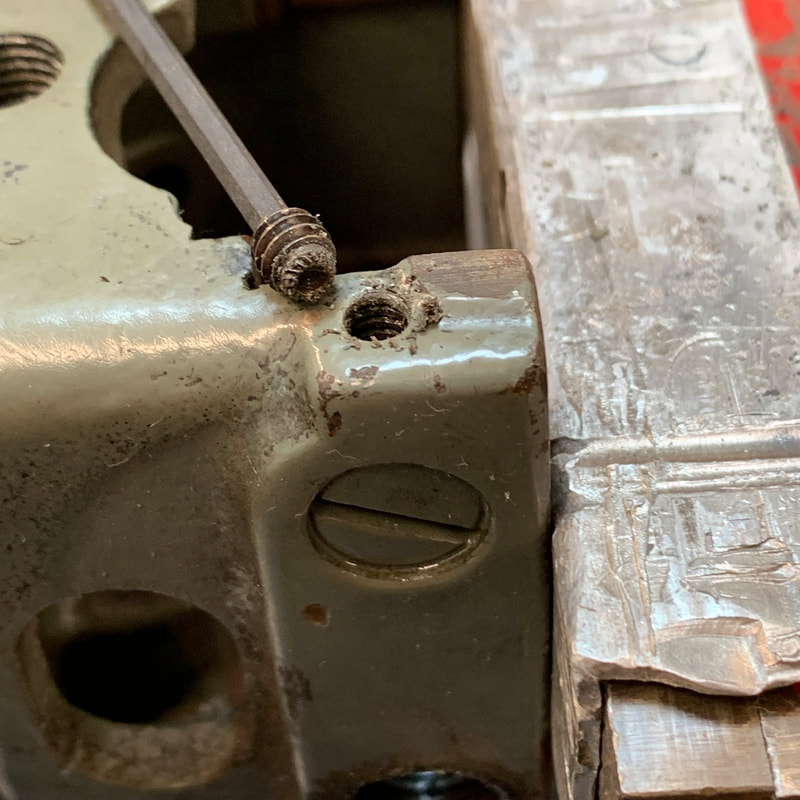
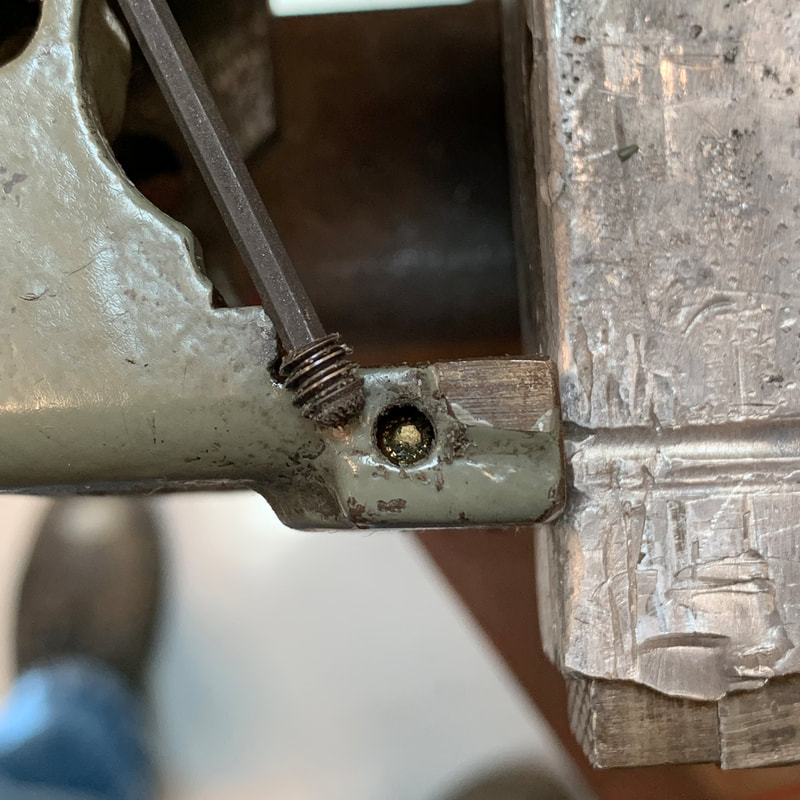
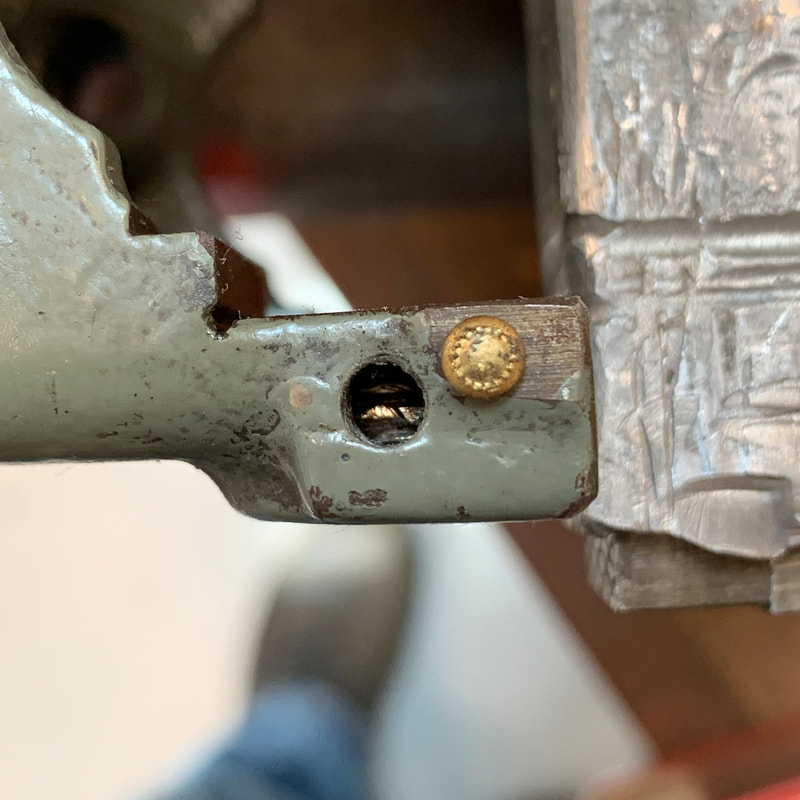
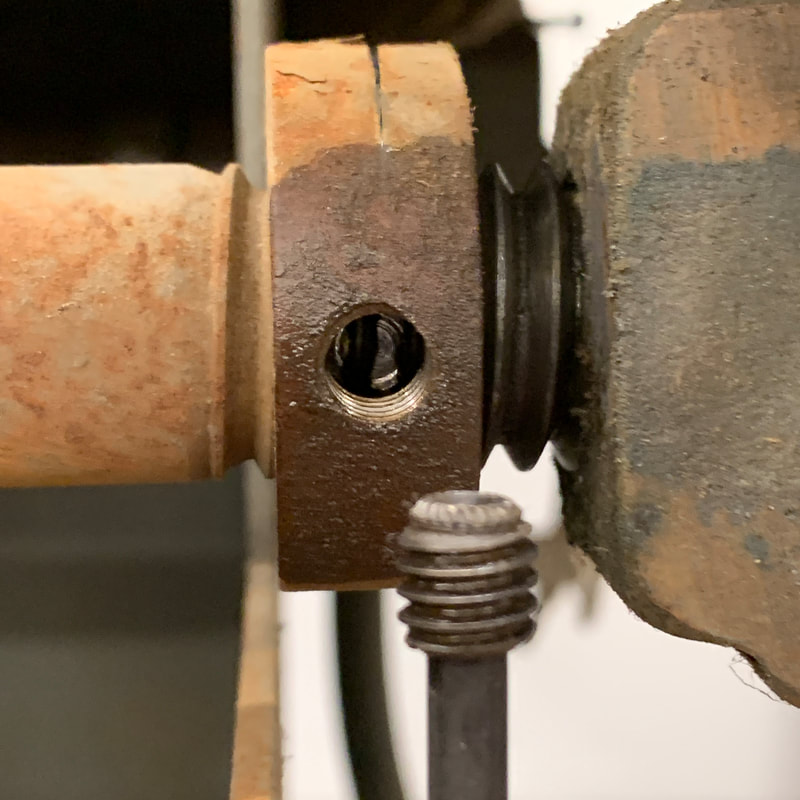
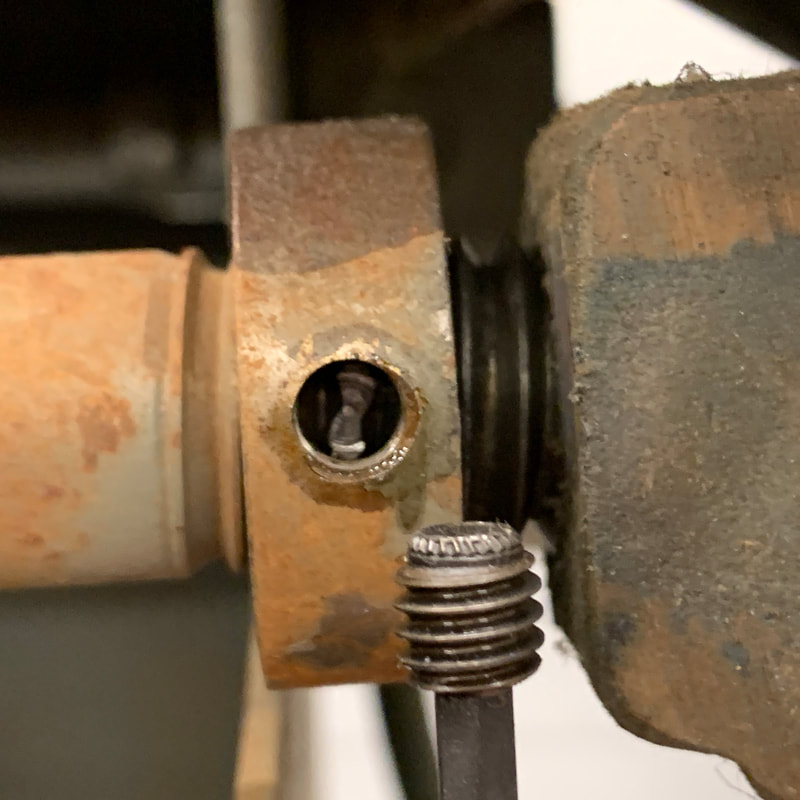
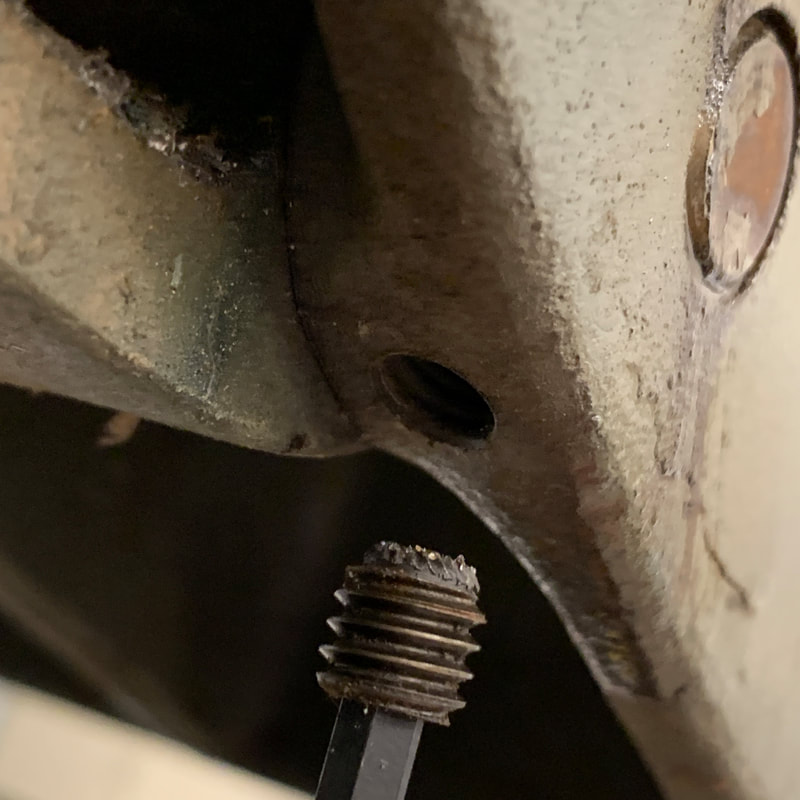
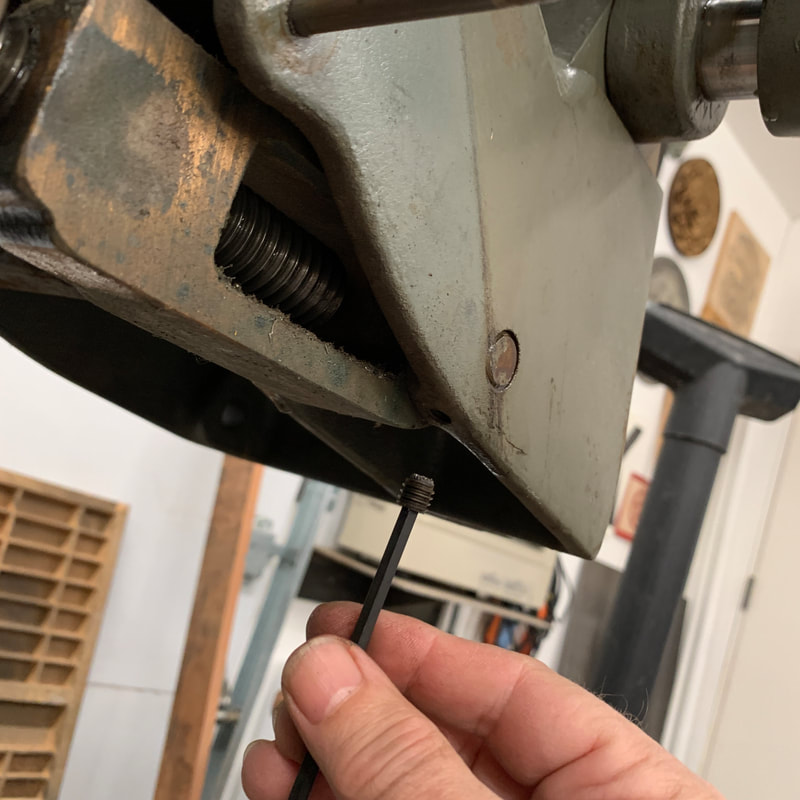
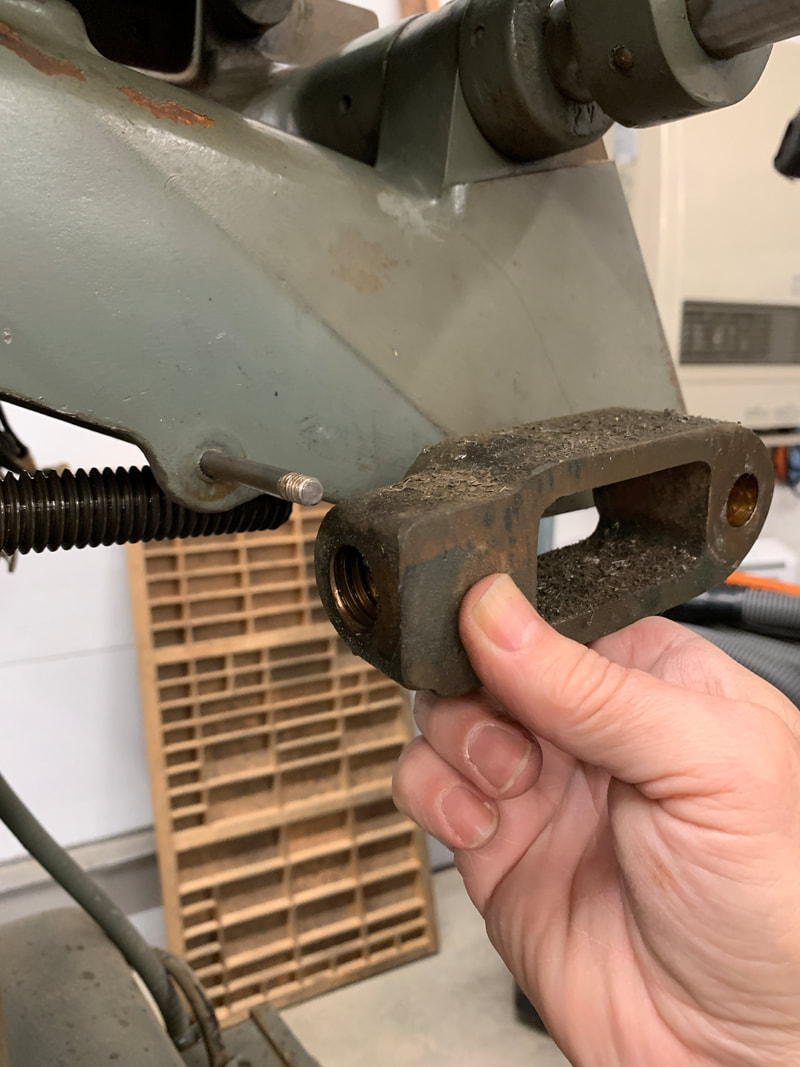
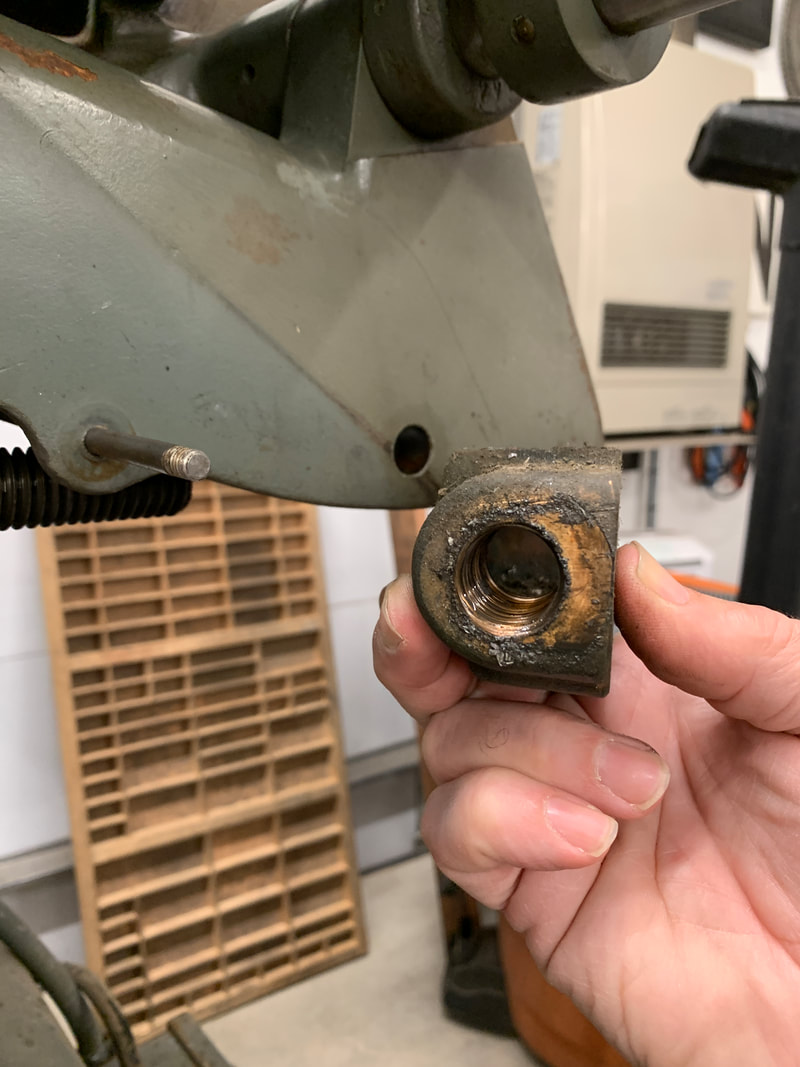
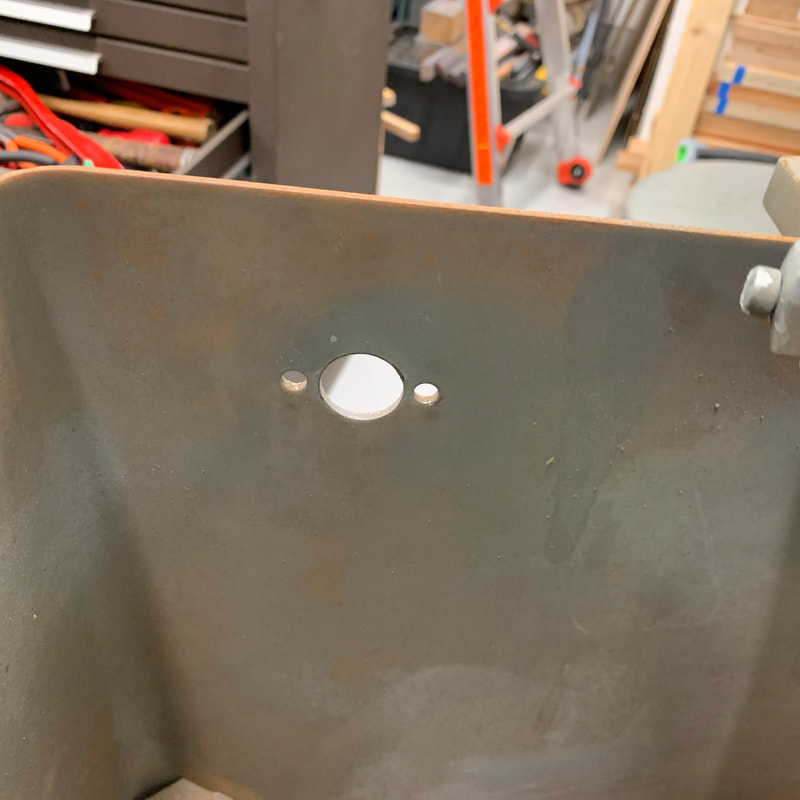
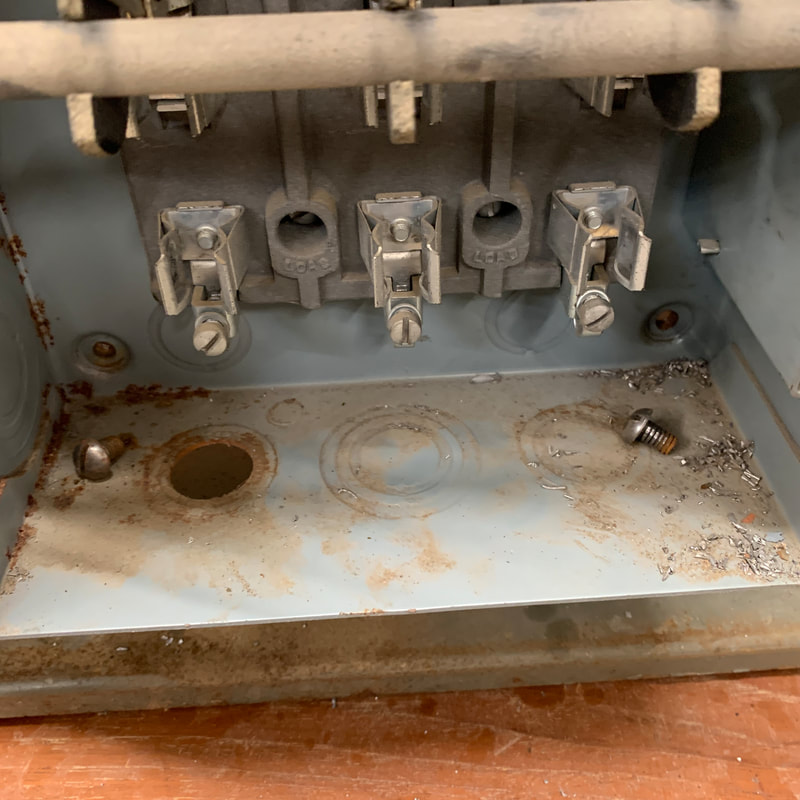
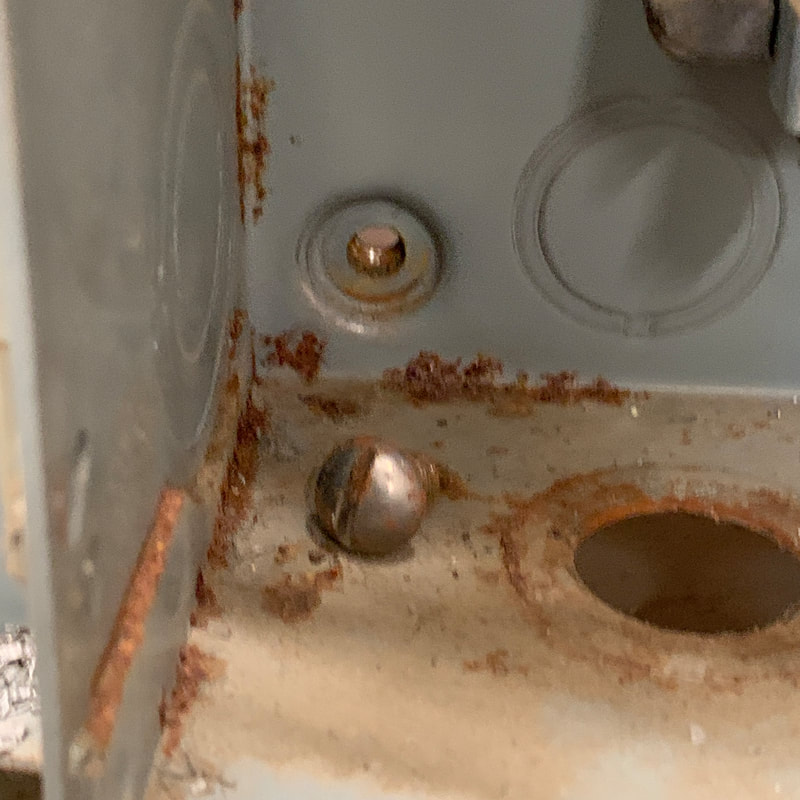
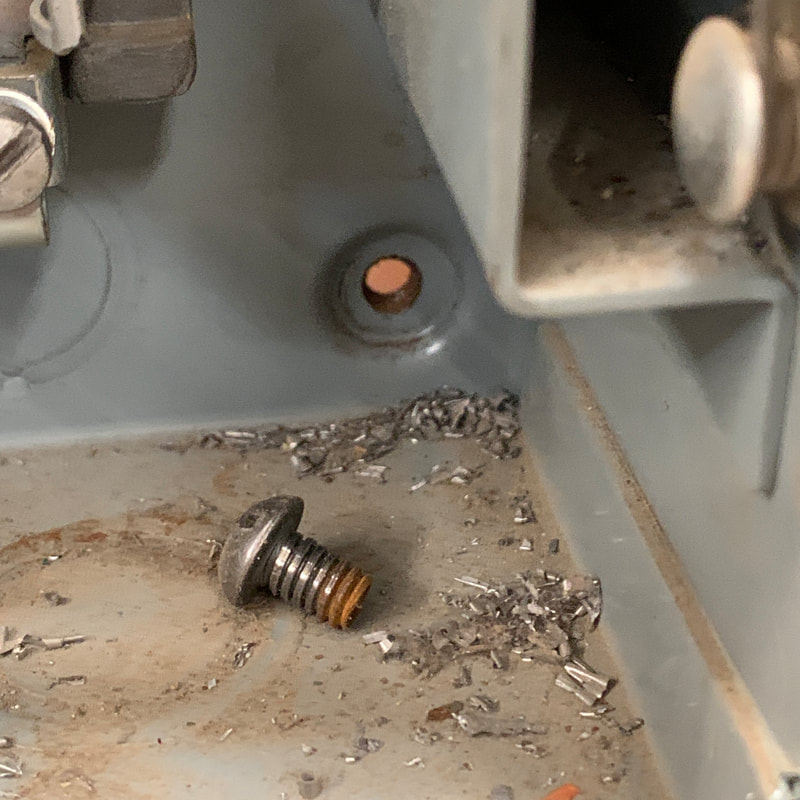
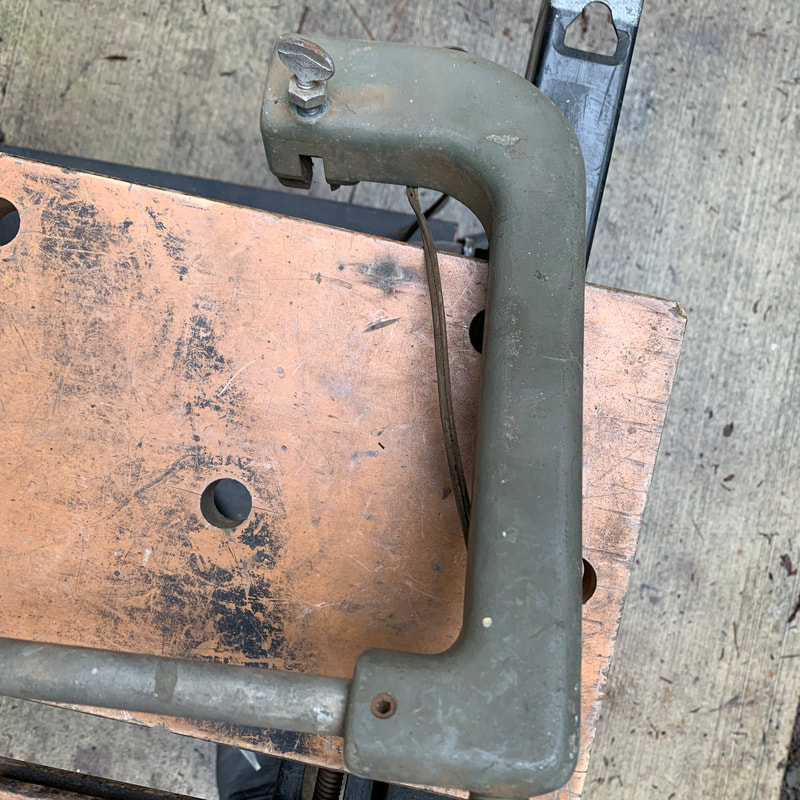
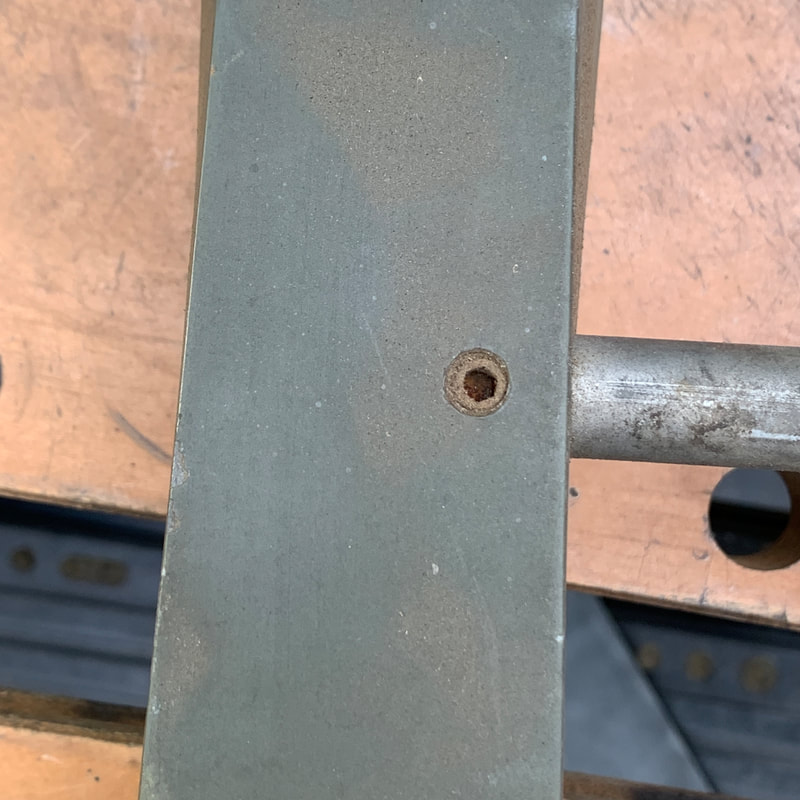
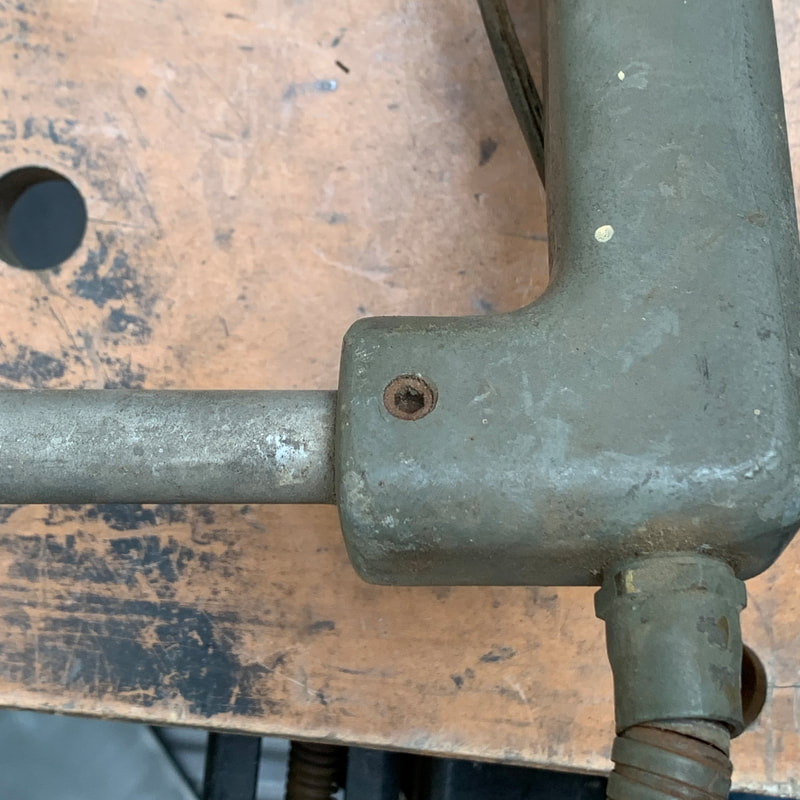
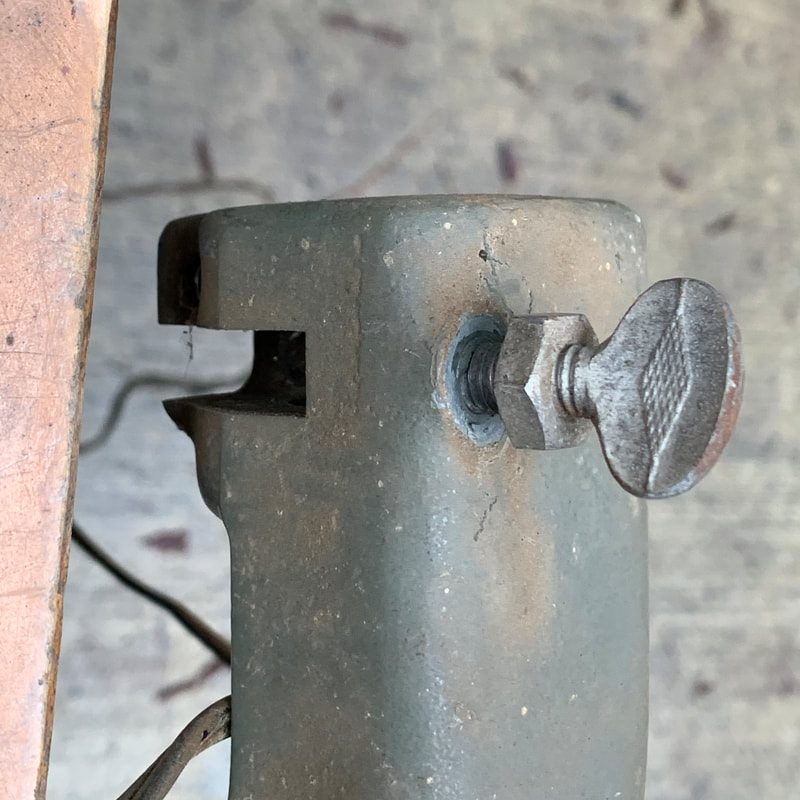
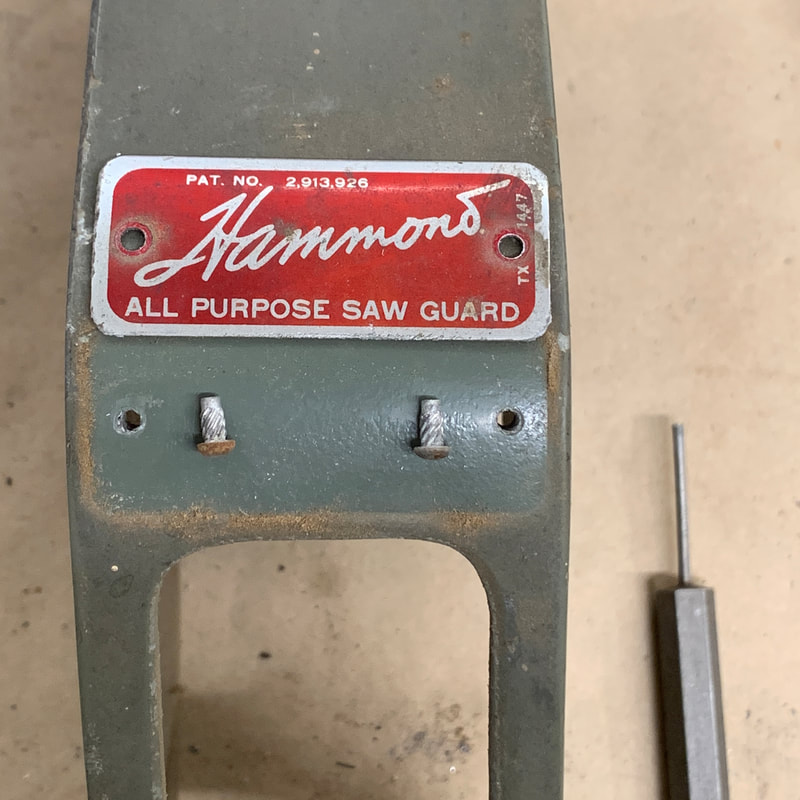
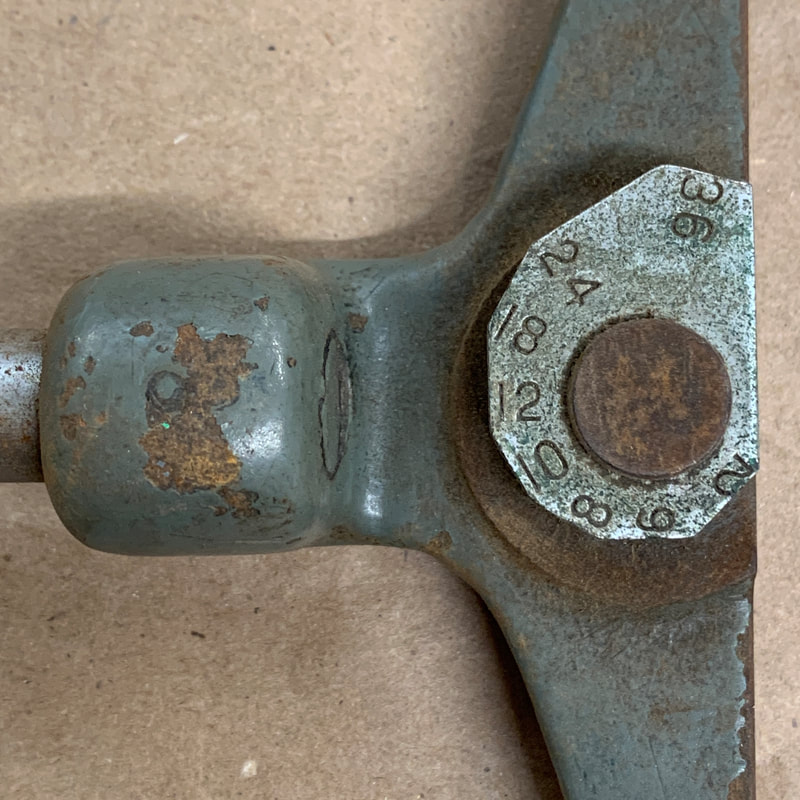
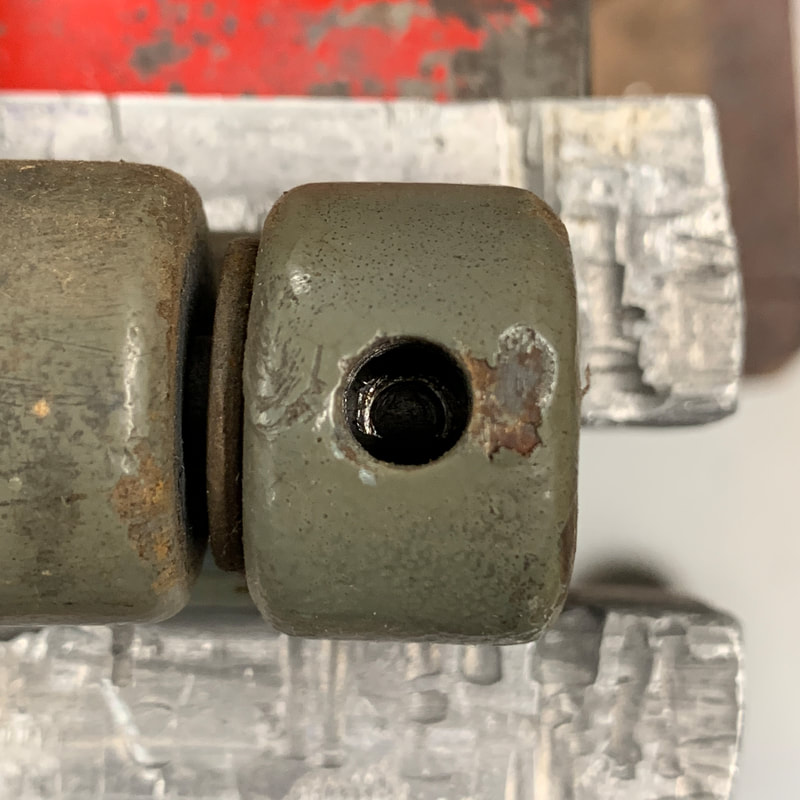
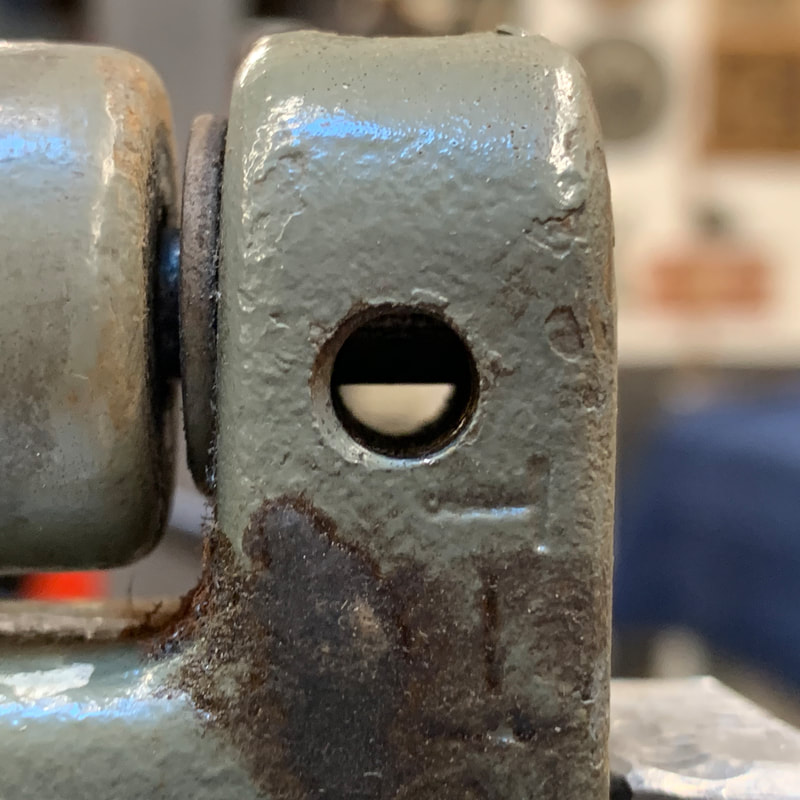
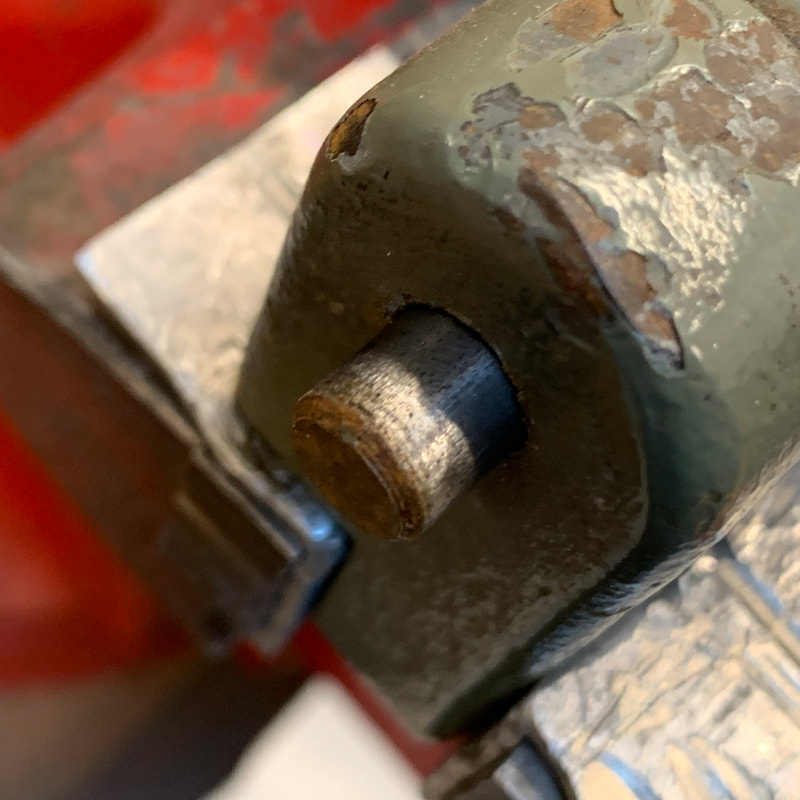
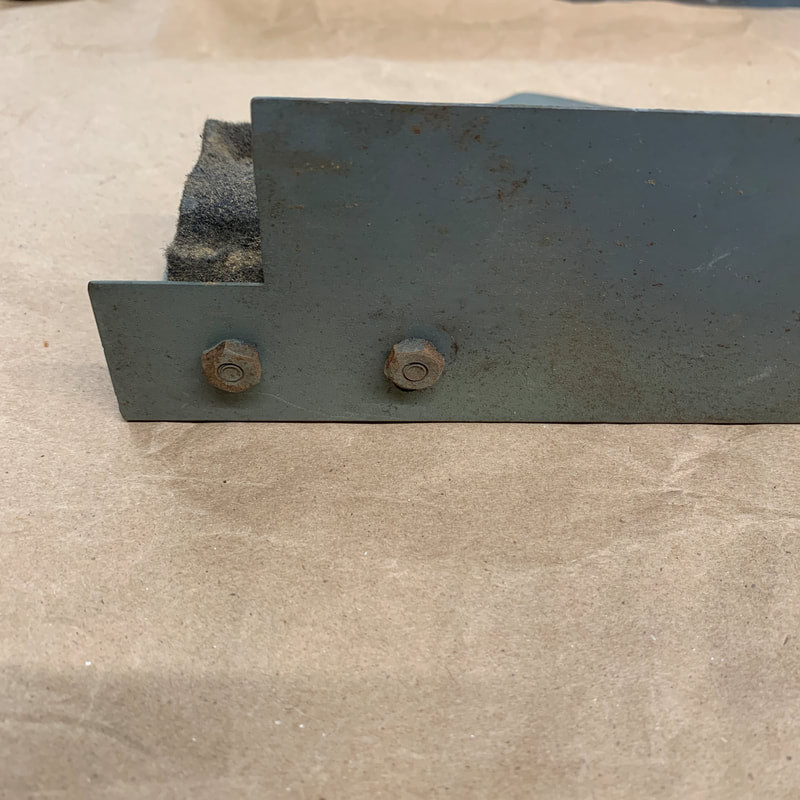
Miter vise disassembly
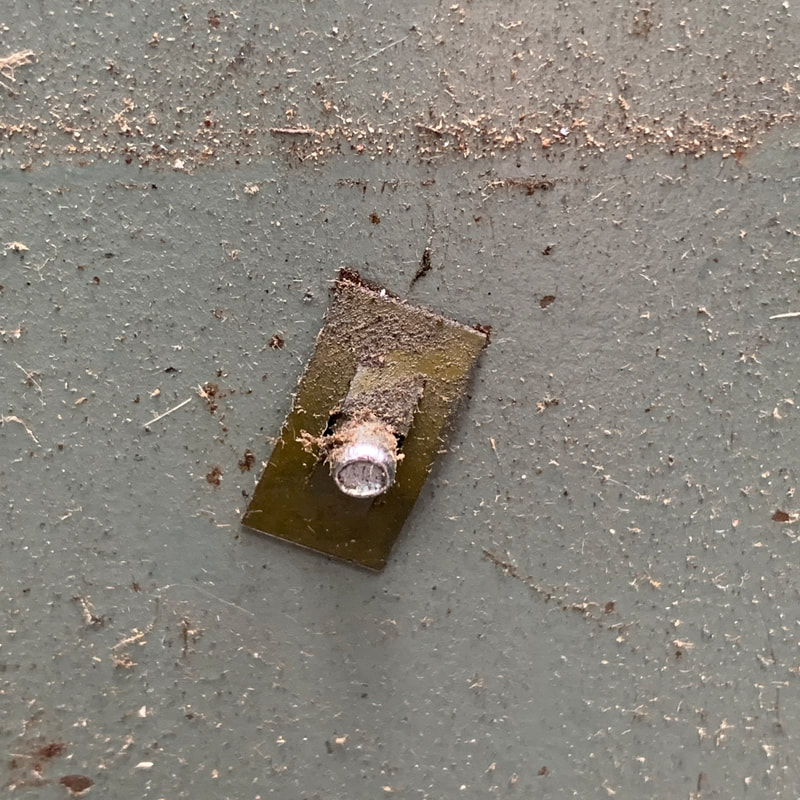
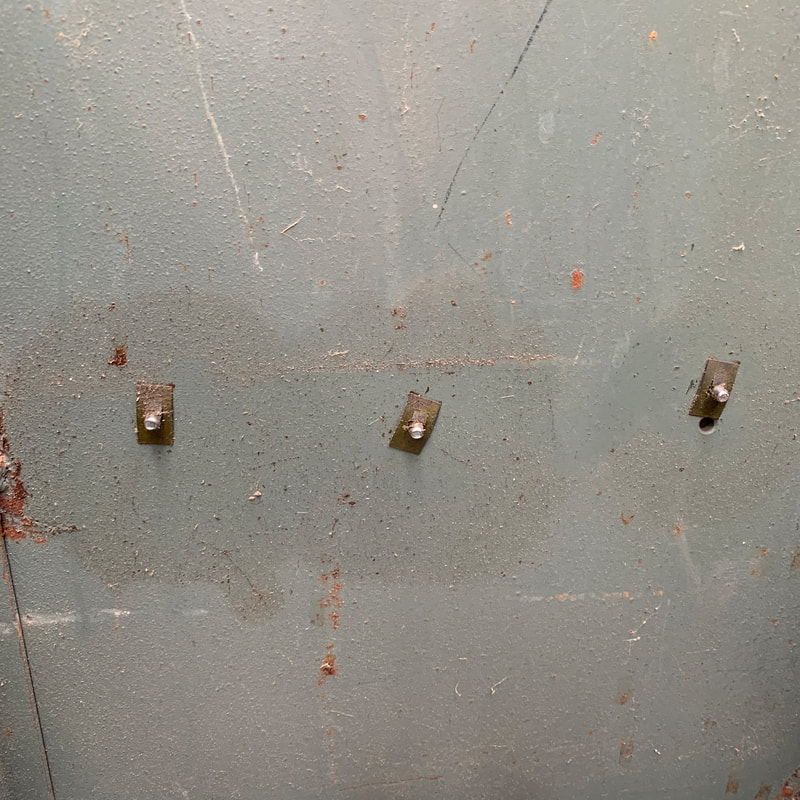
Removing the printed plate was difficult because the drive screws were in blind holes. Through holes were drilled to make future disassembly easier. |
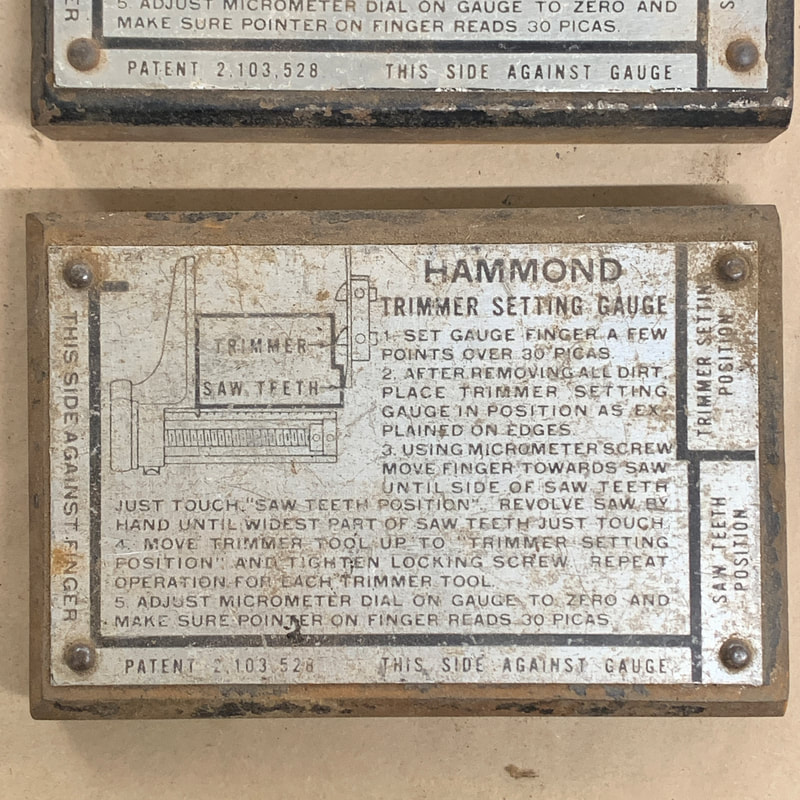 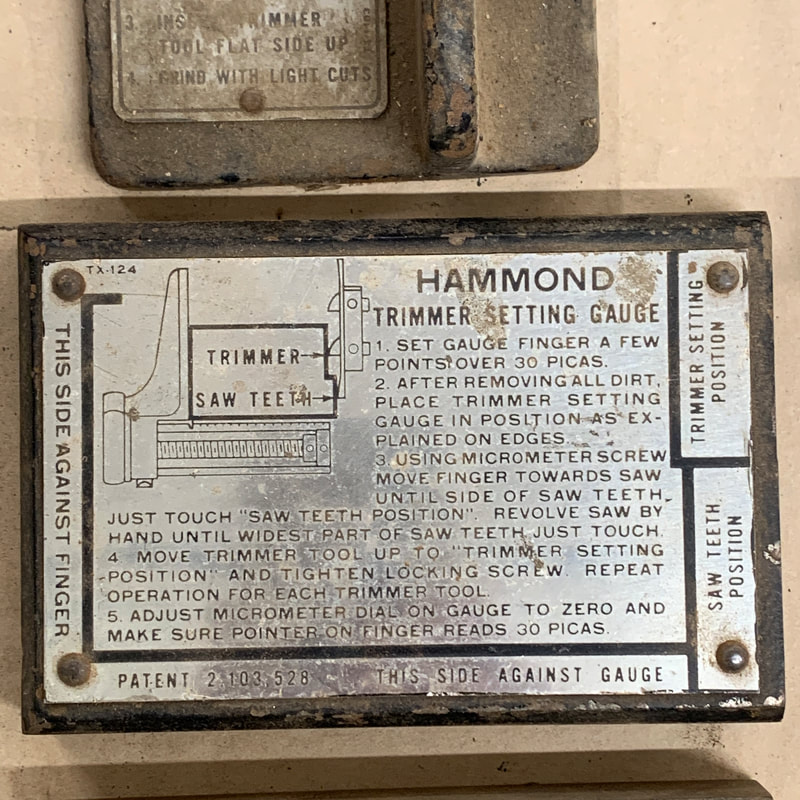 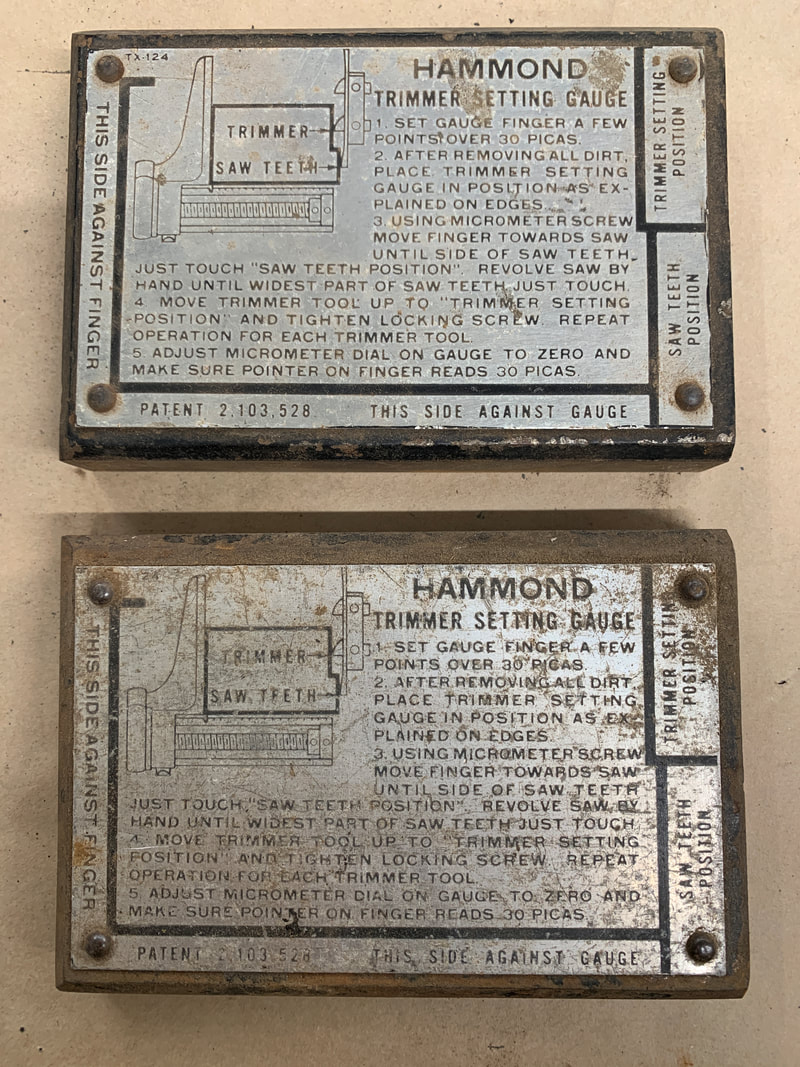 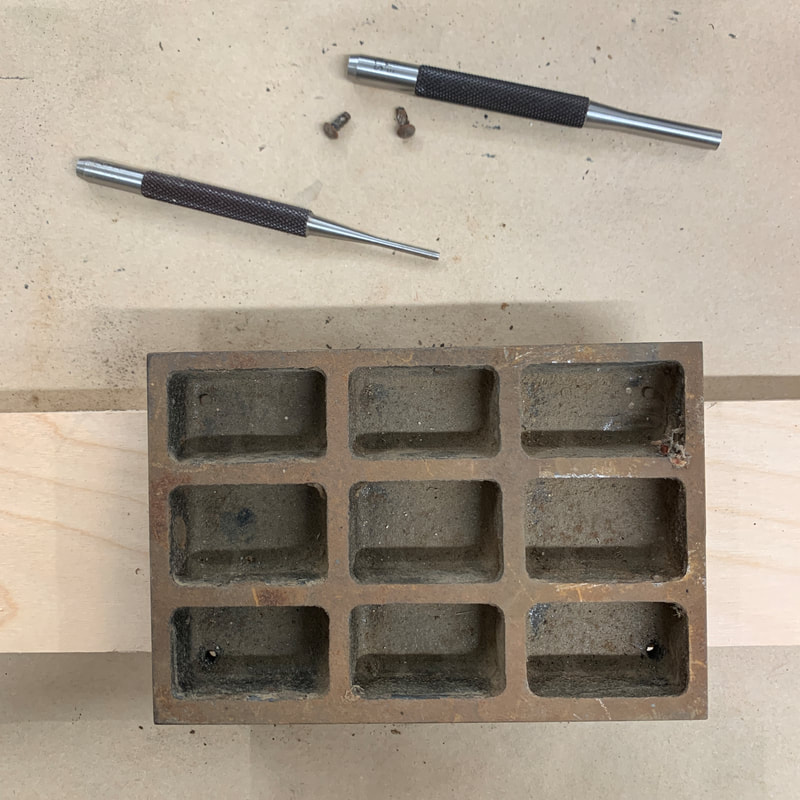 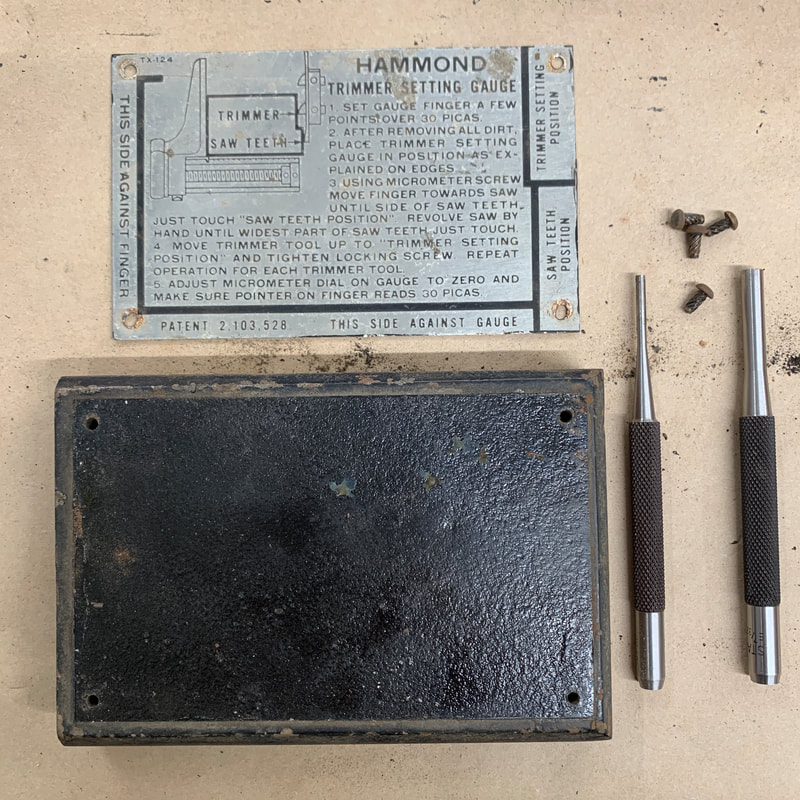 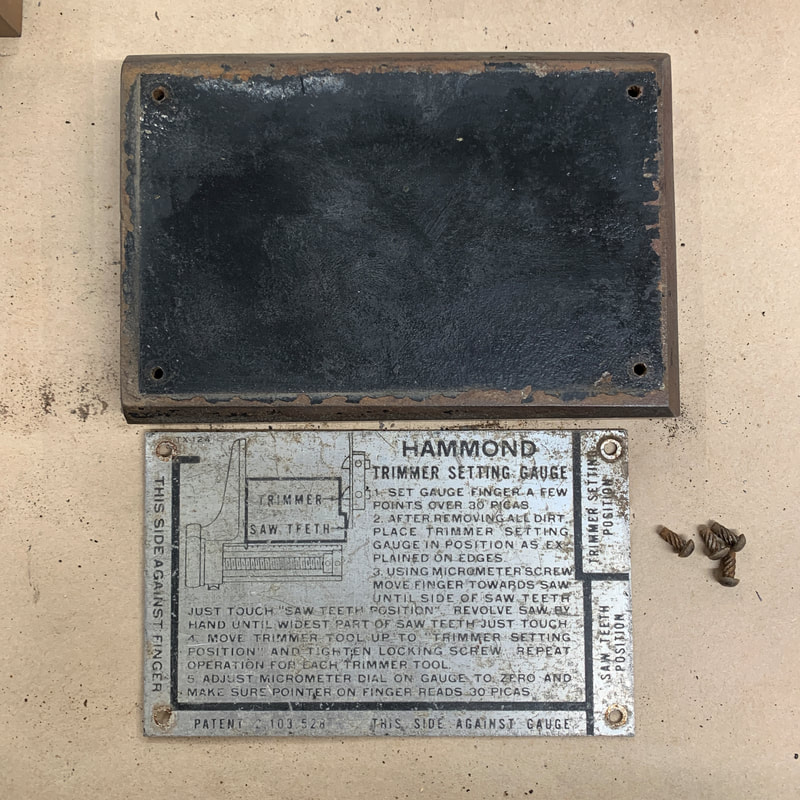 |
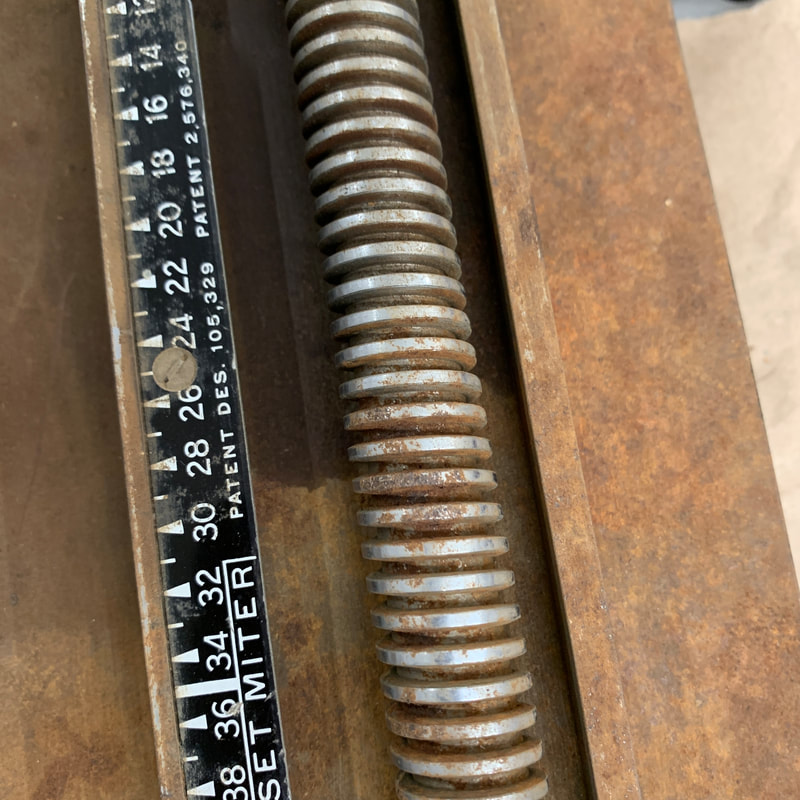
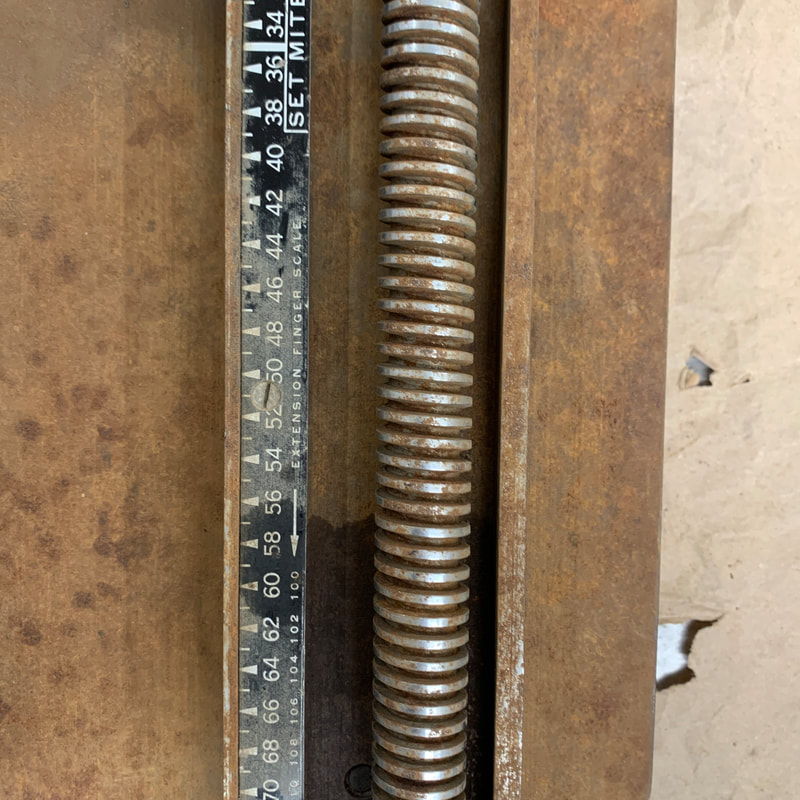
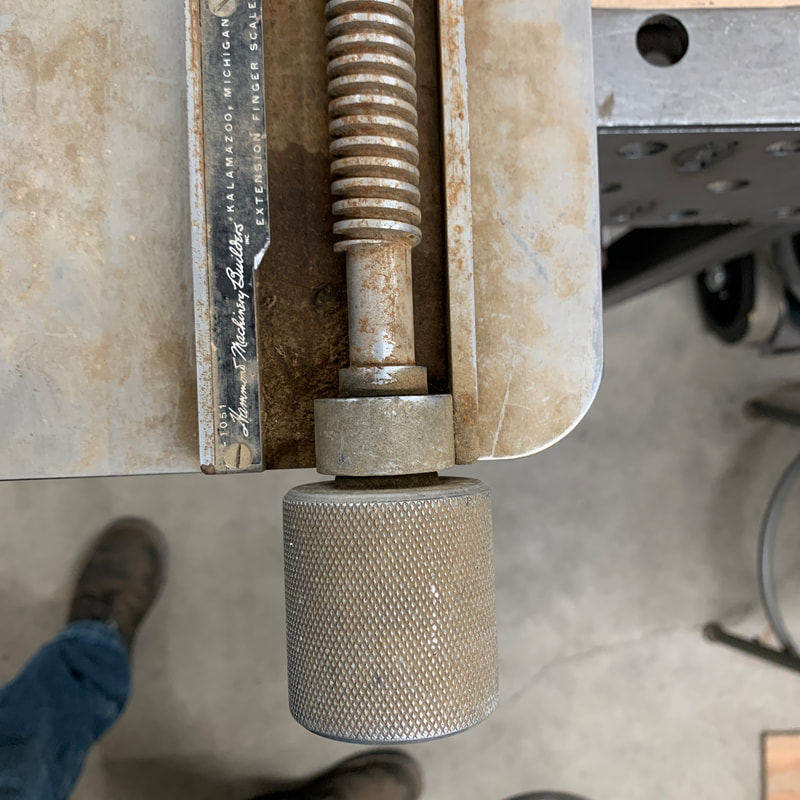
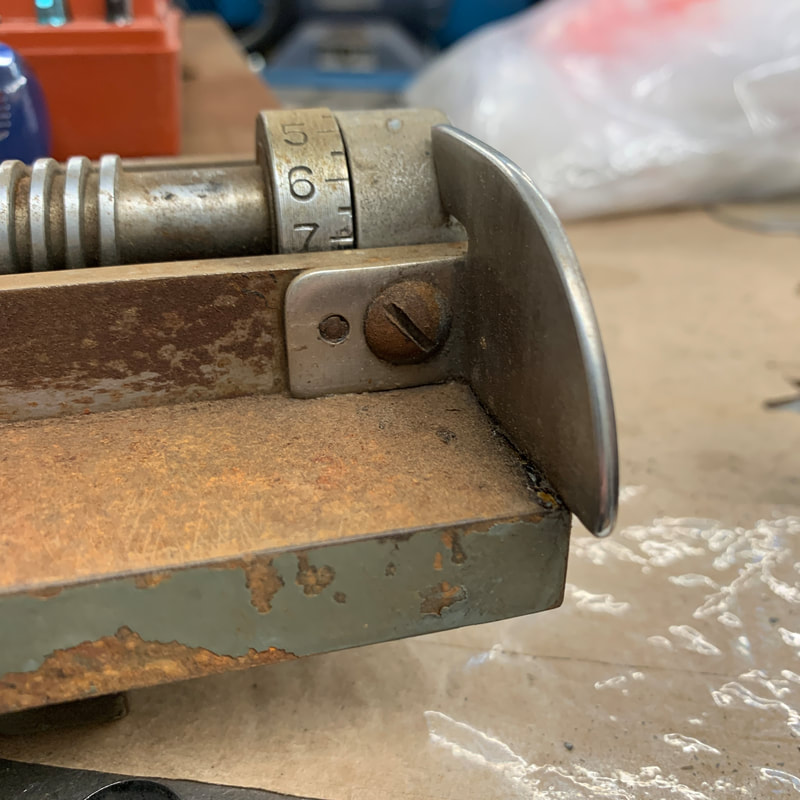
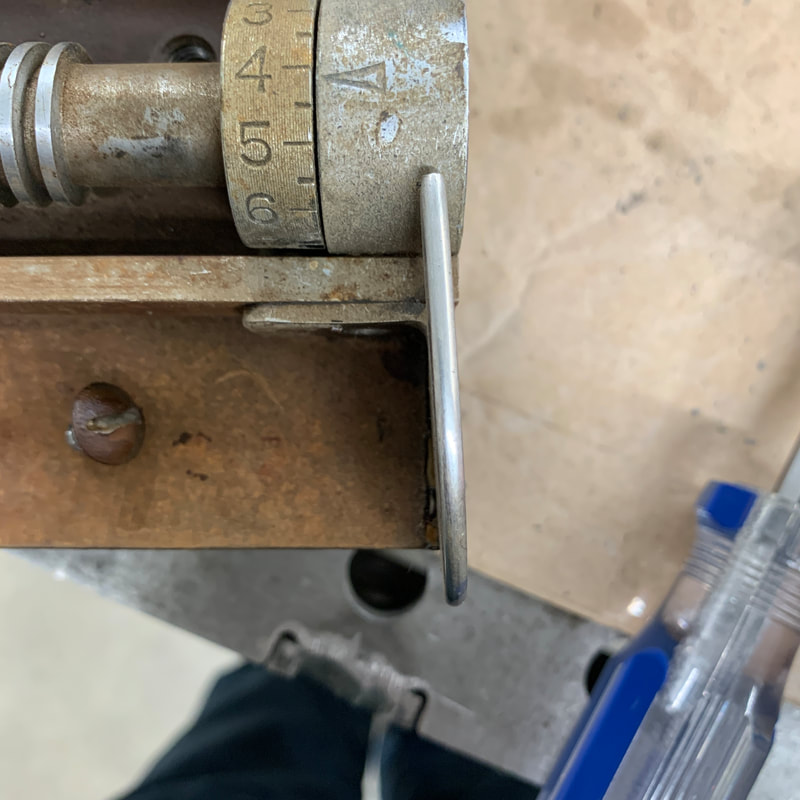
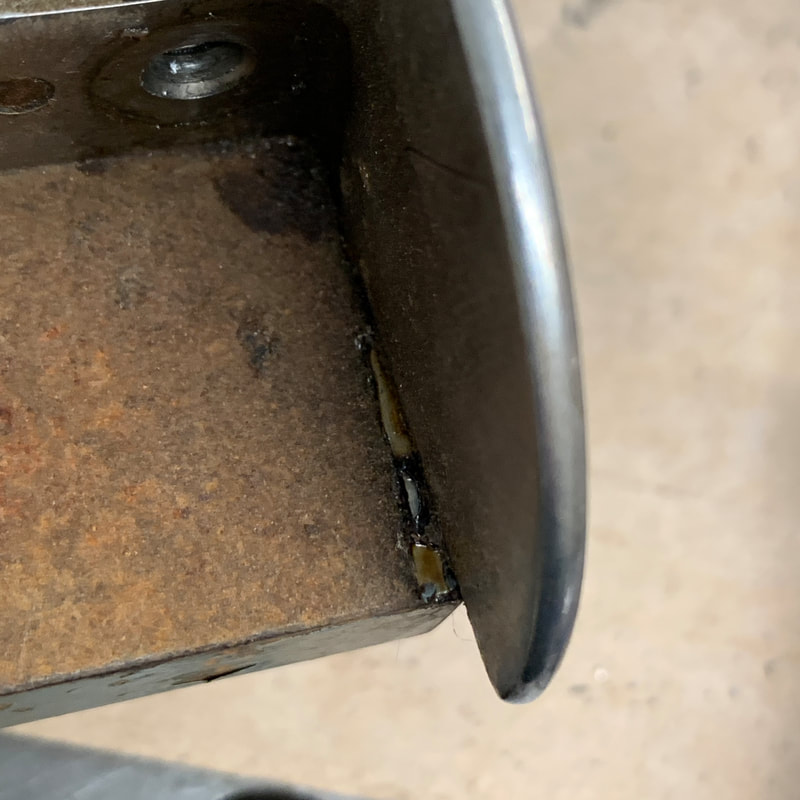
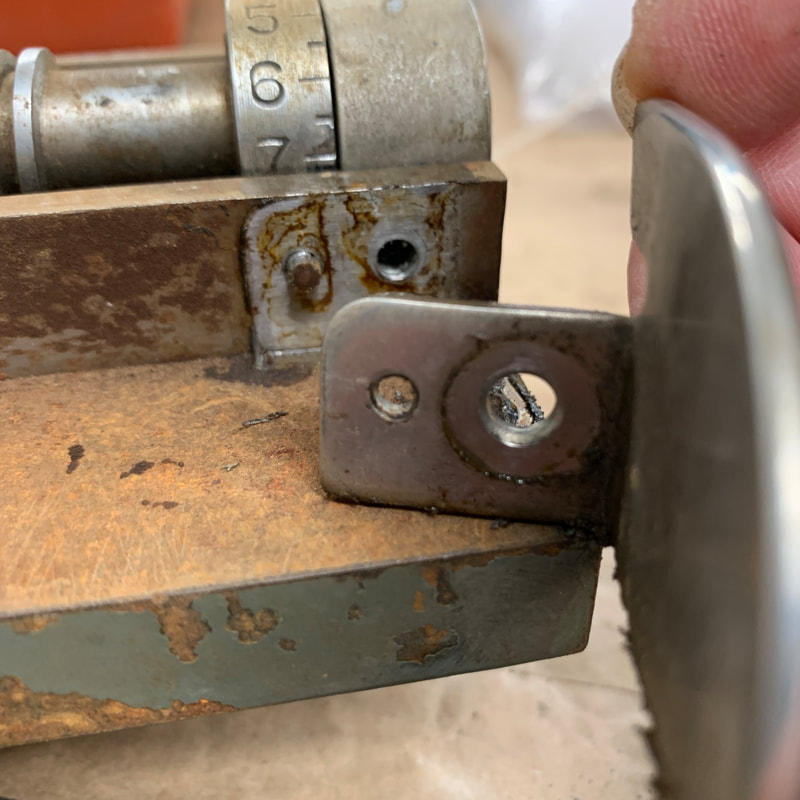
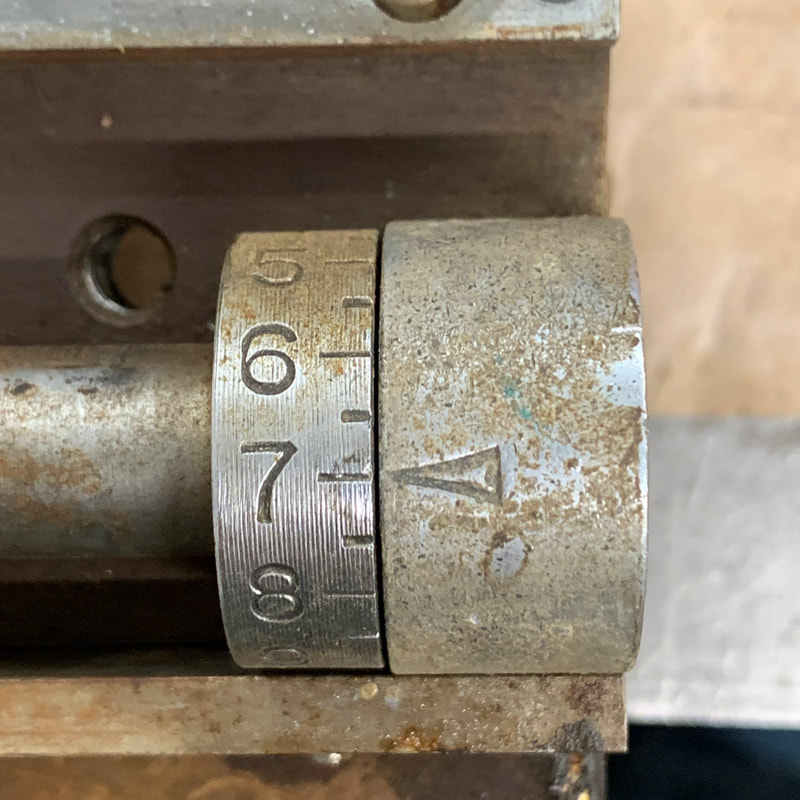
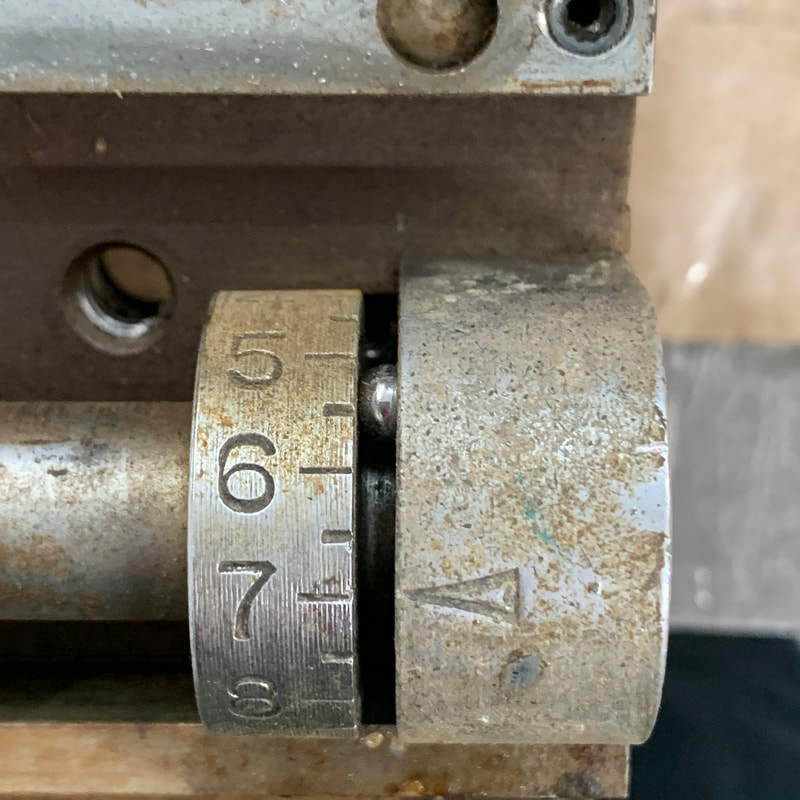
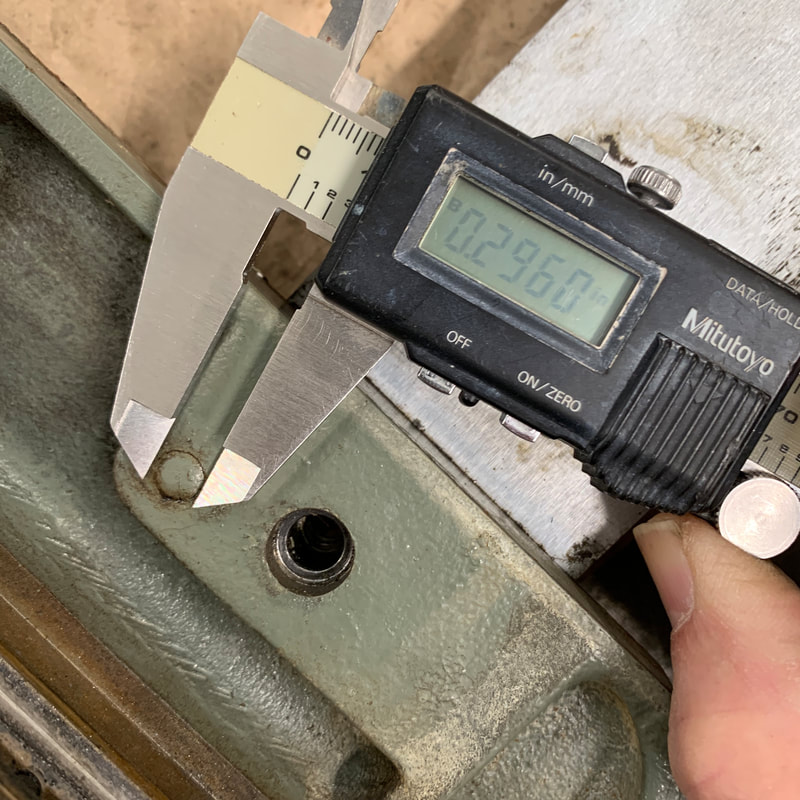
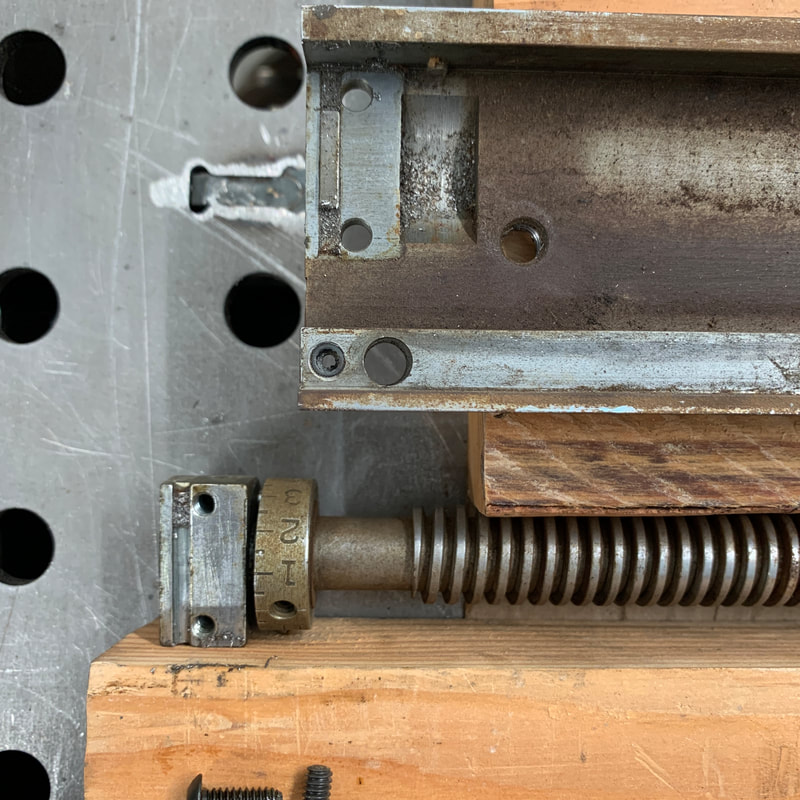
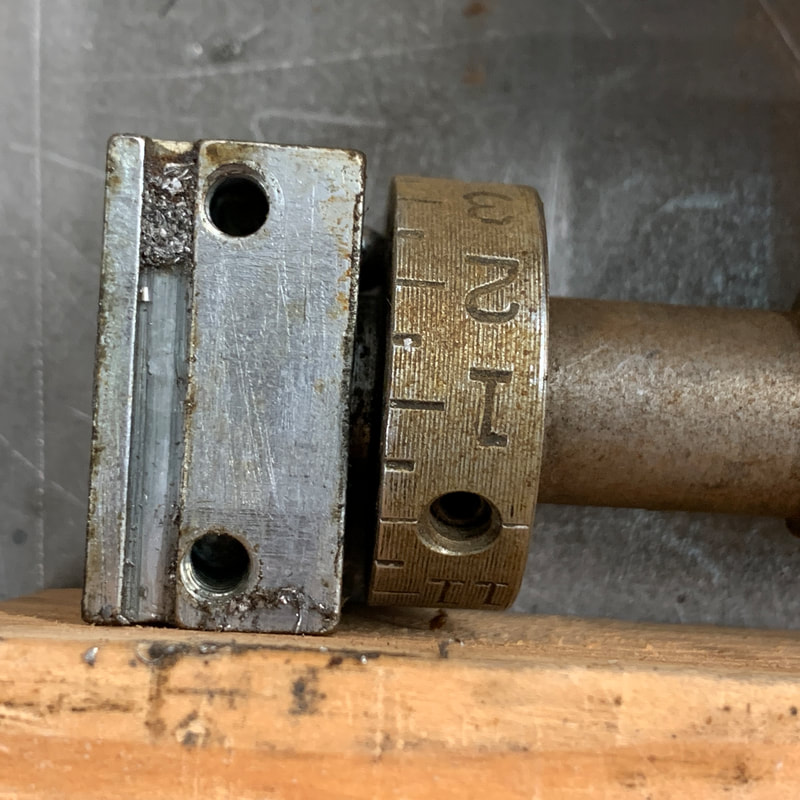
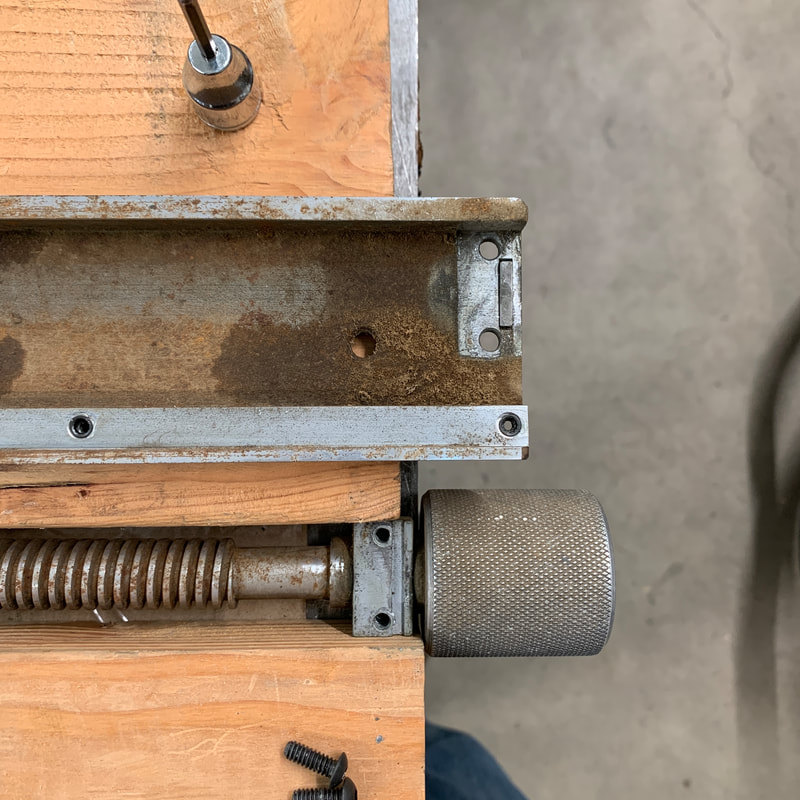
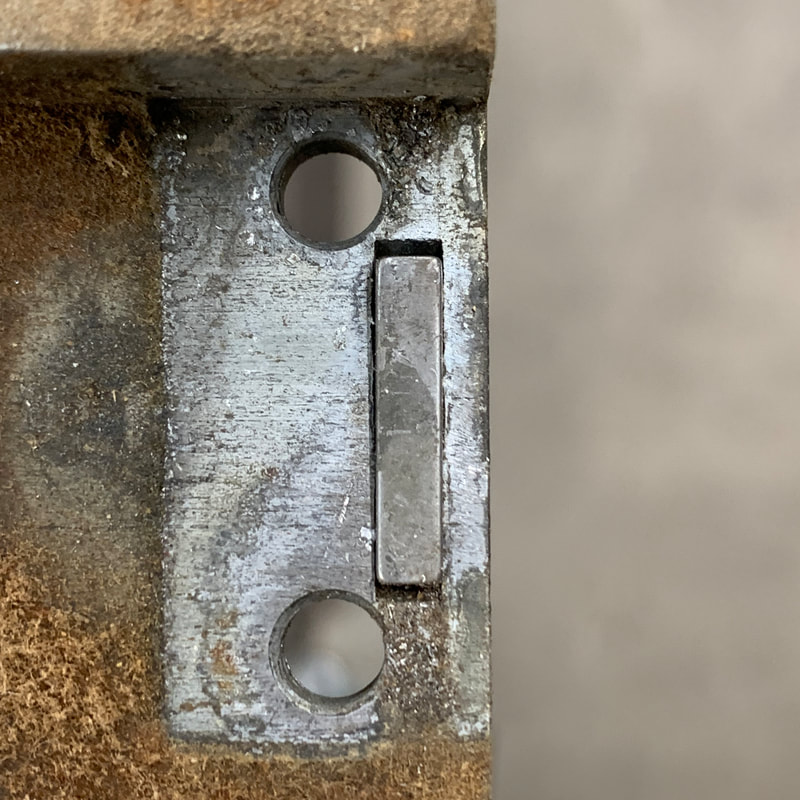
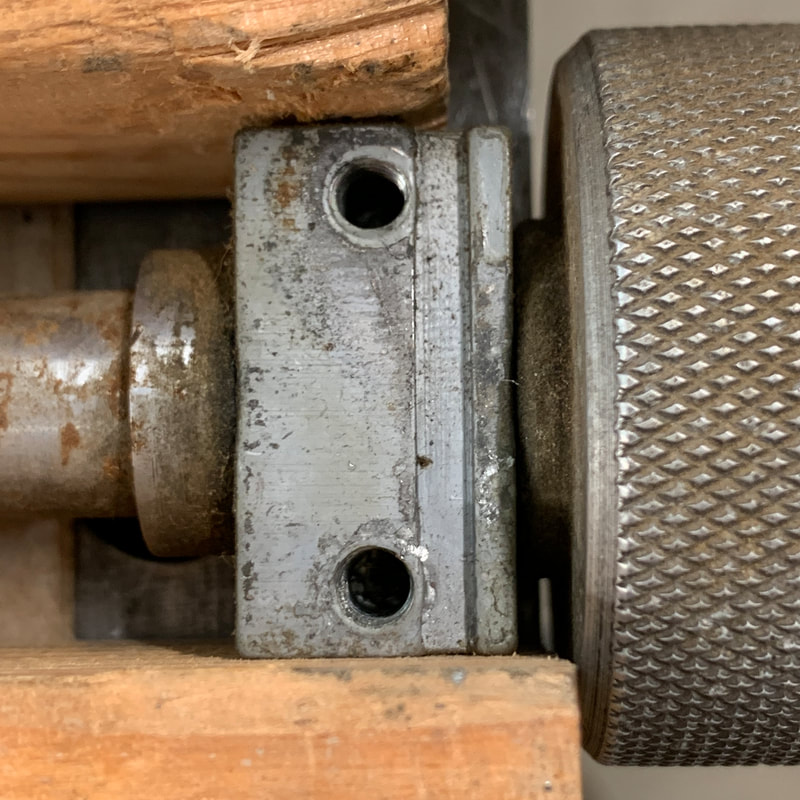
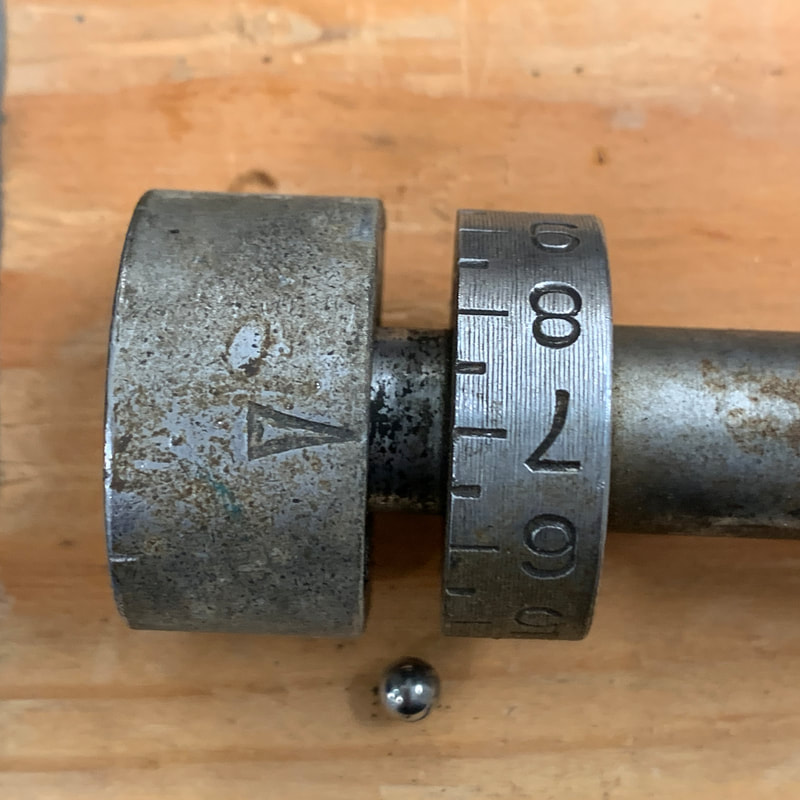
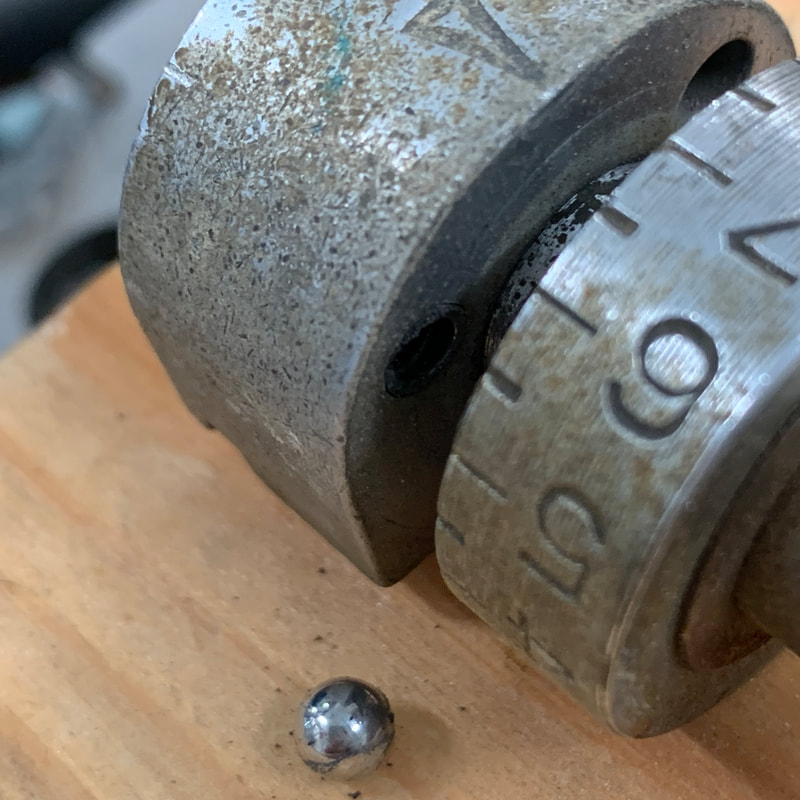
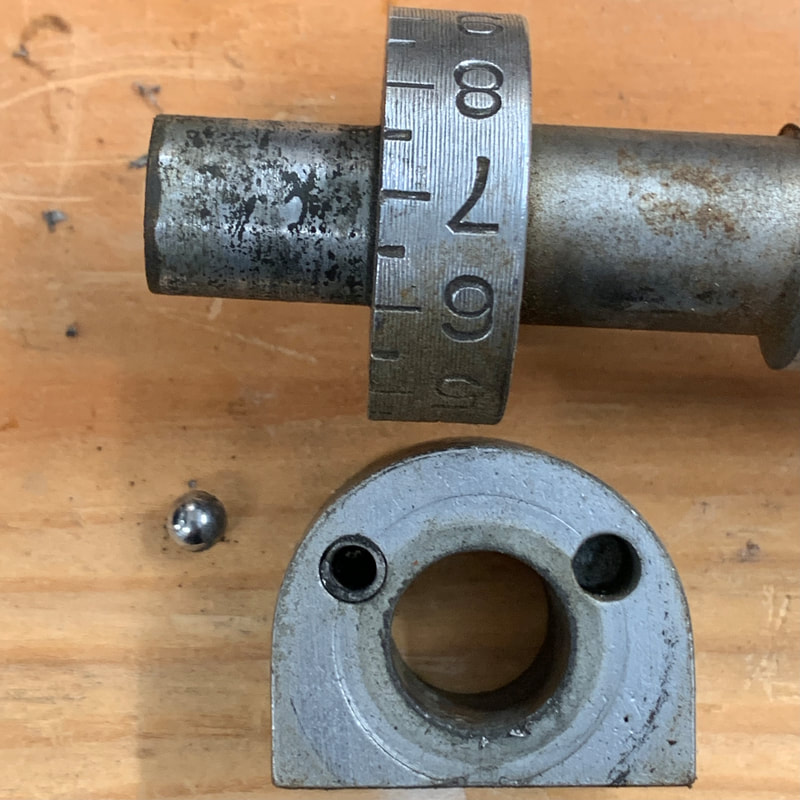
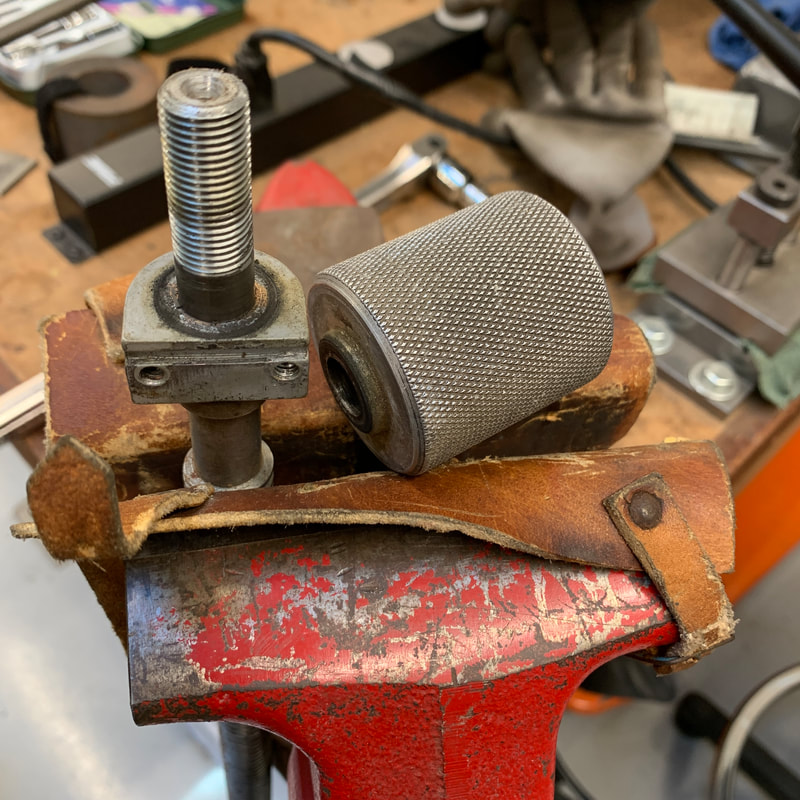
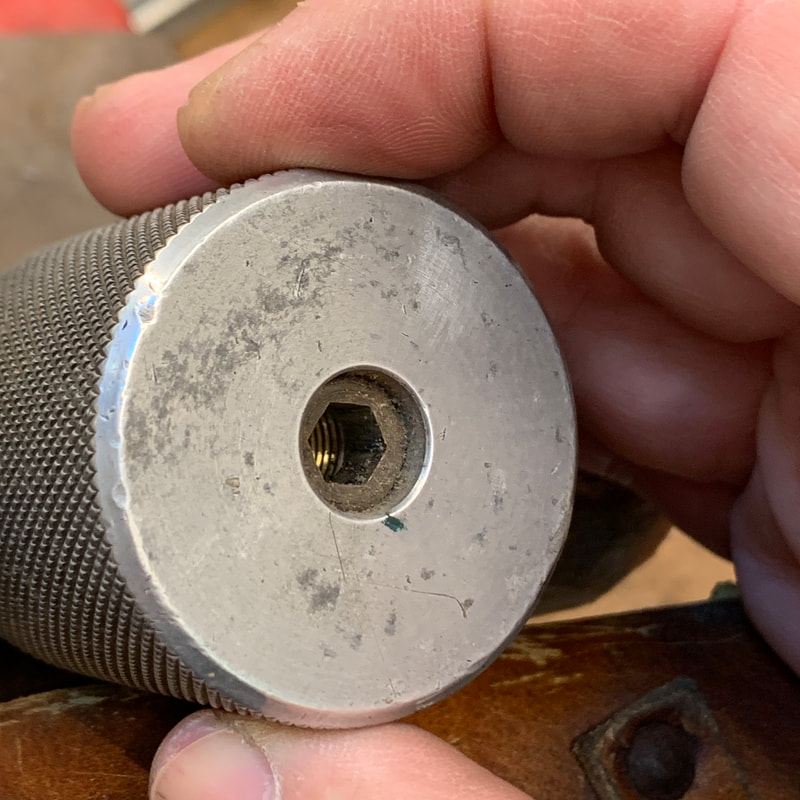
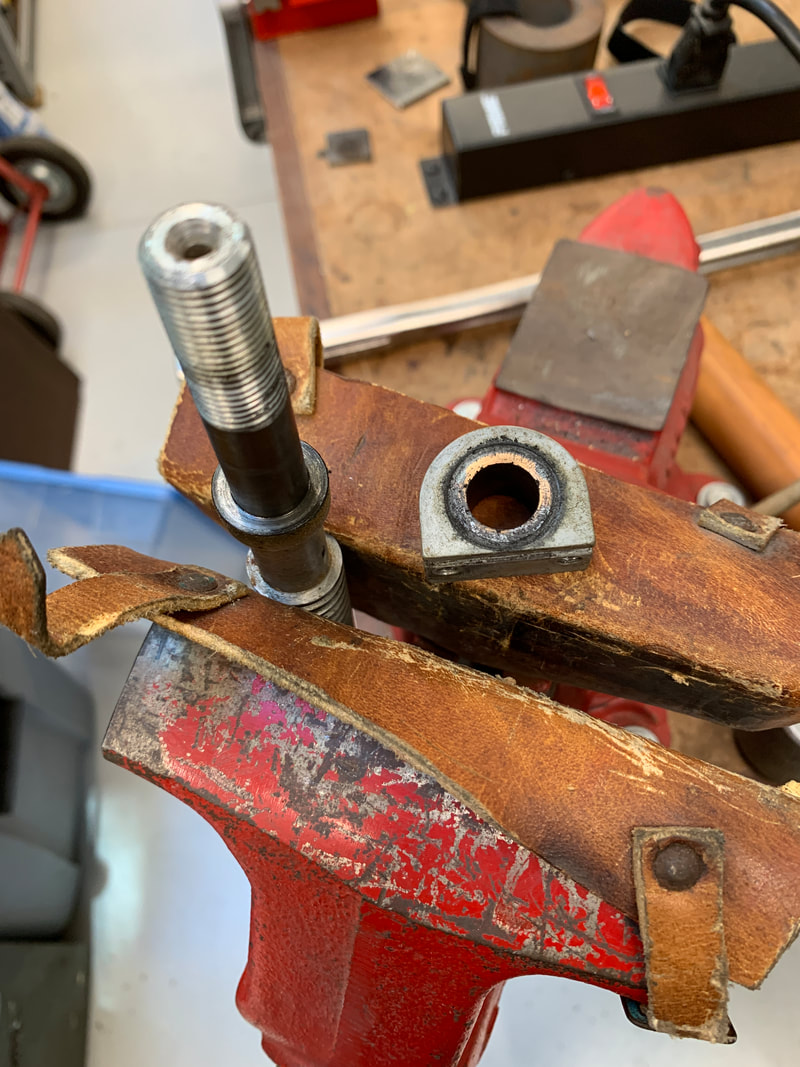
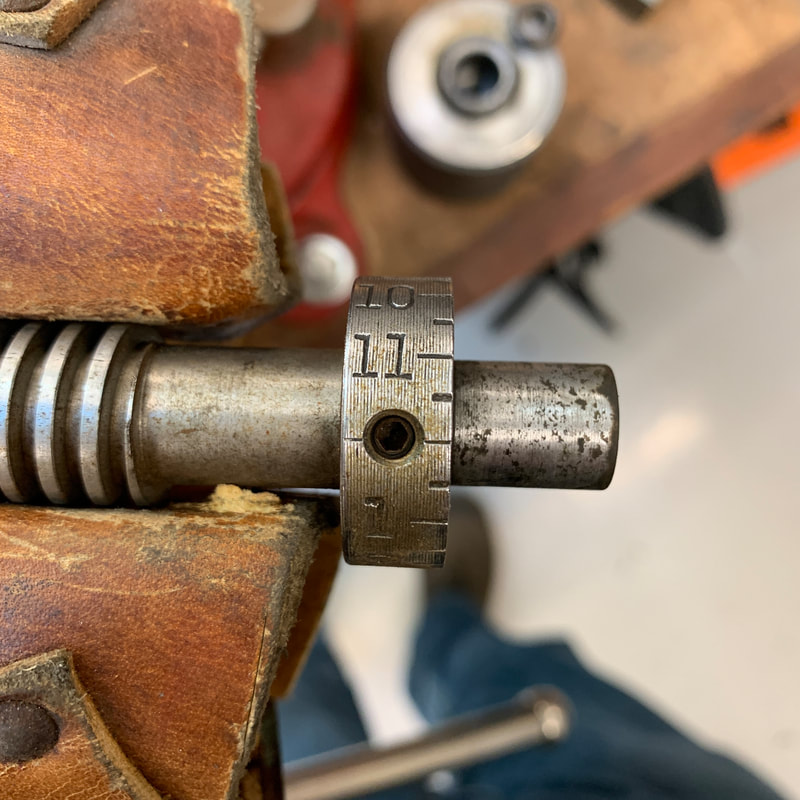
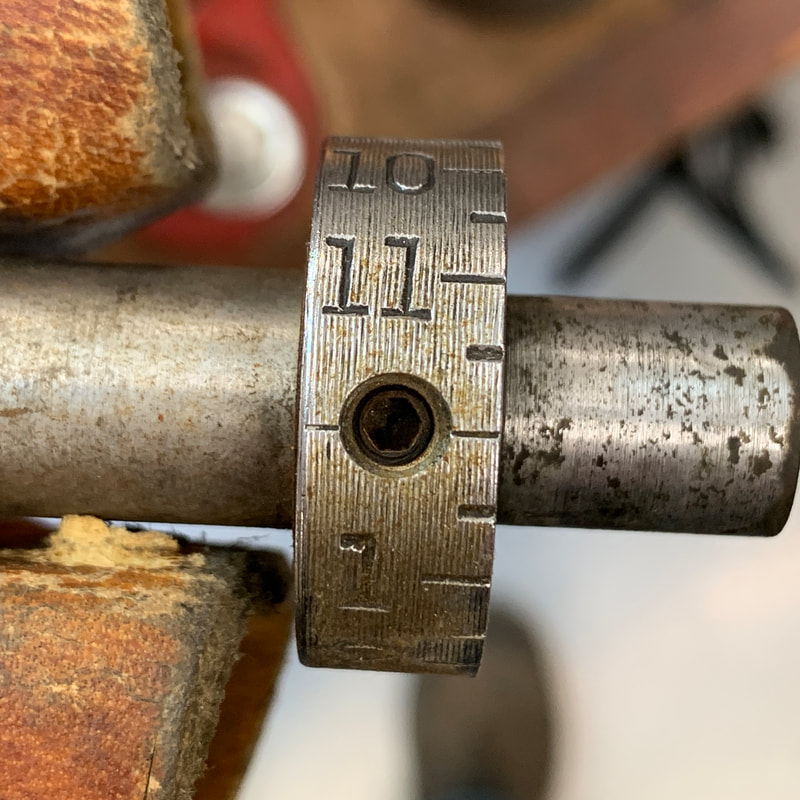
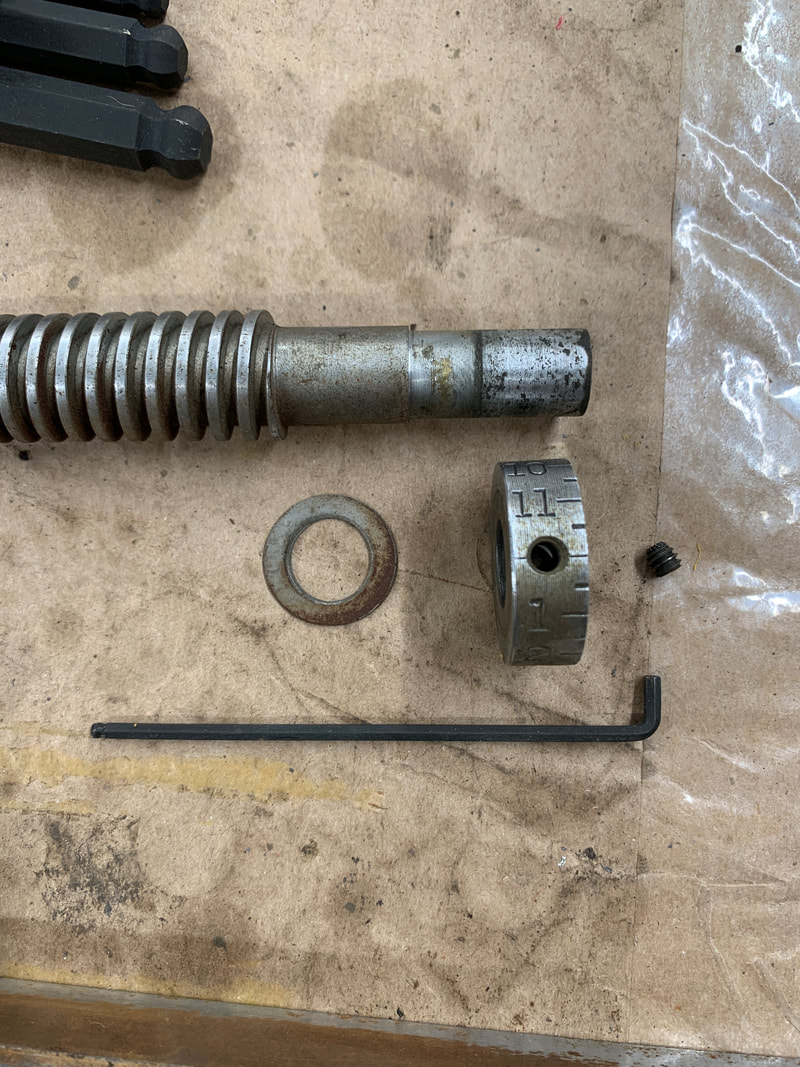
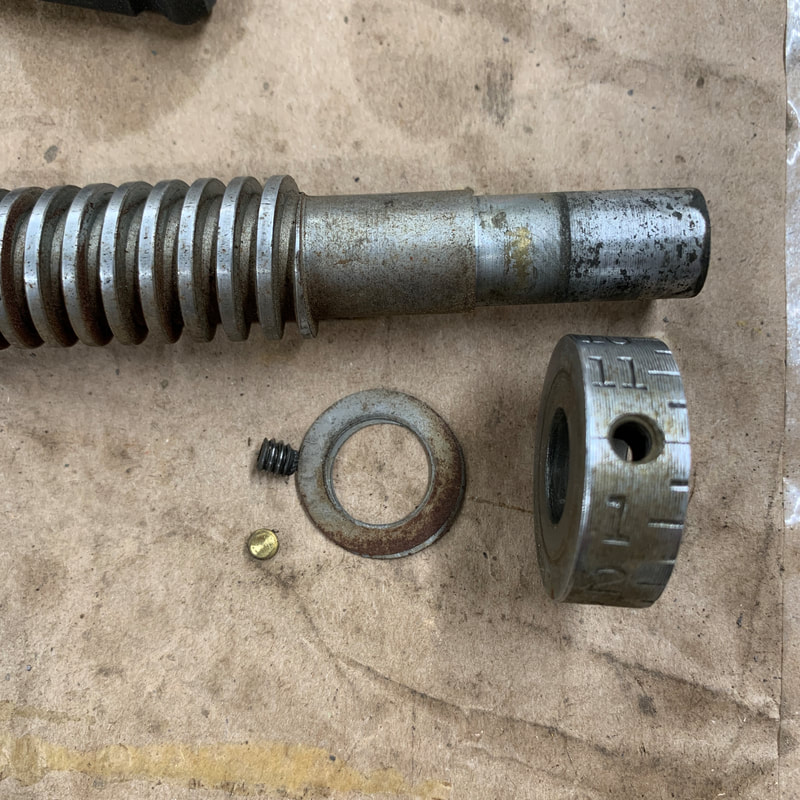
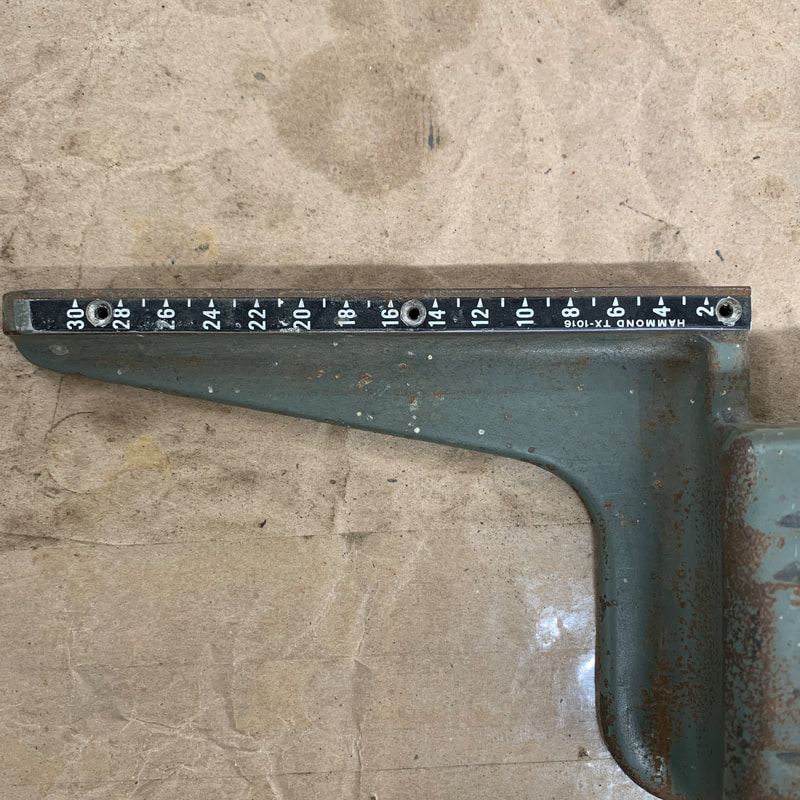
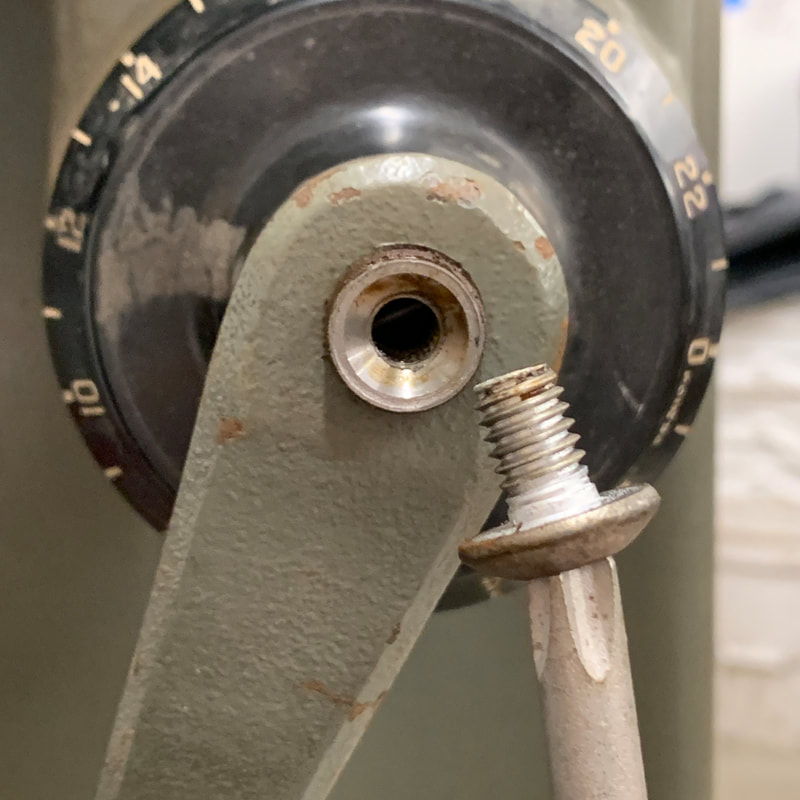
Trimmer setting gauge disassembly
|
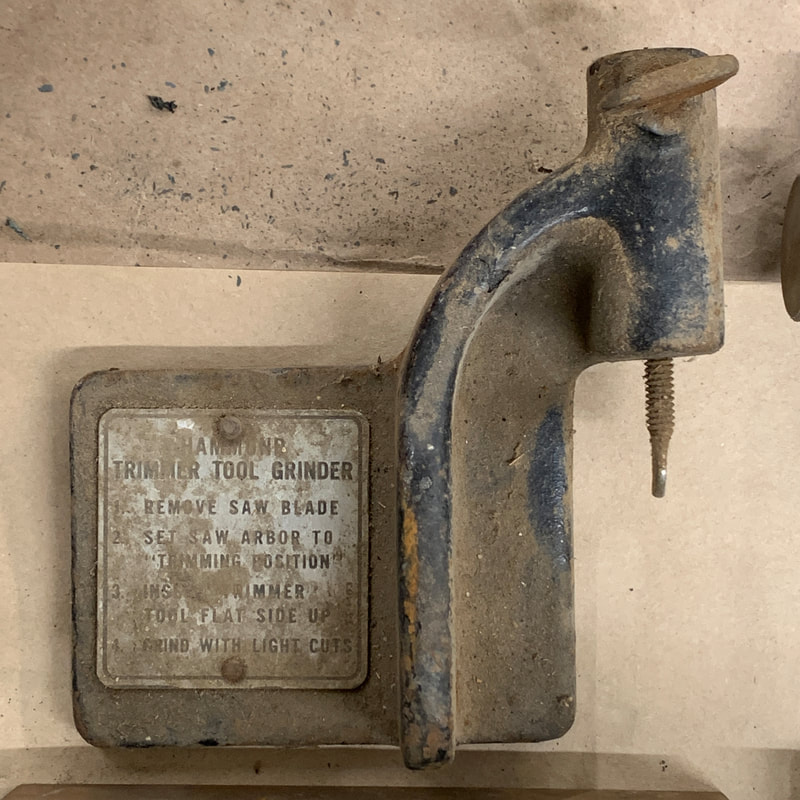  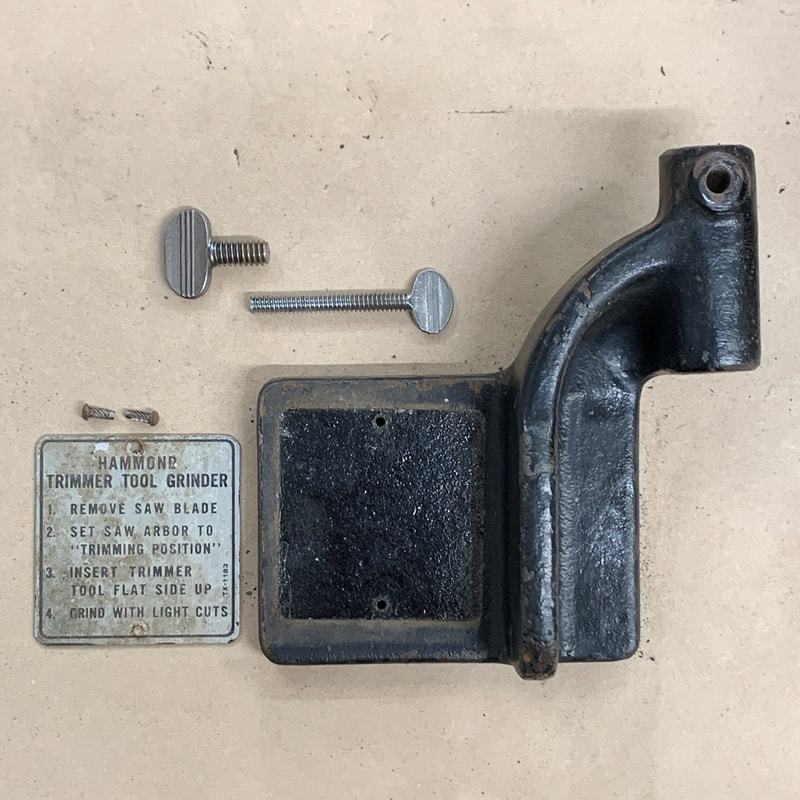 |
Trimmer tool grinder disassembly
|
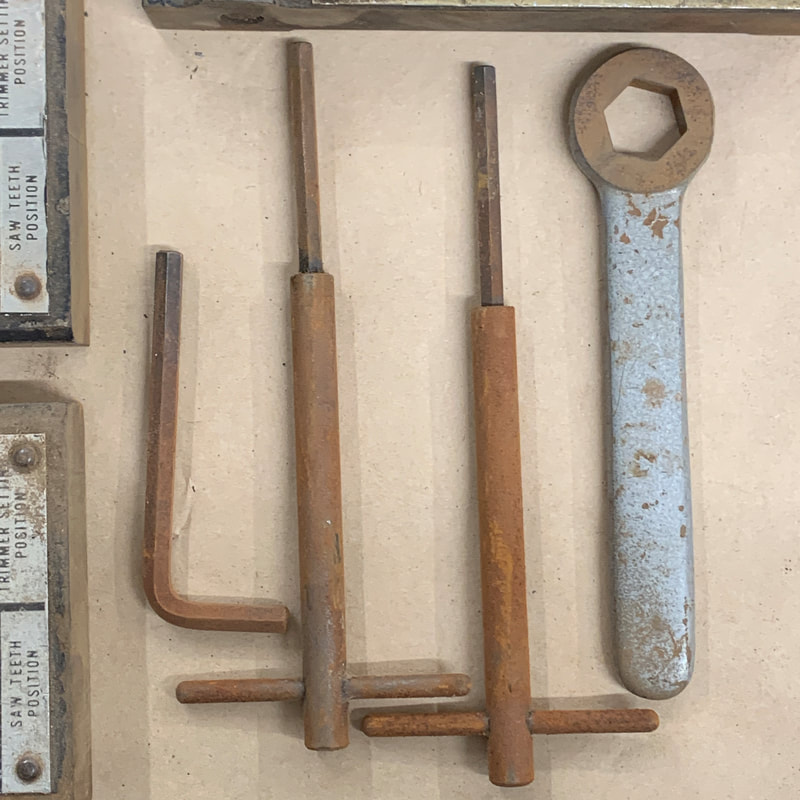 |
Wrenches
|
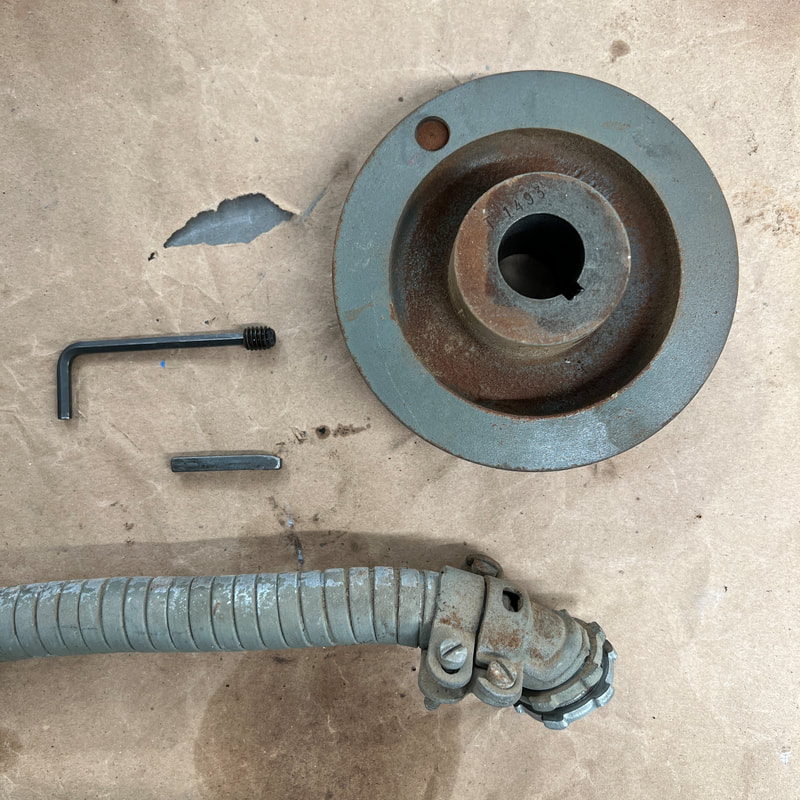 |
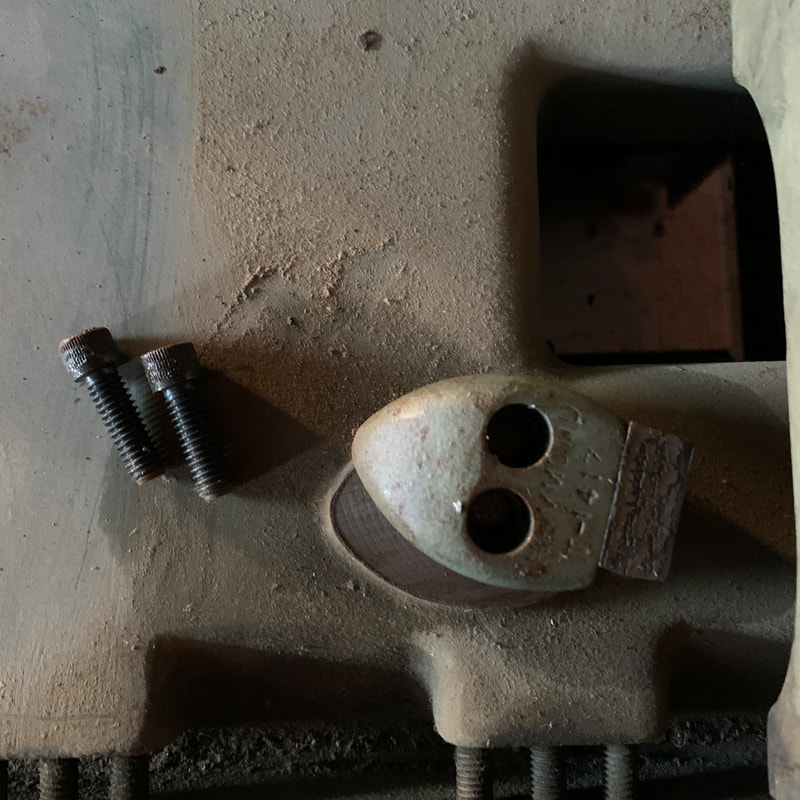
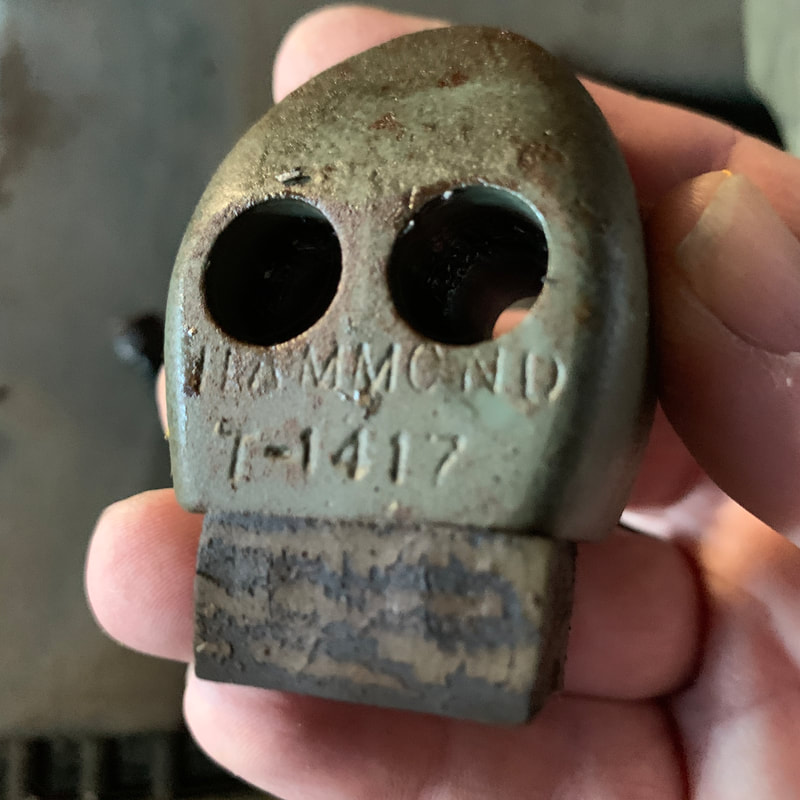
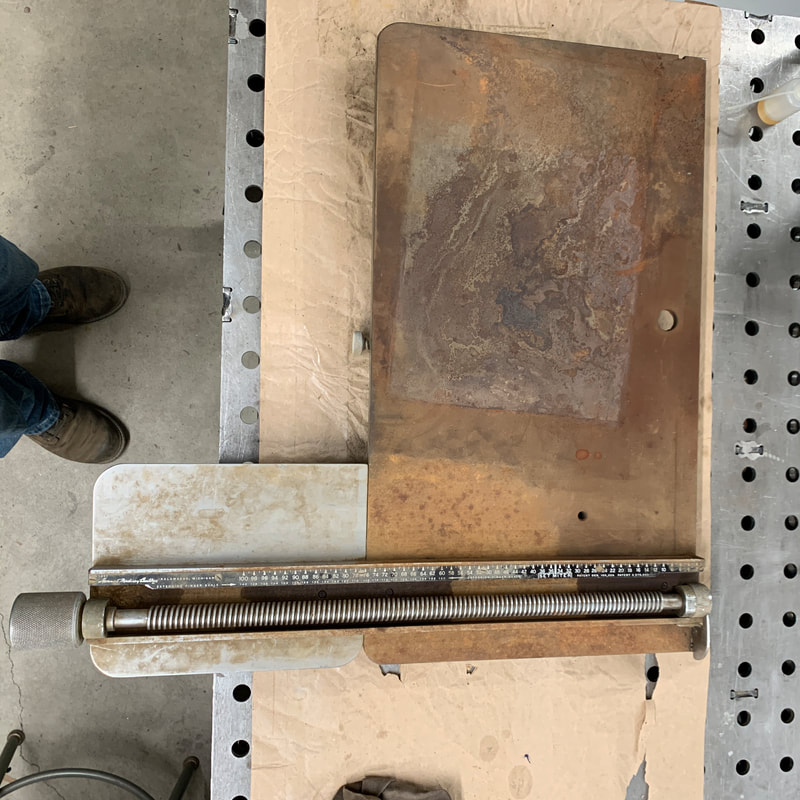
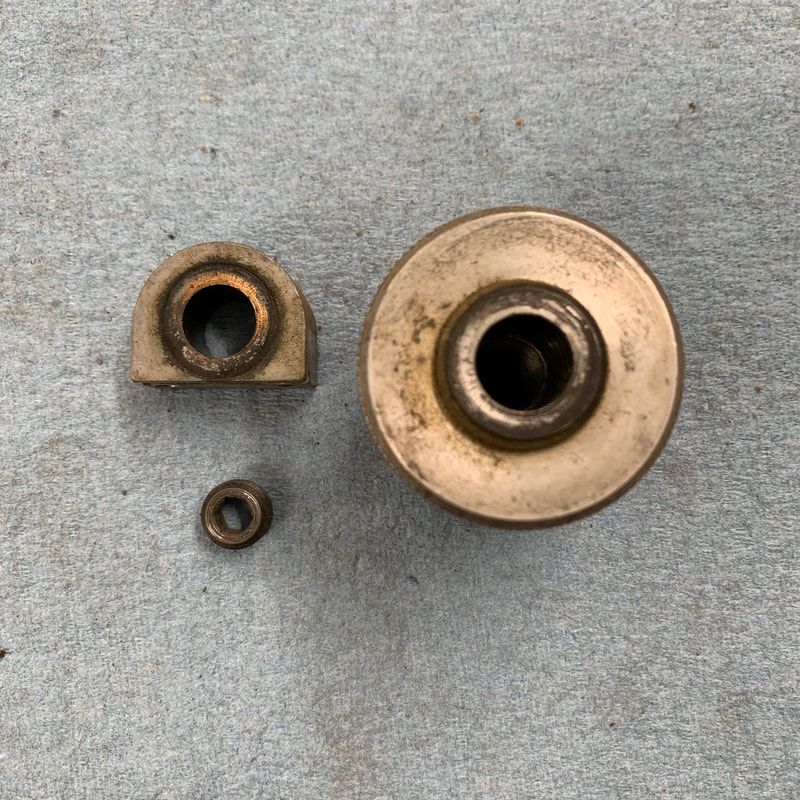
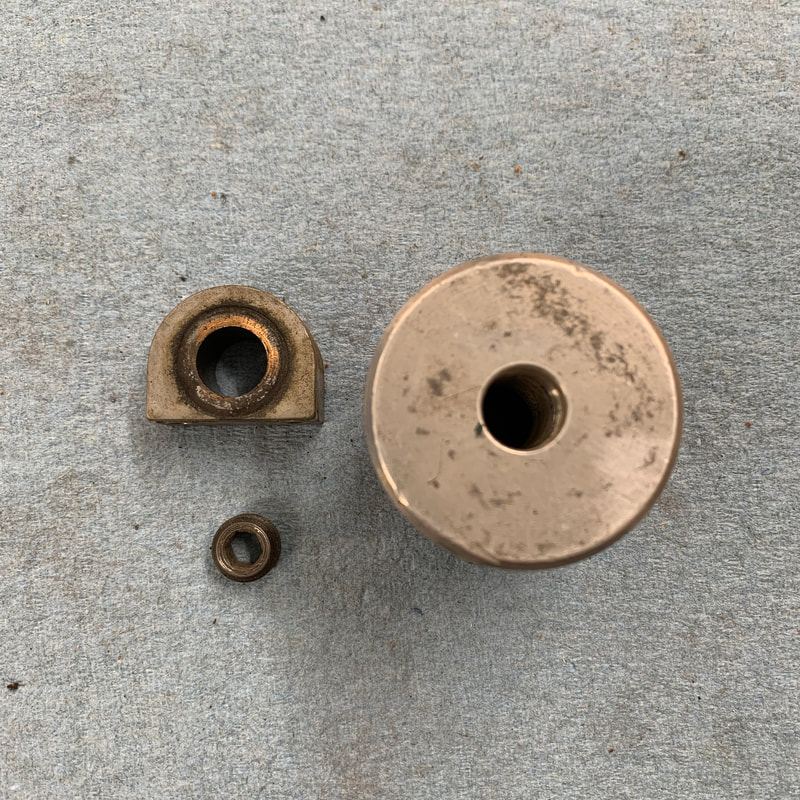
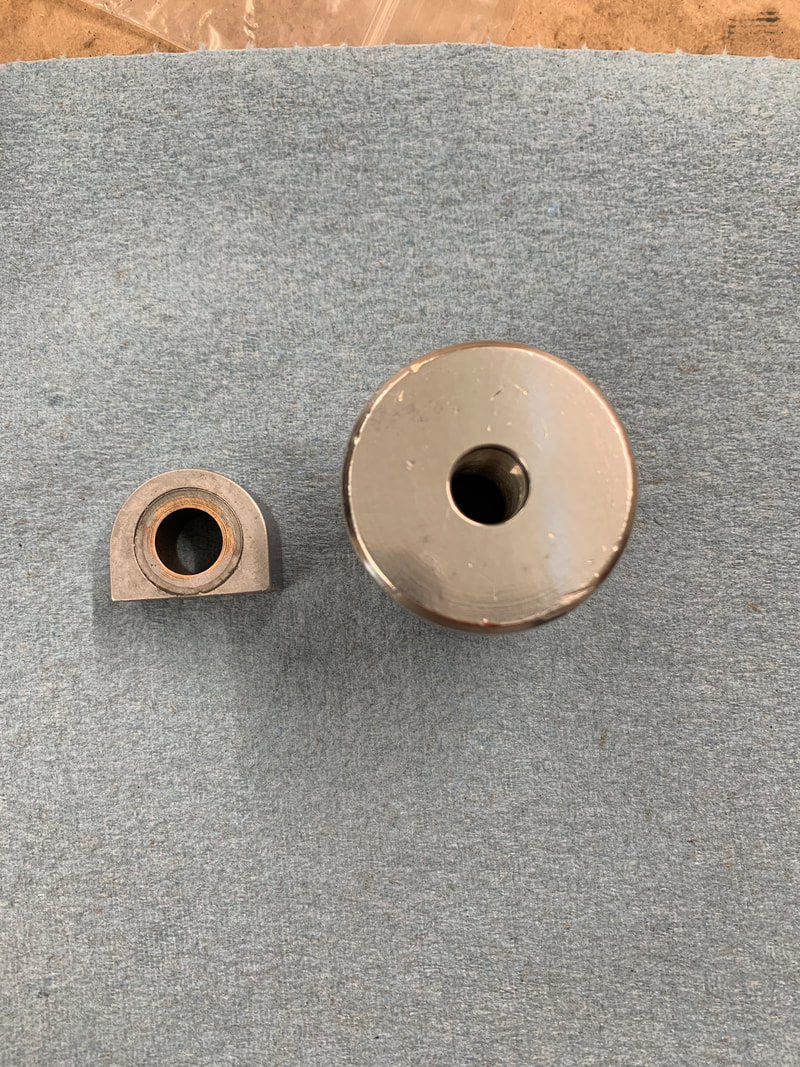
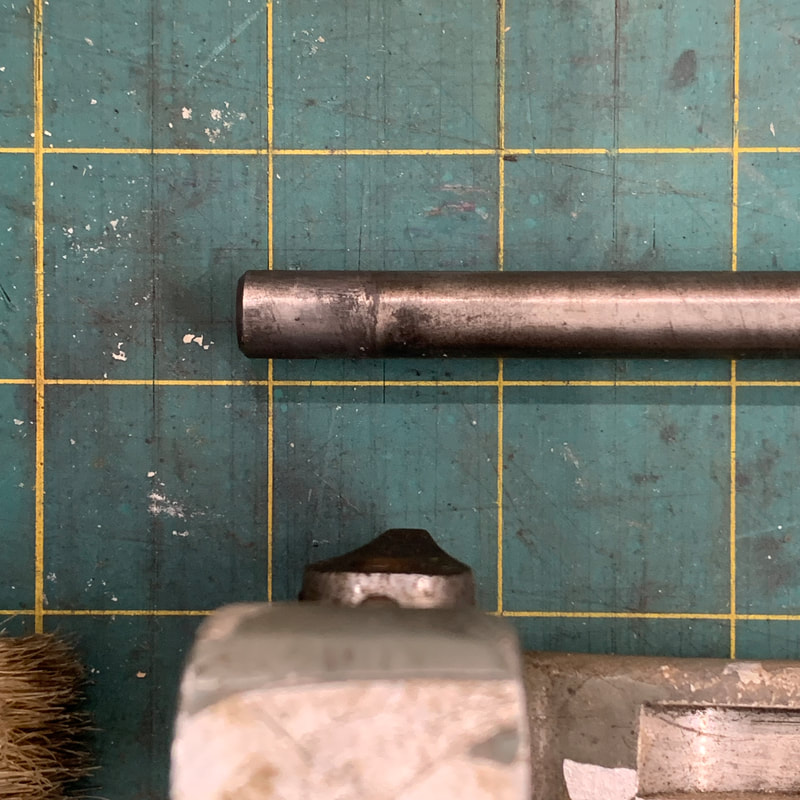
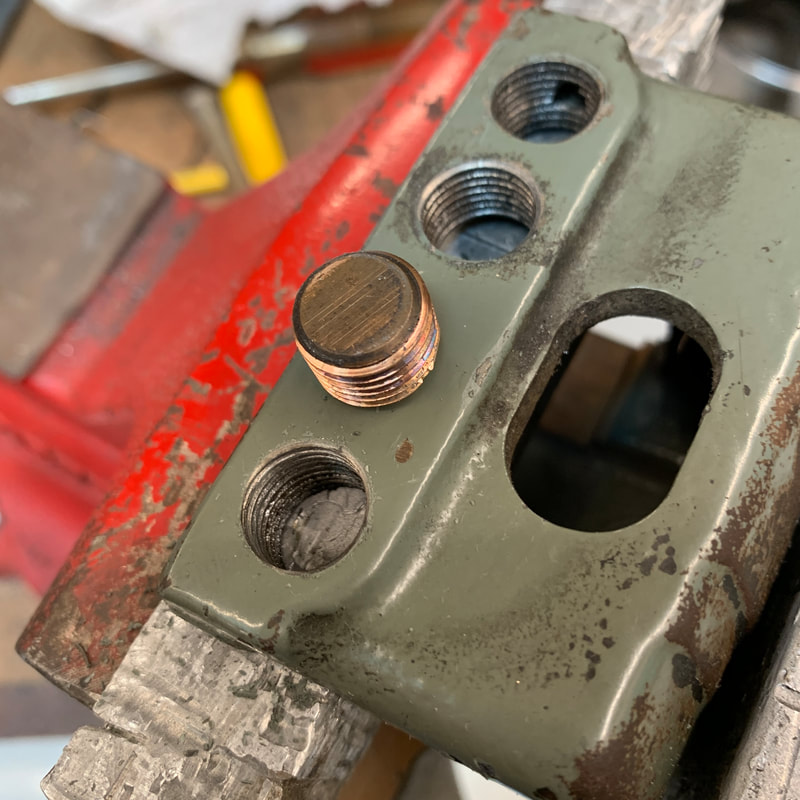
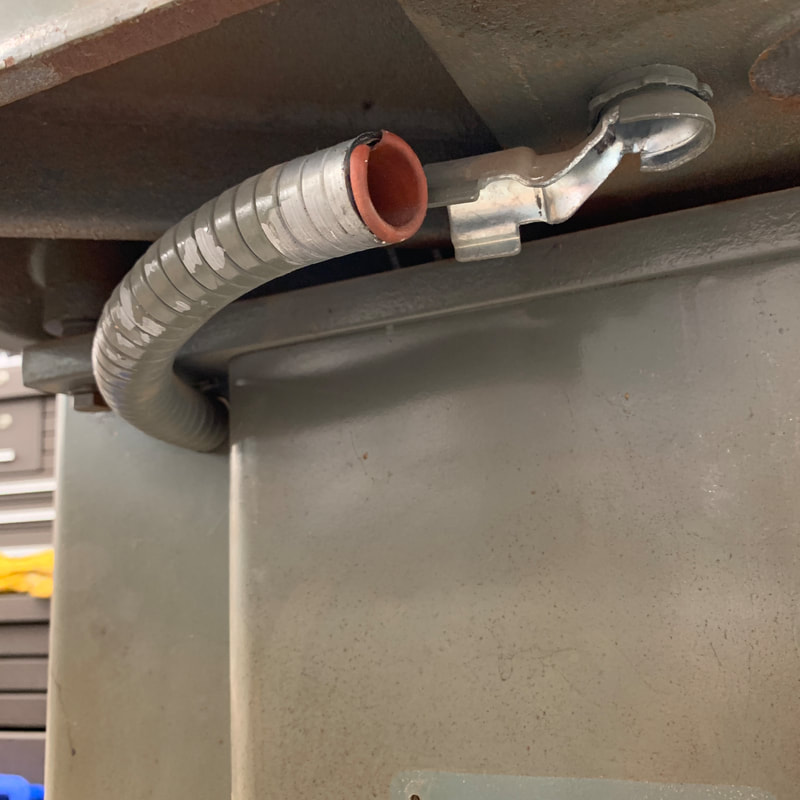
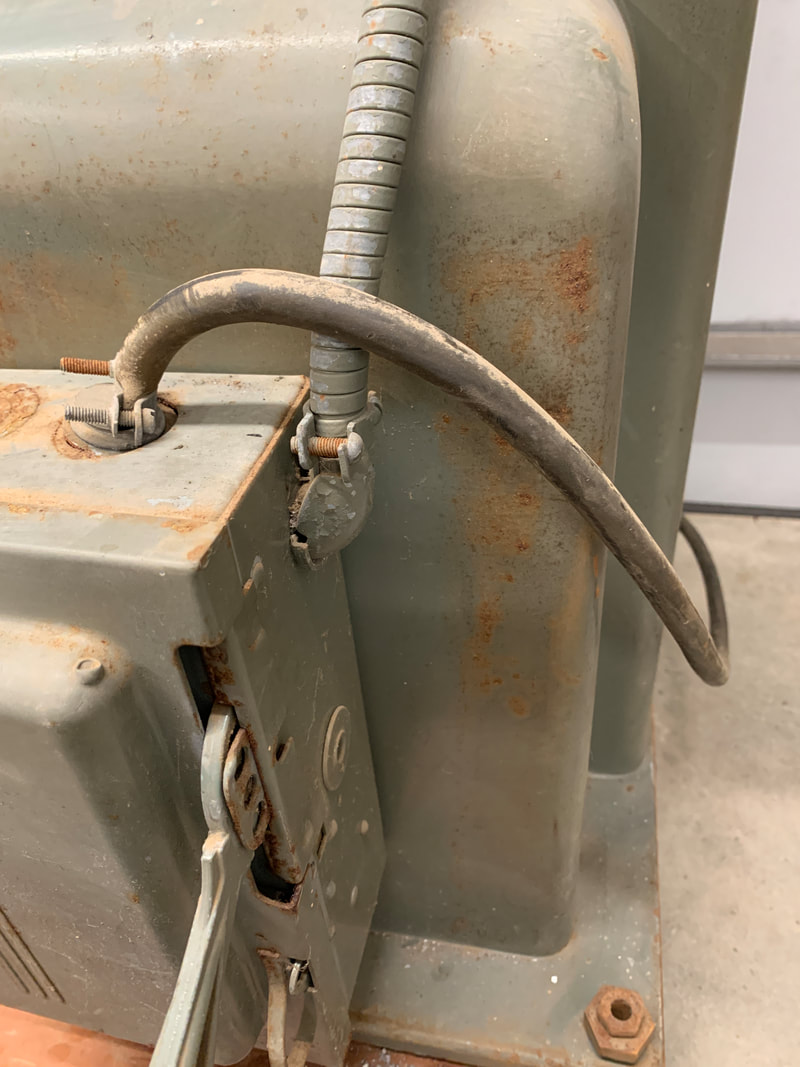
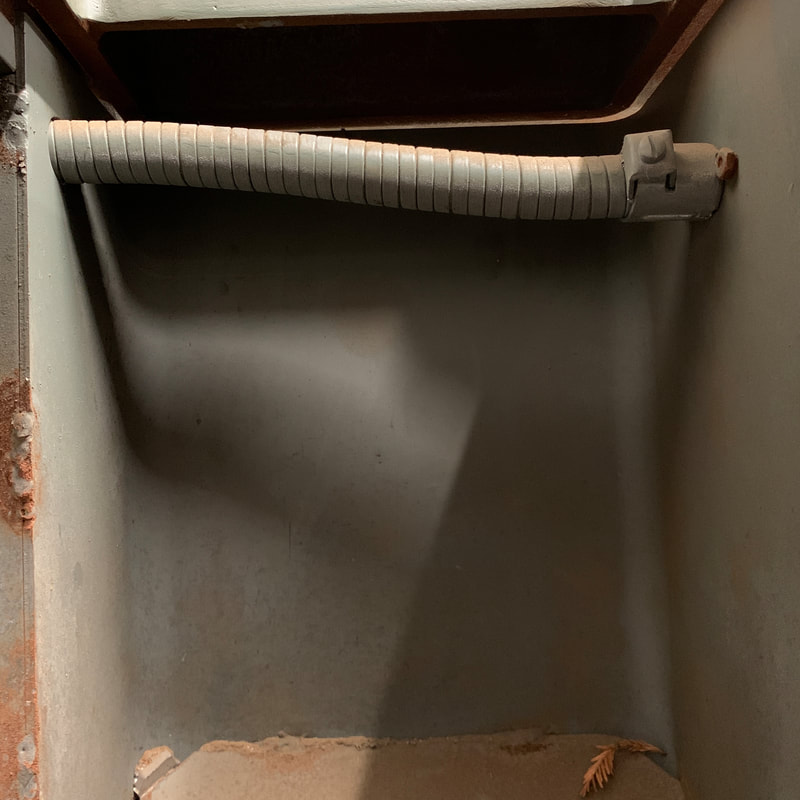
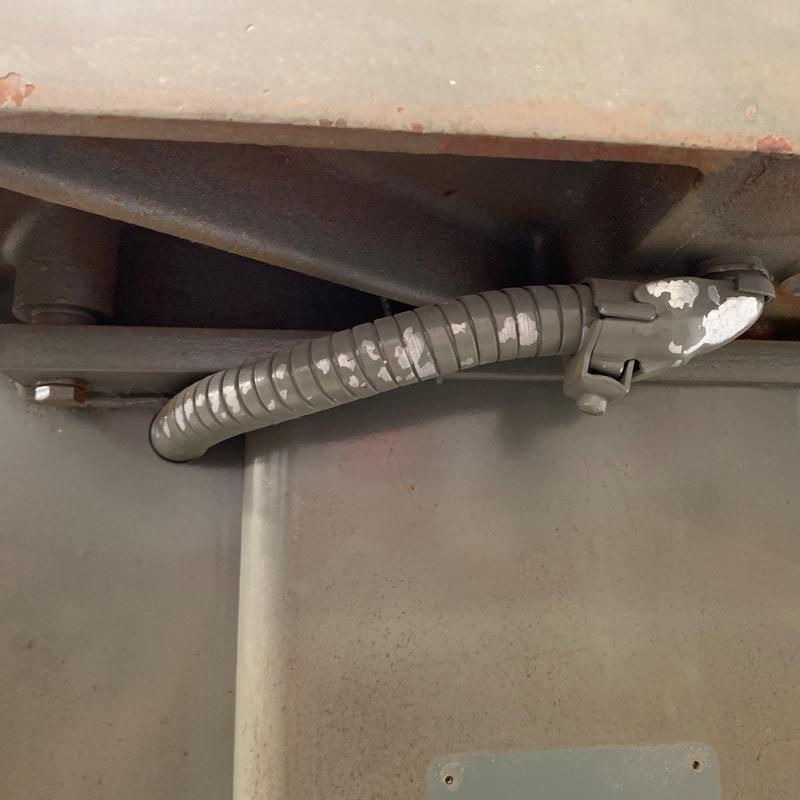
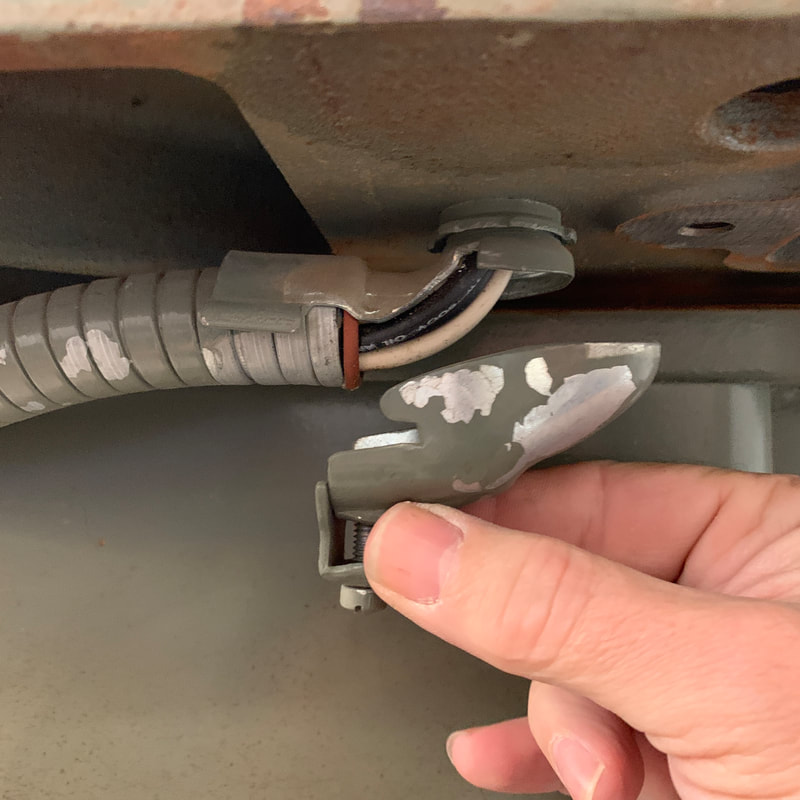
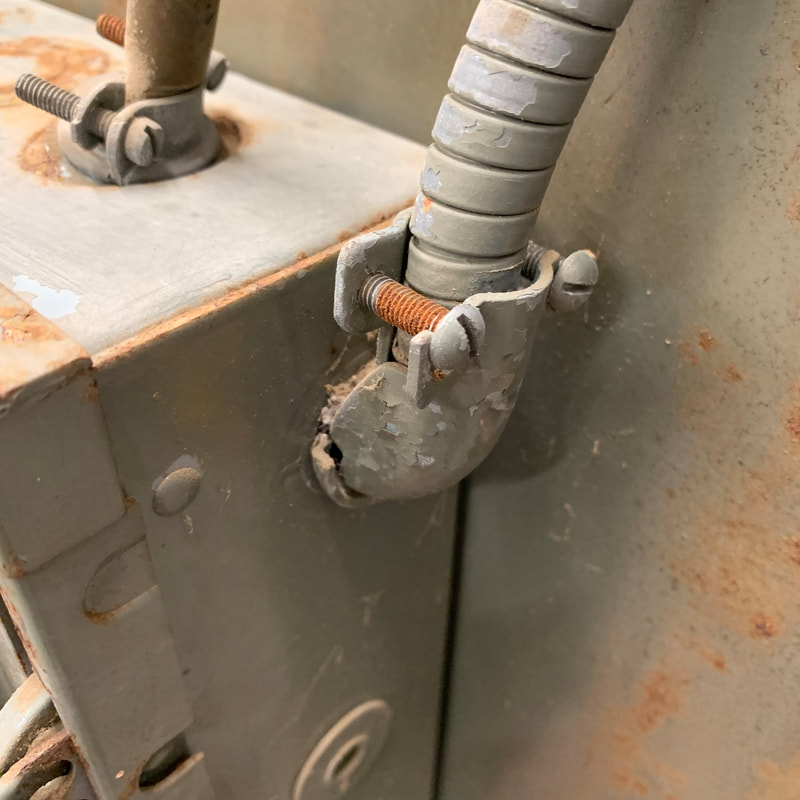
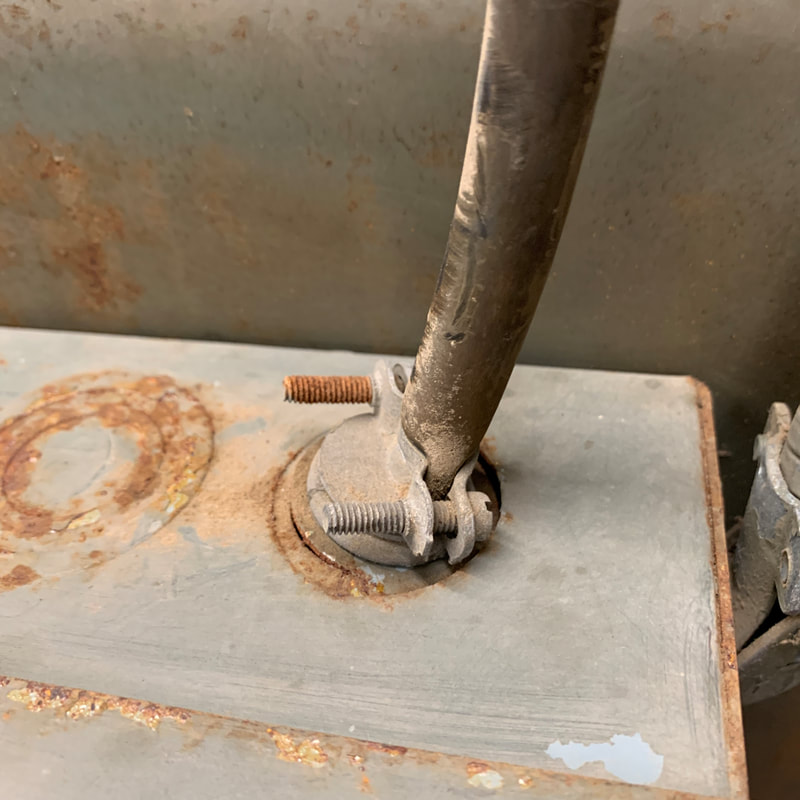
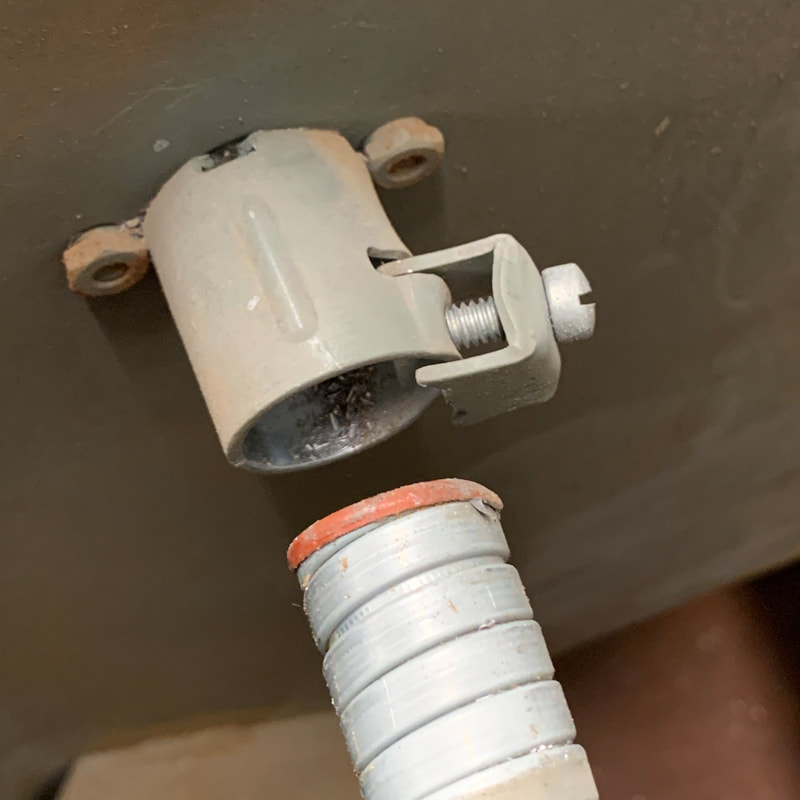
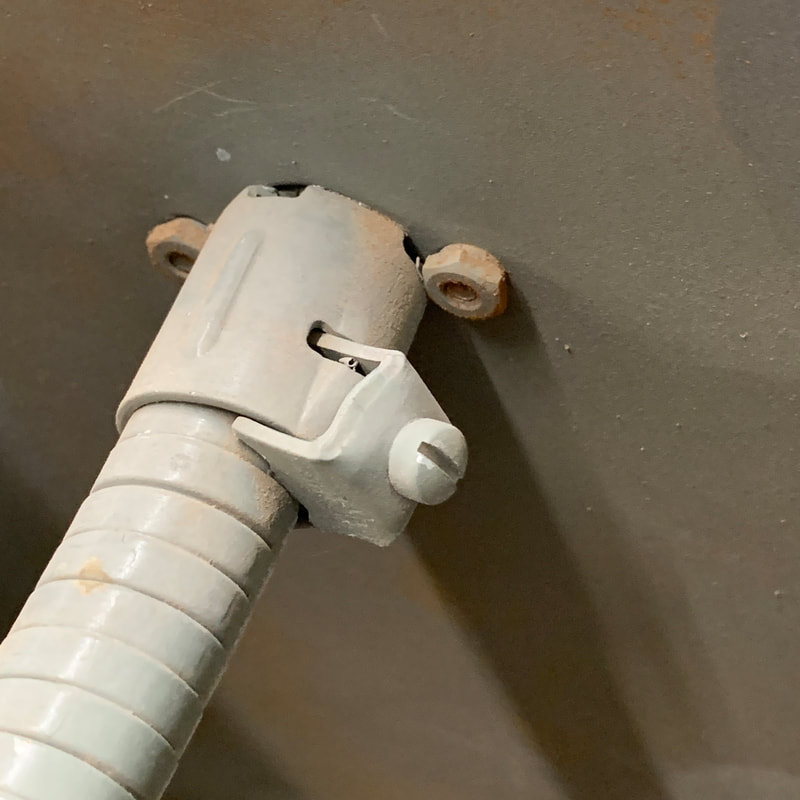
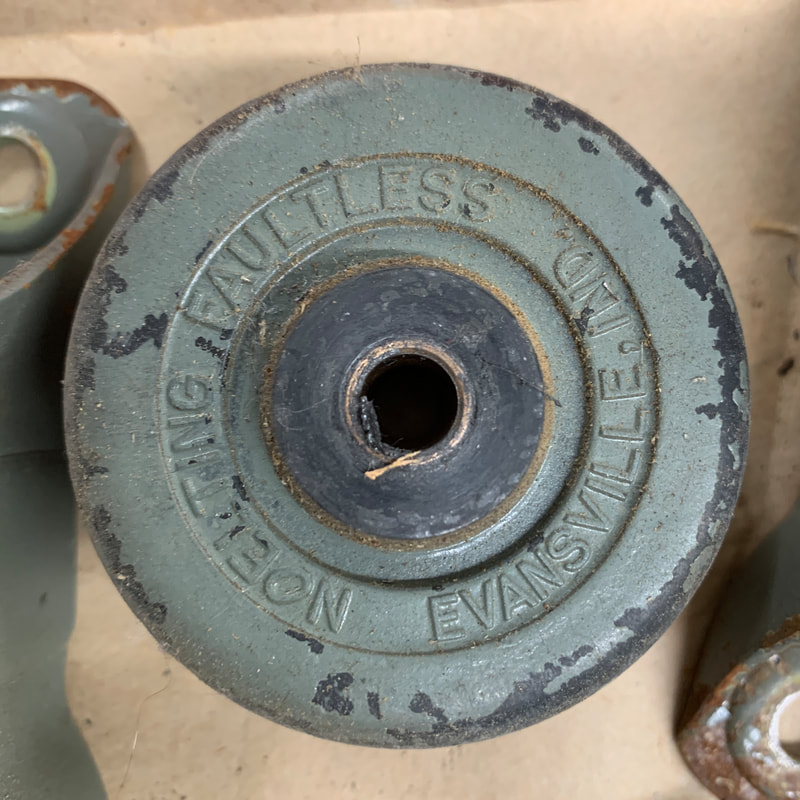
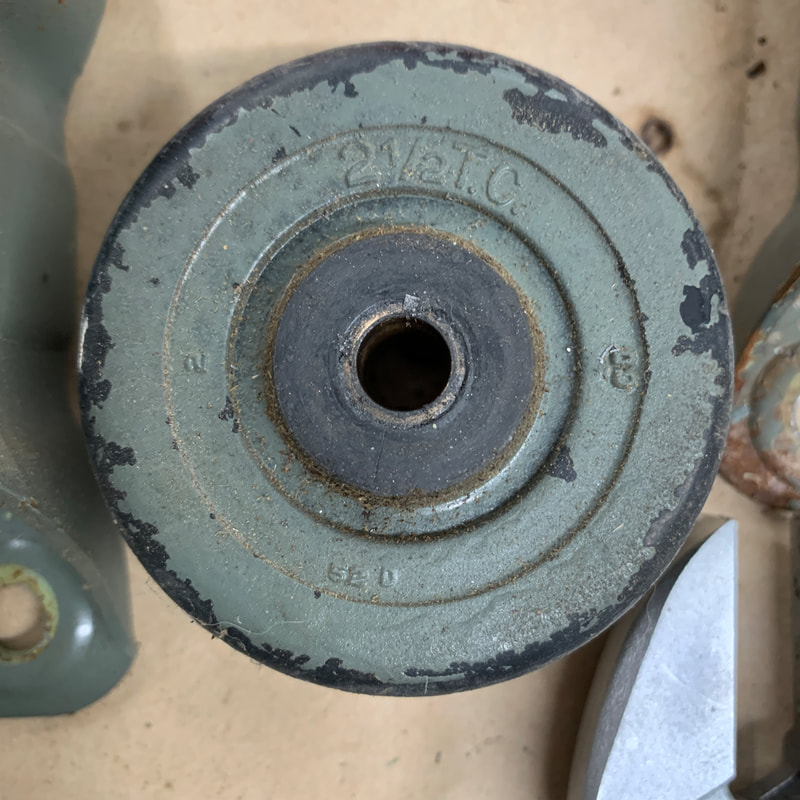
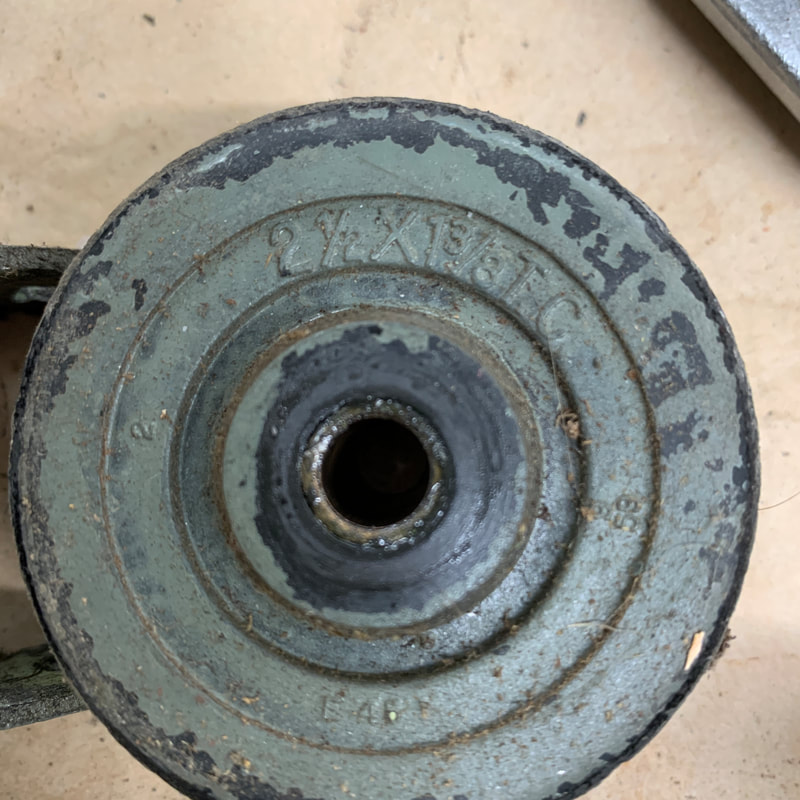
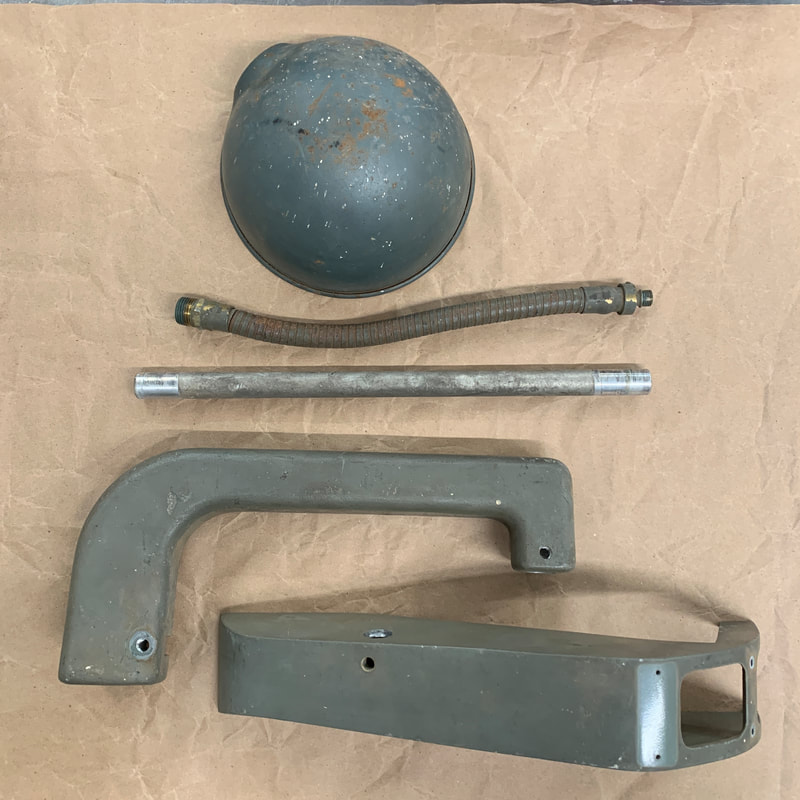
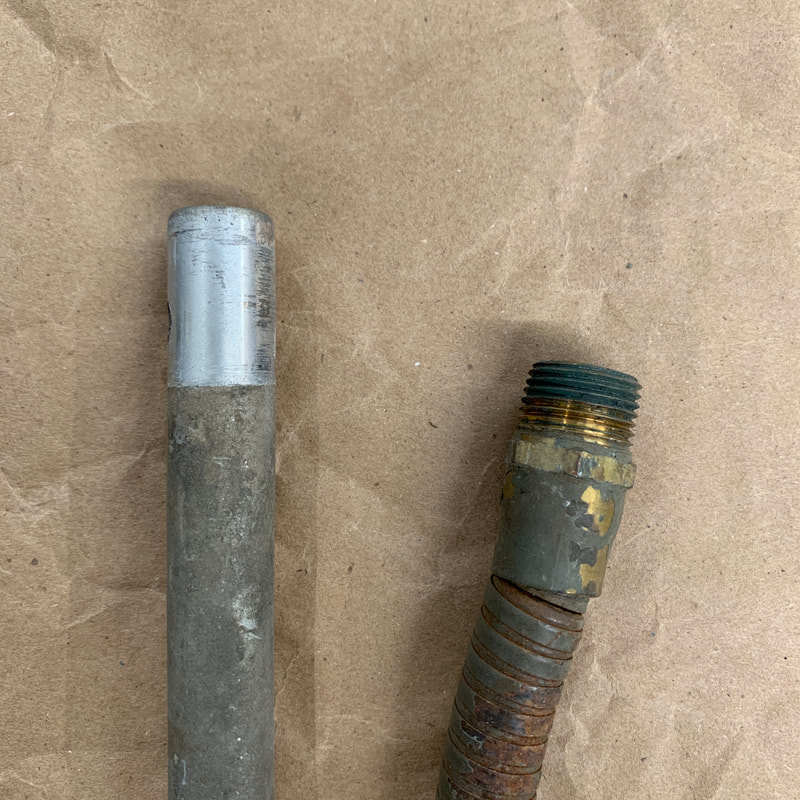
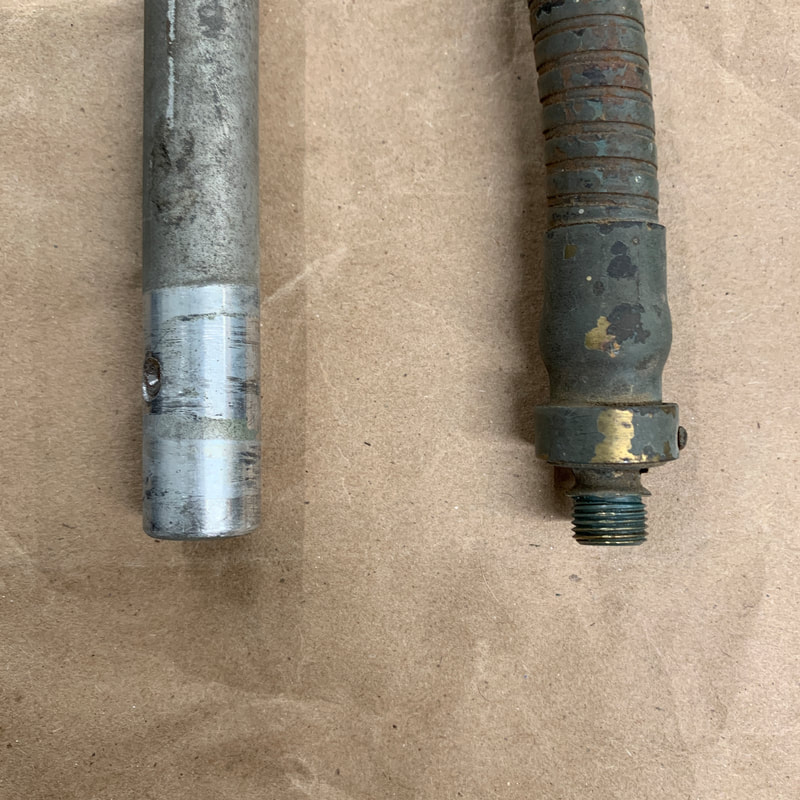
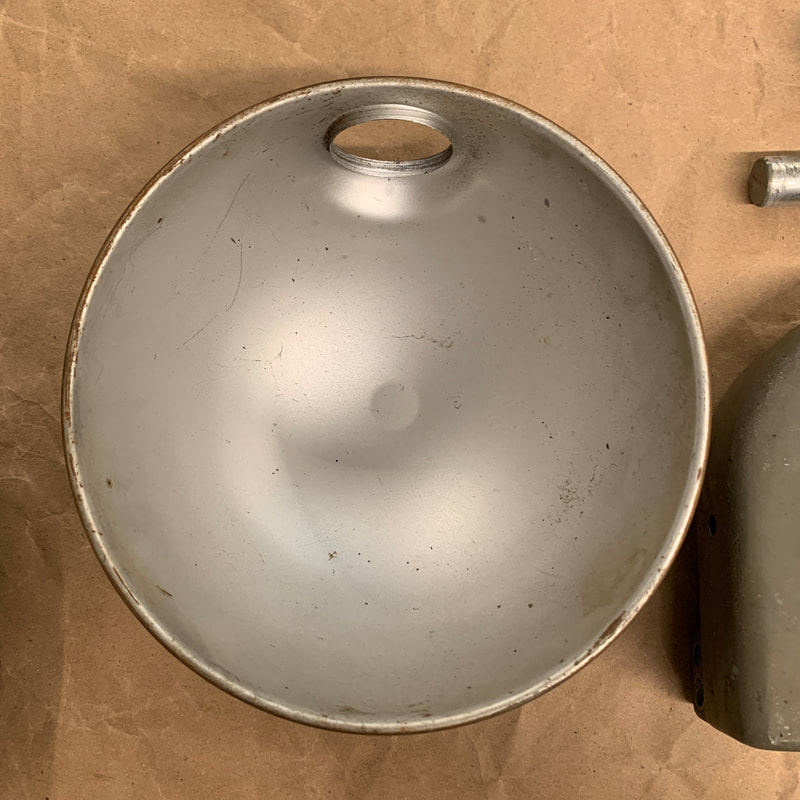
Motor pulley and conduit disassembly
Although the hub on the pulley casting is misshapen and eccentric, the pulley was dynamically balanced and runs true with no appreciable runout. |
