
|
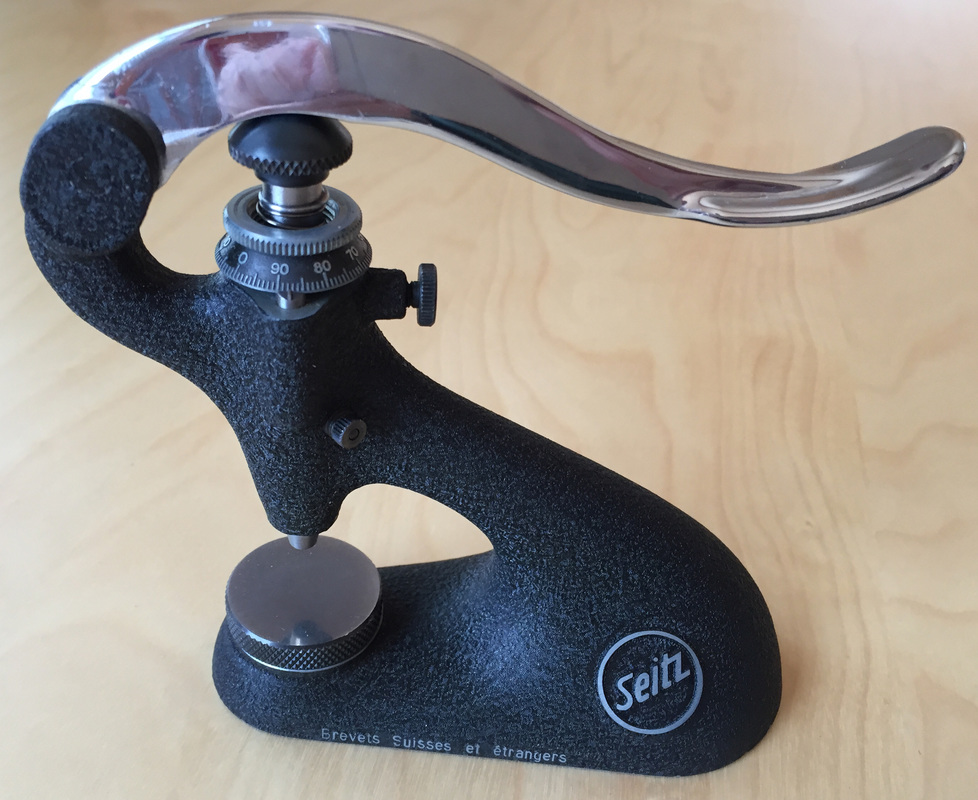
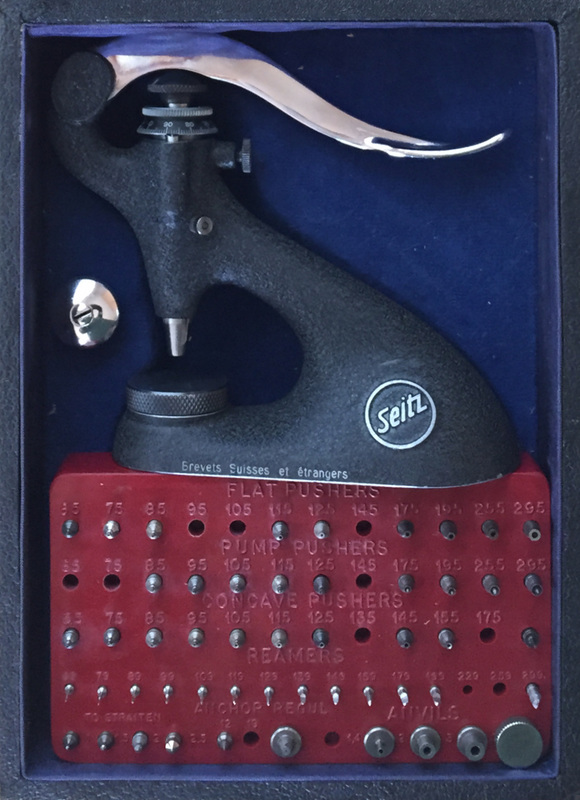
Seitz Jeweling Tool
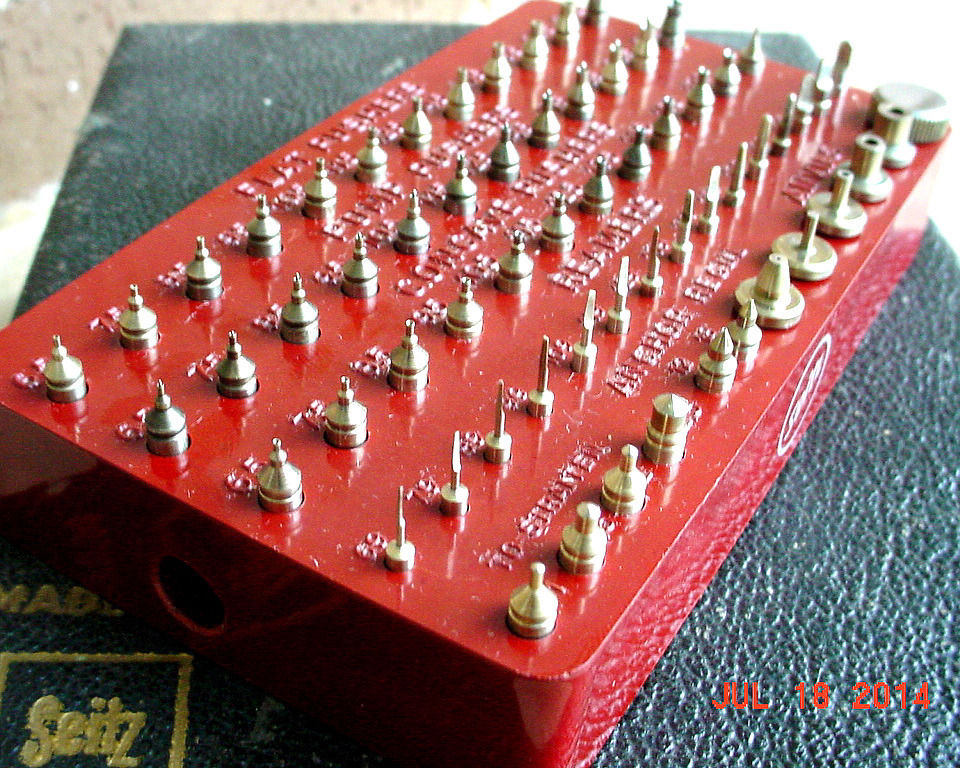
Later model with 4mm pushers, 4mm anvils, and straight-sided hole closing punches. Another rescue from the Alameda Point Antiques Faire sometime in 2014. |

|
|

|
|
|
This classic watchmaker's tool is used to install and remove ruby friction jewels. These man-made jewels function as precise, durable bearings for the rotating shafts in a watch movement.
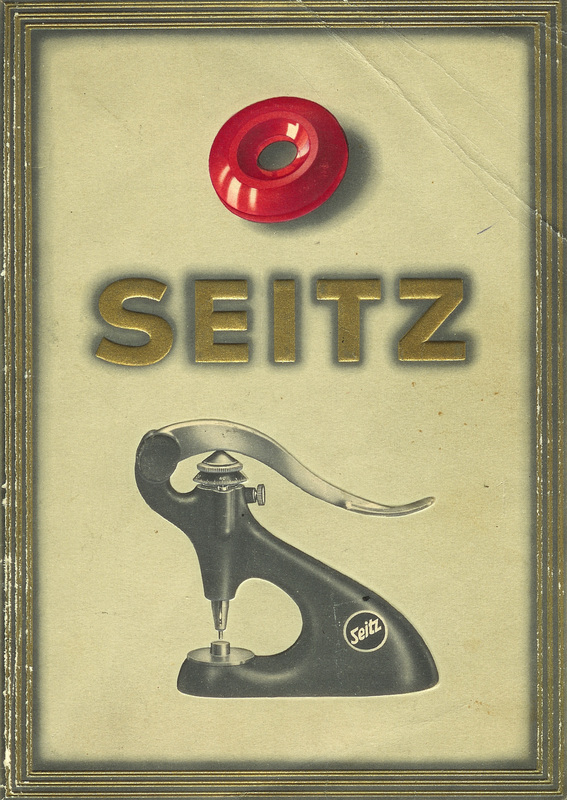
The term "friction jewel" is used to distinguish the modern jeweling practice from older methods. The newer method consists of simply pressing a precisely sized jewel into a precisely sized hole in the watch plate. The jewel is held in only with friction. In older watches, jewels are frequently set in a brass bezel and the bezel is held into the watch plate with screws. Much more complex and expensive (which is why it's still used in some high end watches today...because they can.). Image: Front cover of the Seitz catalog, 1951 |
|
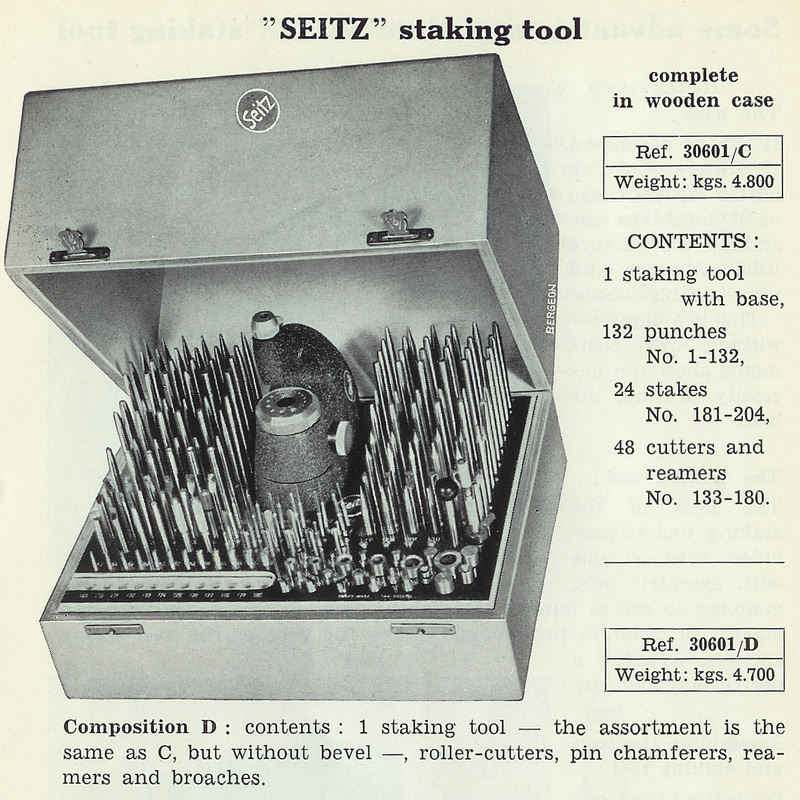
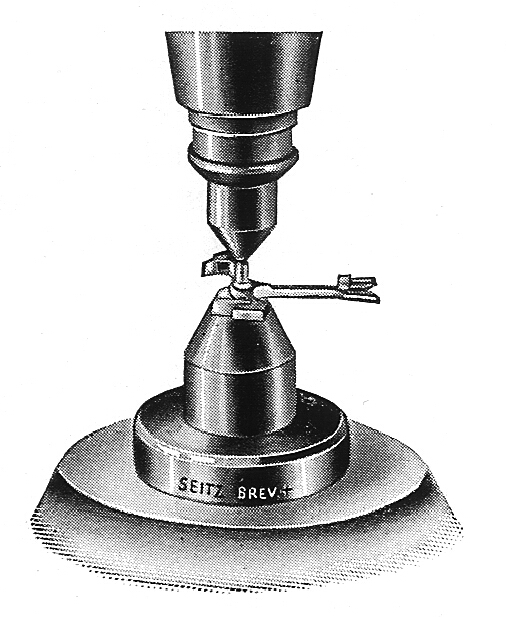
The jeweling tool is related to the staking tool in that punches (pushers) and dies (anvils) are used to manipulate the parts of a mechanical watch just as the stakes and stumps of the staking tool are.
Some of the more sophisticated staking tools (e.g. the Kendrick and Davis No. 16/17/18 with the No. 540 Lever Type Friction Jeweling Attachment) are capable of performing the same tasks as the dedicated jeweling tool. Call me a bit skeptical, though. Seems like in general multi-function hybrid tools do neither job as well as the dedicated tools do. Image: Seitz staking tool from the Seitz catalog, 1951, page 58 |
image from back cover
of the Seitz catalog, 1951 |
Seitz is the big name in jeweling. Before Pierre Seitz created standardized jewel sizes, shapes, and the tooling to go with them, friction jewels were a highly variable part of watchmaking.
By standardizing the jewels, Seitz made watch repair a far more efficient, predictable affair. As a result, for decades the Swiss firm has been the go-to supplier for the friction jewels themselves and the tools required to work with them. The Seitz brand is now part of Bergeon SA, the most well known Swiss supplier of high quality tools and materials to the international watchmaking industry. |

image from bergeon.ch |
|
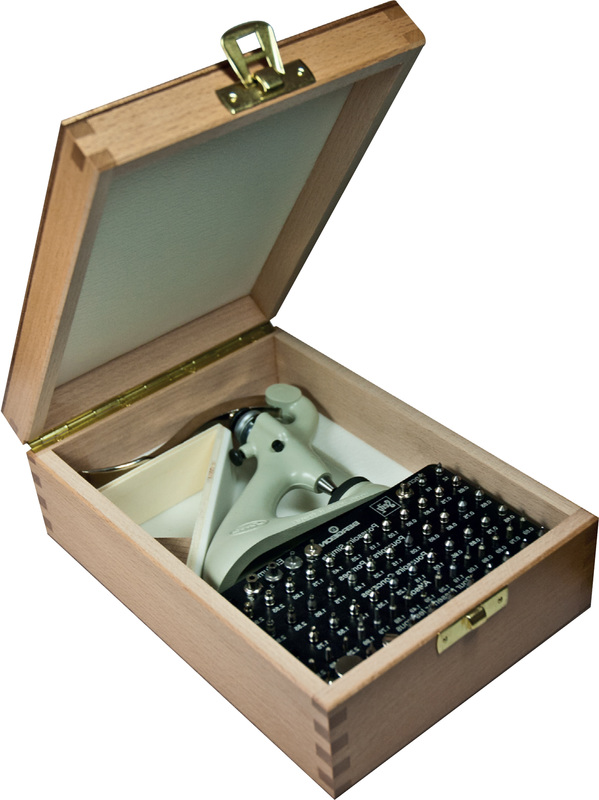
The Sietz jeweling tools, having been around for so long, have evolved in design and contents over time.
One primary difference is the shank diameter of the tools. As far as I can tell, the earliest sets had all 3mm shanks, transitional sets had 4mm pusher shanks and 3mm anvil shanks, and the most modern sets have all 4mm shanks. The set content has evolved as well. The modern Bergeon/Seitz sets (like the one shown at left) contain many more components than the earlier sets. Makes sense, since watch design as evolved too. Some confusing things have also happened with the hole closing punches (see below). Bergeon/Seitz jeweling tool image from the Bergeon jeweling tool catalog, available at bergeon.ch |
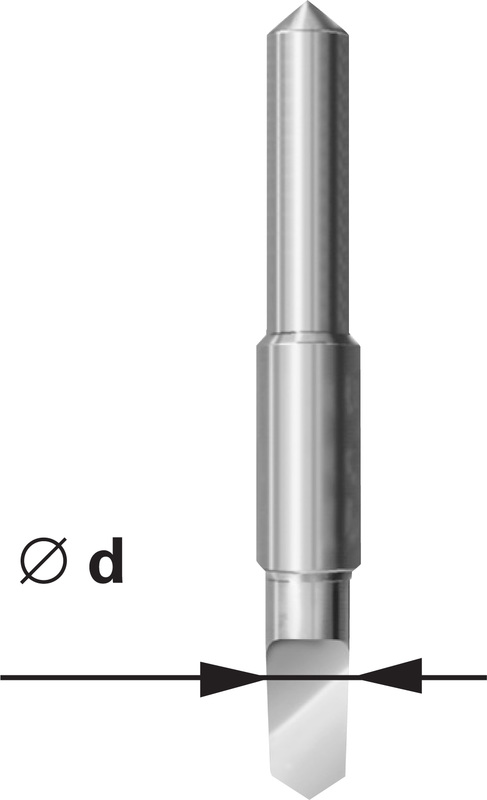
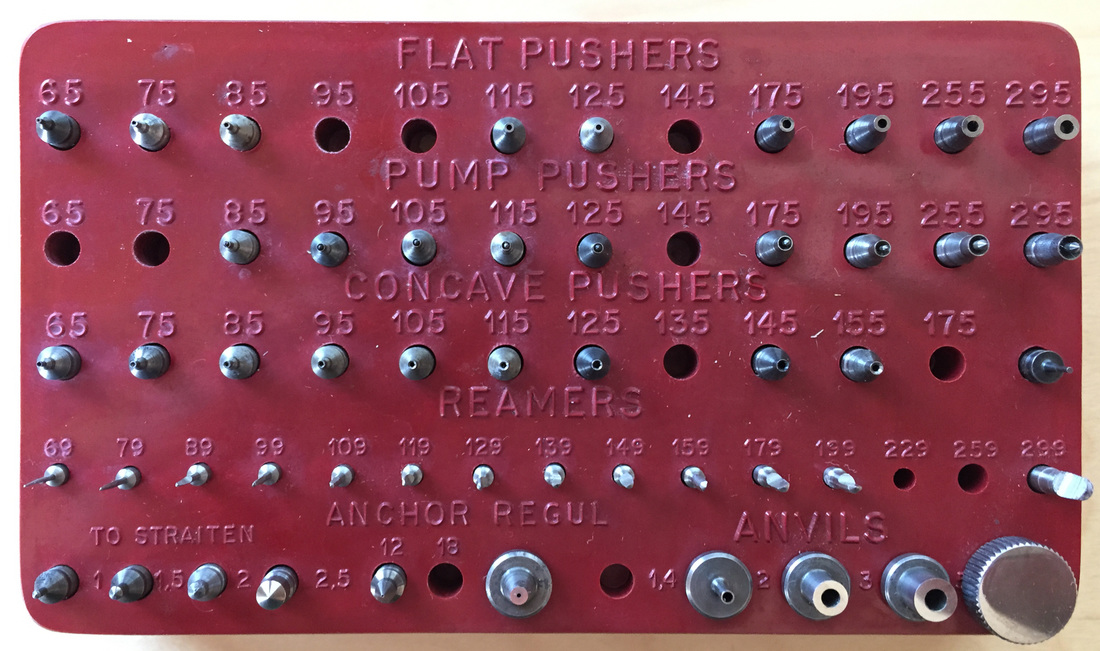
The three types of pushers in the jeweling tool set are designed for different tasks.
Flat pushers are design for work with...wait for it...flat jewels.
Concave pushers are for jewels with curved surfaces.
Pump pushers have spring-loaded center needles to help center to work under the pusher.
Flat pushers are design for work with...wait for it...flat jewels.
Concave pushers are for jewels with curved surfaces.
Pump pushers have spring-loaded center needles to help center to work under the pusher.

Pusher images from the Bergeon jeweling tool catalog, available at bergeon.ch
|
The jeweling tool set also contains a set of standardized reamers to insure a perfect fit of the jewel into the watch plate.
It would be impossible to force a jewel into an undersized hole without shattering it, and an oversized hole wouldn't have enough retaining force to keep the jewel in place. The good folks at Seitz were a little tricky with where the reamer holder is stored in the set. It's in the bakelite tool holder, but slides in underneath from the left side. Reamer image from the Bergeon jeweling tool catalog, available at bergeon.ch |
|
|
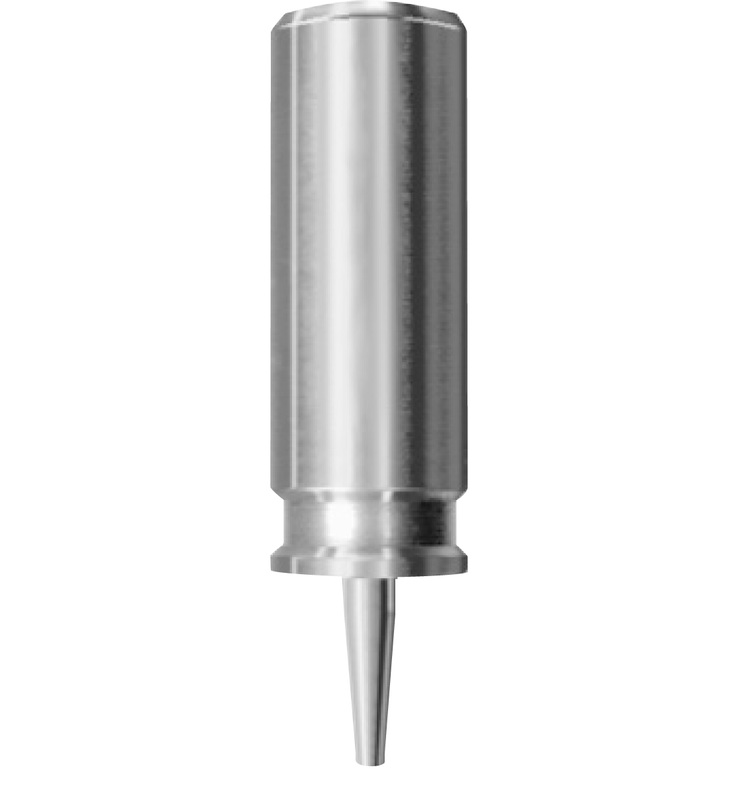
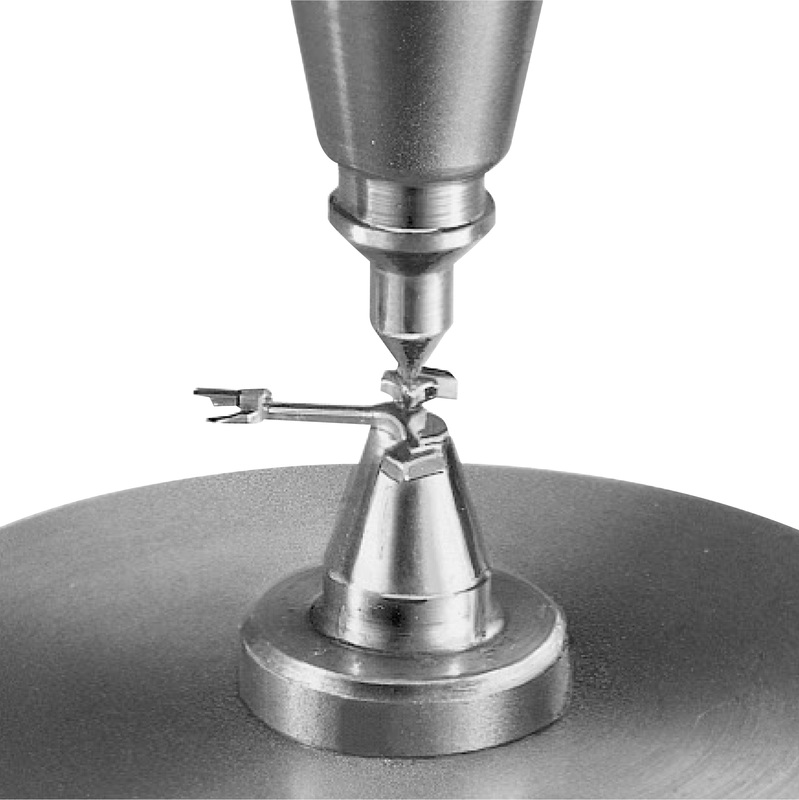
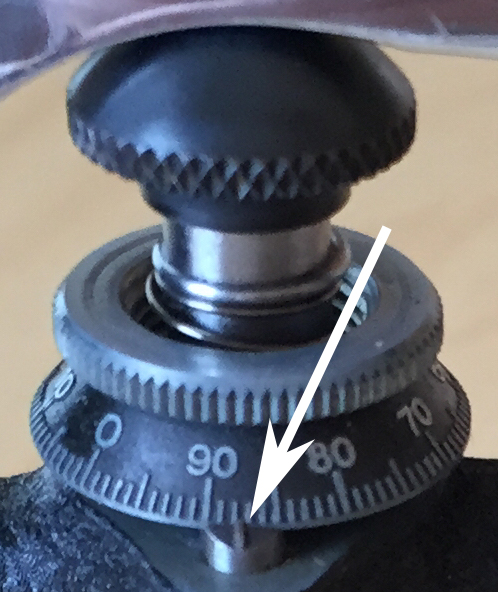
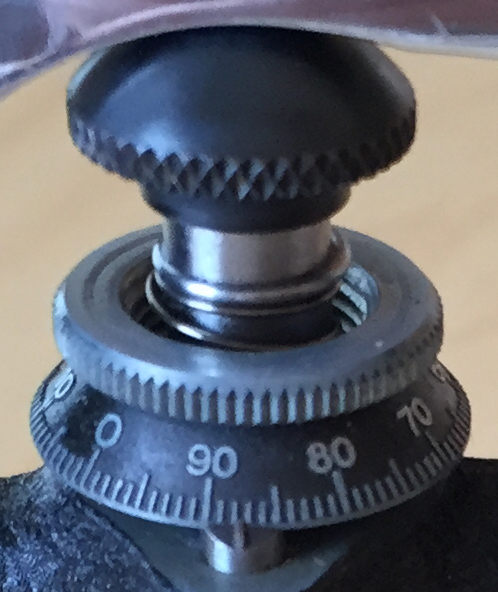
Another feature of the set is a micrometer needle pusher and corresponding anvil.
These are used in conjunction with the calibrated bezel on the top of the frame for precise measurements of the height of components in the watch movement. Micrometer needle and anvil images from the Bergeon jeweling tool catalog, available at bergeon.ch |
|
Two pushers and an anvil are provided to adjust the lever height on the pallet staff.
Not much has changed about these tools in the last 60+ years. Image Left: from the modern Bergeon jeweling tool catalog, available at bergeon.ch Image Right: from the Seitz catalog of 1951, page 32 |
|
|
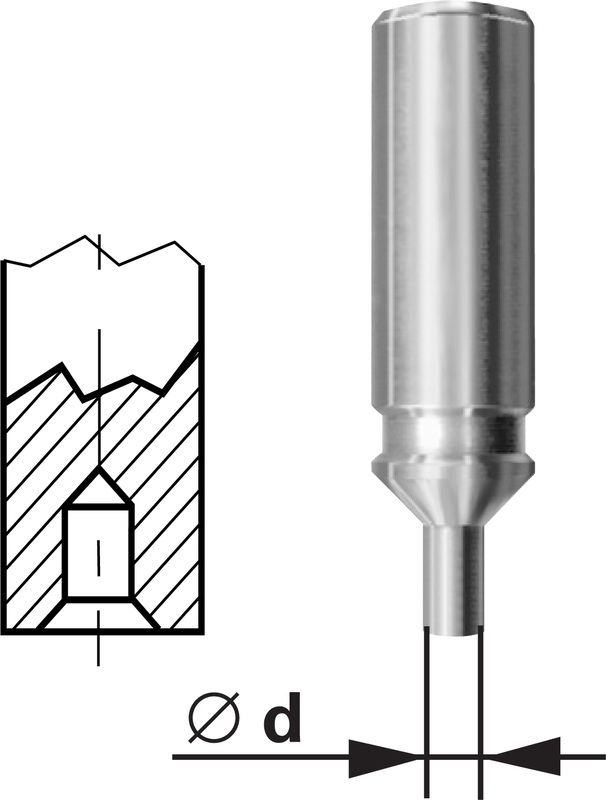
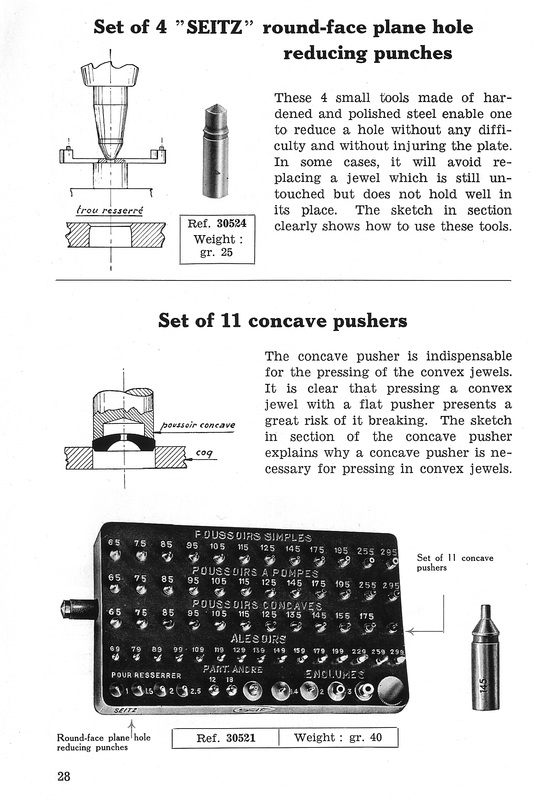
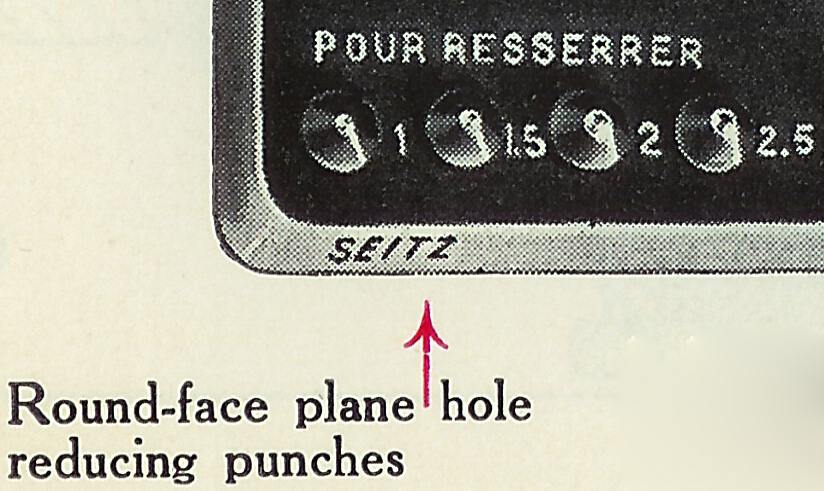
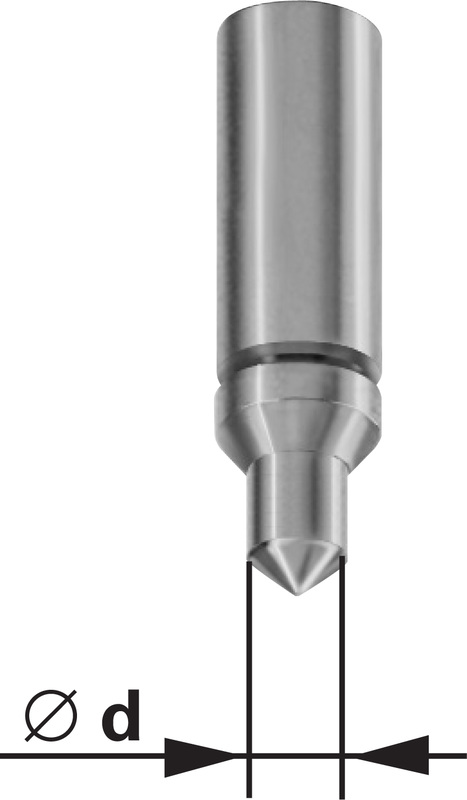
There is an interesting (at least to me) ambiguity in the Seitz catalog of 1951. At left is an image of page 22. Note the information at the top of the page describing the "round-face plane reducing punches" and the picture of one punch.
Then, have a look at the lower left corner of the page. This same image is used throughout the catalog, and it shows punches that look quite different (larger diameter, blued). But these are described identically to the punches above. At right are detailed images of the two types of punches on page 22. They don't look much alike as far as I can tell. My set came with four punches that look like the one shown at the top of the page and none that look like the ones in the lower left. But, almost universally, the Seitz jeweling tools I see on eBay have tools that look more like the ones in the lower left. |

|
|
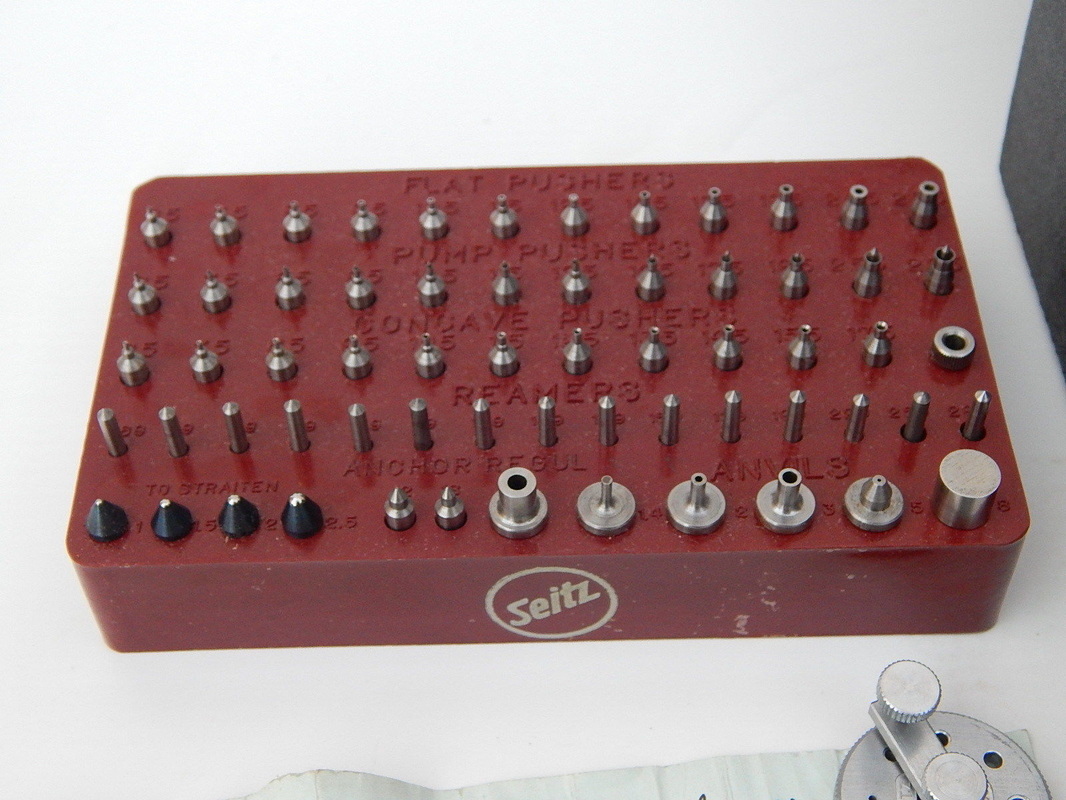
At left is a picture of a jeweling tool set from a recently closed eBay auction by seller popartstudios.
From this clear picture, the blued hole closing punches appear to be slightly larger diameter than the other tools, certainly larger than the shanks of the lever setting pushers next to them. The anvils in this set have 3mm shanks. The tool on the right end of the middle row is a bushing to allow these to be used in tool spindle (and possibly in a base with a 4mm hole?). |
|
Here's a shot from an eBay auction last year by seller burty0_0 (if you want the highest quality watch tools on eBay, follow burty0_0). Looks like a later set with all 4mm shanks (no bushing).
Looks like the answer here is that the 3mm shank sets came with hole closing punches having large, blued heads. The more recent 4mm shank sets come with hole closing punches with smaller diameter, bright finish heads. |
|
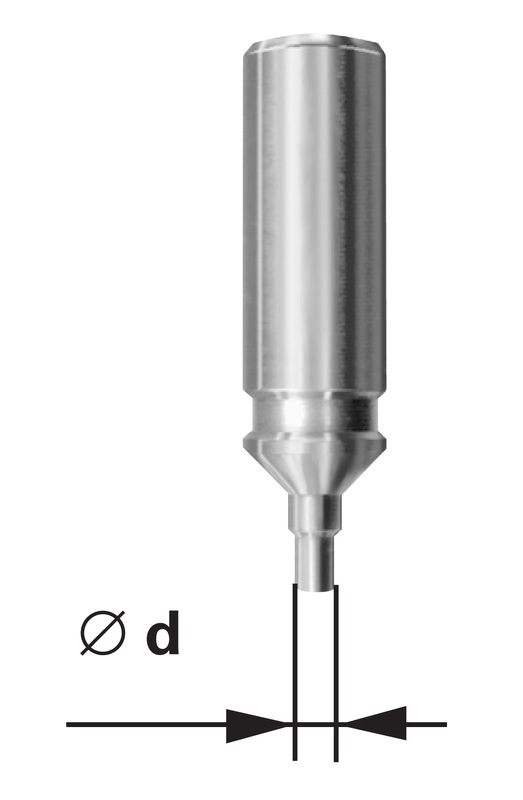
A further confirmation of this conclusion can be found in the image at left from the Bergeon jeweling tool catalog, available at bergeon.ch.
Looks the same as the punch on the top of page 22 of the 1951 catalog. They come in the sizes stamped on the bakelite holder of my set and the one on page 22: 1.00 - 1.50 - 2.00 - 2.50. But it doesn't look like the ones in the 1951 catalog or the popartstudios eBay auction above. Not sure why the two different types of punches are shown in the 1951 catalog. Maybe they just reused the old artwork for the bottom of page 22 but made new artwork for the individual punch. |

|
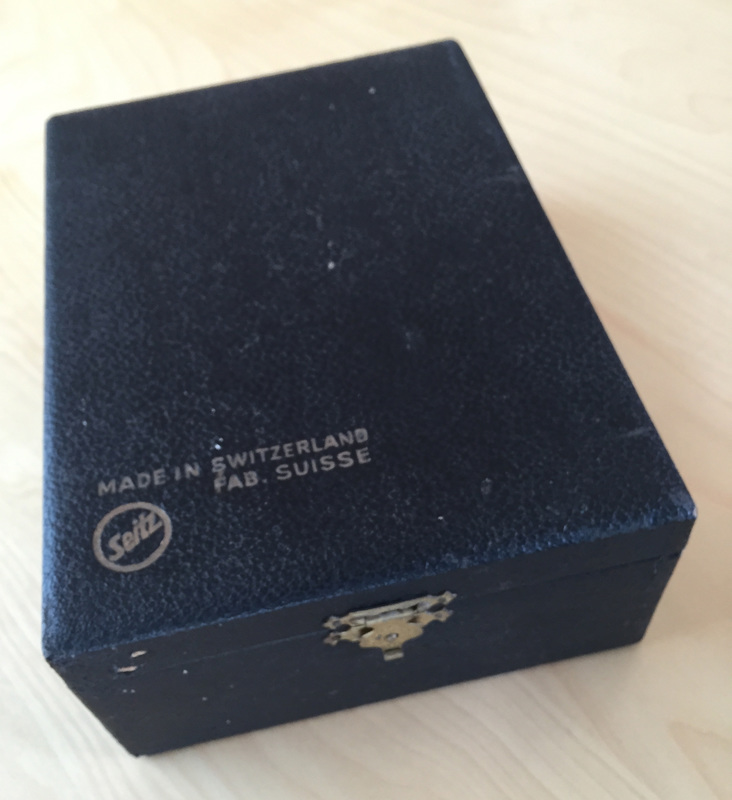
Enough with the features of a jeweling tool. Lets get on with the rehab.
This jeweling tool as found was a looking a little unloved, but nothing that couldn't be fixed with a little TLC. The box was in remarkably good shape. |
|
Most of the cleanup work was limited to removing a little surface rust from various steel parts and giving everything a thorough cleaning. I also lubricated all the parts as required.
As first, I thought I was going to have to replace the micrometer indicating markers, but it turned out that they were just stuck in the press housing. A little persuasion and lubrication freed them up and they work just fine. The little marker is spring loaded so that it follows the micrometer scale up and down as the depth is adjusted. There's another one on the other side. Finally, we southpaws get a little respect... |
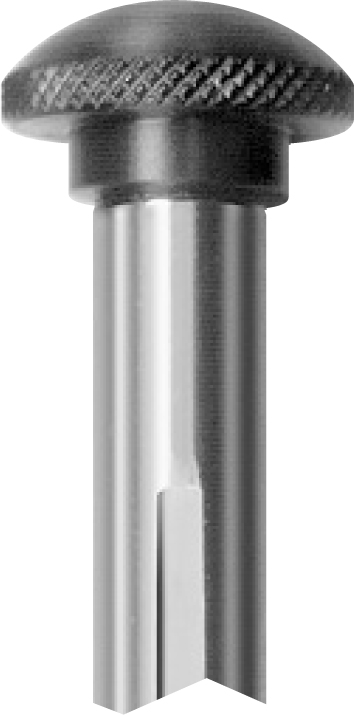
image from bergeon.ch |
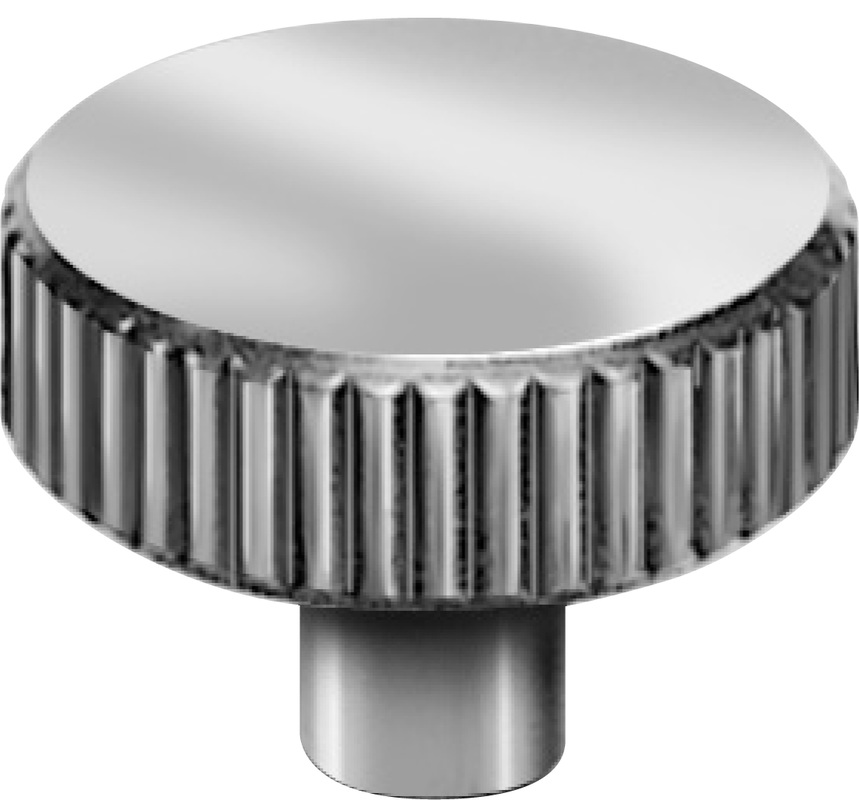
The major clean up task was actually the knurled cap from the spindle. It was badly rusted and required a trip through the electrolytic derusting bath.
Then, to remove the pits, it received some serious attention with 220 grit and 400 grit 3M Wet or Dry sanding sticks and 400 grit 3M Radial Bristle Discs. It was clean and smooth when I was done...but the original surface was blued. |

image from amazon.com
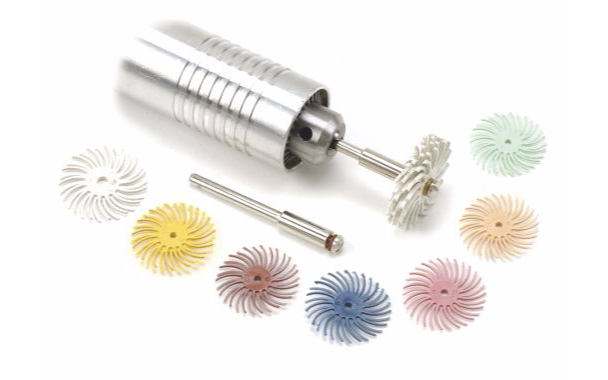
image from ottofrei.com
|
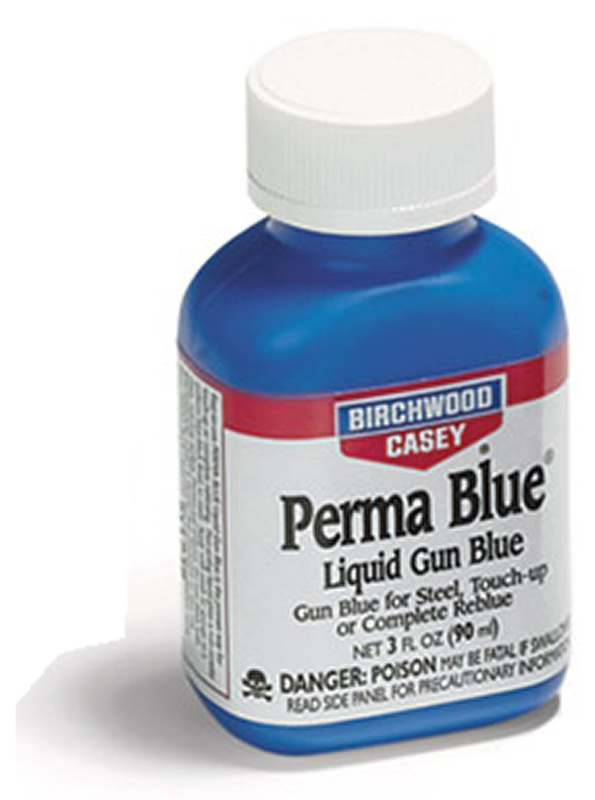
image from amazon.com
|
I restored the patina with a cold bluing solution designed for use on firearms. I've used Birchwood Casey Perma Blue Liquid Gun Blue in the past and it's pretty easy to get a good patina on small parts. (It's not so easy to use on large surfaces if you want an even color.)
I thoroughly degreased the surface with acetone and then applied the bluing solution with a cotton swab. Acetone and the bluing solution are dangerous chemicals. If you don't know how to work with dangerous chemicals safely, don't work with them at all. |
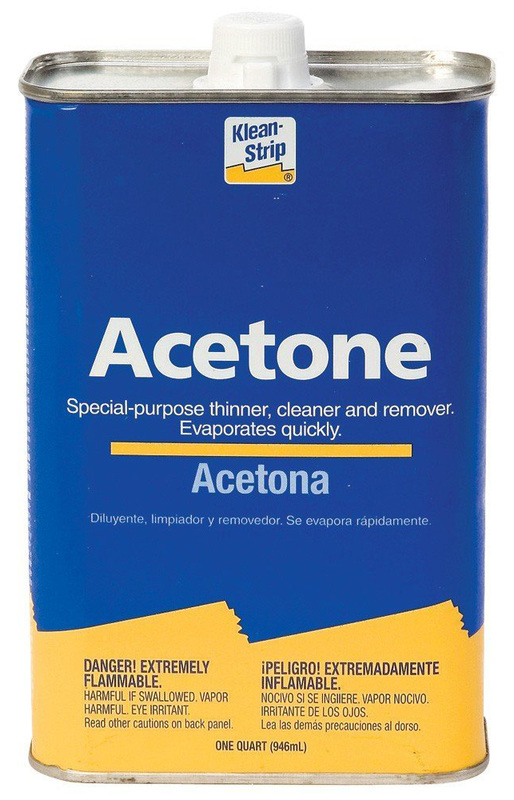
image from amazon.com
|
|
To get a good color with the bluing solution you need to keep the swab moving constantly, renewing the solution on the swab, until you get the color you like.
Don't let the solution pool up on the surface or let the surface dry out until you are done. Came out looking okay, I think. |
|
There were a couple of issues with the tool that couldn't be resolved by simple cleaning and lubrication.
The first was that there were a number of pieces missing from the set. Once I had all the pieces cleaned up, identified, and put in place, I could see what was missing. My set was short: Flat pushers: 75, 95, 105, 145 Pump pushers: 65, 75,145 Concave pushers: 135, 175 Reamers: 229, 259 Anvils: Solid Flat 1.4mm Other: 0.18mm Lever Adjustment pusher The items in bold above are the ones I'm still missing as of the last update to this page. I found a few of the ones I needed at Dashto.com and from Uncle Larry's Watch Shop. |
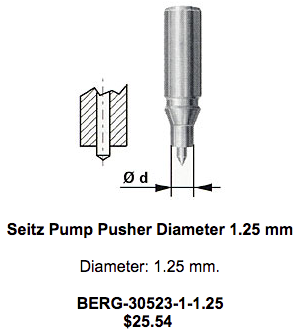
image from ofrei.com |
The missing pieces aren't a crisis. Most of the components of these tools are still in production at Bergeon and available from watchmaker's tool distributors like Otto Frei.
Also, there are a number of used tool dealers like Uncle Larry's Watch Shop and Dashto.com that sell jeweling tools and parts amongst a wide variety of other watch parts and tools. It's unfortunate that I'm missing 3 pump pushers...they go for $25+ each, new. Ouch. |
|
Although some parts were missing from my jeweling tool, I had other parts that were not included in the original set.
There were four brass pushers, one with a hard, white material on the working end. |

Seitz 30158 from Seitz catalog, 1951, page 32 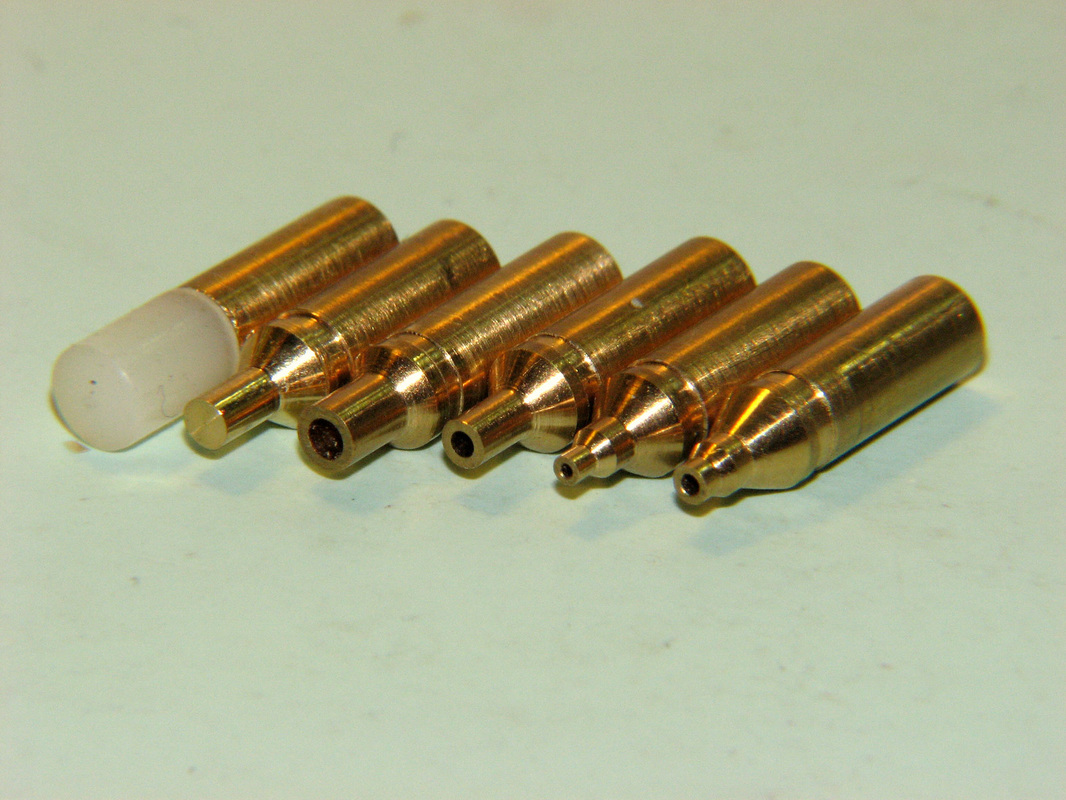
image from geocities.ws/dushan2000 |
After I found a copy of the 1951 Seitz catalog on eBay, I determined that these were part of a Seitz 30158 set of pushers for installing watch hands. The hard white material on the one pusher is bone.
The picture of the 30158 set helped me determine that that one of the extra unknown steel pushers/anvils that came with my jeweling tool is also part of the watch hand set. There are apparently different sets of watch hand installation pushers. The image at left, from Dushan Grujich's excellent horology site, shows a set of 6 pushers without the specialized anvils.
I can't find any sign that these tools are still in production, so I'll have to find the missing parts on eBay or make them myself. I'm lucky to have Dushan's excellent picture to work from. Dushan's site is filled with great pictures, including many of a similar Seitz jeweling tool. (Dushan's set has the blued hole closing punches, so no further evidence for different kinds there.) |
|
The other issue with my jeweling tool as found wasn't one of neglect or loss. It was a design flaw in the original product.
There are more than sixty pushers, reamers, and anvils in the set...all of which will gladly fall out of the red bakelite holder (even with the lid closed) if you happen to accidentally tip the box up on its side or, heaven forbid, turn it upside down. Maybe the missing pieces from this set are a result of this issue. After straightening out the resulting mess a couple of times, I decided to make a cover for the bakelite holder that would keep all the parts in place. |

|
I turned once again to the 45W Epilog Helix laser cutter/engraver at TechShop San Jose.
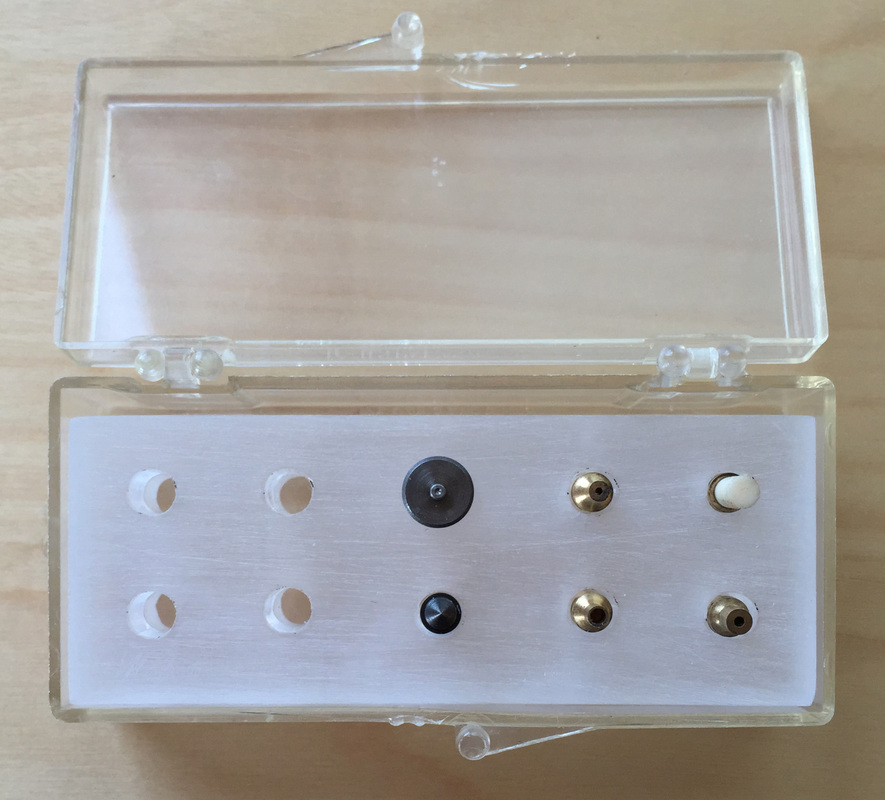
I spent a bit of time with a mm scale and calipers to get the required measurements and then drew up the layout of the tools in their holder in Adobe Illustrator. While I was at it, I made a little holding block for the 30158 hand installation set. |
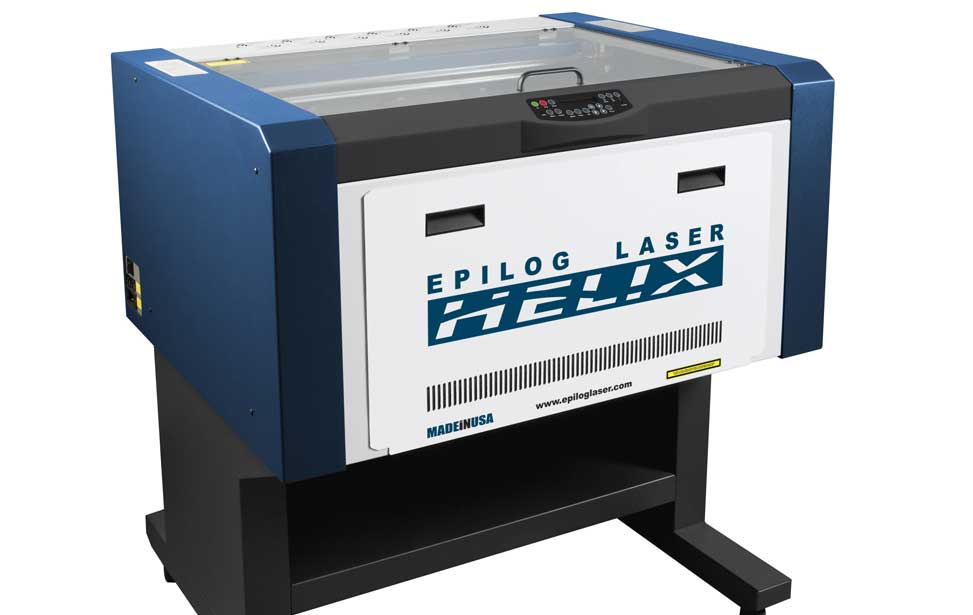
image from epiloglaser.com
|
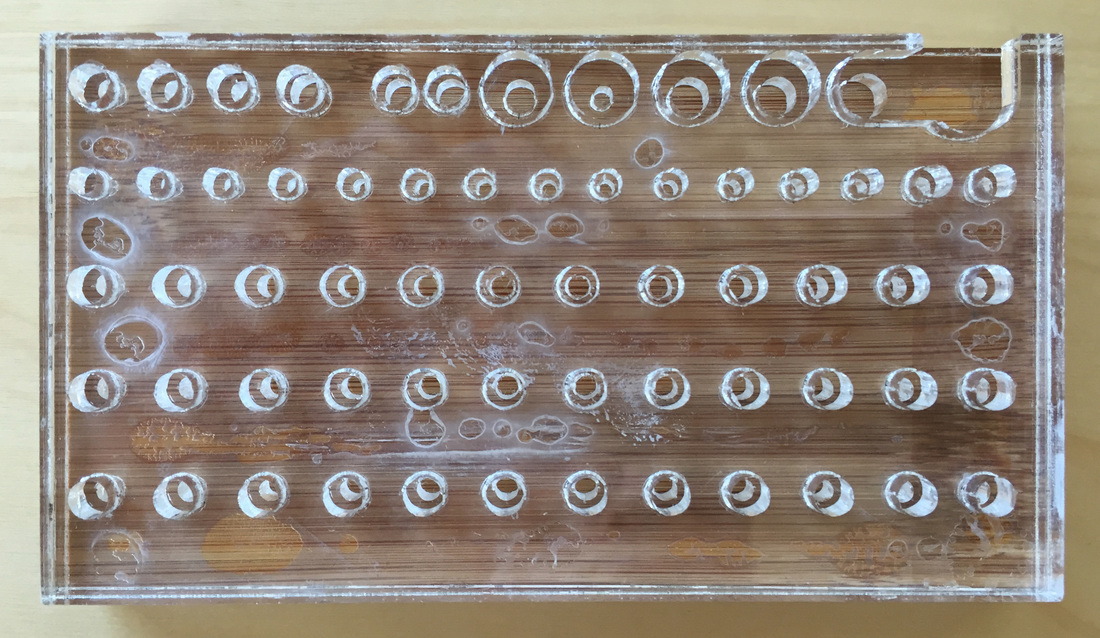
The various pushers, reamers, and anvils are different lengths and thus protrude above the surface of the holder to different heights. They are also different diameters at the working (top) end.
It took a bit of figuring but eventually I had a layout that would keep everything in place even if the box was turned upside down and shaken. Take that, you apparently-not-quite-as-infallibly-precise-as-you-think-you-are Swiss tool designers...or maybe those Swiss tool designers are so precise that nothing ever gets tipped over in their shops?
It took a bit of figuring but eventually I had a layout that would keep everything in place even if the box was turned upside down and shaken. Take that, you apparently-not-quite-as-infallibly-precise-as-you-think-you-are Swiss tool designers...or maybe those Swiss tool designers are so precise that nothing ever gets tipped over in their shops?

Top Layer |
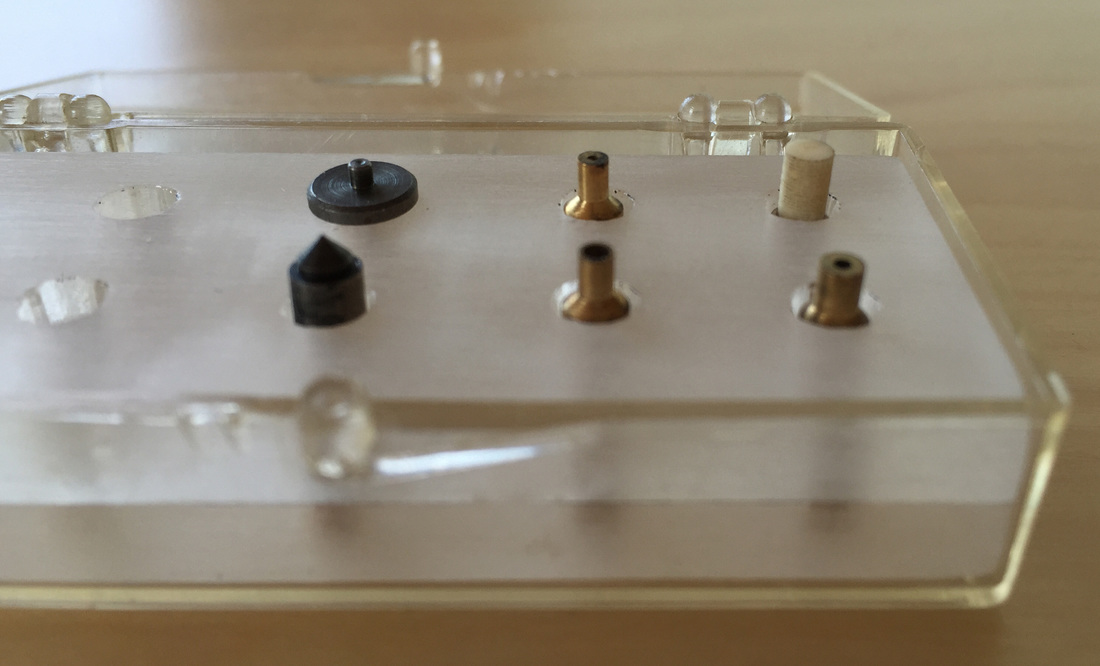
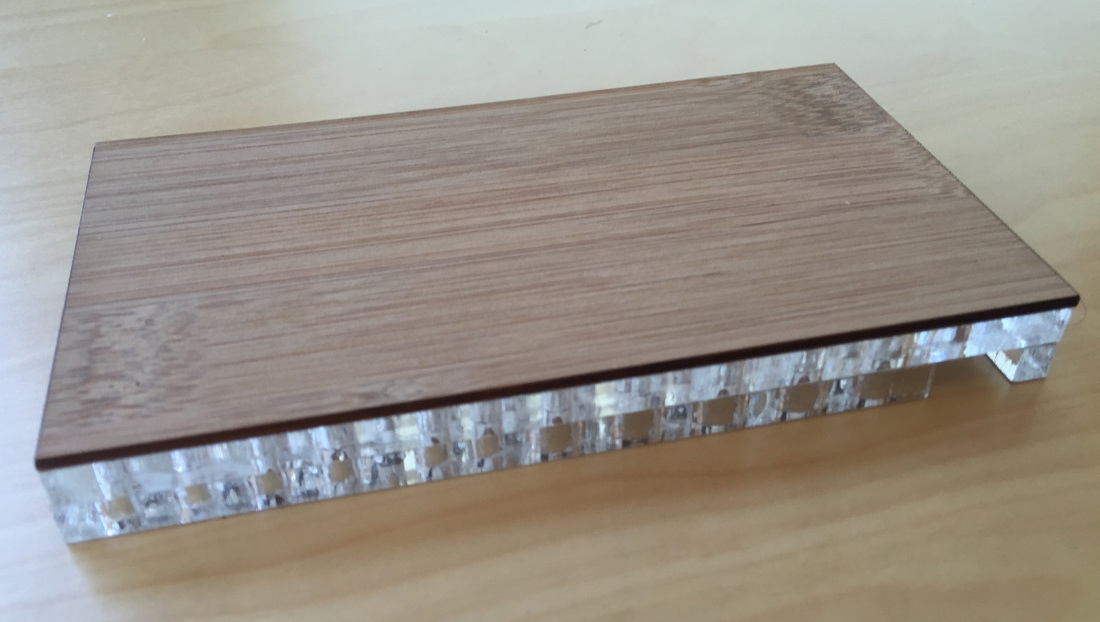
The cover for the main tool block and the new block for the 30158 set were made from two layers of 1/4" (~6mm) clear acrylic.
Using the two layers allowed me to make two different hole diameters over each tool so that I could more closely match the shapes of the tools. The anvil for the micrometer measuring tool (lower right of the layout) was short enough that it didn't required a hole in the top layer. It was also so close to the adjacent tool that its hole in the bottom layer joined with the adjacent one. |

Bottom Layer |
|
I don't much care for the look of clear acrylic but it cuts easily and precisely on the laser.
The underside of the holder is ugly enough that I'm going to sand it opaque like I did the holder for the 30158 set (see below). |
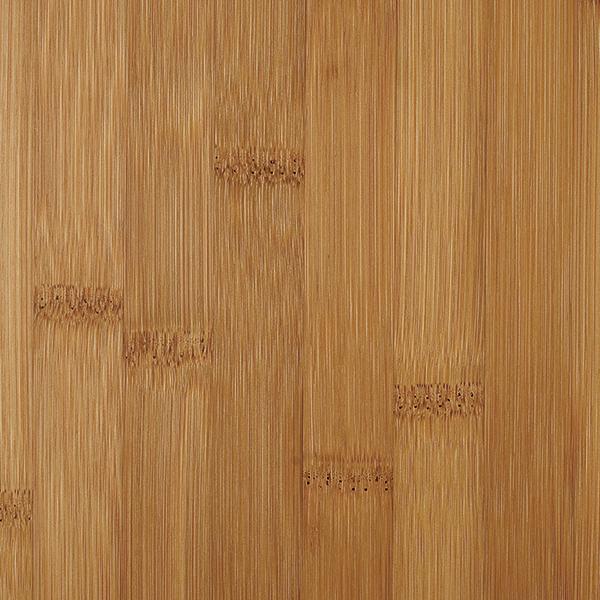
image from plyboo.com
|
To dress it up a bit and form the "lid" of the cover, I laminated on a piece of Plyboo 2mm amber bamboo veneer left over from a lamp shade making project that I will get around to documenting some day. I love this material, but it splits easily in the grain direction so you have to be careful while handling it.
At some point, I'll laser engrave something cool on the bamboo. Any ideas? |
|
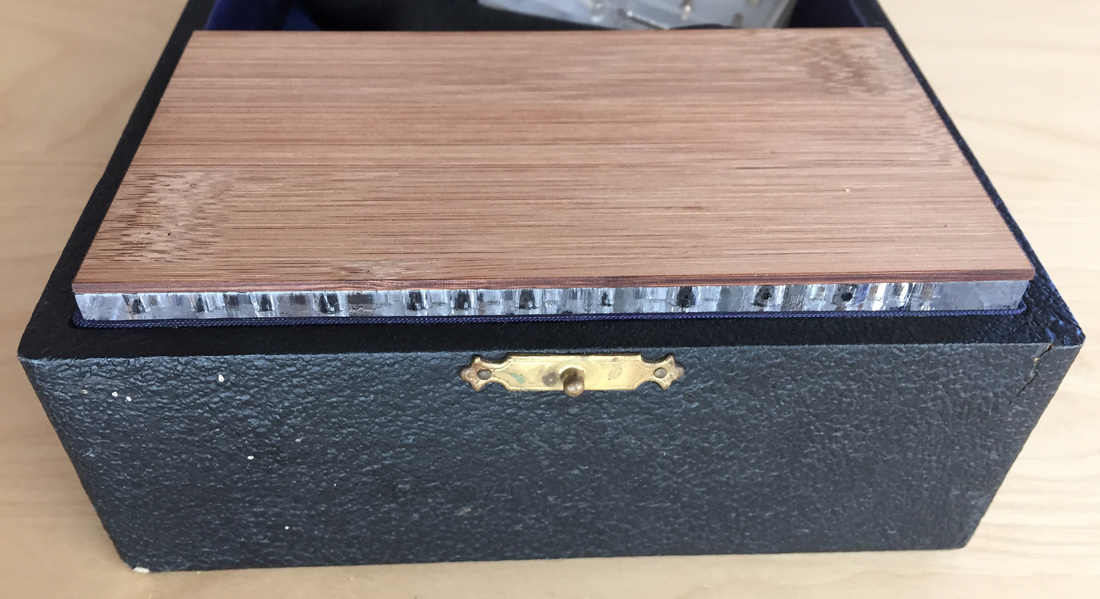
The almost finished cover.
Still needs the edges sanded to make them opaque and something cool laser engraved on the top. It will do its job as it is until I get around to spiffing it up. |
|
I found a little clear plastic box in my hoard...errr...I mean inventory...that is the perfect size to hold a block for the 30158 set. I tried sanding the clear acrylic to see if I liked the frosted surface any better than the shiny one. It's a huge improvement, but all the sanding was a pain. Acrylic is tough. When I finish off the underside of the cover, I'm going to use a belt sander! |
|
The two layers of 1/4" (~6mm) acrylic and one of 2mm bamboo were a good thickness to fit above the holder.
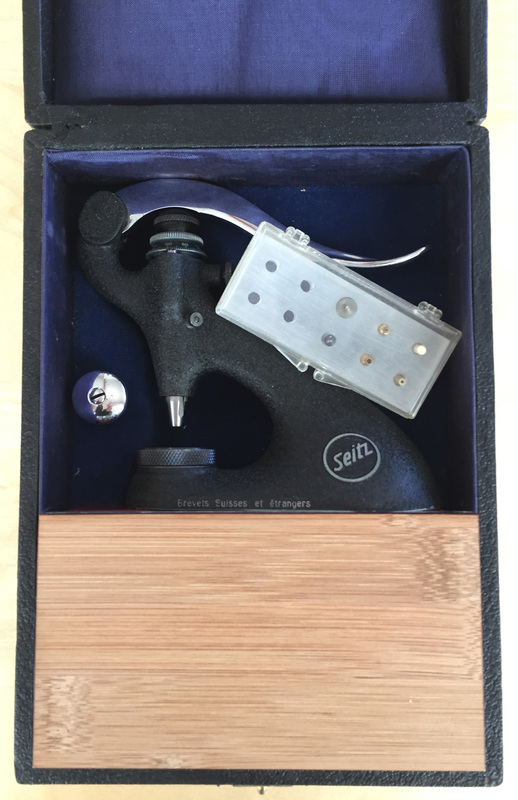
The whole thing is tall enough to stay in place with the lid closed, but it doesn't require any extra force to close the lid down far enough to latch it. This picture shows how much extra space there was in the box. Even with the cover sticking up out of the box bottom by about 8mm, the box lid still closes easily. |
|
The little box for the 30158 set fits loosely in the empty space near the press handle, as does the threaded cap for the spindle when it's used as a micrometer.
|
Rehab done!
All that remains is to look for more of the missing parts so I can restore the tool to original condition.
All that remains is to look for more of the missing parts so I can restore the tool to original condition.
