With the stamps themselves well along, I started working on the rest of the booklet.
|
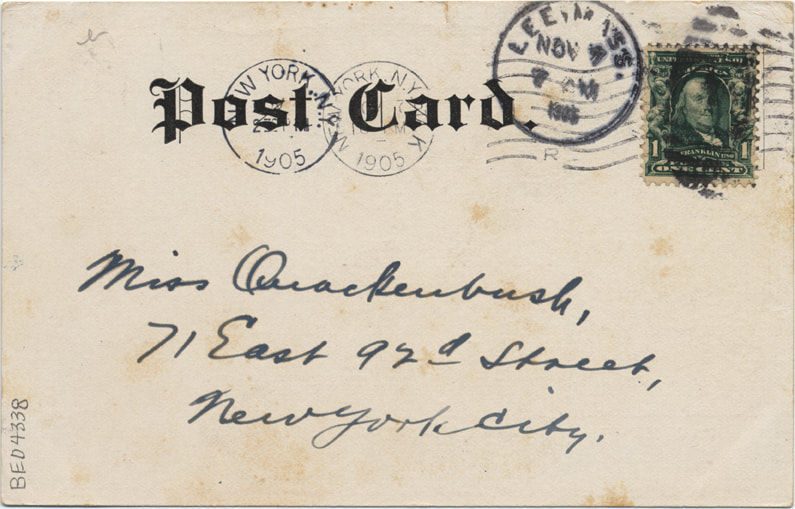
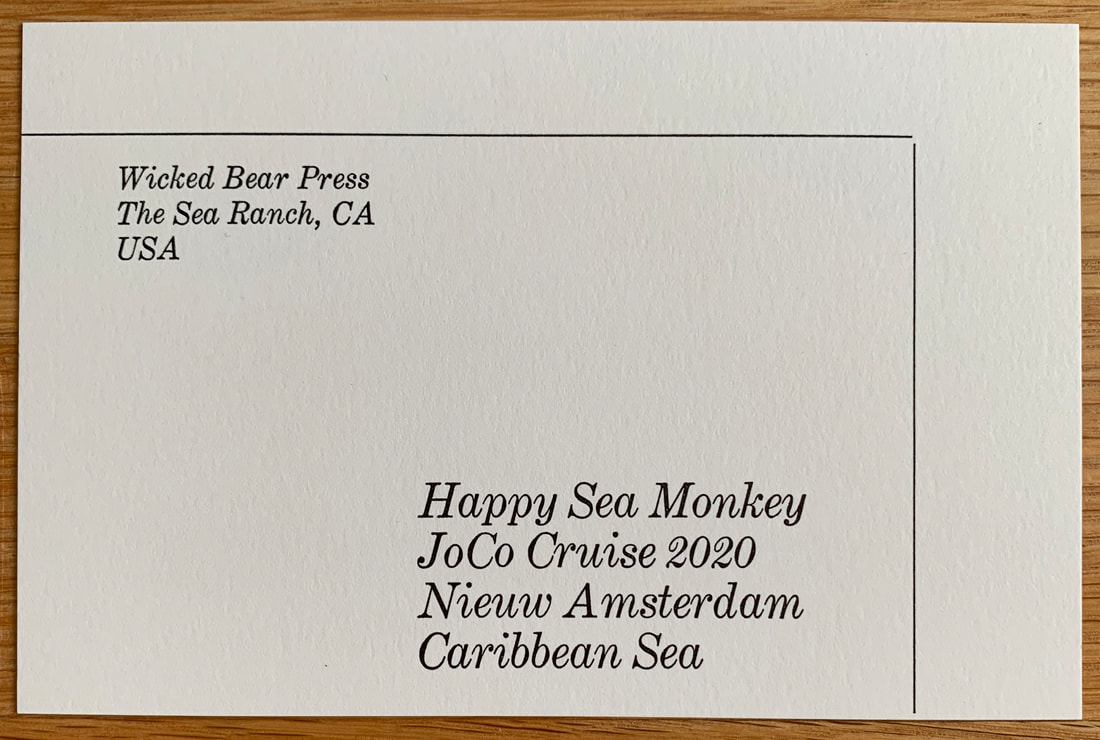
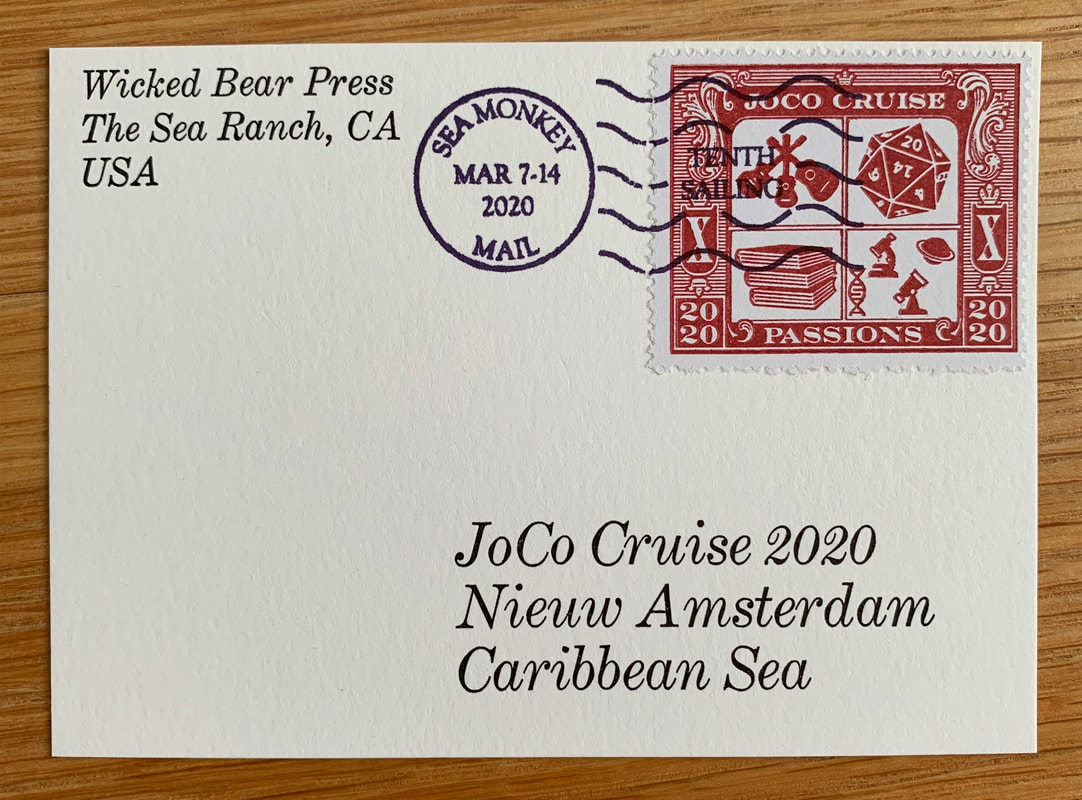
For the front cover, I decided to simulate the address side of a postcard. That way, I could stick one of the stamps on it to hint at what was inside.
|
|
|
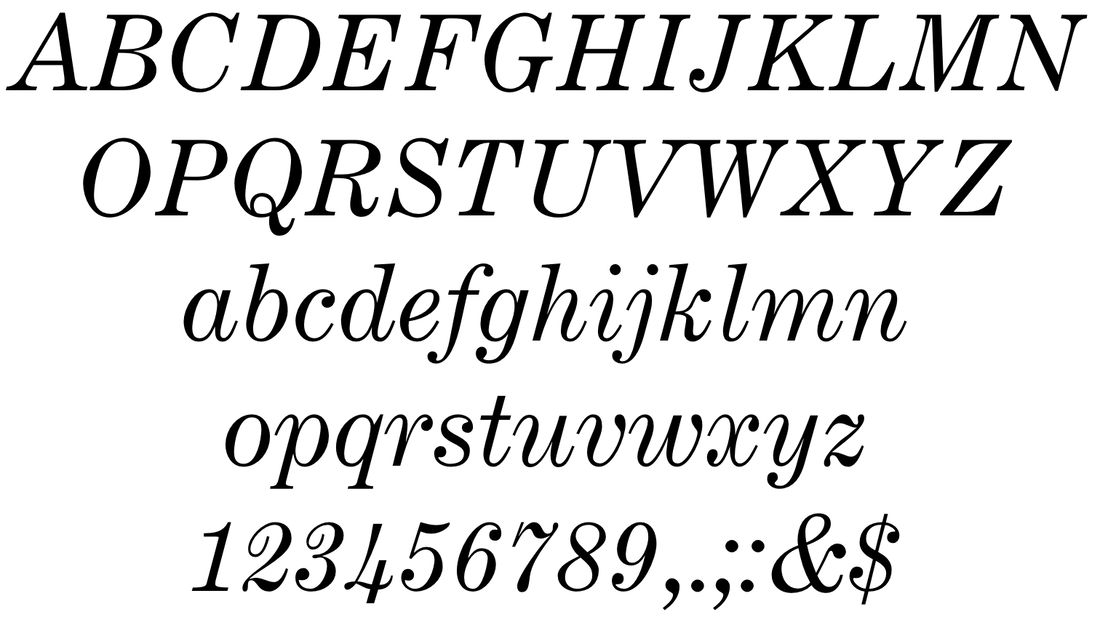
I tried a number of typefaces for the addresses using digital proofs and settled on Century Expanded Italic. I chose it for two reasons.
First, when I squinted, it reminded me a little of cursive handwriting without being gimmicky. And second, we had metal type in both 12pt and 18pt so I could hand-set both the return address and the main address in the same face. |
|
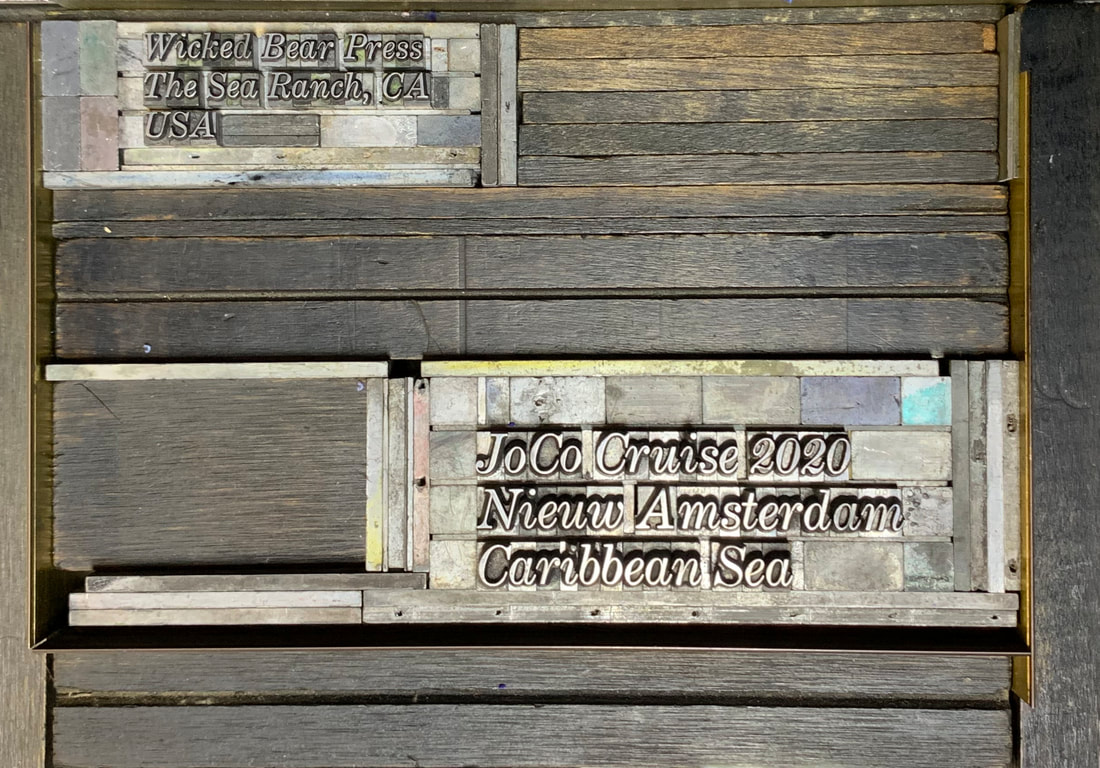
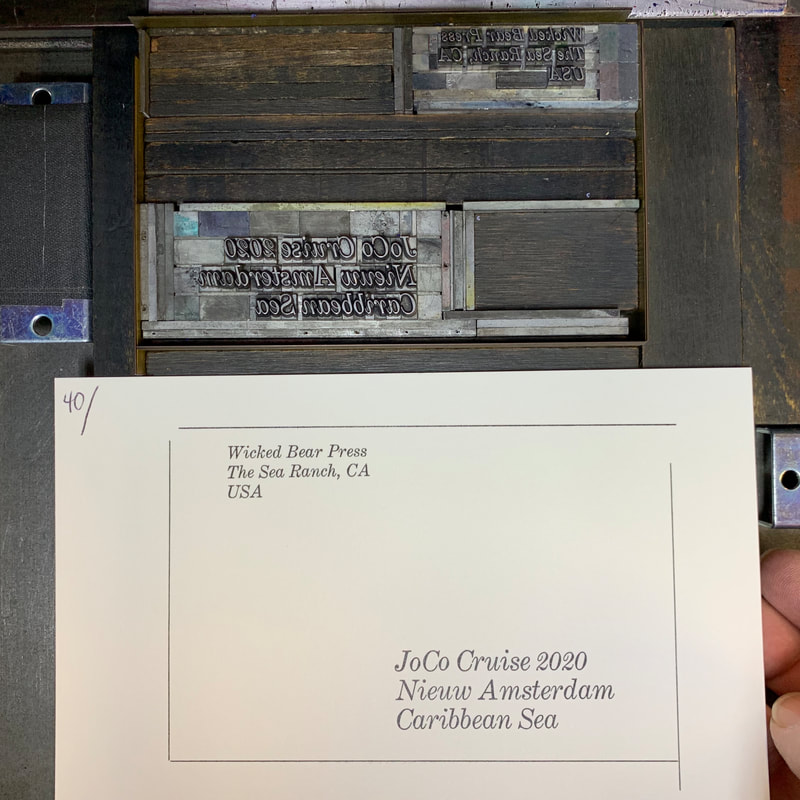
Hand-setting the form for the front cover was pretty straight-forward. (Right reading picture for clarity.)
Later, when it came time to swap in the names of the people I'd be giving these to in the Maker's Exchange, I wished that I'd had a little more foresight in how I set the form. |
|
|
This picture shows the form and printed cover after I took out the generic name so I could print the first (black) run of the personalized covers for the Maker's Exchange.
Of course I had to print the names in a different color to make it the biggest challenge possible. |
|
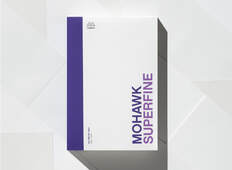
I wanted a fairly stout set of covers to protect the pane of stamps. Once I decided that, the choice of paper was easy: Mohawk Superfine 100# cover, ultra white, eggshell finish.
This is a nice commercial paper and for the price, you can't beat it. It's not a fancy cotton letterpress paper by any means, but the texture is good and it prints well. |
|
|
Printing the generic front covers was uneventful.
I tried to use narrow brass rule for trim marks but it was kind of messy. Another thing to do better next time! This picture was taken after two sides were trimmed to create a (hopefully) square reference corner in the lower left. I'll use this later when assembling the booklets. |
|
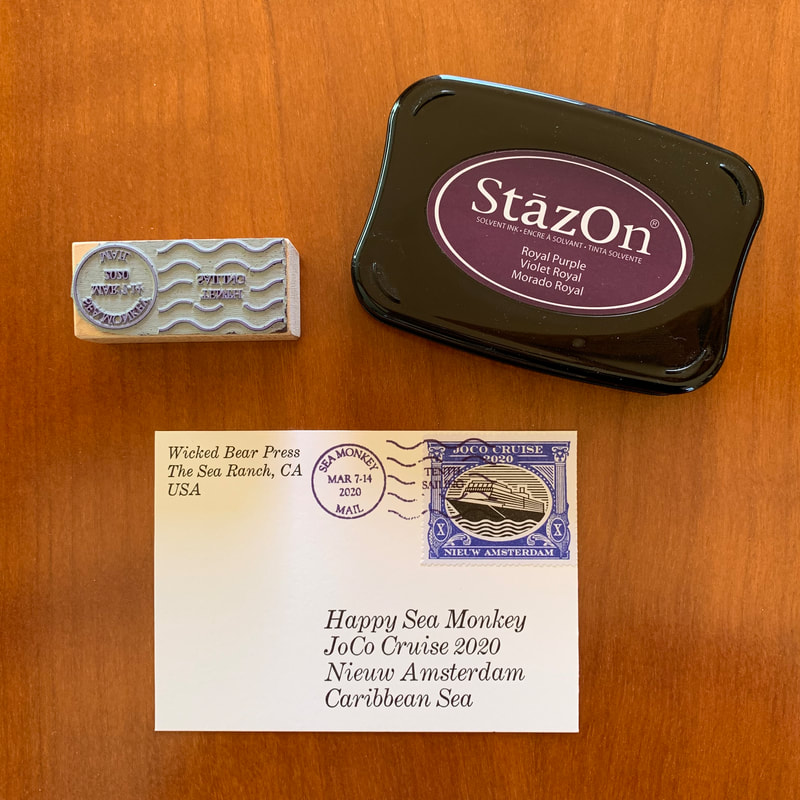
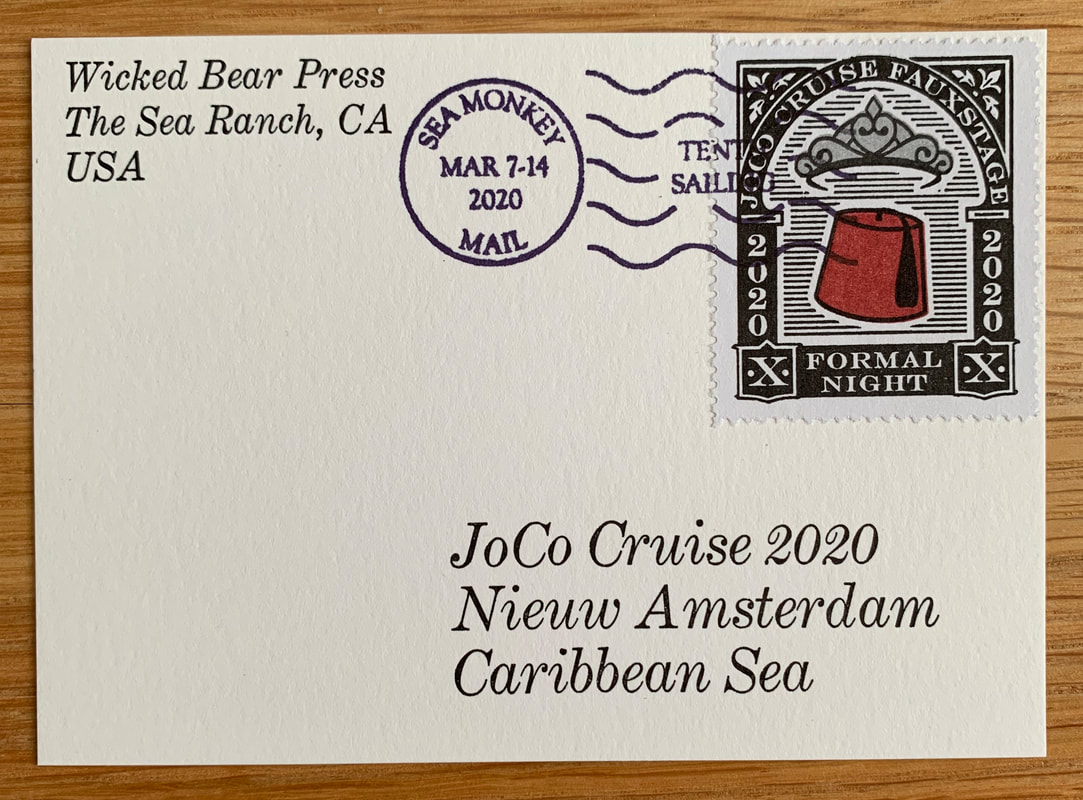
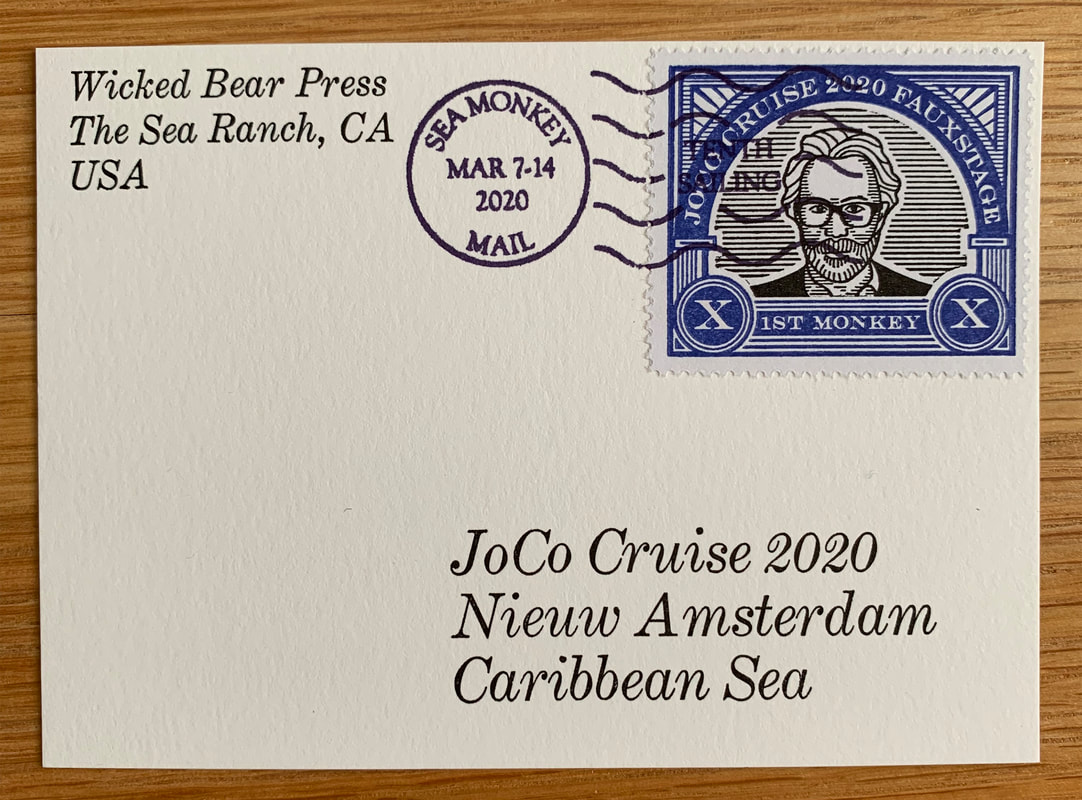
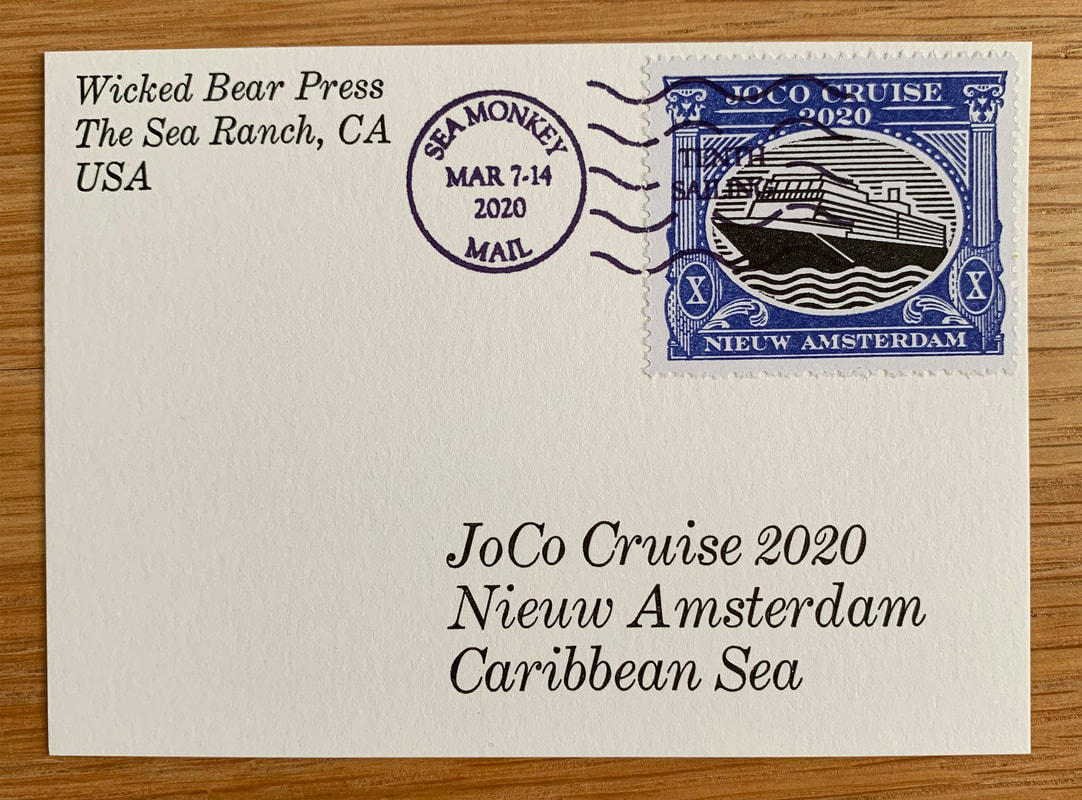
After I decided to put a stamp on the cover, it was obvious that it would need to be properly postmarked and canceled. The good news is that the laser is capable of making very nice rubber stamps, much like those used to cancel real postage stamps.
The rubber for laser engraved rubber stamps is formulated especially for the purpose. If you have no sense of smell, I'd strongly recommend making rubber stamps from "no-odor" stamp rubber. |
Image from Johnson Plastics
|
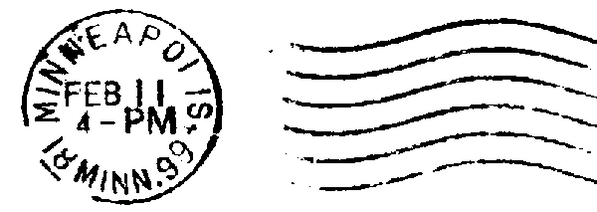
Image courtesy of Bob Swanson
|
I chose a postmark and cancellation similar to the "Universal" machine cancel used in the U.S. for over 100 years.
It contains both the Circular Date Stamp type of post mark and the wavy bar cancel or "killer". You can find more than you ever wanted to know about machine cancels here. |
|
The postmark and cancellation came out great. Around here, it was deemed obvious that they be stamped in purple.
I was a little tense for the first few because I wanted them to come out square to the cover but I soon figured out how to ink the stamp and how to hold and press it to the cover. The solvent-based purple ink in the Staz-on stamp pad I used was very well behaved. |
|
|
|
These covers are spares to give to random people as "postcards", hence the lack of printed name.
These aren't really cut that poorly, honest. It's just the distorted perspective from using a handheld camera. |
Front cover complete, I could move on the the back cover.
