Back when we started prepping for JoCo Passporto 2023 we knew we needed a more efficient binding process than the hand sewing(!) we used for the 200 Passportos for JoCo Passporto 2022. We were trying to make 3X as many and hand sewing is sloooooooow. We planned to make 600 Passportos again for 2024 so it was a good thing we worked most of it out for 2023.
Machine sewing was the obvious thing to try. Proper bindery sewing machines are a thing. The question was, could we do it with a generic home sewing machine. (tldr; Yes, we could.)
Machine sewing was the obvious thing to try. Proper bindery sewing machines are a thing. The question was, could we do it with a generic home sewing machine. (tldr; Yes, we could.)
|
Oddly enough, Tristan was not interested in us experimenting on sewing stacks of paper with her fancy quilting sewing machine. (Who knew sewing machines ran an OS these days?)
|
Pretend this is a picture of Tristan's Fancy Sewing Machine |
|
Fortunately, years ago we picked up a real beater sewing machine at an estate sale for $9. It kicked around the workshop, waiting for the right project to motivate us to see if it could be brought back to life. This was it!
The machine dirty and rusty, smelled of mildew, and the electrical wiring look a little iffy. Eh, how hard could it be? Actually for once it turned out to be really easy. Some simple cleaning, a little polishing here and there, and some fresh oil on the gear train was all it took. Press the (slightly rusty) pedal and off we go! The reason the "restoration" was so easy is that this machine is built like a tank. Solid castings for the structure, not a single piece of plastic in the gear train, that sort of thing. The machine is probably 50-60 years old and was a plain, vanilla consumer design of the time. No planned obsolescence here! |
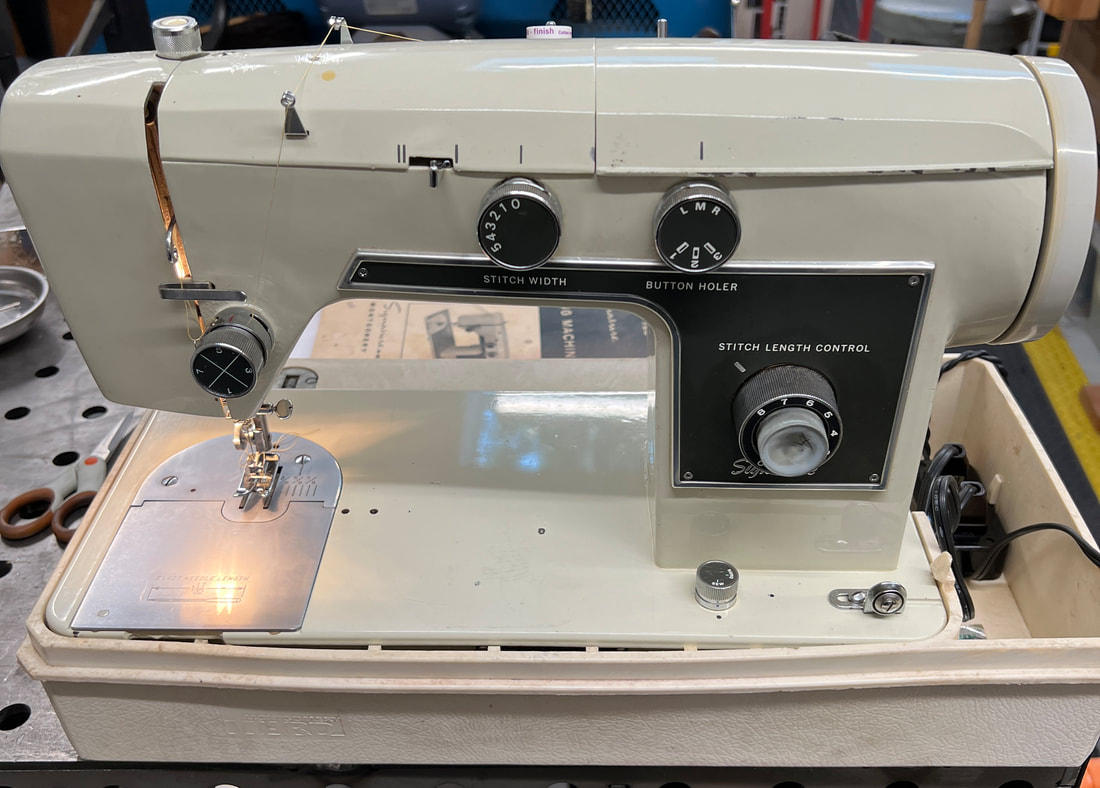
After some TLC, ready for another 50+ years of service
|


|
After we got the machine running, Tristan very quickly developed a feel for how to sew paper. Score one for lots of years of quilting experience.
The key was maintaining a consistent feed of the signature into the machine. The feed dogs that normally act to pull fabric through the machine weren't very effective on paper so the feed had to be controlled by hand. Consistent feed is important because when the feed was too slow the holes in the paper were too close together making the signature weak at the fold. In the worst case, the needle could just chew the paper away and leave a tangled mess of thread. In another bid to strengthen the spine, we left about a 1/2" margin unsewn at both ends of the spine. No sewing = no holes = stronger fold. |
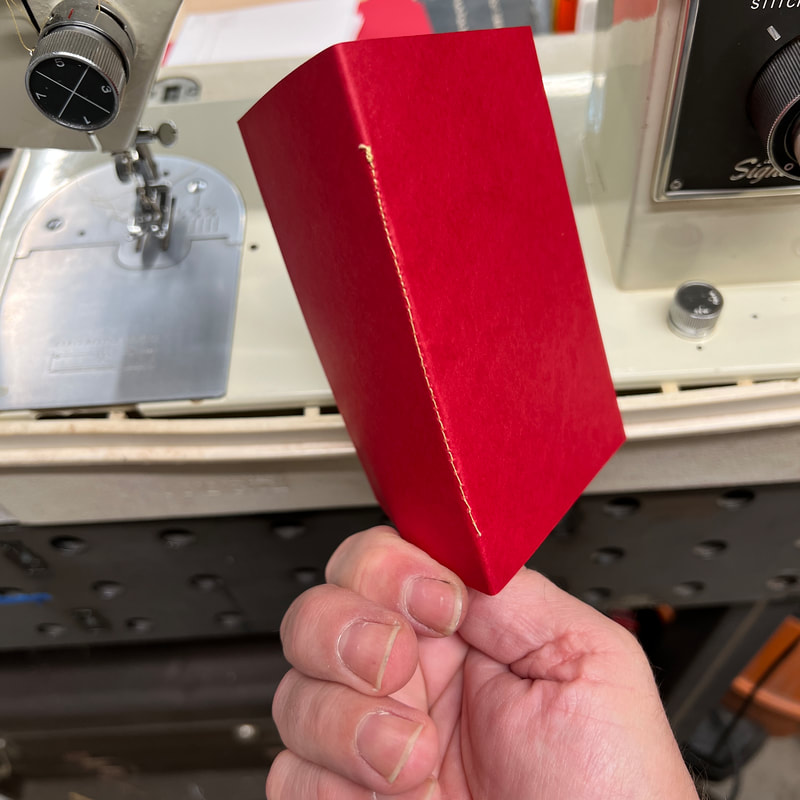
Pretty great for a first test
|
|
The only thing we added to the machine was some magnetic blocks as a fence for the right edge of the signature to run along. By keeping the edge against the fence, Tristan was able to maintain the sewing right down the middle of the signature.
|
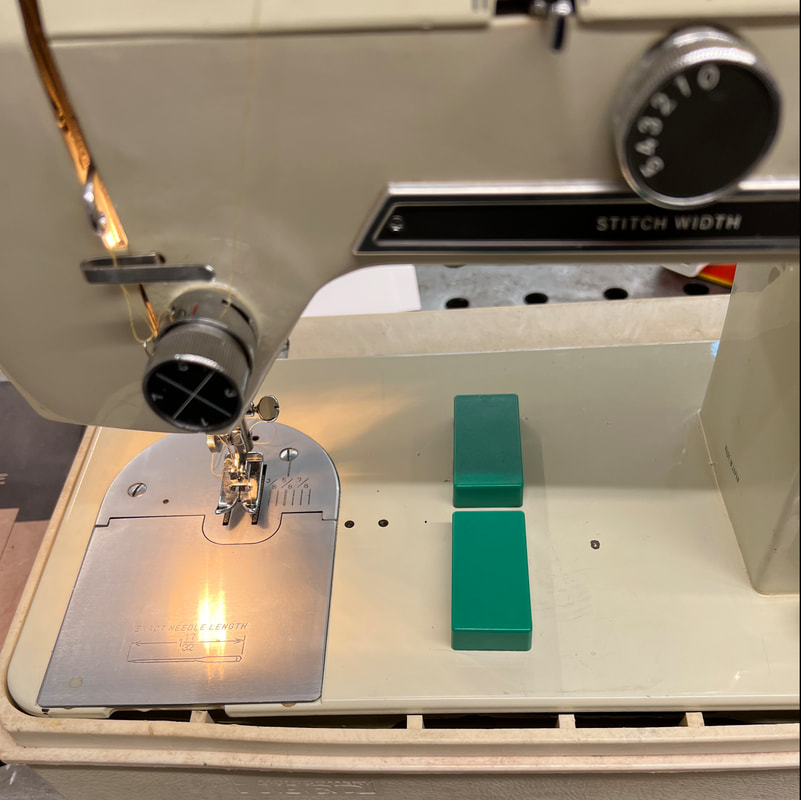
Galley magnets are useful for lots of things
|
|
After the machine work was done, each signature needed a bit of hand work before the cover could be added.
First, since we didn't back stitch the thread, the ends were loose and might unravel over time. To prevent that the loose threads were pulled through the binding to the outside. A bit tedious since it involved catching each one with a needle and gently pulling it back through the thickness of the binding. But it was worth it to insure that after the cover was added the thread ends would be captured between the end sheet and the cover. After that, a couple of quick snips shortened the threads to a reasonable length. Finally, the binder clips were removed. We have a lot of binder clips. |
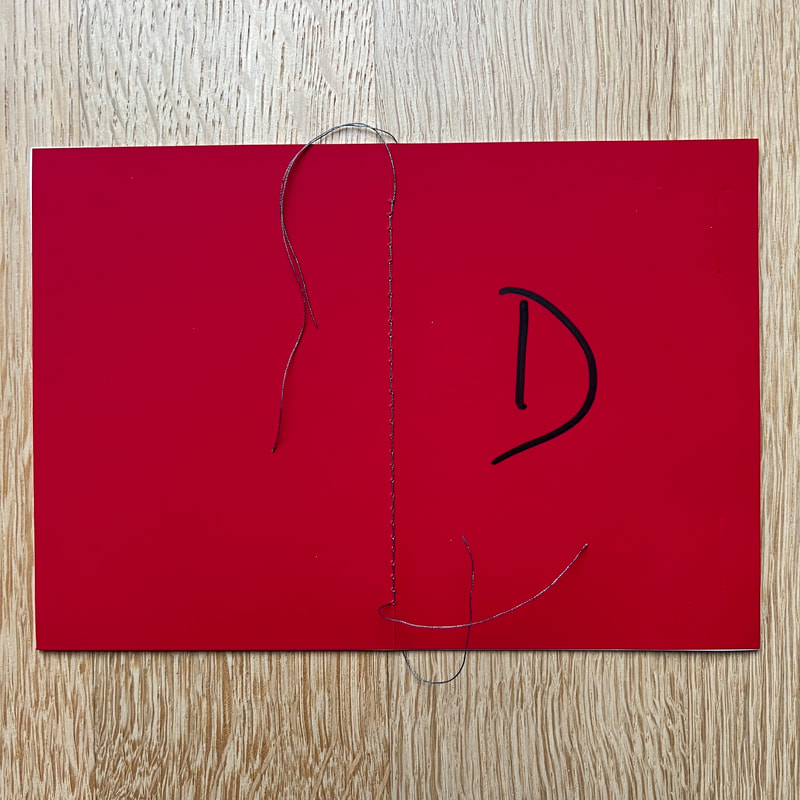
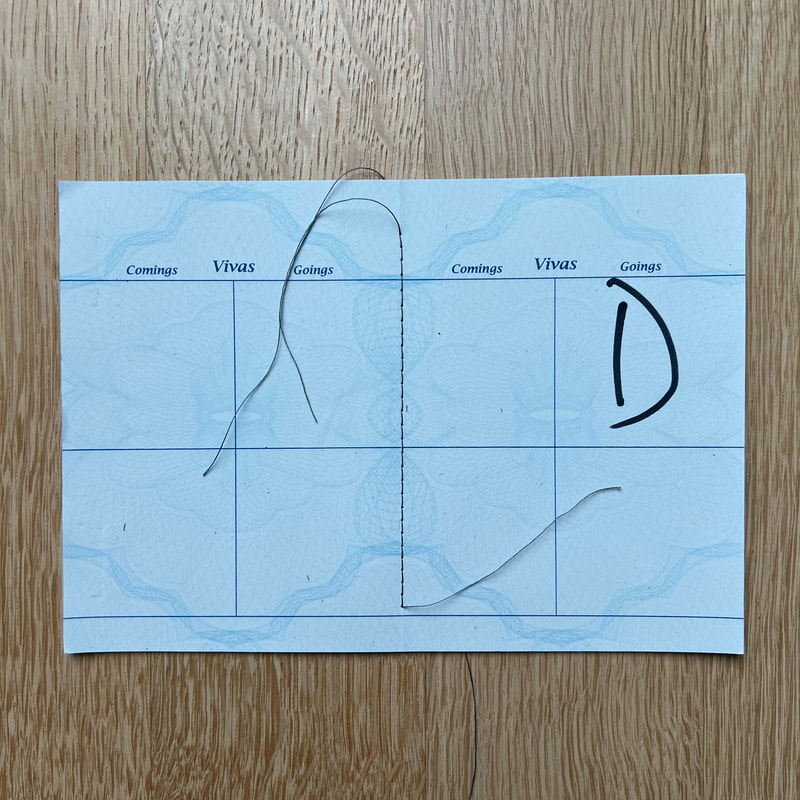
D is for dummy. As in, "Don't use this one, dummy. It's a test."
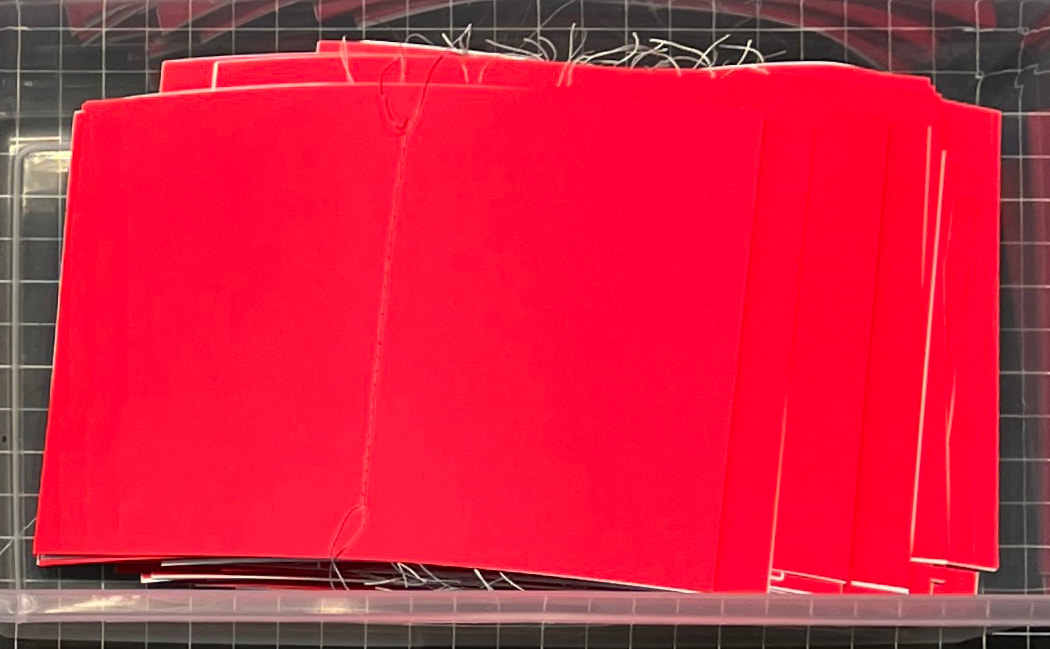
Bin of sewn signatures, ready for covers
|
With the sewing complete, we were ready to laminate the covers.
