As hobby letterpress printers, we knew we wanted to use letterpress printing in the project. However, we're not purists and we decided to print the covers letterpress and text sheets digital.
|
Printing the Passporto covers using the letterpress hot foil process was the most significant new thing we learned about while working on the JoCo Passporto 2024 project.
The essence of the hot foil process is that a (usually) metallic foil on a plastic carrier is pressed against the paper with a heated die. The combination of the heat and pressure cause the foil to transfer from the carrier to the paper. It's pretty much the only way to print letterpress and achieve a shiny, reflective result. The video clip show a hot foil press in action. If only it was as easy in practice as it sounds from this simple description! |
|
|
To print with hot foil, the first thing we needed was a die. This solid copper foiling die is 1/4" (6.3 mm) thick by roughly 3 1/2" x 5" (88 mm x 125 mm). We sourced the die from Metal Magic in Phoenix, AZ. They made it in only a few days, directly from the Adobe Illustrator file, for a very reasonable $60, delivered. |
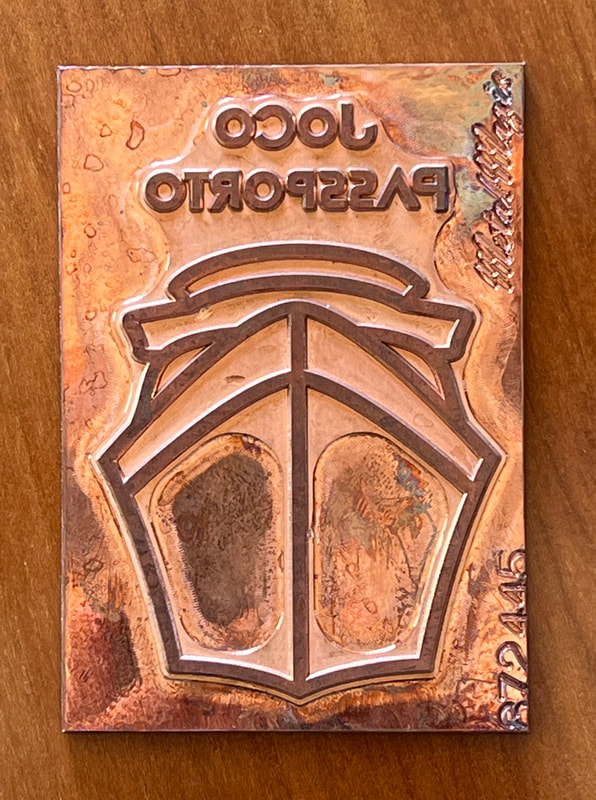
Die
|
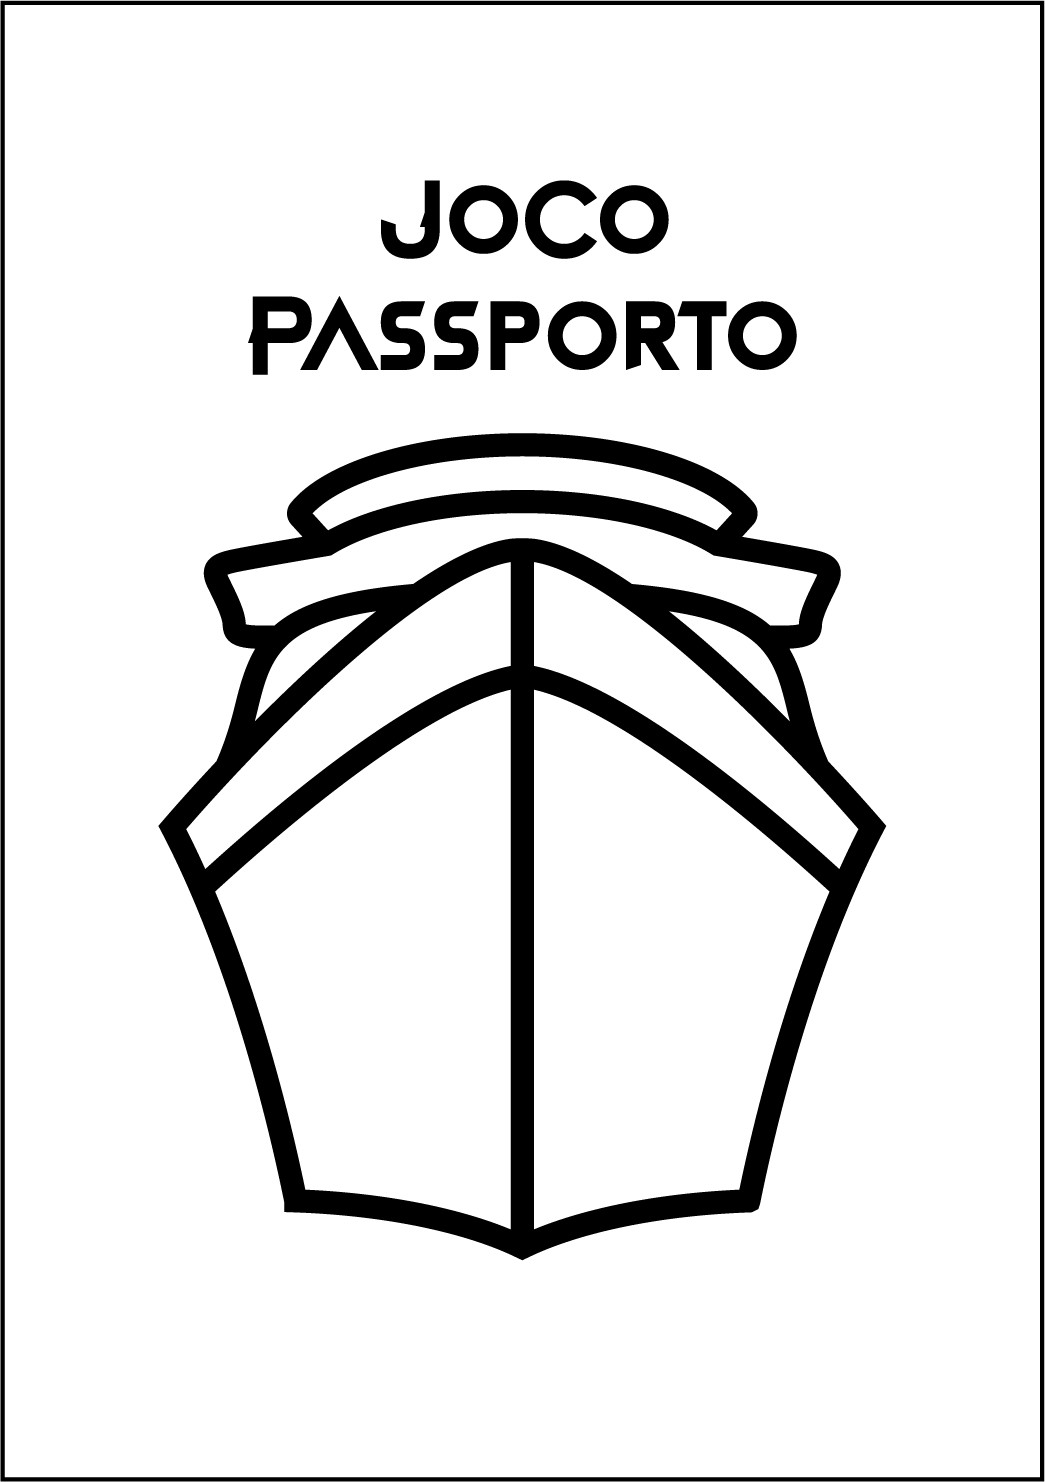
Artwork
|
|
There are a few companies in the US that can make dies like this. We chose Metal Magic on the advice of Michael Rylander of Sweet Bippy Press in Petaluma, CA.
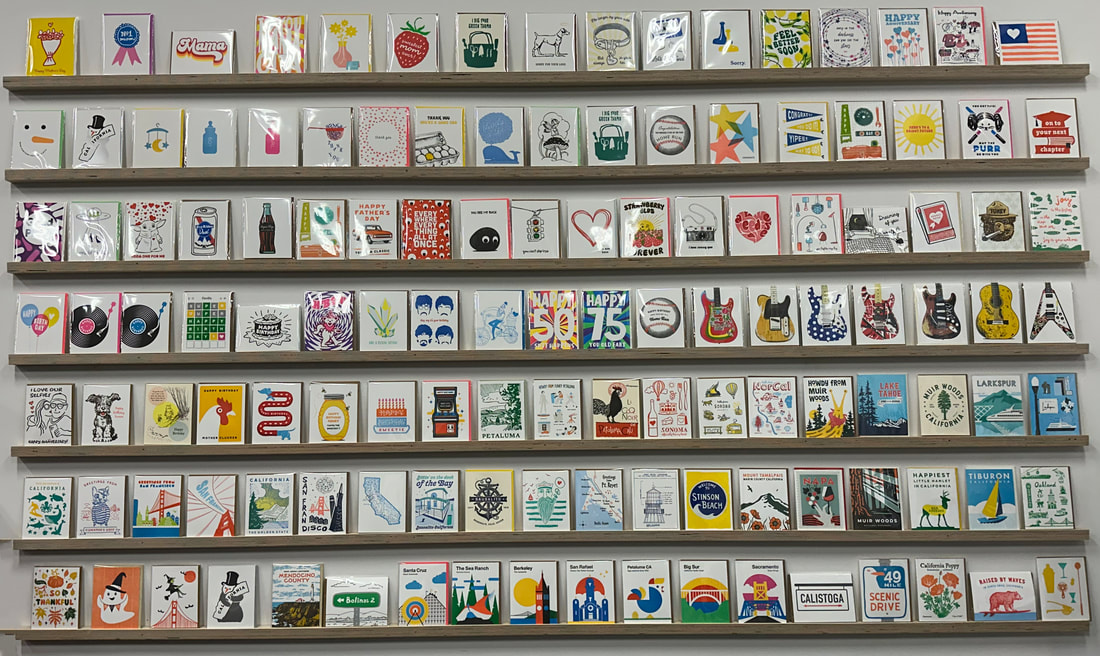
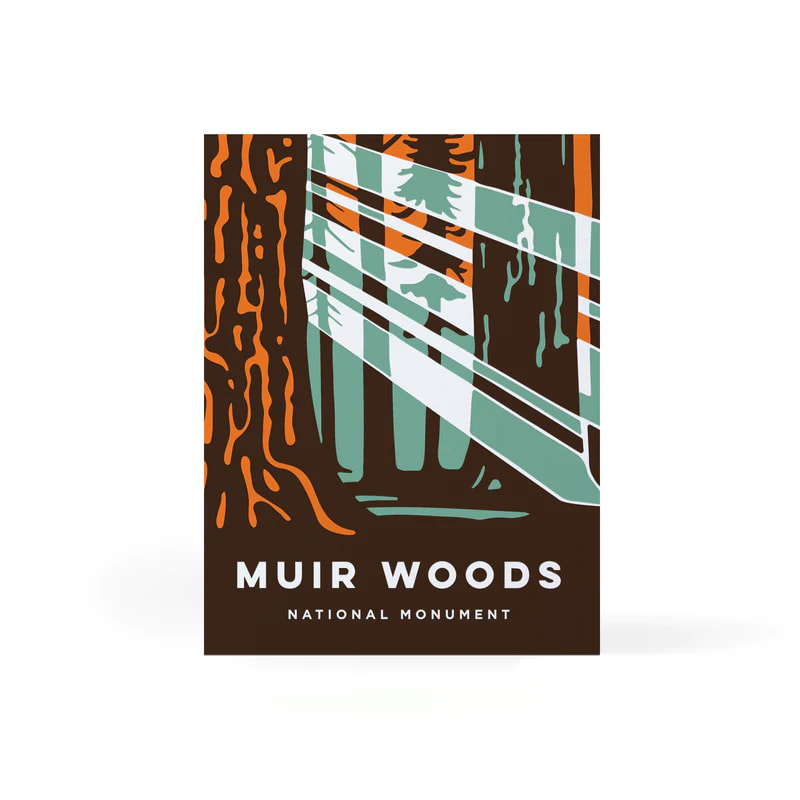
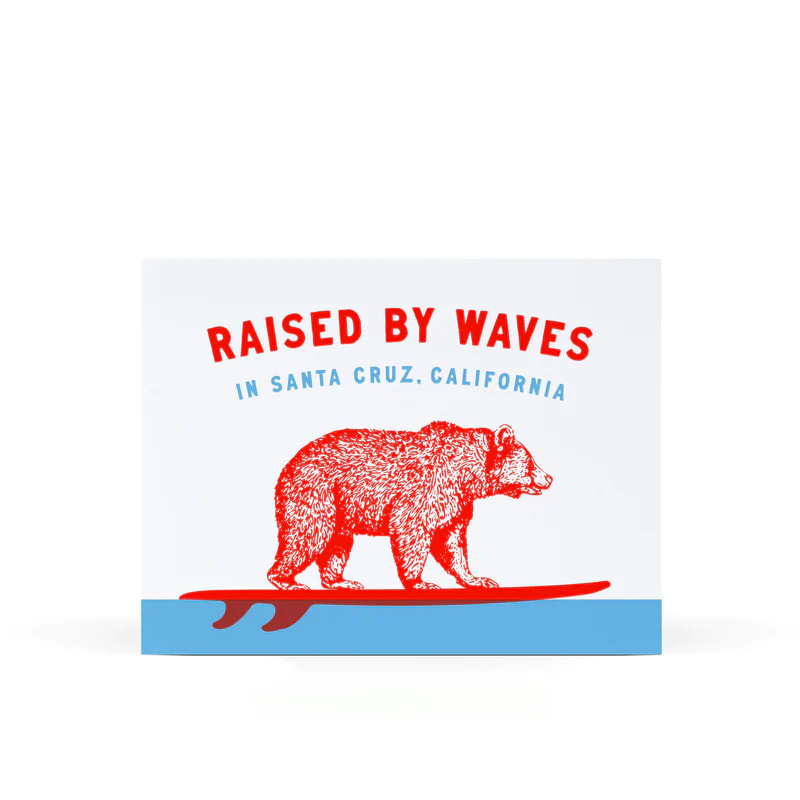
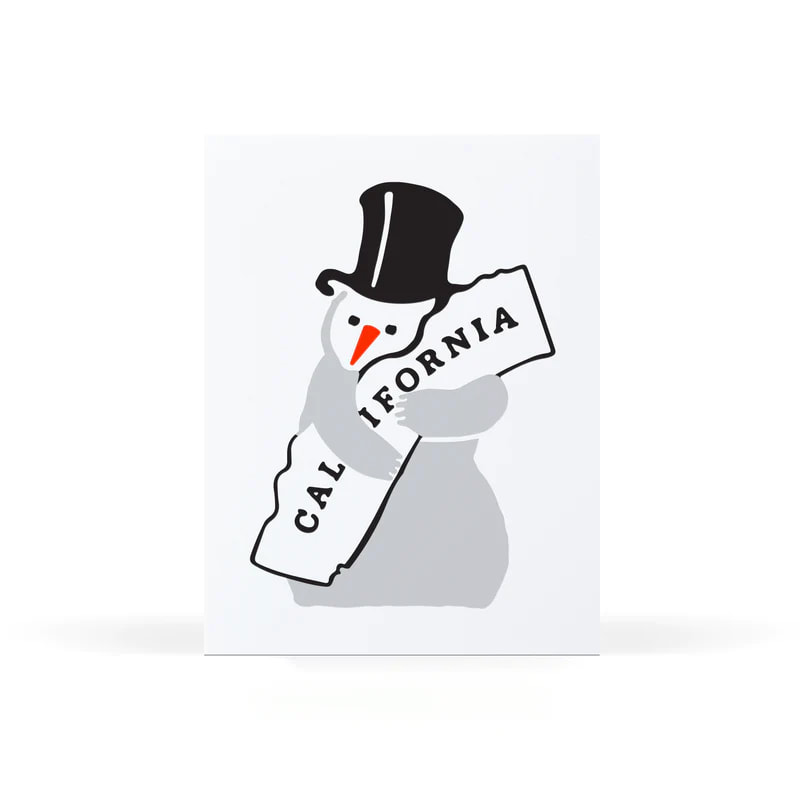
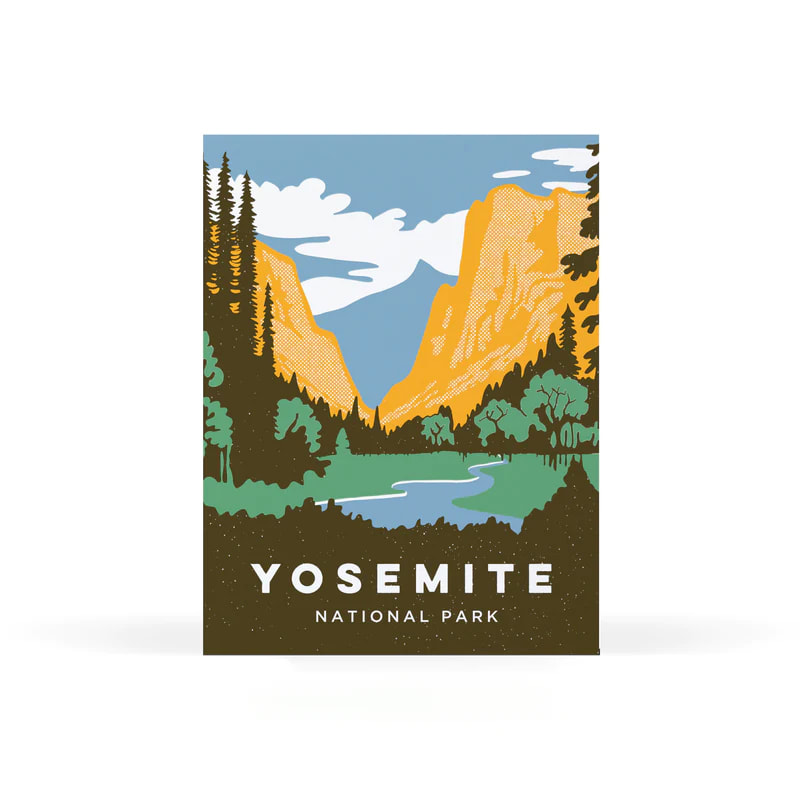
Sweet Bippy sells a wide array of great letterpress greeting cards, postcards, prints, and other stuff. See the gallery below for a few of my favorite Sweet Bippy cards and the photo at right for just a small sample of Sweet Bippy's line of cards. All of Sweet Bippy's work is designed and produced by Micheal, which seems impossible when seen from the perspective of design-challenged hobbyist printers. That's what you can do when you are a professional! |

|

|
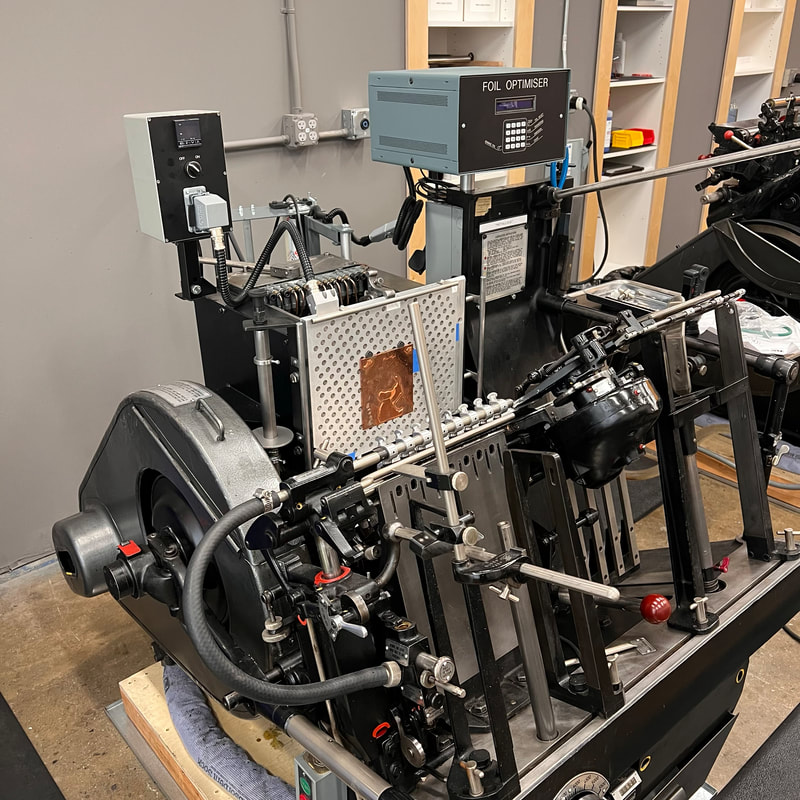
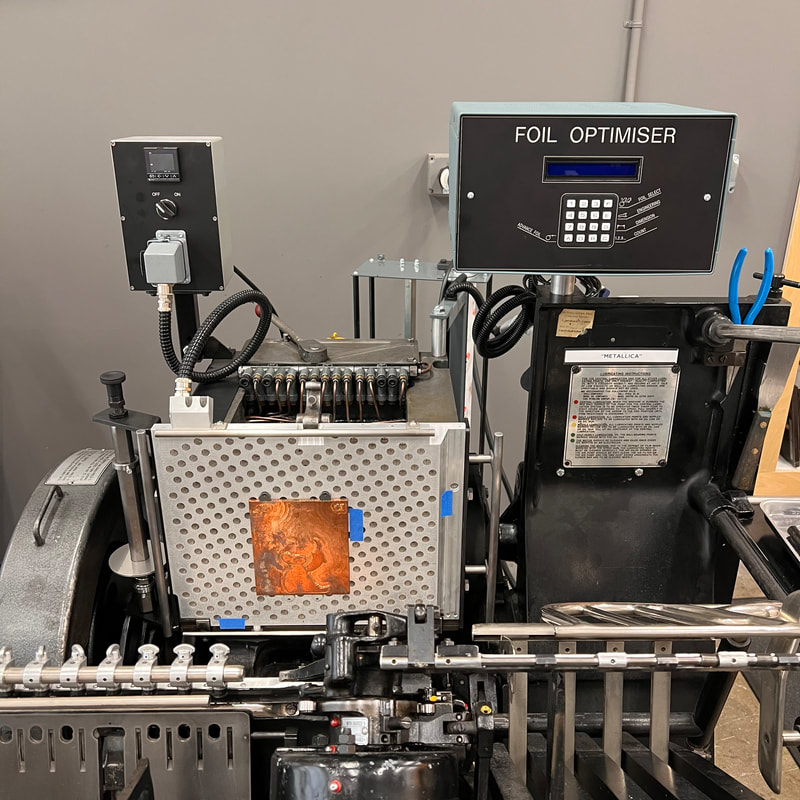
Once we had a foiling die, the next thing we needed was a suitably configured press. Once again, Sweet Bippy to the rescue!
In July 2023, Ernst Schaefer and I helped Michael upgrade one of his beloved Heidelberg Windmill presses to dedicate it to the hot foil process. It turned out to be waaaaaaay harder than we all expected. Let's just say that none of us thought we'd need to haul out the portable bandsaw as part of the project. We got it done, though. Hence the smiling faces at right. L-R is Micheal, Ernst, and me. The video clip at the top of the page shows Michael's first use of the converted press. See below for some stills of the converted press, duly christened "Metallica". |
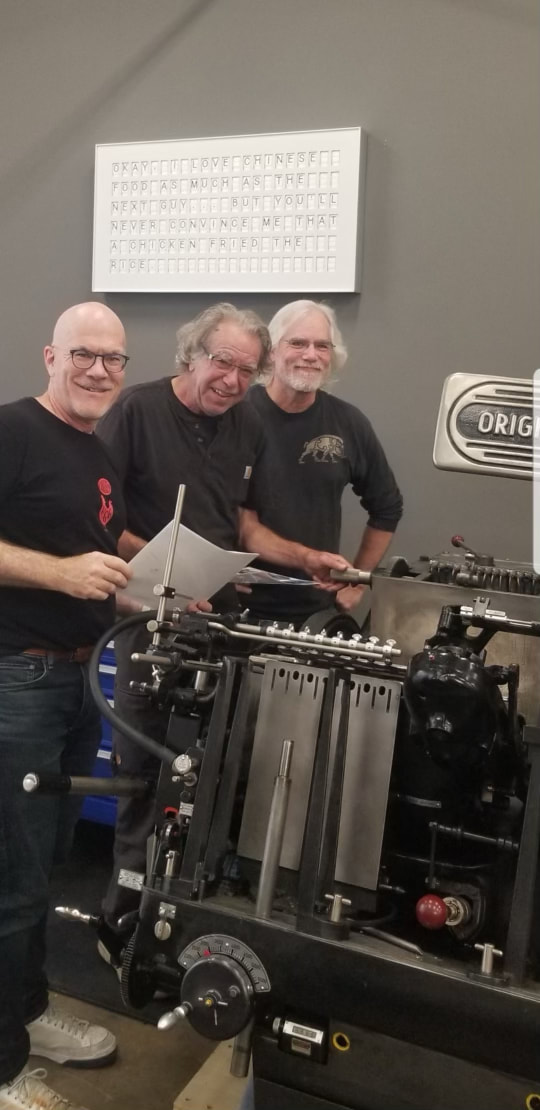
Inky Nerds
|
Press? Check.
Die? Check.
Paper? Check.
Foil? Oh yeah, we do need that, don't we.
|
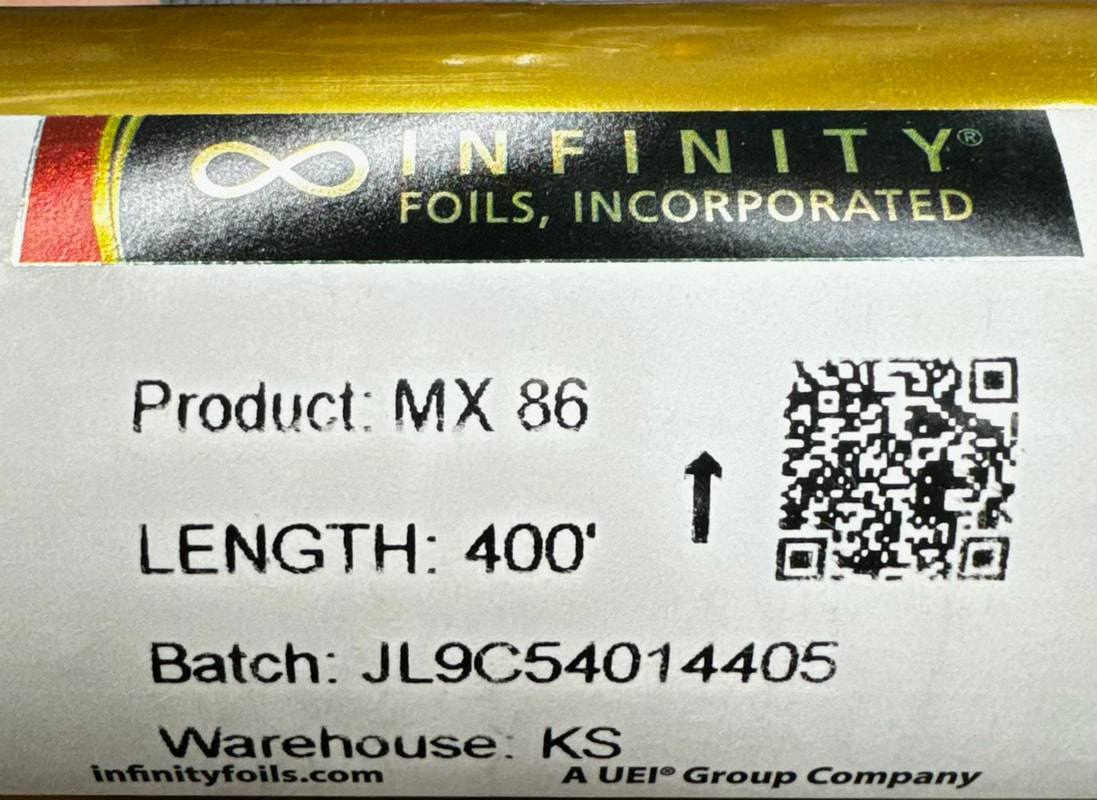
Micheal graciously printed a bunch of foil samples on Plike so we had some options to choose from. We decided to go with a straight up the middle matte gold from Infinity Foils. I am tempted to ask, though, that if this is matte, what would glossy look like? Seems plenty shiny to me.
|
|
|
It was a bit tricky to get the foil to run smoothly. The biggest issues we faced were stray traces of gold around the periphery of the design and the occasional rough edge somewhere in the lettering. When we turned to Michael's letterpress mentor Judith Berliner of Full Circle Press for some help, her advice was not to run foil on Plike. Yikes. We did a lot of trial and error testing, changing temperature, speed, impression, foil tension, etc. (Things like this are why we always run plenty of extra cut sheets of stock when prepping for something new in the printshop. Here we had about 50 extras and used nearly all of them.) We finally hit on a three part solution. We:
We were concerned that the low platen temperature might reduce the bond strength between the foil and paper. But the experience of hundreds of people actually handling the Passportos none to gently over the course of a week showed no ill effects. |
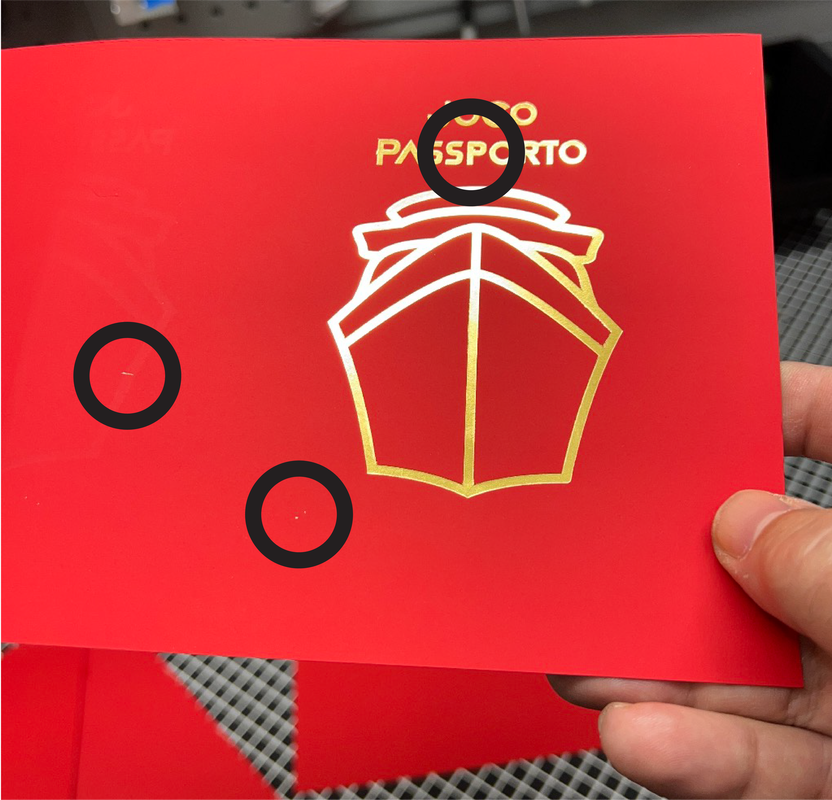
Still need to deal with the tiny defects, but damn that's some sharp looking foil!
|
Once we solved the stray gold problem, we were ready to print, right? Well, almost.
|
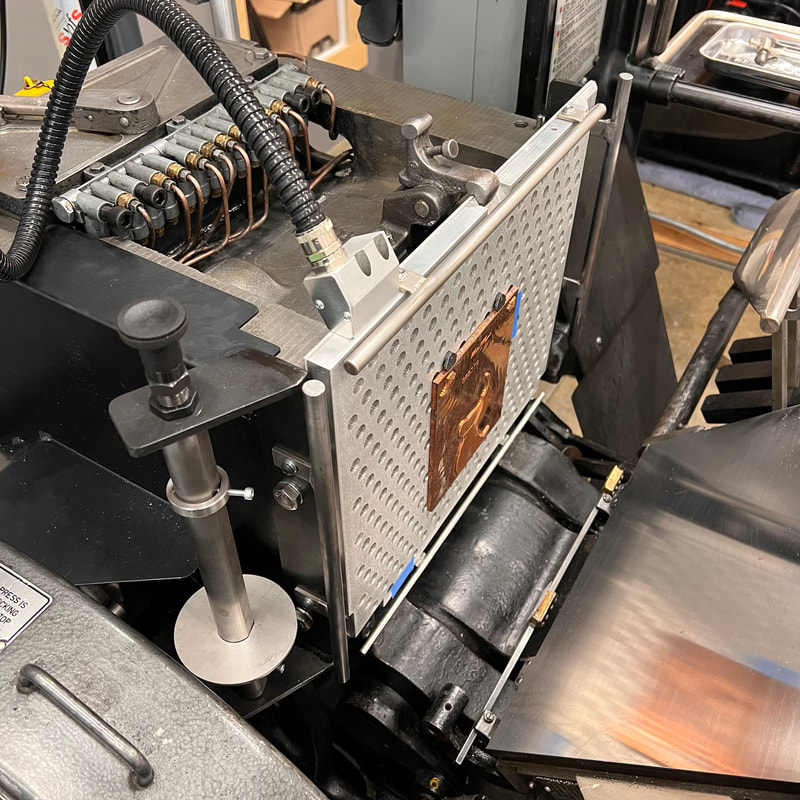
While chasing the stray gold problem, we noticed that the impression was stronger on the left and right edges of the design compared to the middle. What to do?
It seemed like a long shot, but the only thing we could think of to do was put a shim behind the plate, running down the middle to increase the platen pressure there. This idea is similar to what is called "makeready" in the printing world. Makeready is the process for making the distance between the paper and all the type and cuts to be printed exactly 0.918". Here, though, the idea would only work if the platen pressure is high enough to deform a 1/4" thick copper plate. Doesn't seem possible, does it? Michael had a roll of 1/2" wide x 0.XXX" thick stainless steel shim stock with an adhesive backing and we ran a single piece vertically down the center of the plate. The impression was great, problem solved. |
Pretend this is a Photo of back of plate with shim strip Pretend this is a Photo of package of shim stock |
|
And just like that, we were ready to run. After all the fuss and bother of setup, the print run of 600 seemed to take no time at all. Heidelberg Windmill presses are awesome. And the results were all we could have hoped for! |
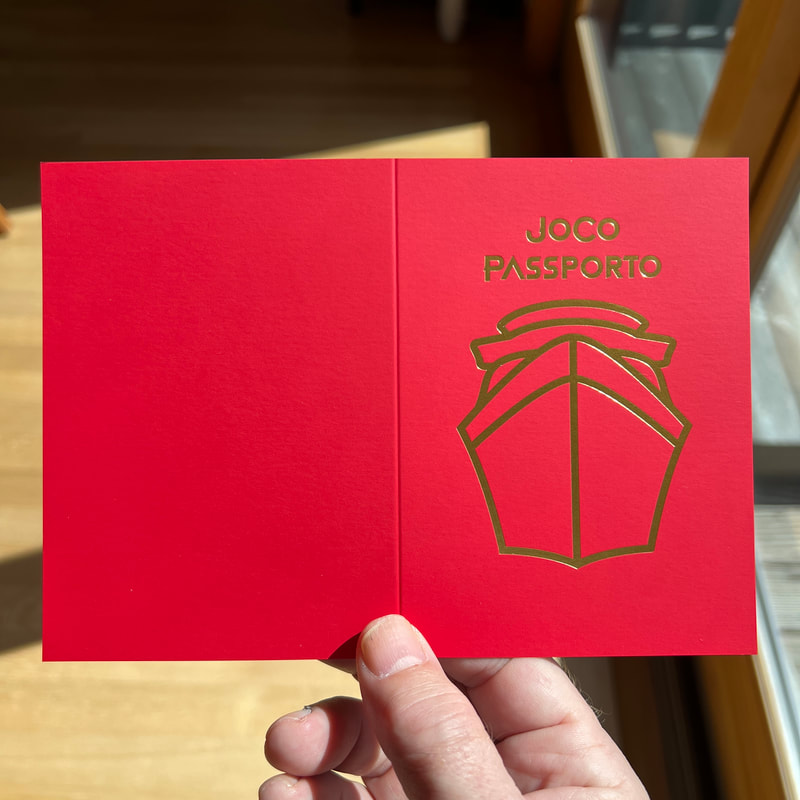
A nice, sharp crease and clean foil
|
|
|
|
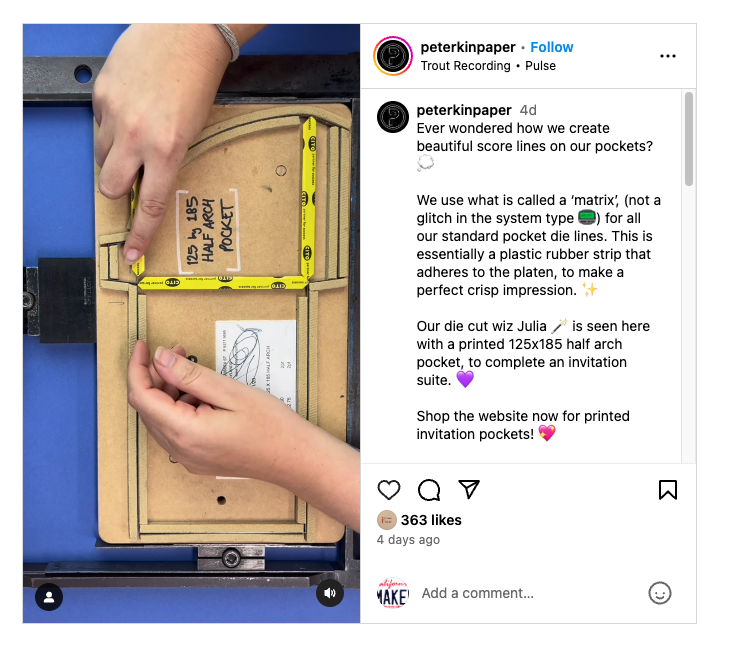
The keen eyed observer will note the spine crease that has magically appeared in the cover. Creasing makes it much easier to get a good fold in thick paper and is a common process in the letterpress printshop. Unfortunately, I apparently took ZERO photos of us creasing the covers. Luckily, the folks at Peterkin Paper & Printery in Bassendean WA, Australia recently posted a nice clip on IG showing creasing a job on one of their Windmills. The process is the same one we used, but a much fancier shape. And they die cut the outline at the same time! Time to get going on printing the text sheets. |
|
