
I learned how make books with a Coptic stitch binding from watching Jennifer @ Sea Lemon DIY's excellent video on youtube.
Even if bookbinding and the other kinds of DIY projects she features on her channel aren't your cup of tea, check out a couple of her videos just to see how well done they are. Jennifer's voice and delivery make her narration easy to listen to, her instructions are well thought out, and the videos are shot in a clean and straightforward way. Sea Lemon is one of the gold standards for how-to/DIY channels on youtube. Her 250K+ youtube subscribers are a good indication that I'm not the only one who thinks so.
|
|
Rather than waste time repeating the Sea Lemon DIY instructions here, I encourage you to just watch the video. Jennifer shows you everything you need to know to get going. |
Now that you are clear on the basics, here are a few details about one of the books I made.

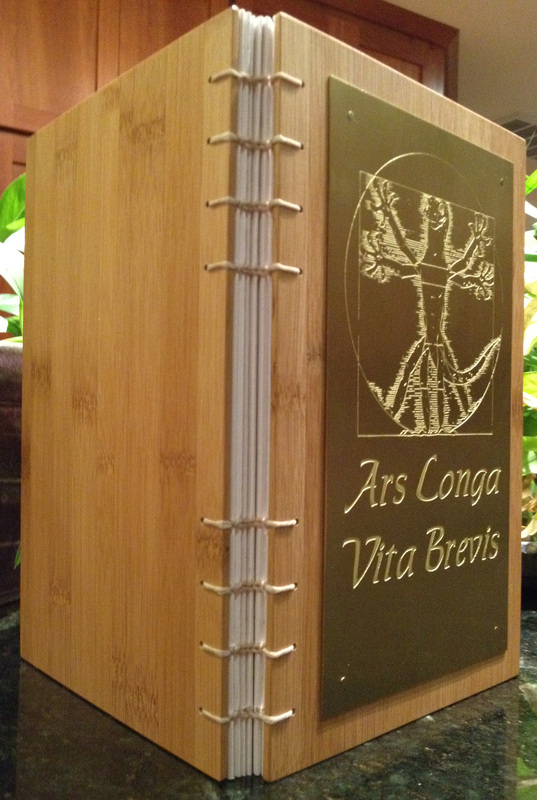
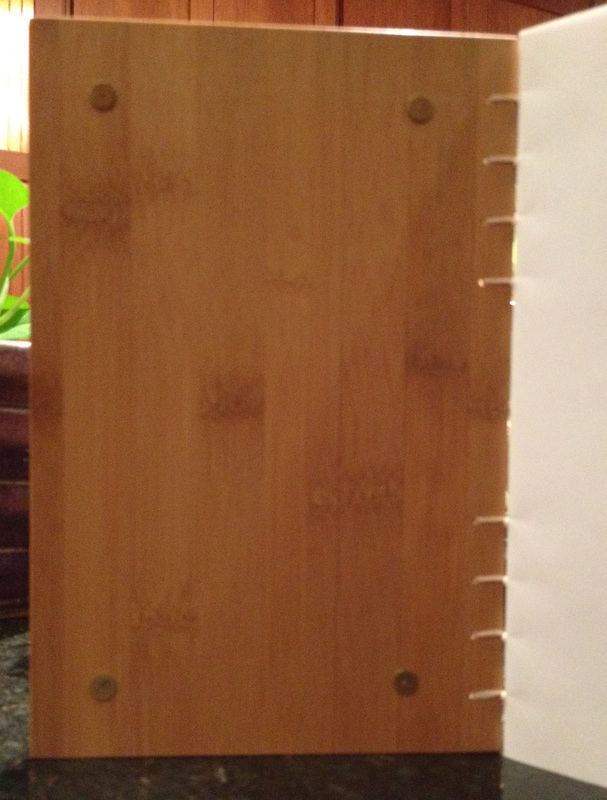
As you can see, the Coptic stitch technique uses exposed binding threads and the thread itself forms the spine structure of the binding (in as much as a book bound in this way can be said to have a spine...).
I have my doubts about the durability of coptic stitch bindings especially for books that will see long term heavy use. But they do look cool.
For books like journals and sketch books which only see heavy use during the time it takes you to fill them up, it's an ideal choice. It's fast and doesn't take any special tools. Best of all, the binding allows the book to open completely flat, exactly what you want in a journal or sketchbook.
I really had to focus on the stitching as I made this book. As someone who almost got drummed out of the Boy Scouts for his inability to tie even the simplest knots (I mean really, how hard is it to tie a bowline anyway???), it was a challenge for me to keep everything symmetric and going the right direction.
I'm betting most people who possess basic spatial perception skills will find it easier than I did. If you get it right, the binding stitches form a kind of chevron pattern across the width of the spine.
I'm betting most people who possess basic spatial perception skills will find it easier than I did. If you get it right, the binding stitches form a kind of chevron pattern across the width of the spine.
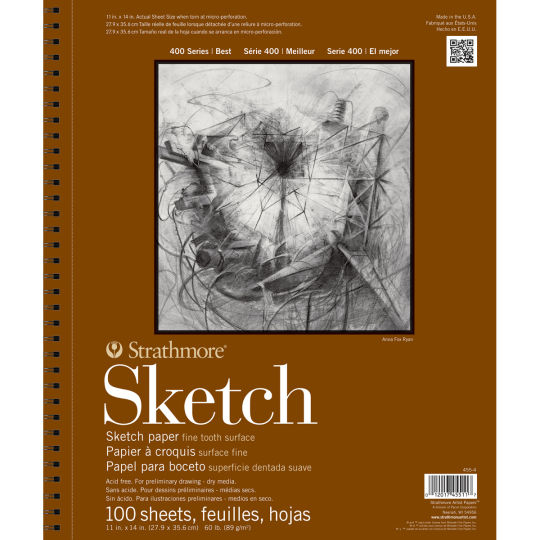 image from
michaels.com image from
michaels.com
The pages of this book are made from a pad of plain sketching paper from Michaels.
I'm pretty sure that this is the type I used, but it doesn't make that much difference. I just chose what ever seemed like the right weight and surface texture at the time (and maybe what was on sale that day...). I chose a 9" x 12" pad of paper so that the folded sheets would make a book about 6" x 9". |
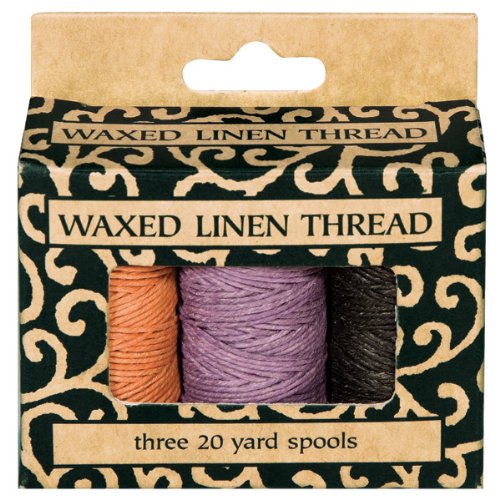 image from amazon.com image from amazon.com
The binding thread is waxed linen from Books By Hand.
Sea Lemon DIY has a video about different binding thread options. |
 image from lowes.com image from lowes.com
The boards are made from solid bamboo flooring I bought at Lowes. I edge glued two planks to get something wide enough to fit my page size and then planed the plank down to a bit over 2mm (0.080") thick using the thickness planer at TechShop SJ.
Note that when planing something this thin, it's important to attach the wood to a sled before planing. Thin wood can shatter if it's not well supported when the planer blades are pounding away at it. My sled is just a piece of 1/2" thick plywood the width of the planer bed and about 4 feet long. I attached the flooring to the sled using double-sided carpet tape. |
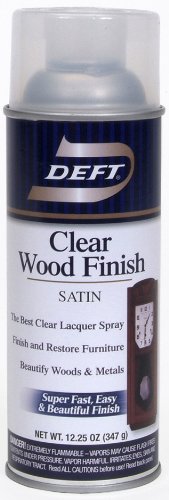 image from amazon.com image from amazon.com
After cutting the bamboo to shape, and sanding it smooth, I gave it a few light coats of my favorite satin spray lacquer.
|
I bound the book completely before adding the decorative brass plate to the front board.
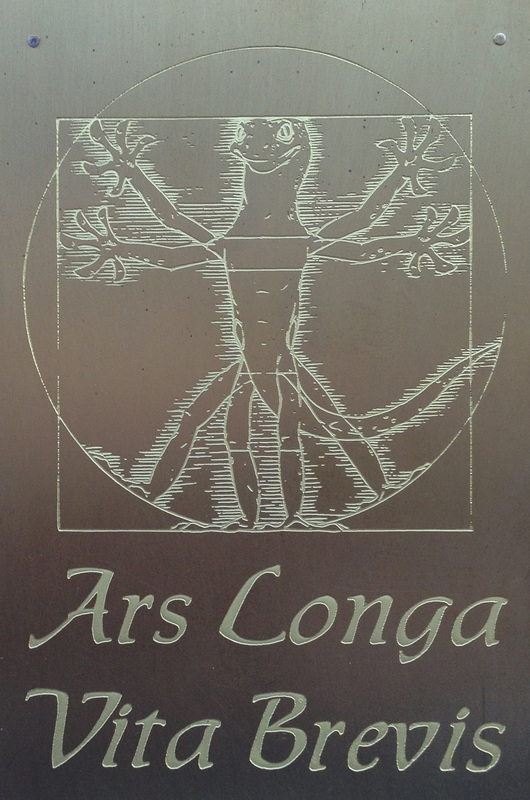
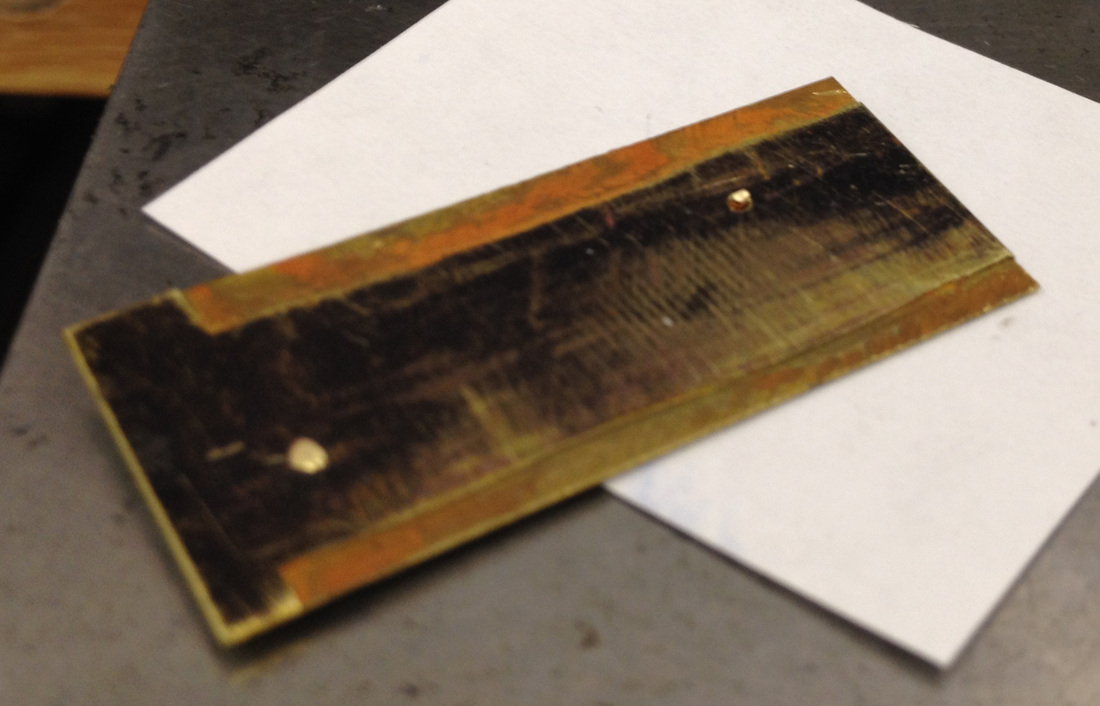
The plate is about 0.8mm (20ga) thick and was decorated by electro-etching.
I gave the plate a satin finish with 3M wet or dry sandpaper and then sprayed it with a couple of coats of satin lacquer (same stuff I used to finish the boards) as an etch resist. To remove the resist from the areas I wanted to etch, I laser engraved the artwork onto the plate at TechShop SJ using a 60W Epilog Helix laser engraver/cutter. I'll do a more detailed post on this method later. The method is not perfect (the resist and the etching both need some work), but it worked well enough for this project. |
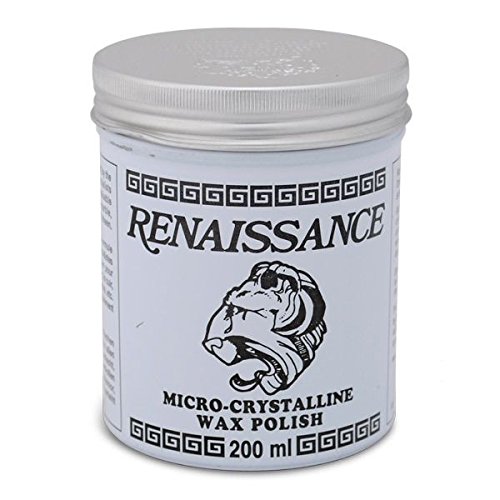 image from image fromamazon.com |
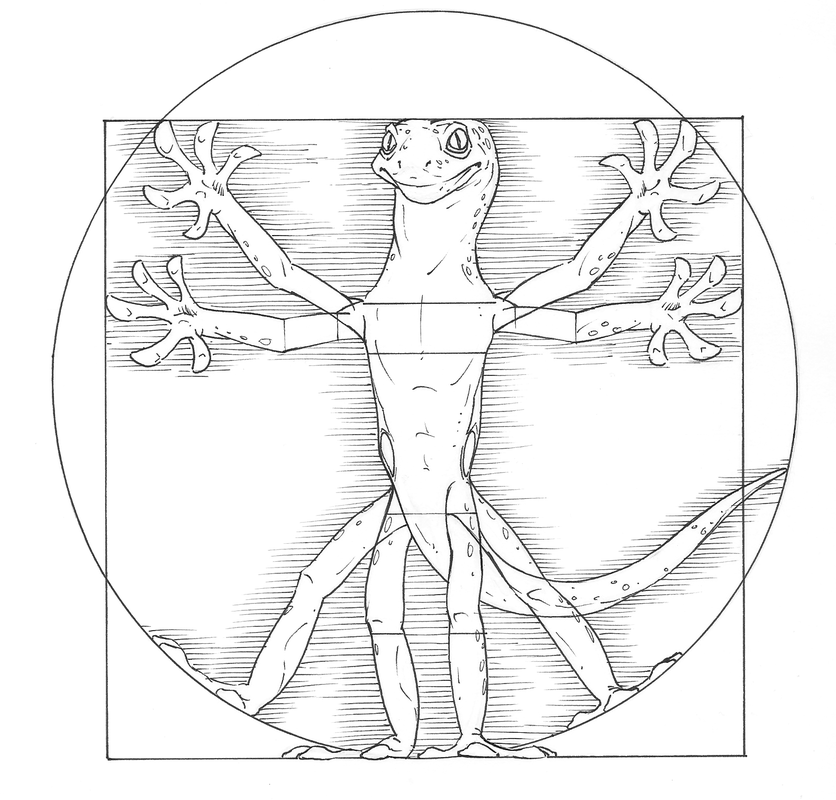
The etched artwork is the logo for my jewelry teaching business Renaissance Gecko Designs (now, sadly, on hiatus due to other priorities).
The logo was drawn for me years ago by William Groebe, a talented illustrator & animator who I got hooked up with through my friend Jim. Will and Jim worked together at Tippett Studios long ago...back in the Starship Troopers era, if I recall correctly. |
Vita brevis, ars longa, occasio praeceps, experimentum periculosum, iudicium difficile. |
The etched aphorism is from Hippocrates. Chaucer's translation of the first two lines in Parlement of Foules is: "The lyf so short, the craft so long to lerne." |
I've been drawn to Hippocrates's idea since the day I realized I'll be dead long before I have a chance to do all the projects I want to do and learn everything I want to learn.
I'm in good company in my appreciation of Hippocrates's thinking about this.
I'm in good company in my appreciation of Hippocrates's thinking about this.
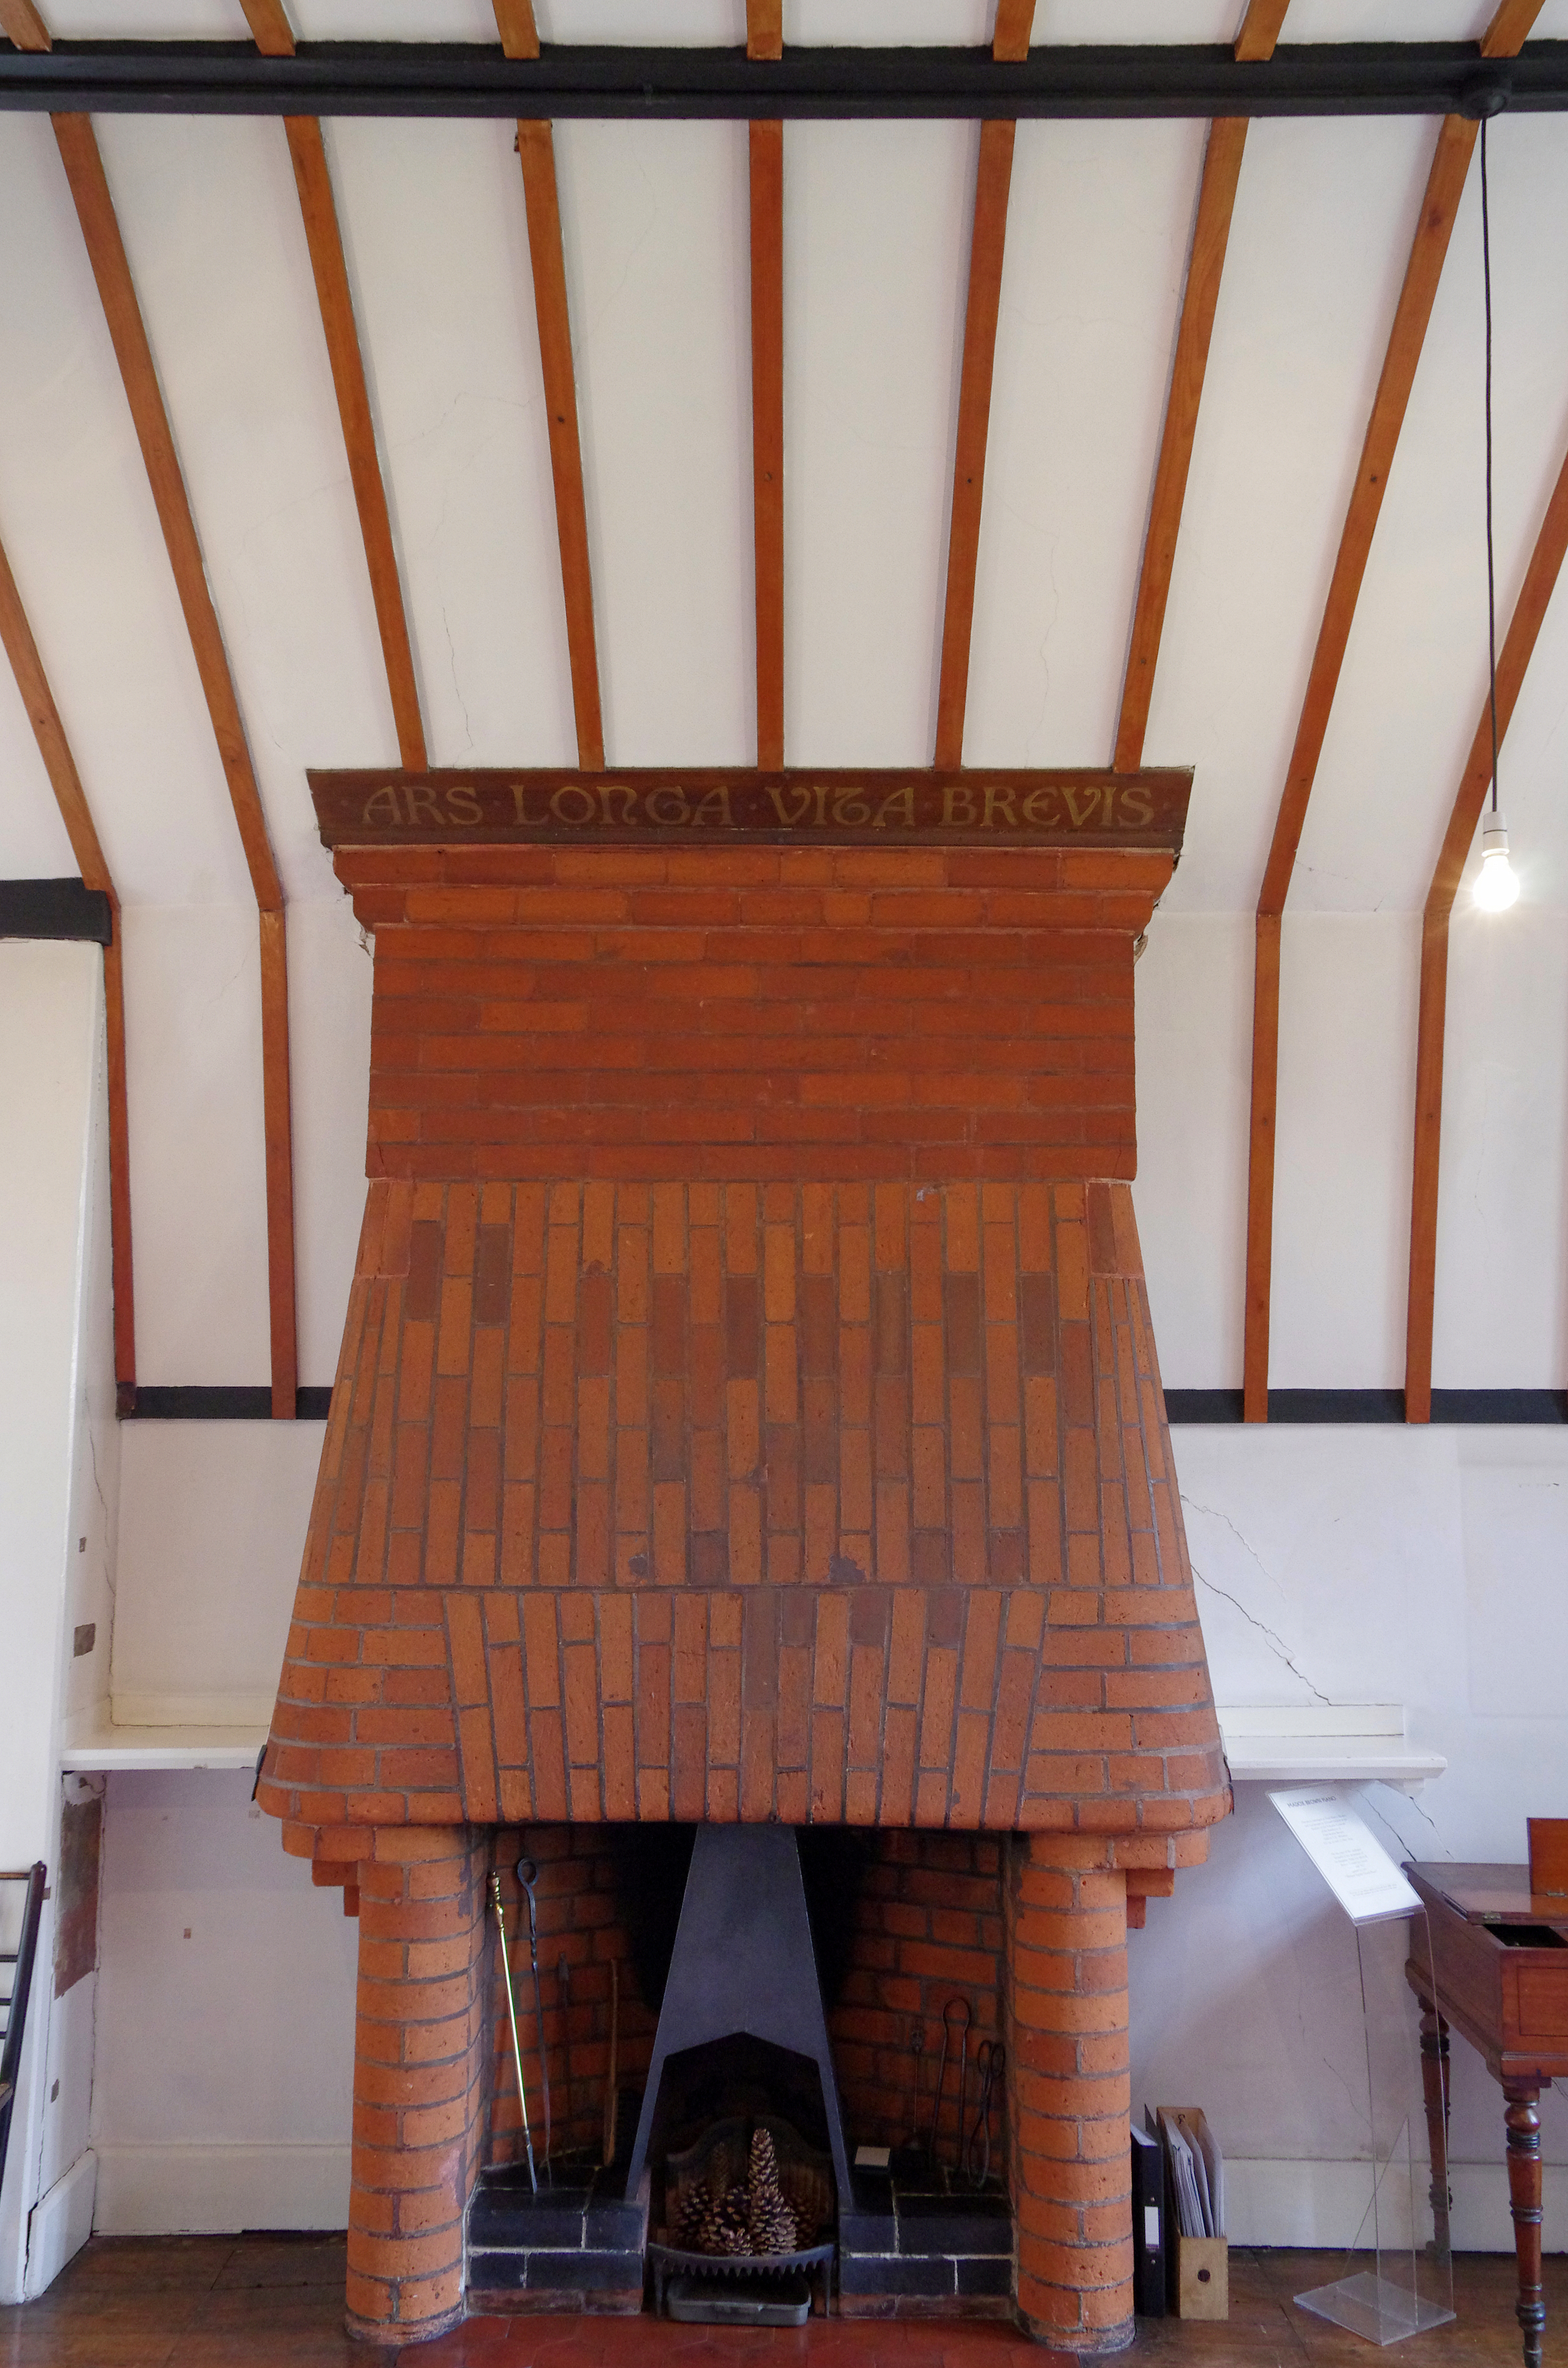
My hero William Morris liked the sentiment so much that he had it painted on the fireplace at his home Red House. Photo credit: Badly Drawn Dad on flickr. |
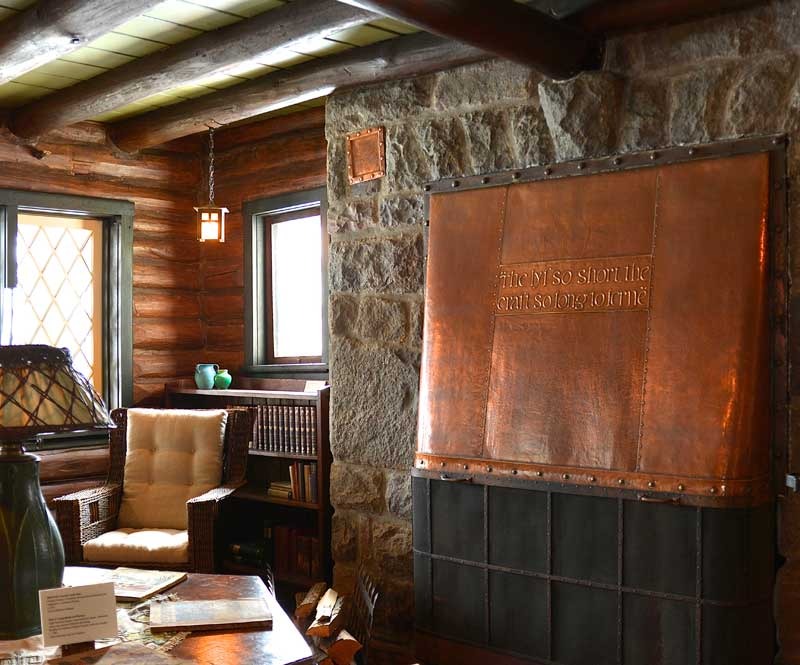
Gustav Stickley liked it, too.
This hammered copper fireplace hood is in Stickley's home Craftsman Farms, now a museum. Photo credit: artsandcraftshomes.com |
Enough abstraction...back to the book!
To attach the plate to the front board, I decided that just gluing it on was too easy. So, I attached it with rivets.
To attach the plate to the front board, I decided that just gluing it on was too easy. So, I attached it with rivets.
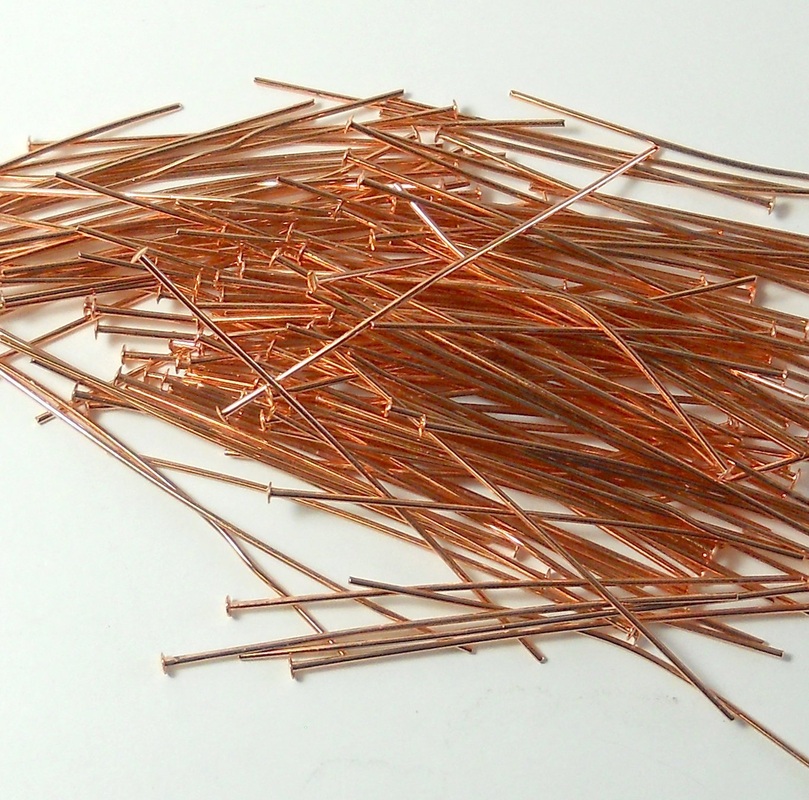 image from amazon.com image from amazon.com
|
Headpins make great small diameter rivets because they already have a perfectly formed rivet head on one end.
So, you only need to worry about forming a head on the other end. |
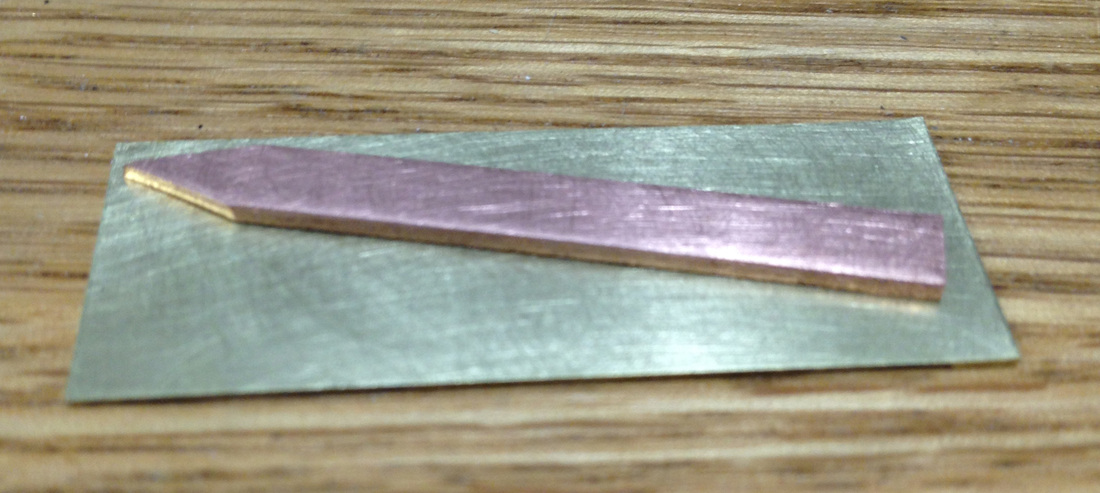
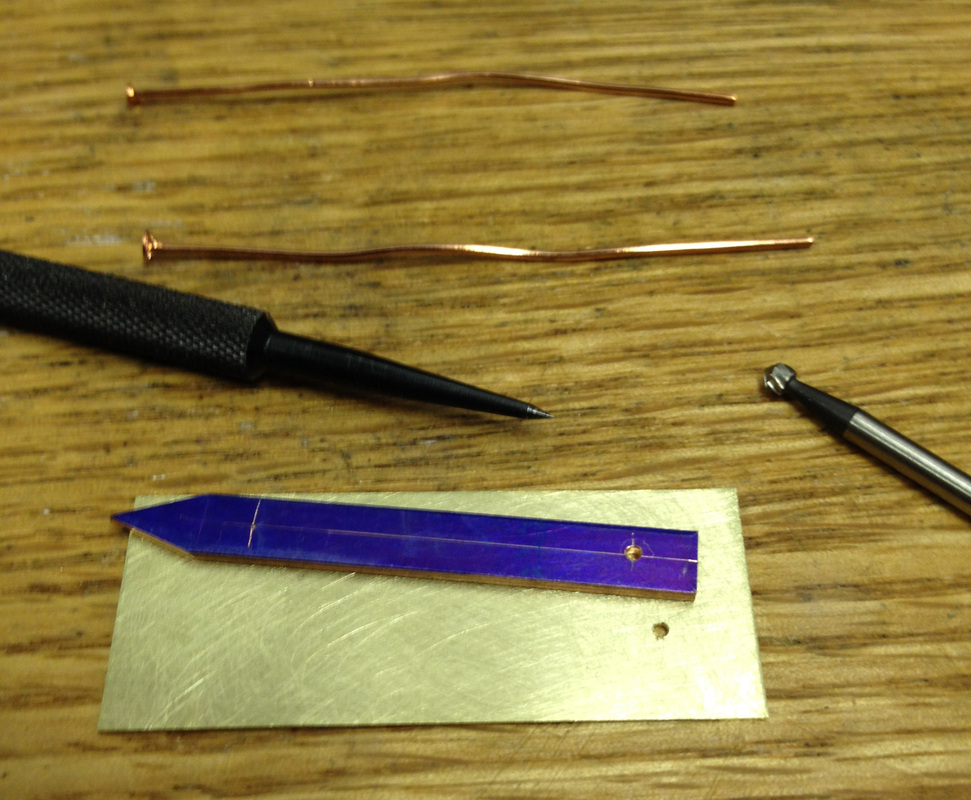
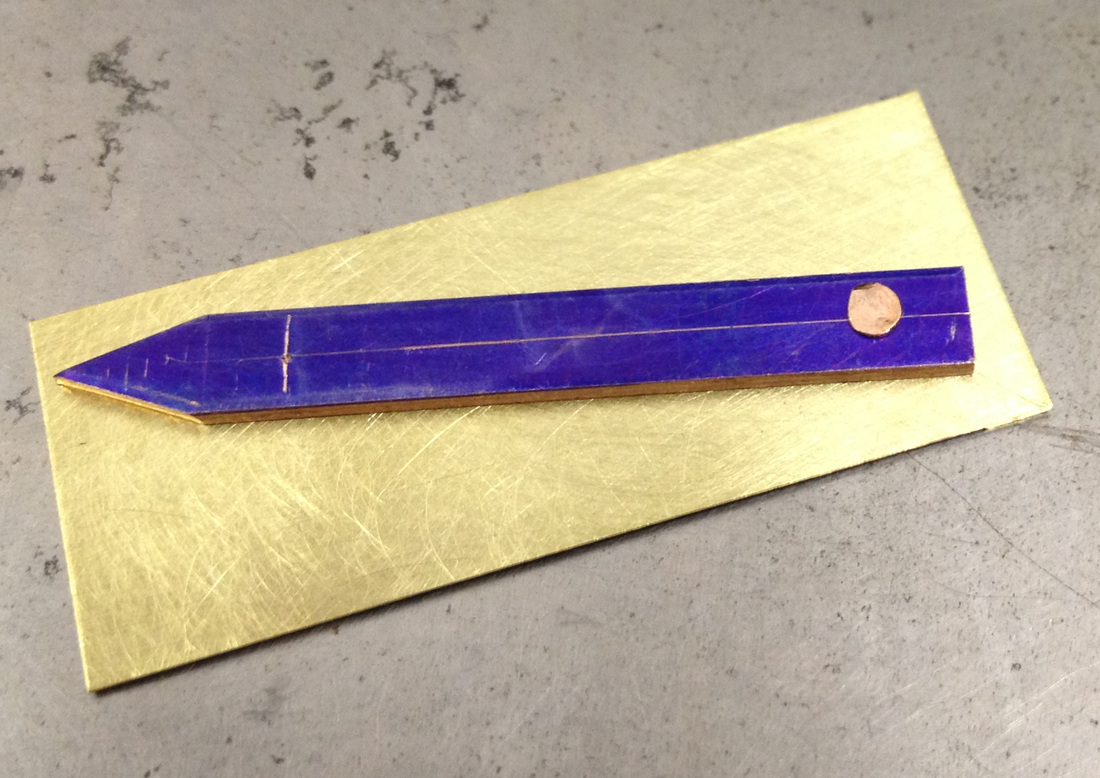
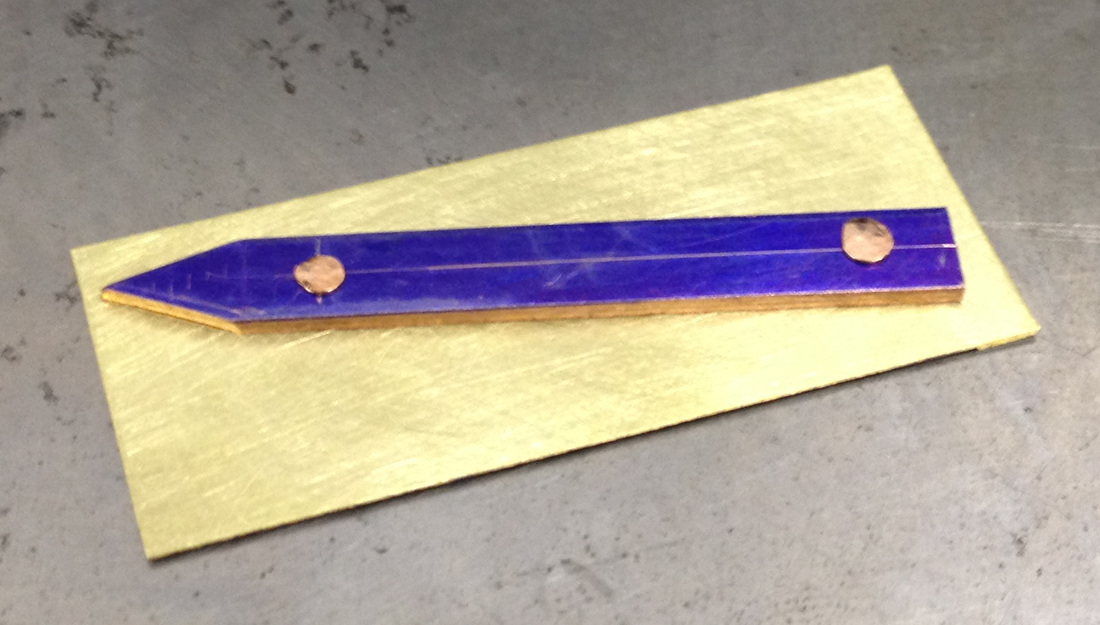
The steps for using headpins as rivets are simple. Since this book project was already complete before I created this site, I'll make a small test piece to demonstrate the process.
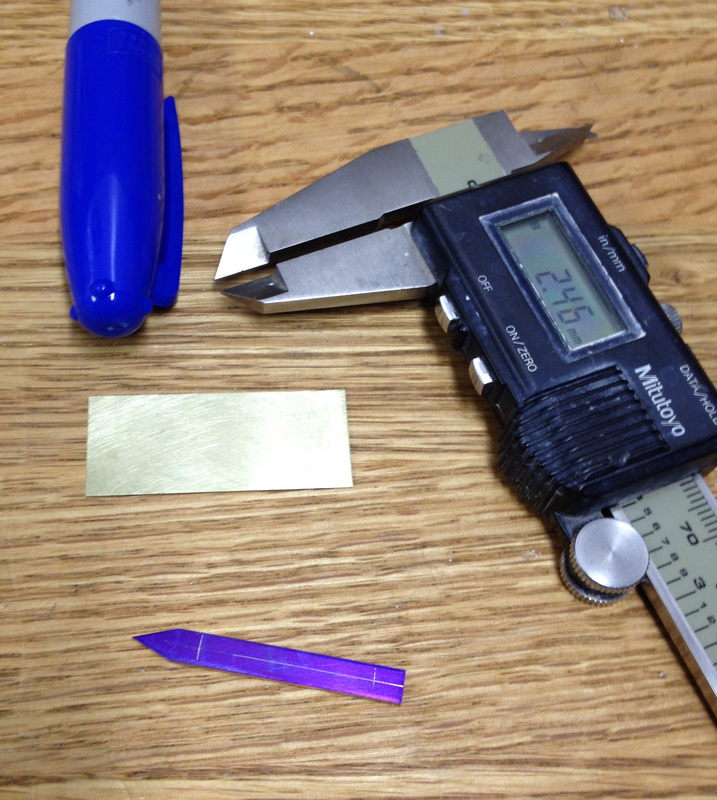
A quick layout with blue sharpie and hole locations marked with the tips of my digital calipers.

image from
ottofrei.com
|
Next, drill a tight fitting hole through the objects you want to rivet together.
This takes a very small drill. For the 0.74mm (21ga) head pins I used in this project, I drilled 0.8mm holes using my Foredom flexshaft. |
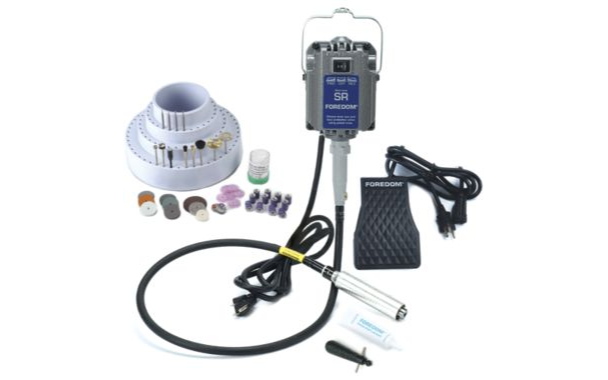
image from ottofrei.com
|
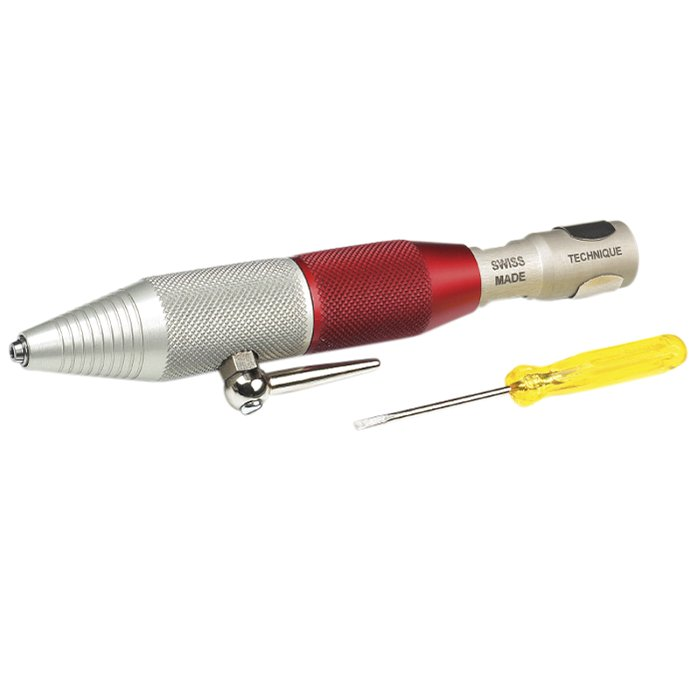 image from riogrande.com
I have a quick change handpiece for my flexshaft, so I have to buy 3/32" shank drills instead of typical straight shank drills.
It hurts a little more when you break one because the 3/32" shank drills are a fair bit more expensive, but the convenience of being able to change drills in a second is worth it.
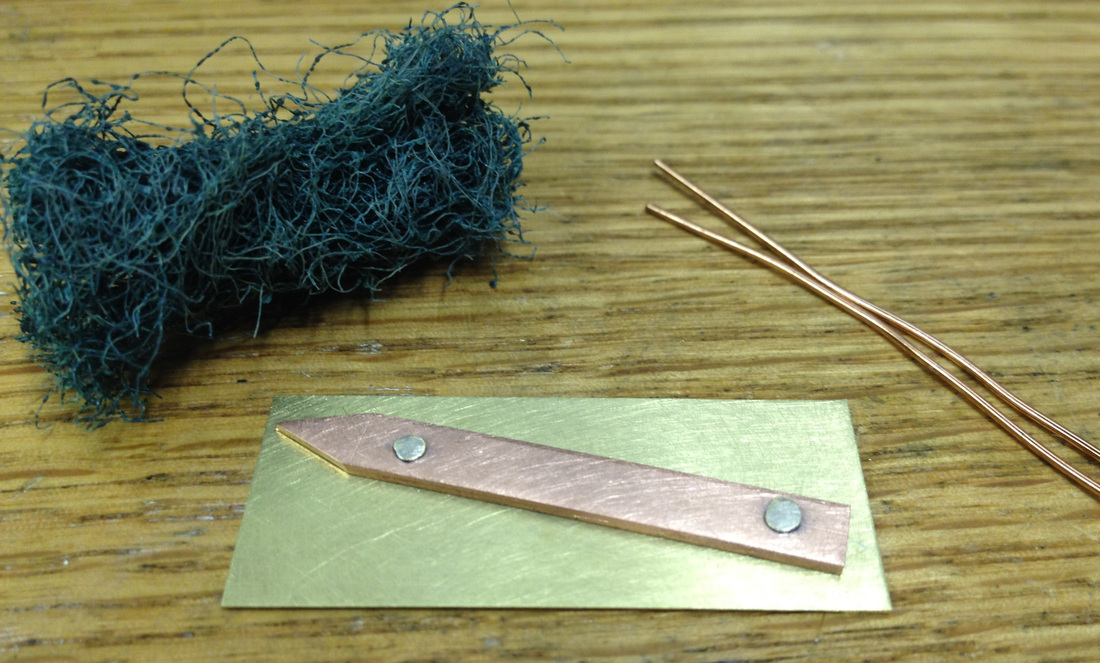
|
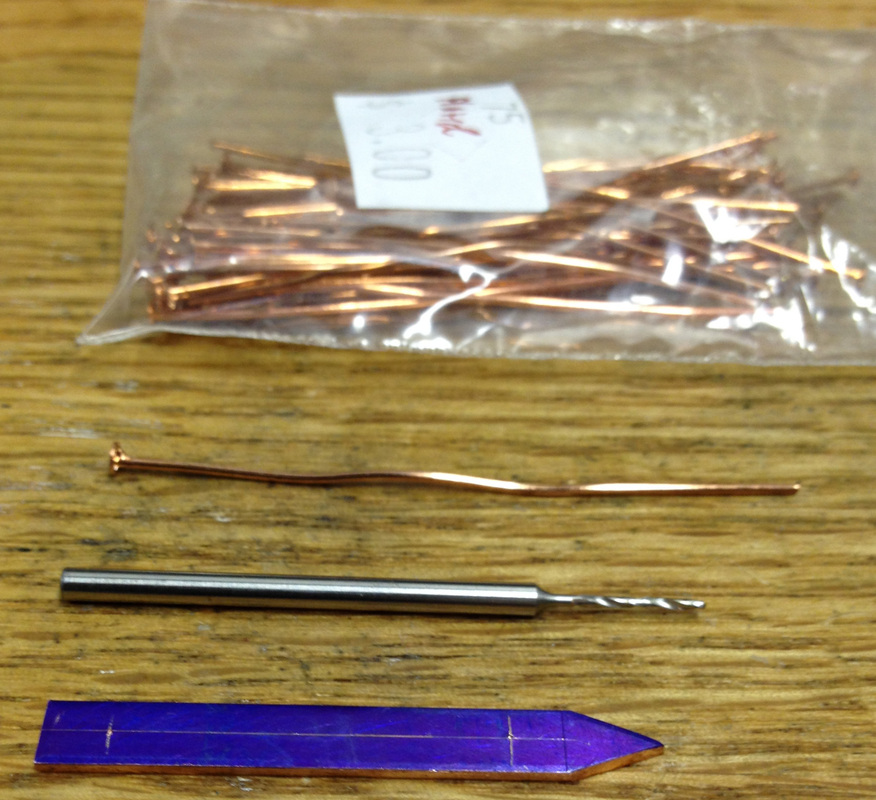
Here's the top piece with the layout complete, the 0.8mm drill, and the head pins. Ready to drill. It takes practice to be able to work with such small drills without breaking them immediately. I always break them. I just hope to get quite a few holes drilled before I do something stupid enough to actually break the drill. |
|
After you've got your first hole drilled, remove any burrs around the hole in both pieces. Burrs can stop you from getting a tight joint. Here I used a setting burr, but a larger diameter drill would have worked too.
Line up the pieces and thread the headpin through the holes from the front. You want come in through the front so the perfect factory-made rivet head is on the most visible side of your piece. |
|
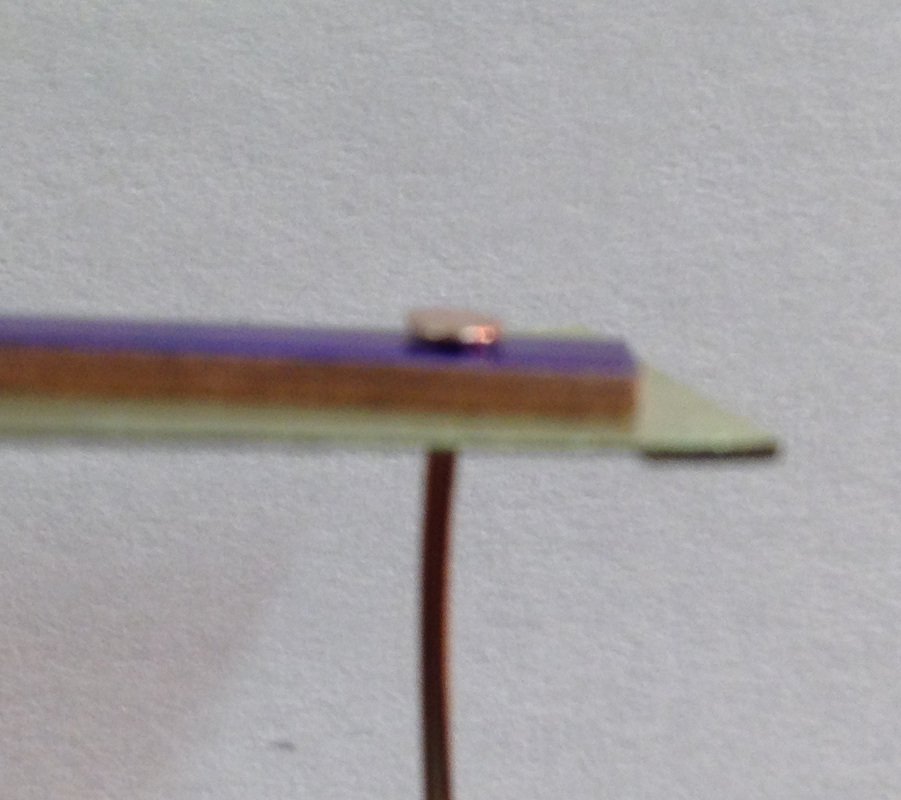
Snug the two objects together. If you don't get them tight now it will be impossible to peen over the rivet properly to form the second rivet head.
Apologies for the out-of-focus picture. I wasted a stupid amount of time trying to get this shot but my cell phone camera just wasn't up to it. |
|
Snip off the excess wire leaving about 0.75mm proud of the surface. Use flush cutters to snip off the wire if you have them. The flat wire end left by flush cutters is much easier to form into a neat rivet head than is the pinched end left by plain wire cutters.
Exactly how much to leave sticking up depends on rivet wire size and your personal preference. I usually aim to have 1 wire diameter or less of wire sticking up for small rivets like these. |
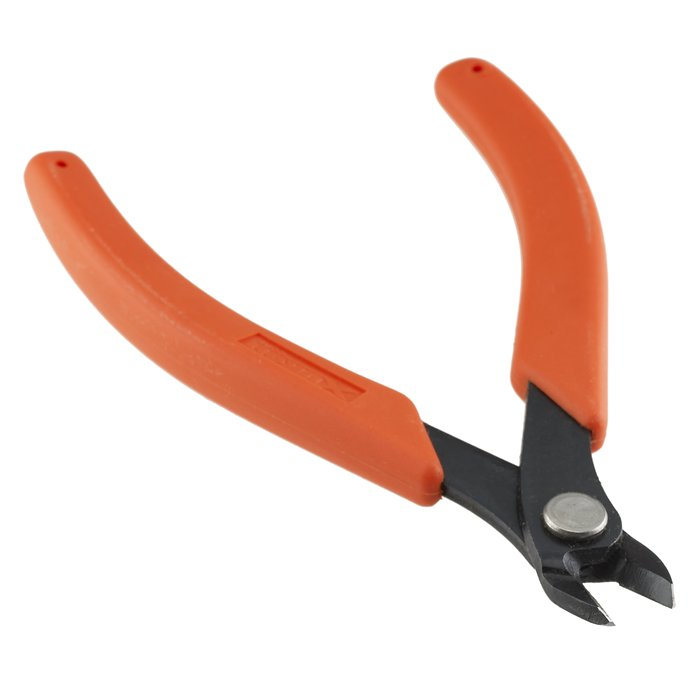
image from
riogrande.com |
|
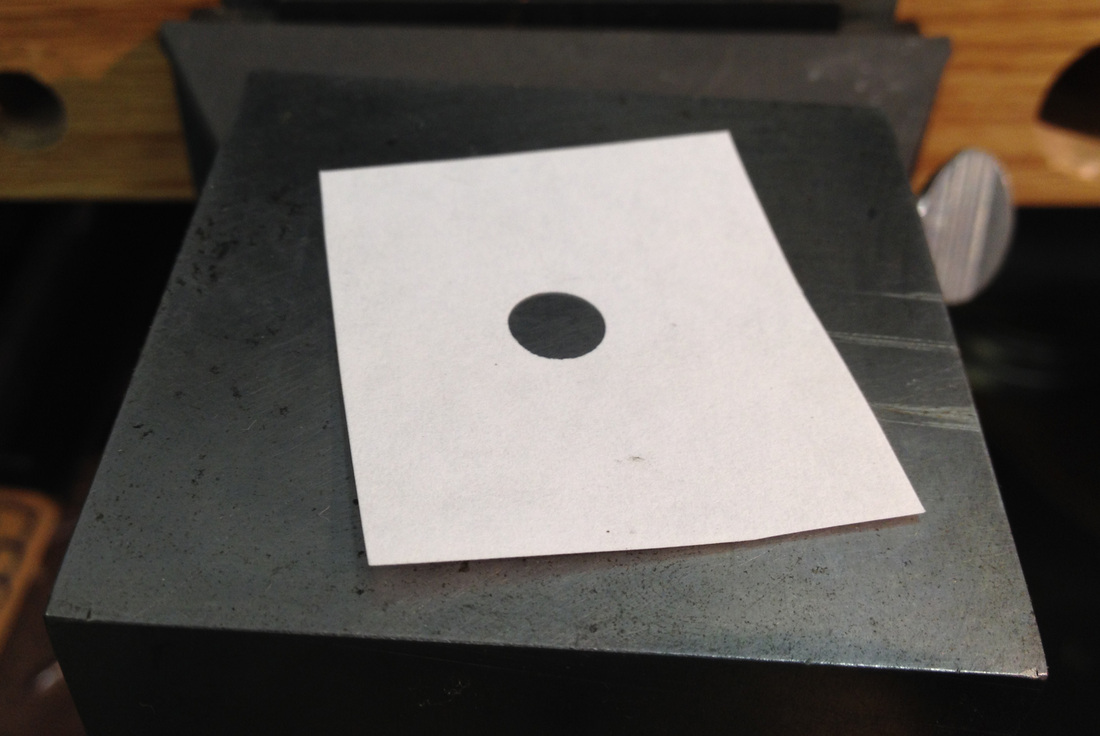
To get set up to peen down the end of the wire, you need to both support the front end of the rivet on a hard surface and to protect the face of the work from getting all scratched up as you are riveting.
I usually use a steel bench block and a piece of copy paper with a hole punched in it. Place the finished head of the rivet in the hole, against the block. The paper will keep the rest of the face of the work from coming into contact with the steel bench block. |
|
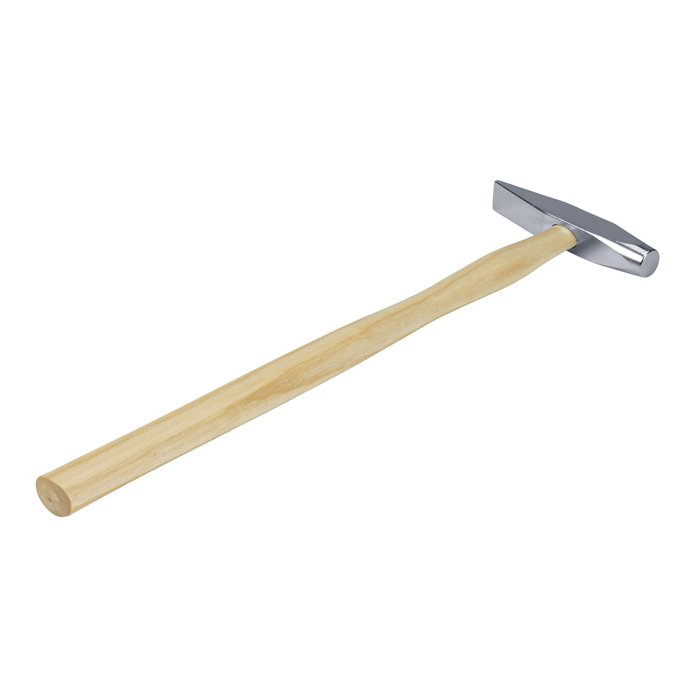
image from
riogrande.com |
Peen the end of the wire down to form the other head of the rivet. I use a riveting hammer with both a cross peen and a slightly rounded peen. When you buy one of these hammers, you'll need to round the edges of both ends to keep a sharp edge from marking the metal around the rivet head.
I start the peening with the cross peen to spread the rivet wire. Tap a few times in one orientation, then rotate 90 degrees and tap a few more times. Flatten and finish it with the rounded peen. |
|
Like anything, this takes a bit of practice, but it's not that hard.
At some point I'll put up a page showing a project after which I was very, very practiced at making rivet heads on headpins.
At some point I'll put up a page showing a project after which I was very, very practiced at making rivet heads on headpins.
|
Rinse and repeat for the second hole. To make sure your holes line up correctly, it's very important to locate and completely finish the first rivet before drilling any more holes.
Then, verify that your parts are properly lined up and drill the hole through all the layers for the second rivet. Once you completely finish the second rivet, the pieces should be permanently locked in place. It's then safe to drill all of the remaining holes at once and finish the rest of the rivets. |
If you try to drill multiple holes before you've got the pieces fixed together, you're almost certain to end up with the holes slightly misaligned and one or more of your rivets won't fit properly through the hole. The tolerances on rivet holes have to be tight or they won't be strong. Don't give in to the temptation to enlarge a misaligned hole to make things fit. Don't let them get misaligned in the first place.
|
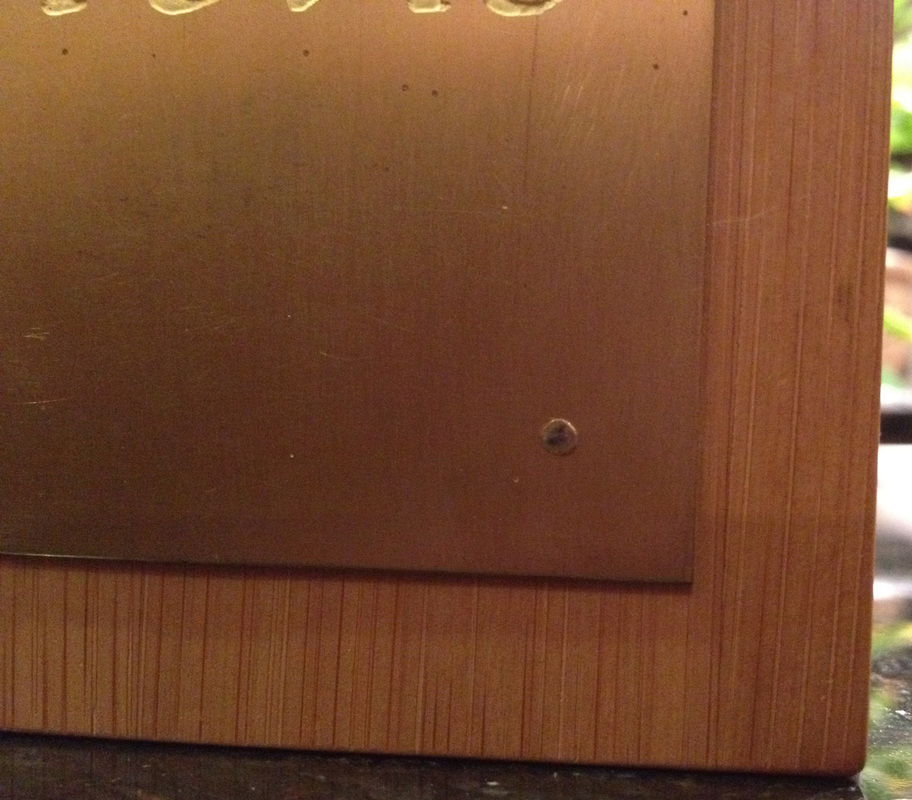
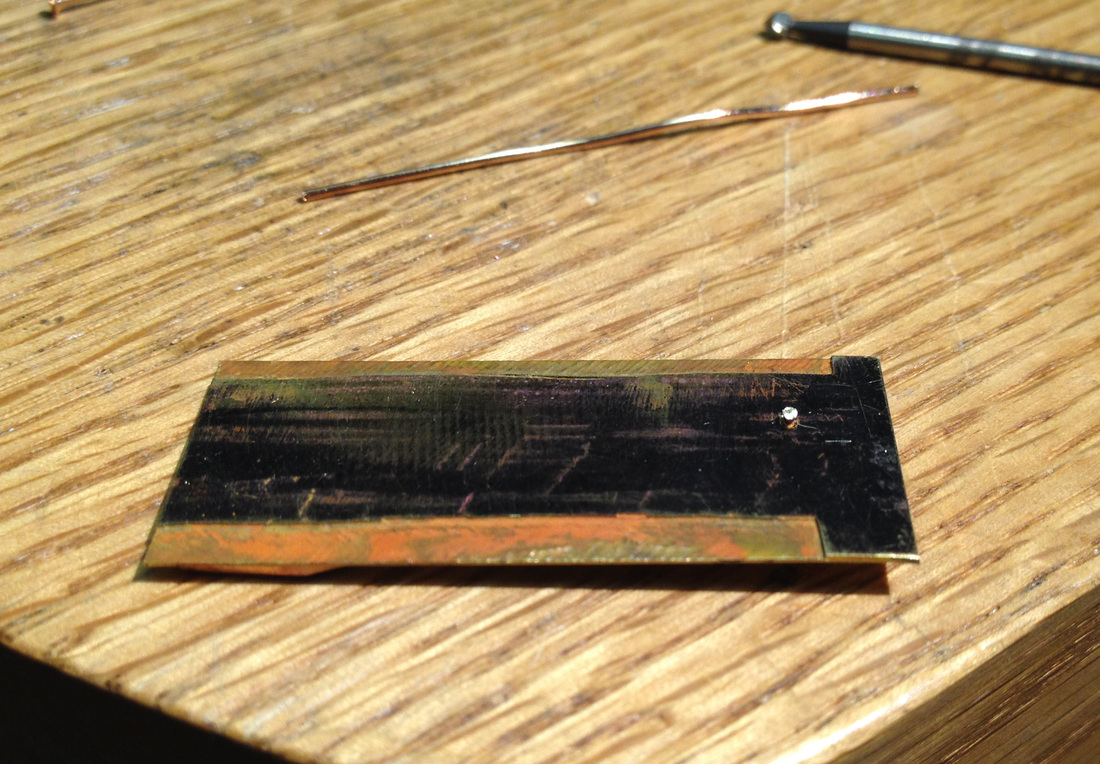
With both rivets complete, all that is left to do is get rid of the layout blue and put the final finish on the piece.
The rived heads on this piece aren't the best I've ever made, but I hope this still makes the process clear enough. |
|
Back to the last few details about this book.
Because one of the objects I was joining was made from wood and thus was too weak on its own to hold the inside rivet heads, I made some small circular plates from 0.8mm (20ga) brass sheet and riveted through them as well. In leatherworking and boat building these backup plates are known as rivet burrs. |
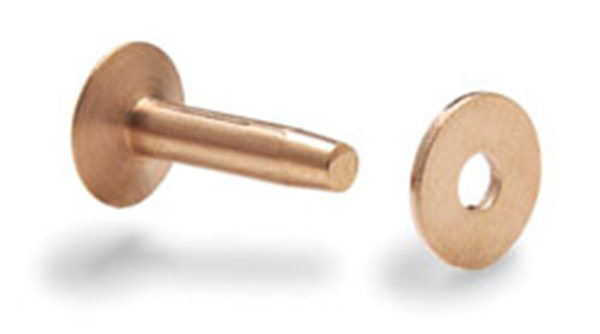
image from
tandyleatherfactory.com |
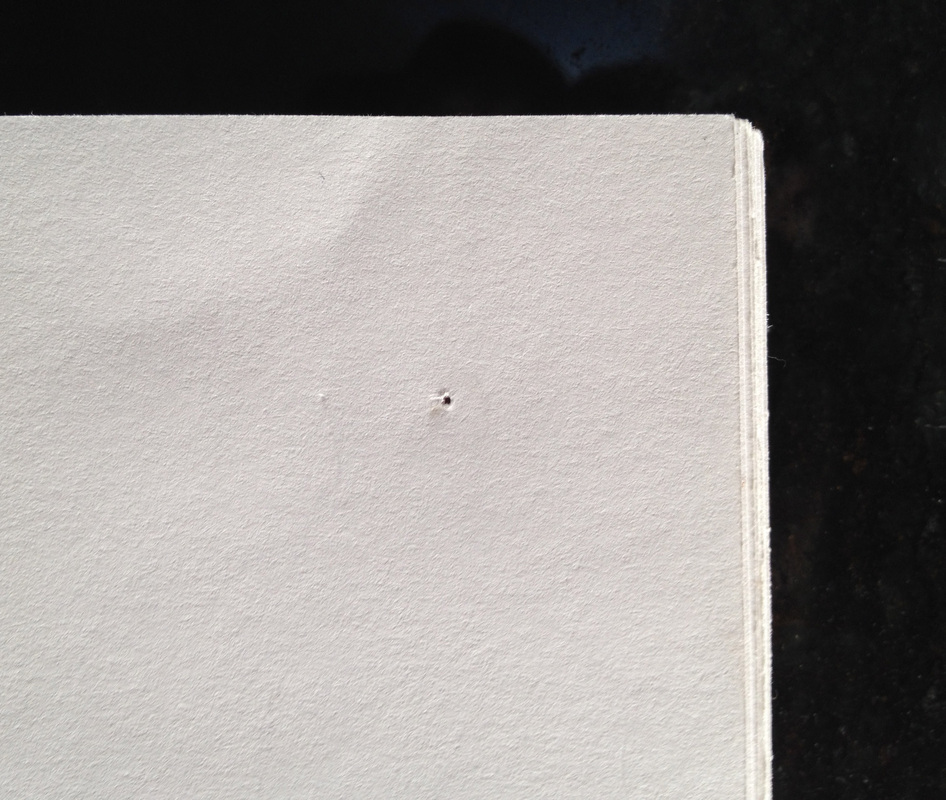
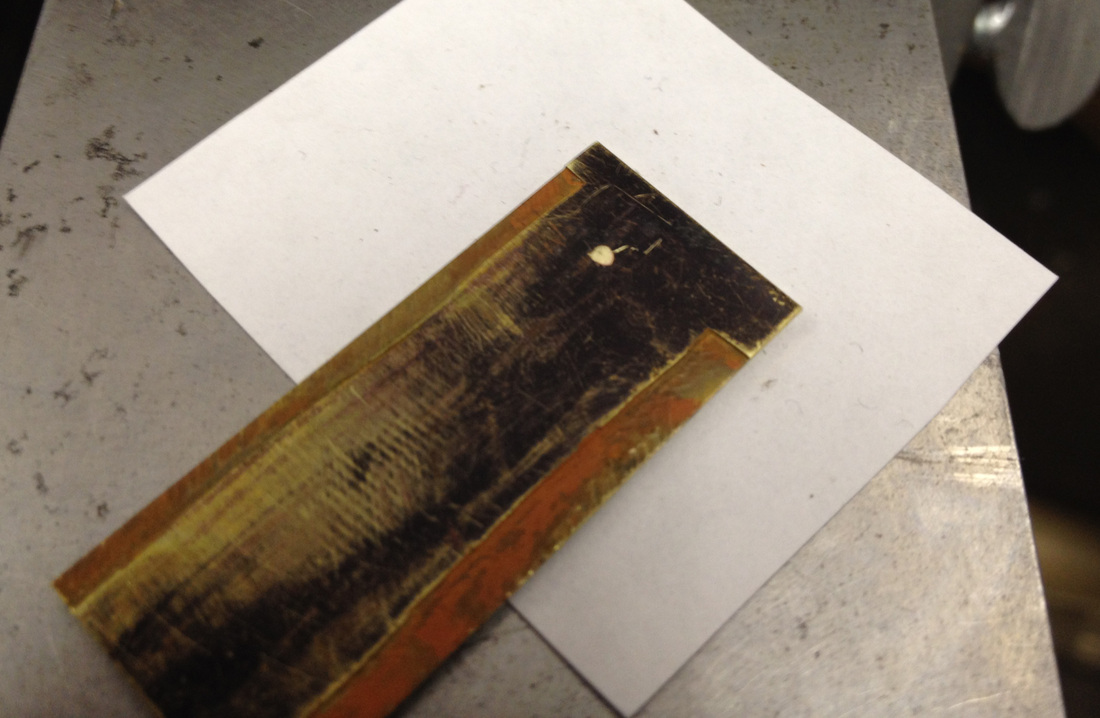
No project of mine ever gets to the end with out at least one "Oops...". Here's the one for this project.
I neglected to put a piece of wood behind the first hole I drilled and ended up drilling a tiny hole through the upper right corner of the first few pages of my notebook.
Like I don't know better!
