One design decision made a huge difference in the perceived quality of the Passportos: no visible stitching on the outside of the spine.
|
Exposed stitching is usually associated with pamphlet stitch bindings*. These bindings are everywhere because they are a simple, effective way to bind a few leaves together. But they are rarely found in professional commercial bindings because, while they are simple and easy to make, they usually embody a casual, DIY aesthetic.
We're not professional anythings at this point in our lives, let alone professional printers/binders, but we did want to make something slick that we were proud of. So, no visible stitching! *If you want to know more about pamphlet stitch binding, here's a link to a nice tutorial by wood engraver and printmaker Joanne Price of Starpointe Studio. Joanne's engravings are amazing. |
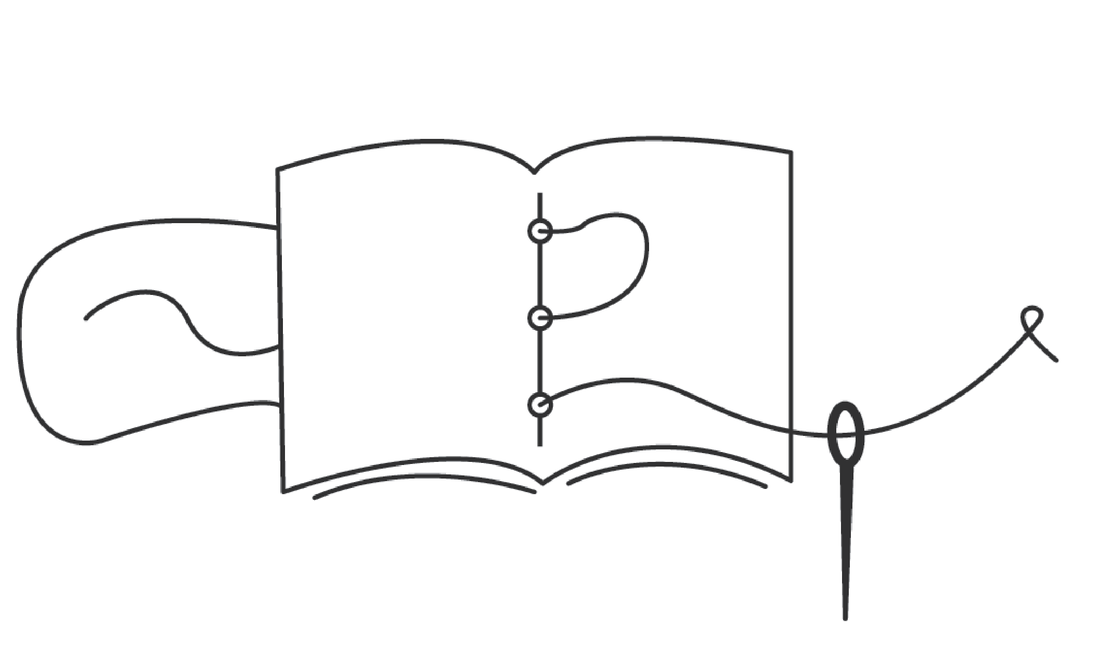
loc.gov thinks this is a nice sketch of a pamphlet stitch binding
|
|
Making good on this decision required a significantly more complex design than would have been possible with visible stitching. We needed a laminated cover to hide the stitching. Complexity drives cost and effort. The increased cost came from the need for more materials (paper and adhesive). The increased effort came from the need to laminate the cover to the sewn signature. This was a HUGE deal and by far the most labor intensive step of the process. You get what you pay for (in time and money)! |

Soooo clean
|
|
Gluing
The first assembly step was to apply adhesive to the endsheet. We chose to use a "dry" adhesive for this step to minimize the chances of getting glue where it didn't belong. Unfortunately, this also maximized the cost because those Tombow tape runners are not cheap. We used a total of about $150 worth of adhesive during the project. Glad we got that done before they raised the price 30%! In a commercial bindery they would have used a machine called a label paster to apply liquid adhesive to the cover. We don't have one of those for 4615 obvious rea$on$. One tricky detail was what to do with the loose threads. We quickly discovered that if they were left to their own ends (heh) they would stick between the cover and endsheet in random locations, leaving visible bumps in the endsheet. Nope, can't have that. We were happy to discover that after the glue was laid on the spine the threads could be manually stuck directly down to the stitching and kept out of the way. Glad as we were that this worked, there might have been a little cursing involved in manipulating bits of thread and glue. |
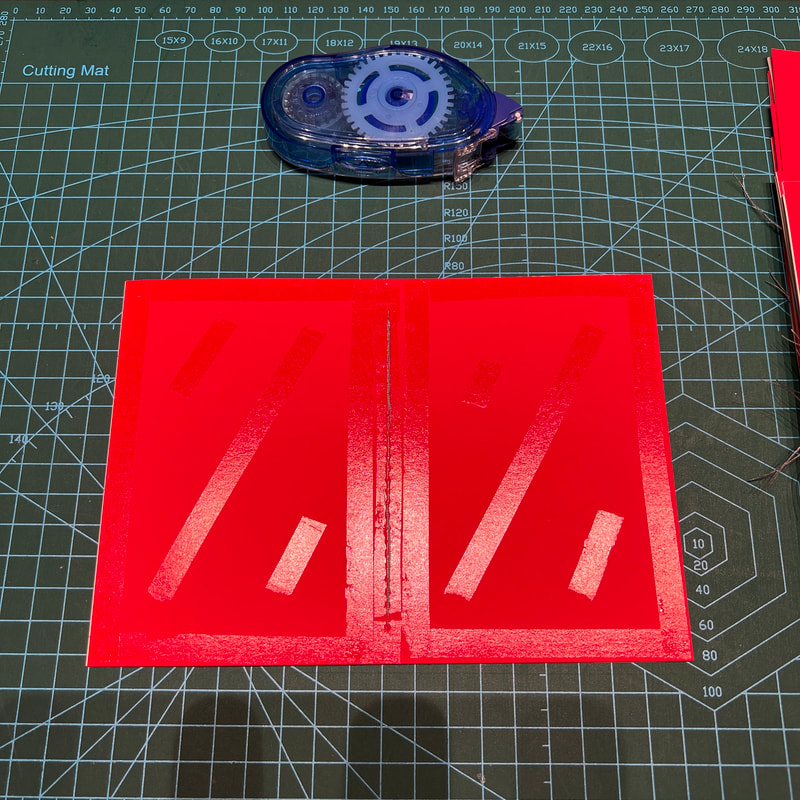
Sewn signature all glued up, ready for the cover
|
|
Place, burnish, and fold
After the endsheet was glued up, a cover was carefully aligned and placed onto the adhesive. To get the strongest possible bond, the covers were then burnished down with a bone folder. The one we use was actually made of teflon to minimize the chance of bruising the matte surface of the Plike paper. Finally, the booklet was folded down the middle and fold was flattened, again with the bone folder. |
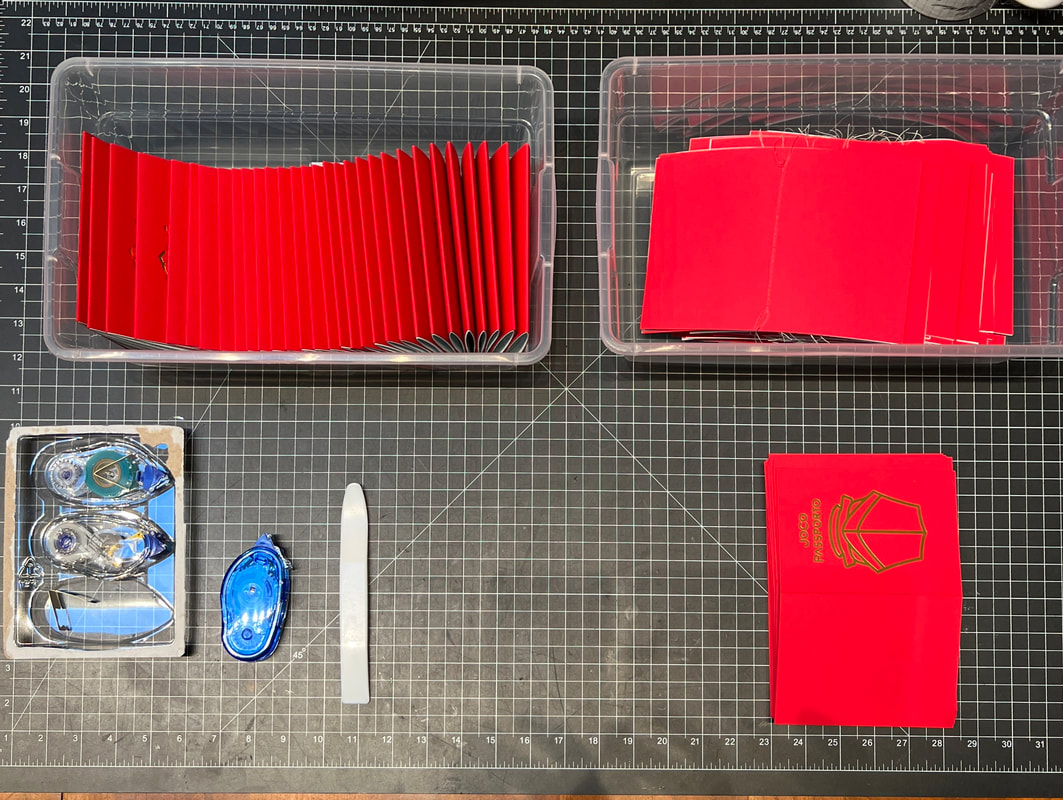
Parts on the right, finished assemblies on the left
|
As you might imagine, doing all that 600 times took awhile. Once we got to this point in the project, our goal was to get covers onto at least 50 Passportos a day. It turned out to be a good evening task.
After assembly was complete, all that remained was pressing, trimming, finishing, and packaging. Easy, right?
After assembly was complete, all that remained was pressing, trimming, finishing, and packaging. Easy, right?
