|
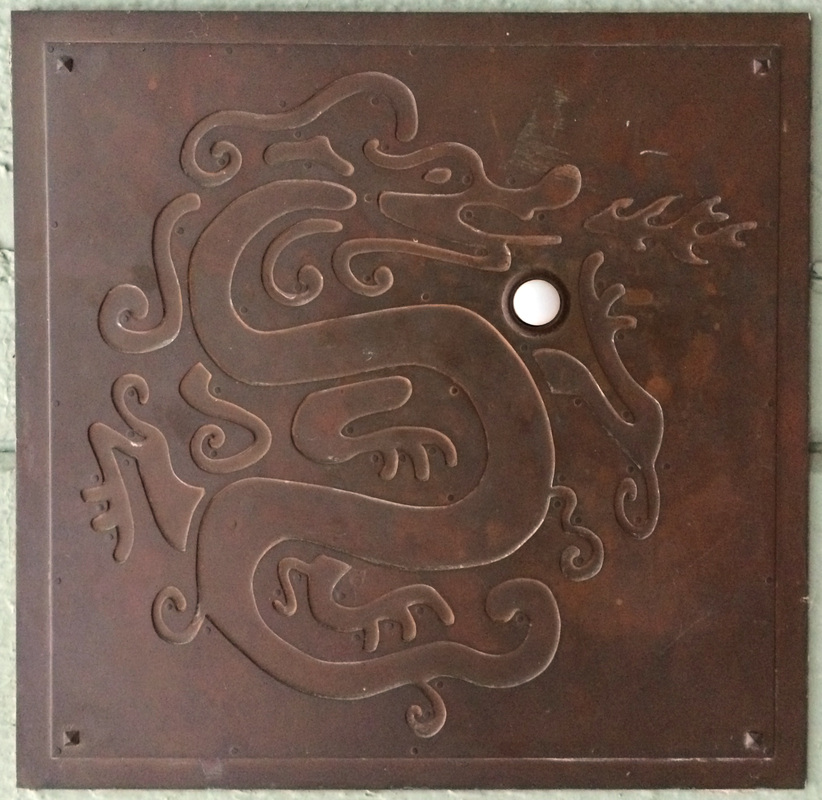
8" x 8" (203mm x 203mm)
0.032" copper sheet on 0.062" copper back plate hand sawn, cold connected (copper rivets) commercial doorbell button assembly fixed in place with copper rose head boat nails |
|
I learned my lesson about the difficulty of hard soldering (brazing) large masses of copper together when making the Arts & Crafts Doorbell Plate. So, when I decided my friend Marc needed a dragon doorbell plate as a birthday gift I went for cold connections. I had already honed my skills riveting with copper head pins on the Riveted Copper Kitchen Cabinet Door Panels so assembling this project was pretty straightforward. Only about 80 rivets required instead of the hundreds in the panels.
|

|
Since I'm almost completely hopeless at designing things, I went looking for some art to adapt for the project. This art started out life as a tiny gif I found somewhere on the internet. I think it was on a rubber stamp site, maybe?
I made this project quite a few years ago and I no longer have any information about the source. Google image search was unable to find anything like it and the metadata for the file is mostly empty. If by some miracle someone happens to recognize it, please let me know so I can properly credit the original artist. |

|
To scale the drawing to the size I needed, I started old school and finished high tech.
I printed the drawing out as large as would fit on a letter size piece of paper. It was badly pixelated, of course, because the original art was only 178 x 181 pixels. |

|
I flipped the paper over, put it on a light table, and traced a fair outline with a pencil onto the back of the paper.
Once I had an outline I was happy with, I scanned the tracing so I could manipulate it with Adobe Photoshop and Adobe Illustrator. |

|
To saw out a design, a single narrow line is easiest to follow. I cleaned up the scan in Photoshop and worked the usual Live Trace and path manipulation tools in Illustrator until I had something I was happy with.
I avoided the pen tool. That thing is evil. Does anybody really understand how it works? |

|
The next step was determine where the rivets were needed. The full size cartoon was very handy here. I colored it sort of copper colored just for fun.
Locating the rivets was just a matter of dropping dots onto the art to represent the rivet heads. The heads will be a feature of the design, so in addition to actually fastening everything together, they layout needed to look good. I tried for an even distribution of rivets while making sure there weren't any loose toes, etc. (Do dragons have toes? Or maybe claws is better? Or talons? This one definitely seems to be more in the toe category.) |

|
The final design task was to locate the doorbell button itself. I bought a generic doorbell button and measured the diameters of the body and the metal bezel that fits around the button.
A hole slightly larger than the diameter of the body needed to be cut in the plate and the button placed in the design where the full diameter of the bezel would look good. I didn't want it to overlap the recessed area or a rivet head. |
|
A full size print out of the art required tiling across a couple of pages, but it worked fine to just tape the pages together. The art and copper sheet were sprayed with 3M Super 77 Spray Adhesive and bonded together.
The paper pattern provided a clear path to follow with the jeweler's saw. |
image from ottofrei.com
|
The design is all contours inside the square outline of the plate. This kind of work with a jeweler's saw is usually referred to as piercing.
In order to pierce the design, small holes are drilled into each enclosed shape so that the jeweler's saw blade can be threaded through the work and reattached to the saw frame. |
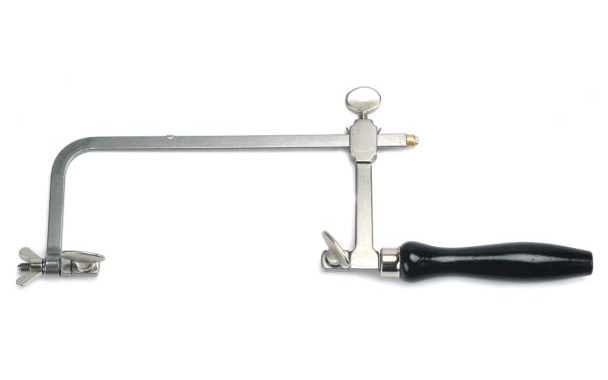
image from ottofrei.com
|
Most piercing at jewelry scale can be done with a shallow saw frame.
Saw frames are sized based on the distance from the blade to the back of the frame. Typical sizes are 3"-6" (75mm-150mm). A shallow frame is better balanced, lighter, and easier to handle than a deep frame. |
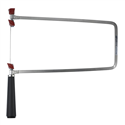
image from riogrande.com
(discontinued) |
This design is so large that an extra deep frame was required, particularly near the corners.
Working with a 11" deep frame is unwieldy but isn't fundamentally different that using a shallower frame. With a deep frame, it is a lot easier to get the frame and the work misaligned and break the blade. A frame this deep is more of a fret saw than a jeweler's saw, but, as long as it holds the blades securely, who cares what it's called? It's a good thing that blades don't cost too much. |

image from google.com
|
There is a lot of line to saw in a project this large, but the actual sawing goes much the same as a small project. The key for me was to break up the sawing into multiple sessions so that I could stayed fully focused on sawing exactly on the line. Sawing, much like chainmaking, can be very meditative.
It's easy in such a large scale project to just start sawing away to get on with it. If you fall into that trap, at best you end up with a lot of filing and sanding to do to clean things up. Even worse, if you stray off the line and cut into the design, you can't fix it. |
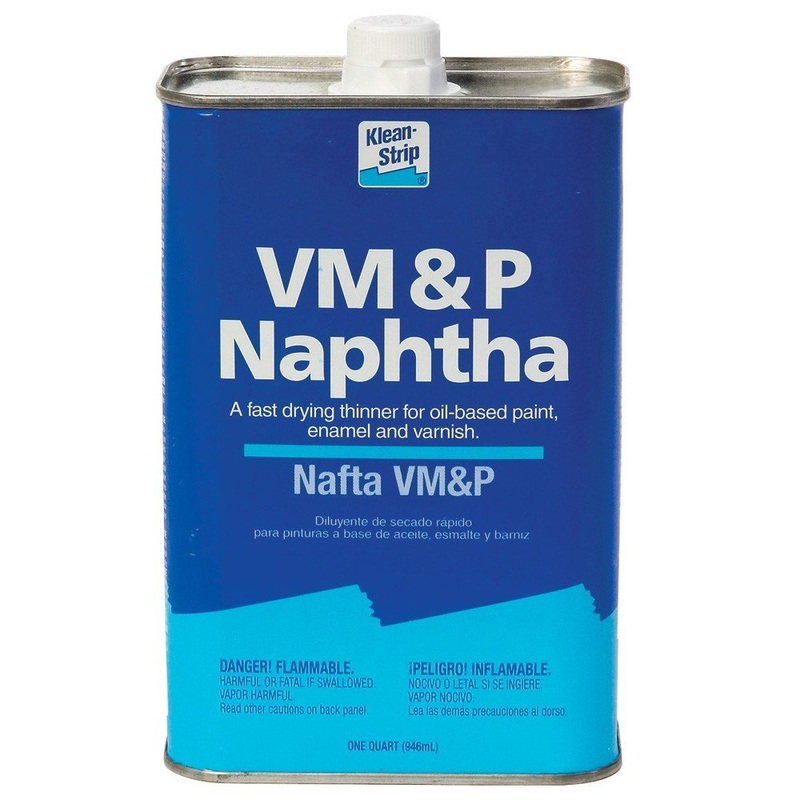
image from amazon.com
|
The initial sawing complete, I used some VM&P Naptha to soak off the remains of the pattern and the adhesive residue.
Inhaling naptha vapors is a Bad Thing, so I do this kind of work in a well ventilated space or, even better, outside. |
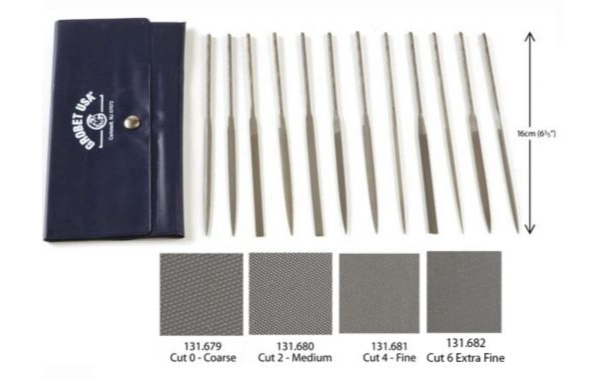
image from ottofrei.com
|
The actual contours of the design were visible with the paper pattern removed.
Seeing the real thing turned up a few parts of the design that needed a little finessing with needle files and sanding sticks. |
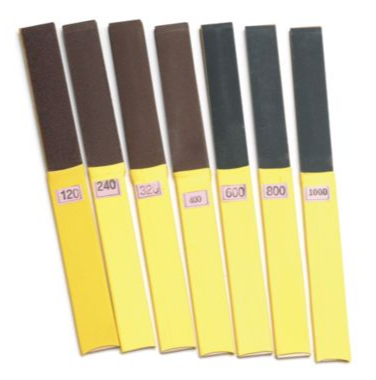
image from ottofrei.com
|

image from amazon.com
|
With the design sawn out and cleaned up, it was time for rivets.
All of the rivet locations were marked with a Sharpie and then center punched. Using an automatic center punch is a lot faster than a simple punch and hammer. Just set the punch on the mark and push down. |
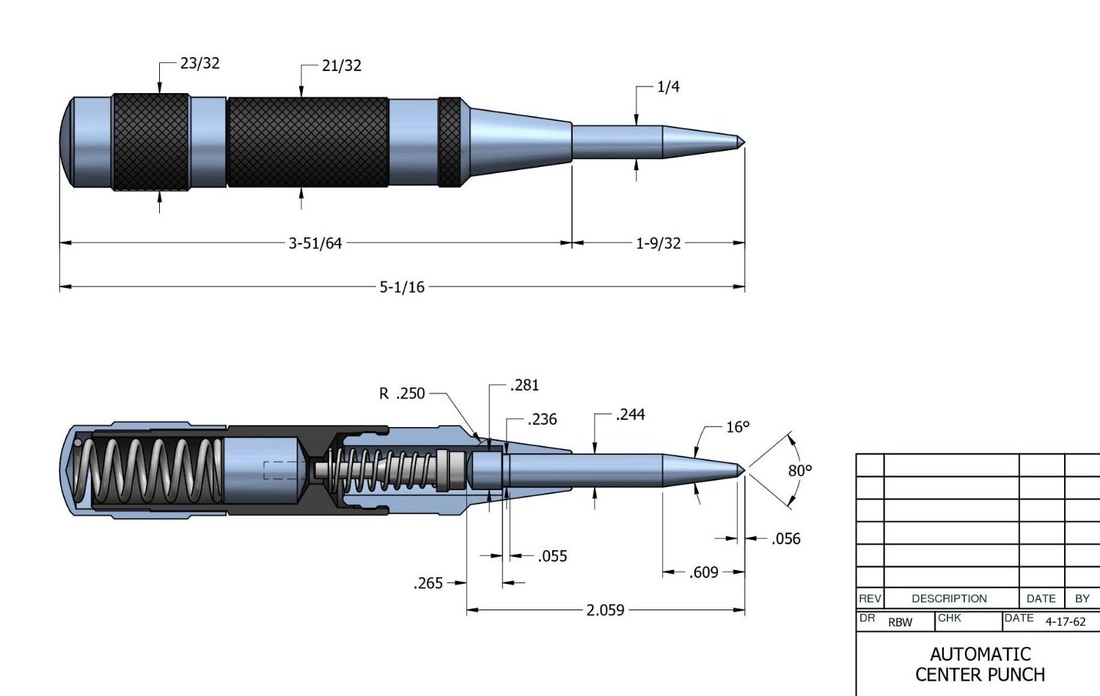
image from
amazon.com |
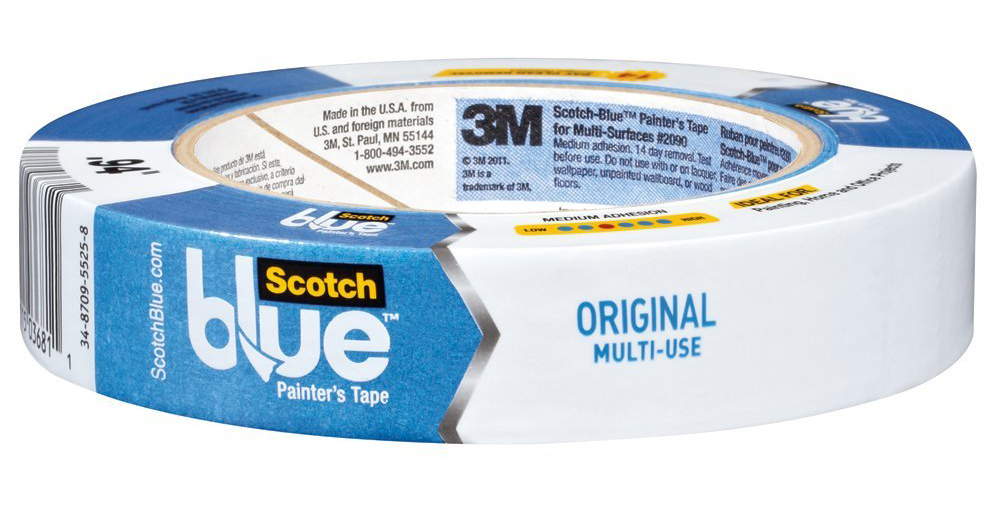
image from amazon.com
|
The design layer was then taped into position on the backing layer with 3M blue painter's tape. Then the first rivet hole in one corner of the design layer was drilled all the way through and the rivet set. Then the rivet in the opposite corner was drilled and set. After that, the two pieces were firmly fixed together so all of the remaining rivet holes could be drilled at once and then the rivets set. Thread in head pin...snip...lots of tapping...thread...snip...lots of tapping...thread...snip...you get the idea.
For a complete description of using jewelry head pins as rivets, have a look at the Coptic Stitch Notebook page. I hope you find the explanation...riveting. |

image from amazon.com
|
The project was almost completely assembled at this point, except for the door bell button and mounting holes. Now for the finish.
I decided to use a pumice finish because I could polish into the small, narrow recessed areas of the design as well as easily finishing the upper surface. 4F grade (very fine) pumice put on a smooth, satin finish on the relatively soft copper and the slurry rinses off pretty easily. After lots of scrubbing with a toothbrush and a slurry of pumice, I was ready for the final assembly. |

image from leevalley.com
|
Four corner mounting holes were drilled the same diameter as the length of a side of the square shank of the copper boat nails. Then the holes were squared off with the jeweler's saw and finished with square cut needle files.
|
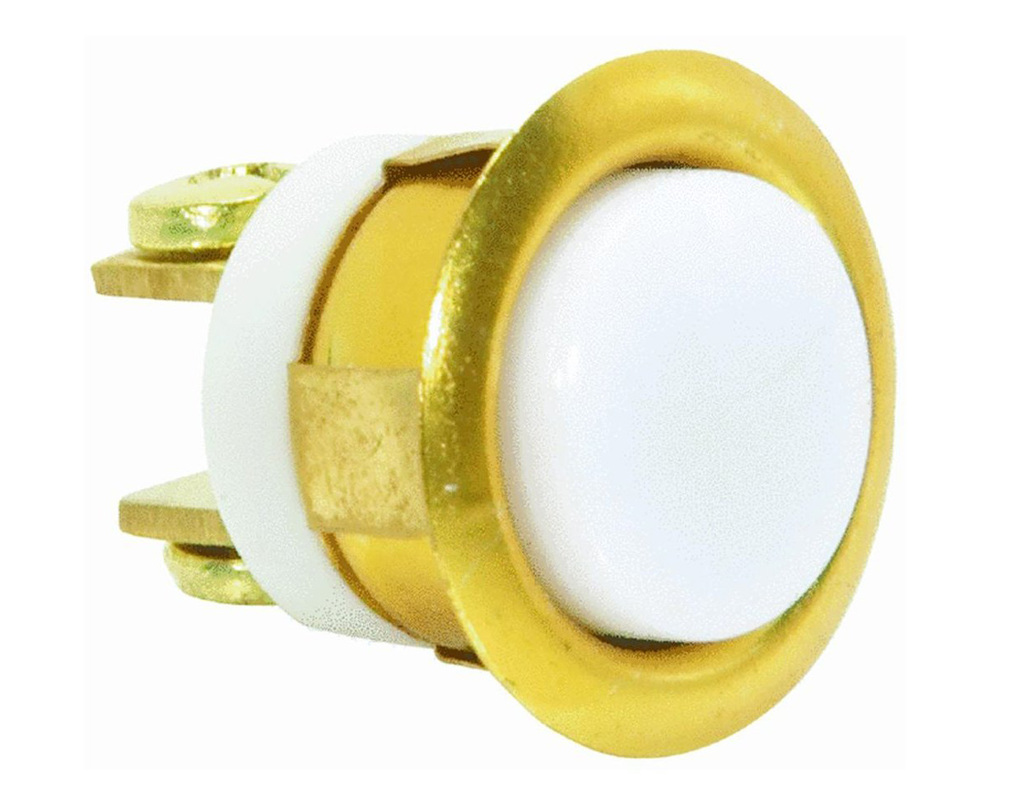
image from amazon.com
|
The last step was to mount the doorbell button.
I had to partially disassemble the button to mount it, but it fit right into the hole, the bezel pulled down tight against the surface, and went back together easily. |
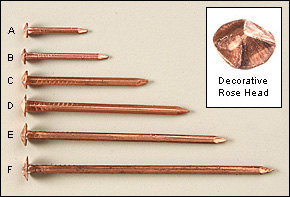
image from leevalley.com
|
The heads of the copper boat nails are die struck so they are all slightly off being a clean, true square-based pyramid. I tidied up four and a spare with a file.
|

|
Then it was time to box, wrap, and present.
It went over pretty well...in as much as it was up on the wall of the house the next time I was over! Call that a win in the constant battle to think up gift ideas for Marc. This image shows the plate after many years of exposure to the elements and the hands of numerous visitors. Copper just gets more beautiful the longer it's used. |
