|
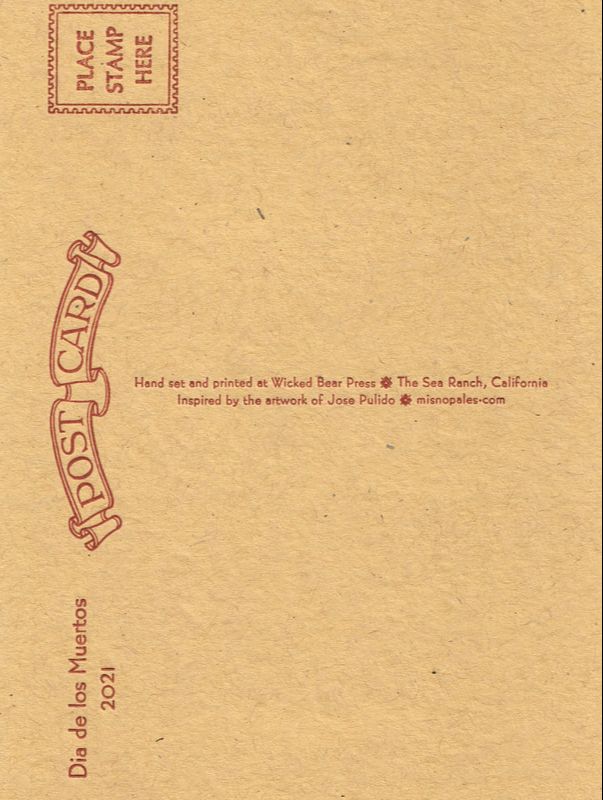
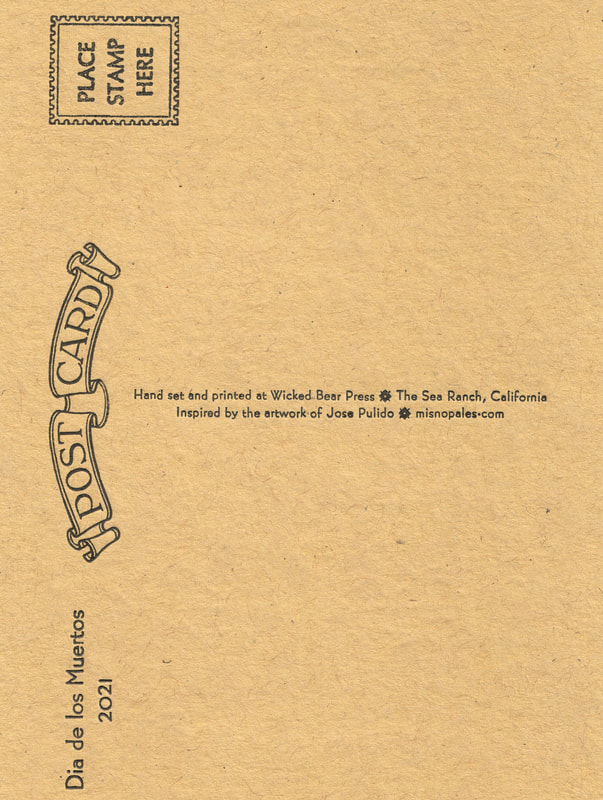
Postcards
Various Southern Inks Kraft-Tone Brown Box Kraft 100# cover from French Paper Letterpress printed 4 1/4" x 6" (108mm x 152mm) |
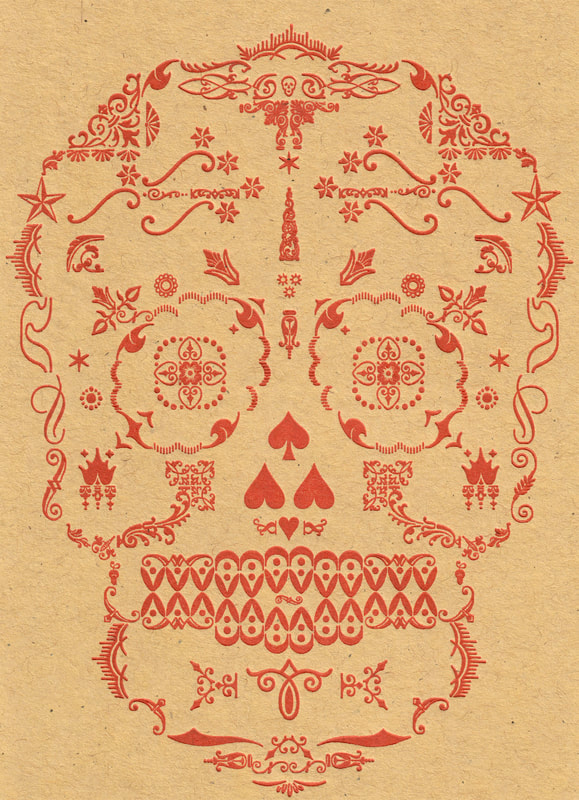
Southern Ink Warm Red
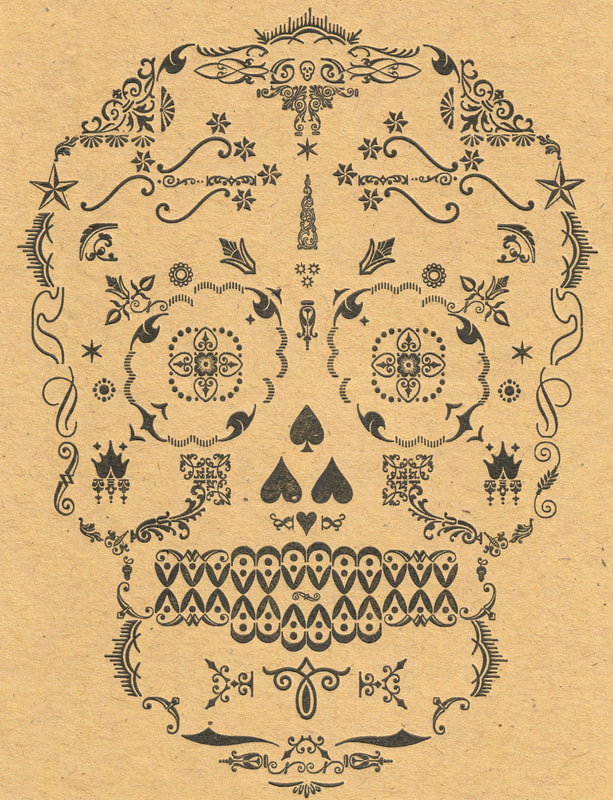
Southern Ink L.P. Dense Black
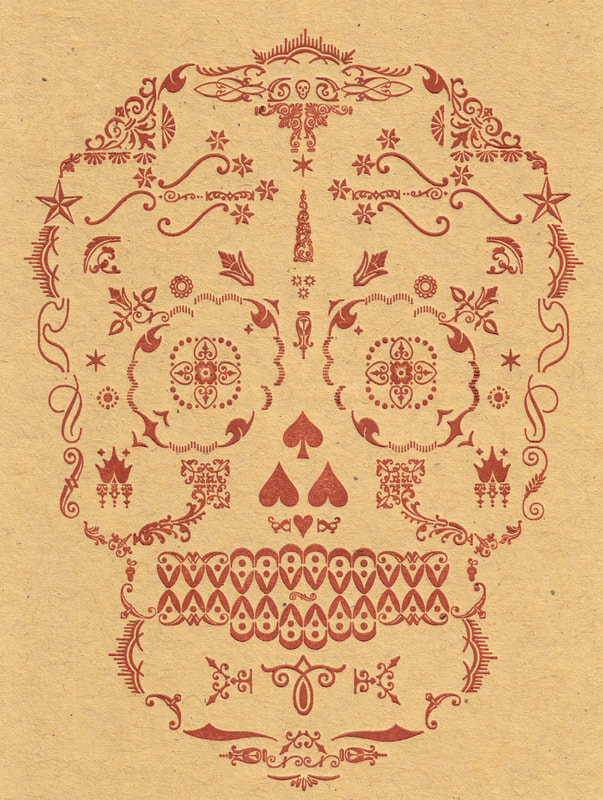
Southern Ink Custom Brick Red
|
Southern Ink L.P. Dense Black
Southern Ink Custom Brick Red
Southern Ink L.P. Dense Black
|

|
Many (15? 20?) years ago I discovered the artwork of Jose Pulido of Misnopales Art. I've been a fan and supporter ever since.
Jose's Calavera screenprints are made on an old school Print Gocco and are great combination of concept, design, and execution. That's why I have a LOT of them. They hang over my desk and around the walls of my workshop and I look at them every day. Even these many years on, they still make me smile. With all this inspiration around me, I resolved to try my hand and a typographic Calavera design entirely hand set from metal type and printed letterpress. I've been thinking about a project like this for some time. The loss of my father this year got me off the mark. I thought of him often as I was working on the project. Thanks Dad. |
|
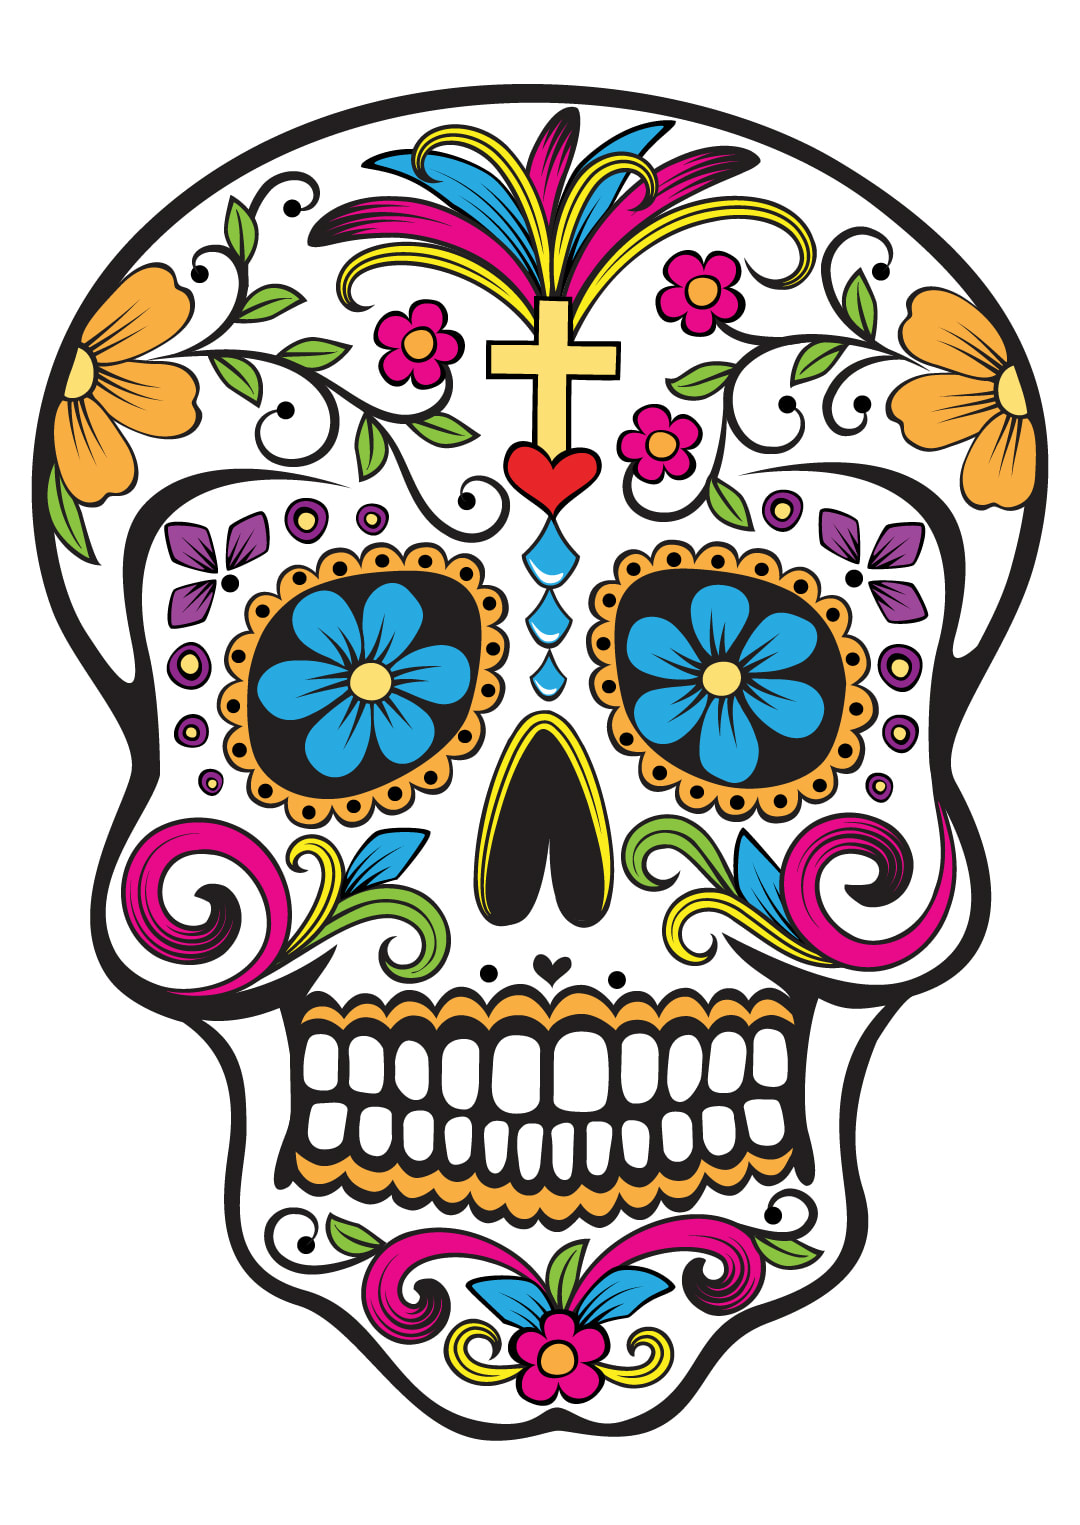
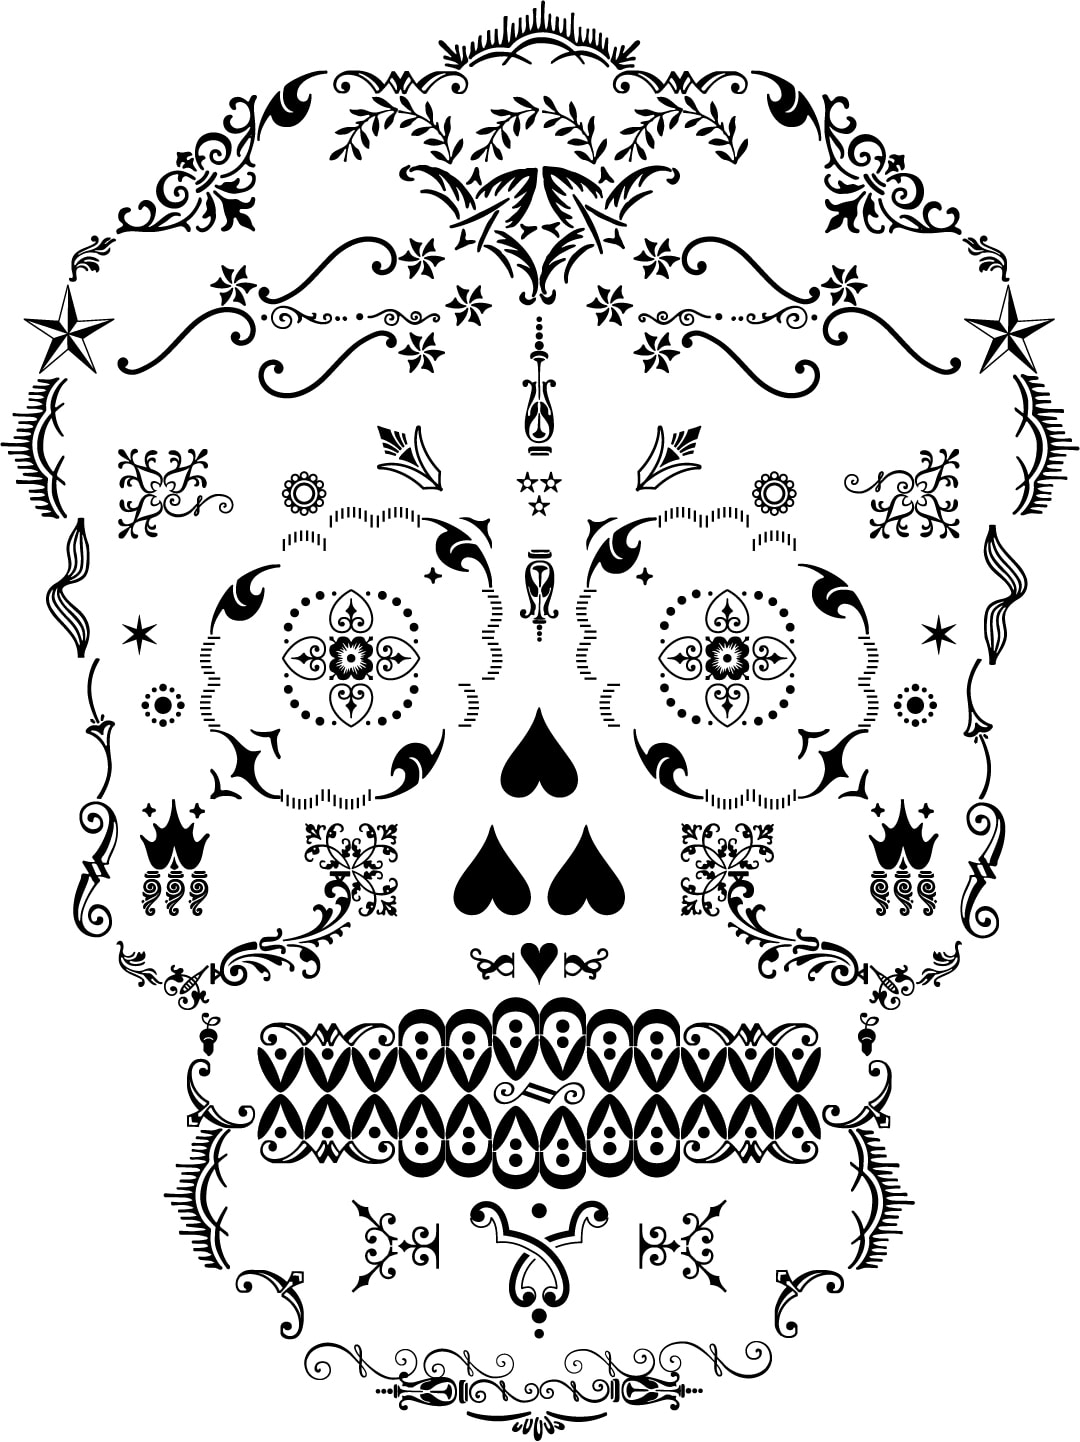
I guess it's a bit of an overstatement to say that I tried my hand at the design. Instead, I searched my design references and the internet for images that I could use as a jumping off point for the typesetting.
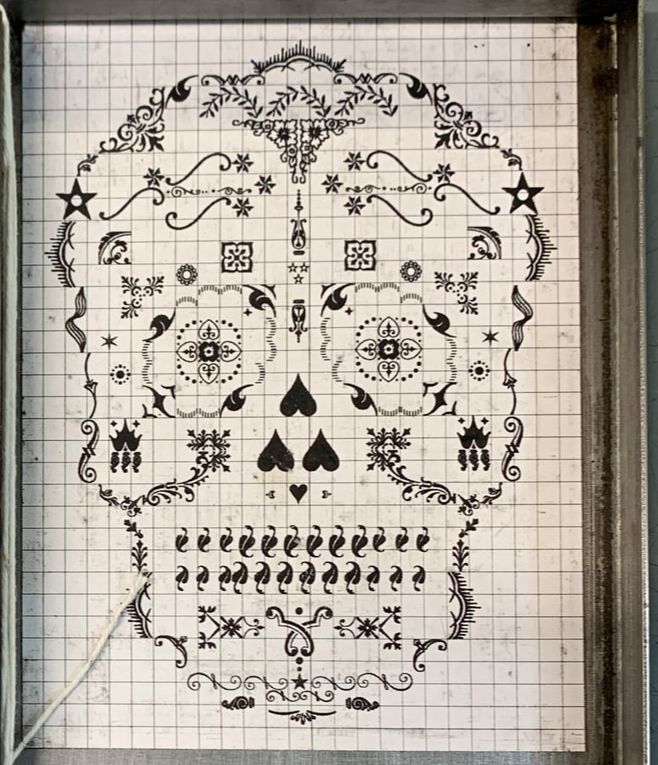
I found this Calavera image easily enough. It's everywhere and I have no idea who drew it originally. If I ever do figure it out, I'll put the appropriate credit here. 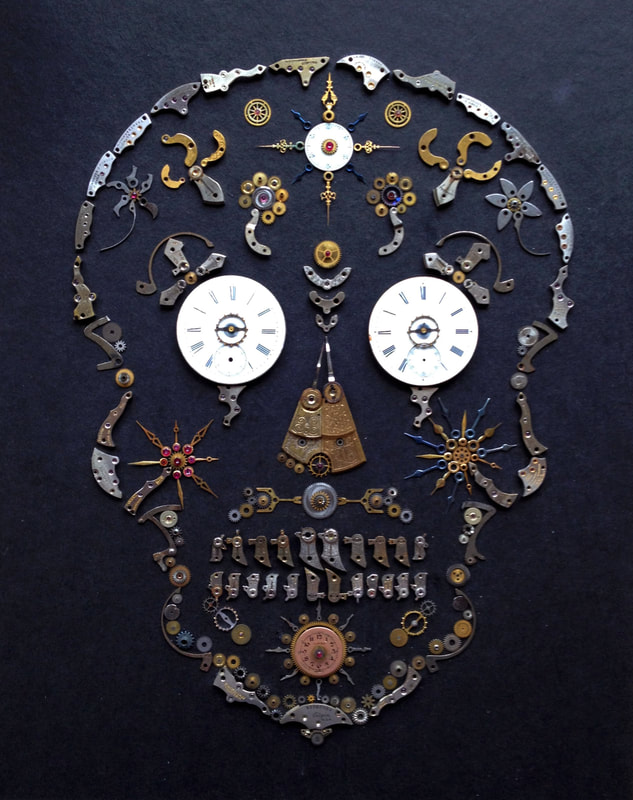
This isn't the first project I've made starting with this image. A few years back I made a mosaic out of old mechanical watch parts. Details of that project can be found here. |
|
|
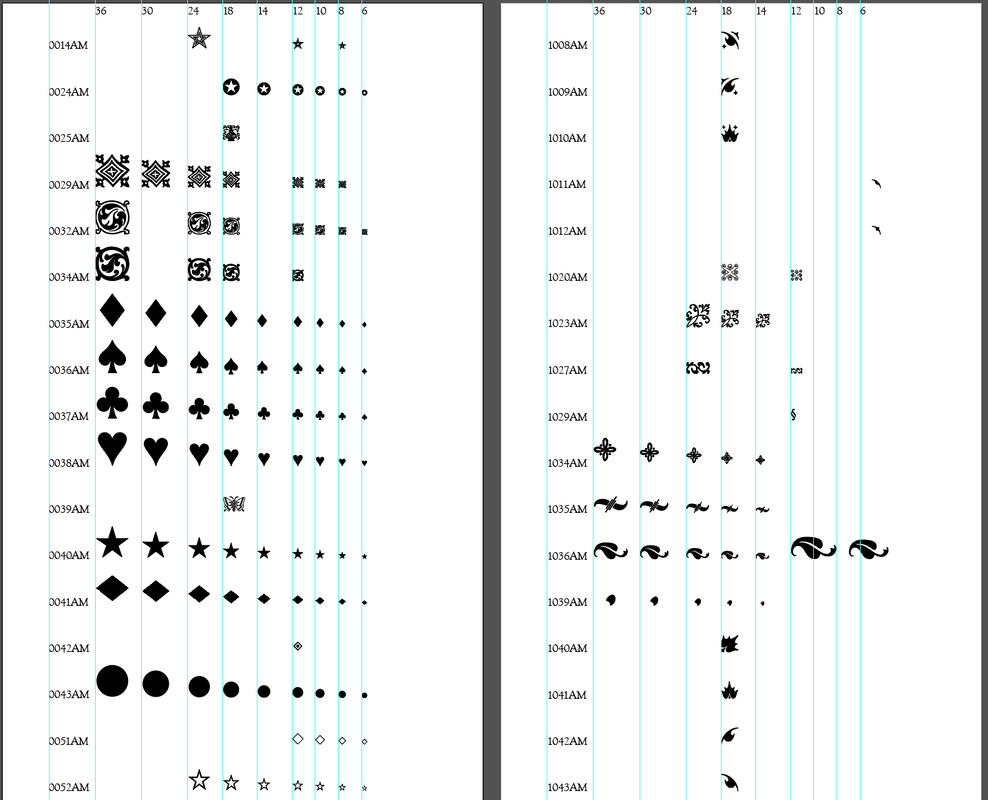
My typographic layout tool for Adobe Illustrator contains over 500 digitized ornament designs in the Wicked Bear Press collection (mostly American Monotype). So, I fired up illustrator and played around with them to interpret the Calavera design.
The tool is pretty easy to use. Just create a document with a 1 pica grid and start dragging and dropping the ornaments into place. I have been informed by a reliable source that "this is cheating." This source is also an excellent designer and printer of many years experience. So of course they wouldn't want, let alone need, a crutch like this. A lesser mortal such as myself finds it invaluable in overcoming the terror inspired by the blank page at the of a new project. |
|
The ability to lay out the ornaments directly on top of the image was a big help.
|
|
|
Once the design was finished to this level, it was time to go to the printshop and start setting it to see what would happen in the real world.
It quickly became clear that some of the ornaments in the layout tool are not actually in our collection and so I had to make appropriate substitutions on the fly. One factor that made substitutions and rearrangments easier was my adherence to Jennifer Farrell's (of Starshaped Press) dictum to only use ornaments with dimensions in multiples of 6 pts. "Stick with the Sixes." That way when a space needed to be filled or something needed to be moved it was a simple matter of deciding which multiple of 6 pts it was. Much easier than puzzling over small spaces and wondering what is required. Another tip from Jennifer: use proper cast spacing where ever possible. The dimensions are much more accurate than cut pieces of leads and slugs. |
|
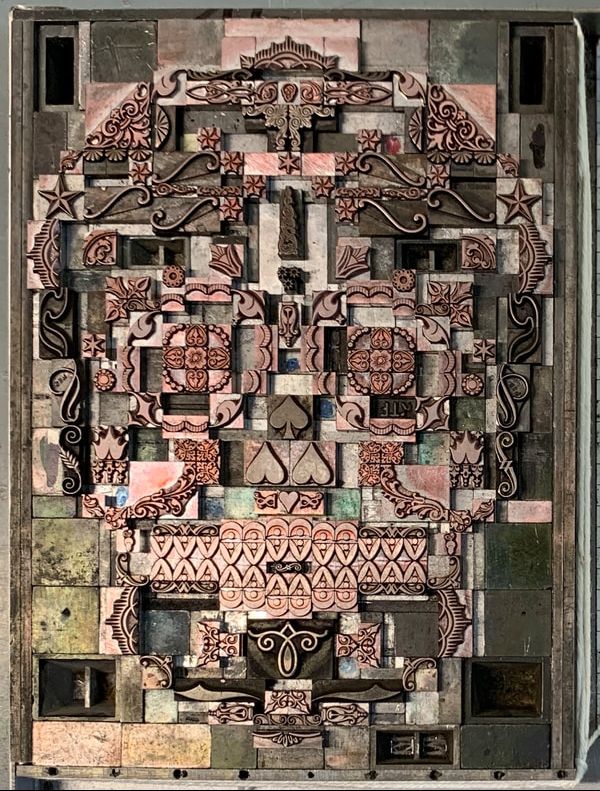
Yet another tip from Jennifer Farrell is to compose the form in a galley with a copy of the design (reversed!) laid in the bottom. That way your can build right to the layout as you go.
Can you tell Jen is my Obi-wan of typographic design and execution? This is the actual layout I took to the print shop to start setting. The one shown above was modified as I went along making changes. Note the dramatic improvement in the mouth from this initial layout to the final design. I'm fortunate to have a wide (nearly 300!) selection of DingP@s. These ornaments cast on a 12 pt em quad body by Pat Reagh are incredibly versatile and are a key part of all my decorative typographic compositions. Pat sells his DingP@s on eBay. The final mouth design is mostly DingP@s. 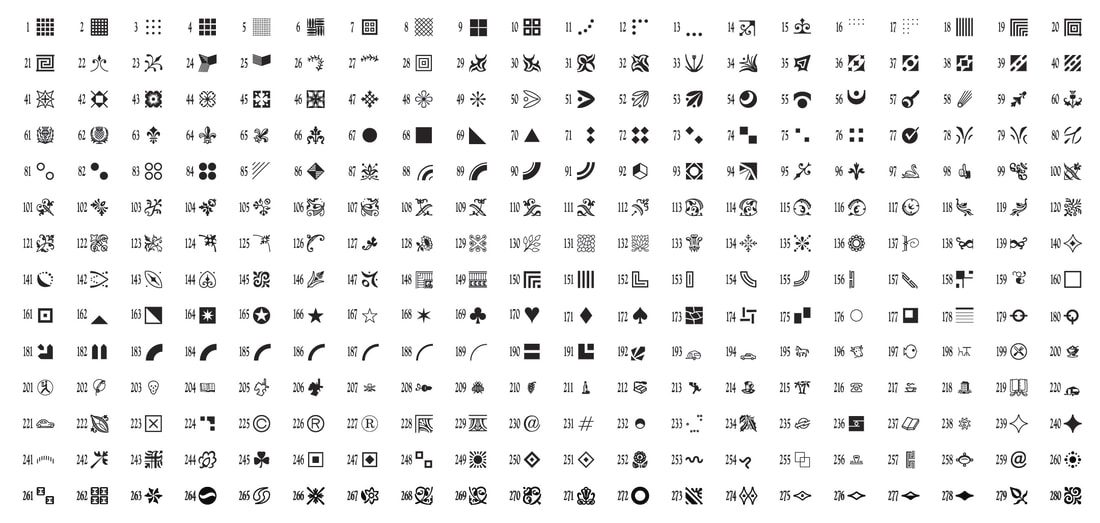
|
|
|
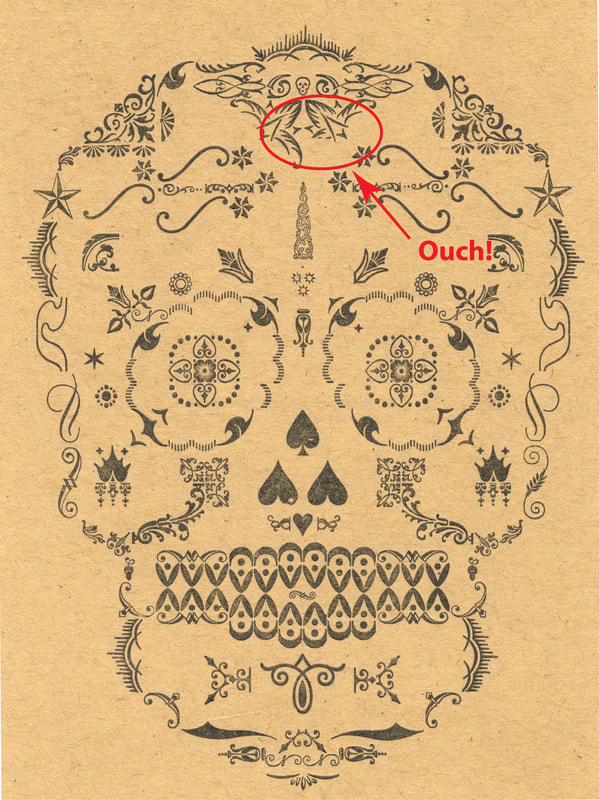
This was the first try at the final form printed on cover stock. I had to change the forehead area because the ornaments kept breaking. They broke because they are a 36 pt em quad design cast on an 18 pt em quad body. One wing wasn't adequately supported with high spaces (the space with the blue dot is a normal height space) and so it broke in use. I need to get more high spaces!
|
|
|
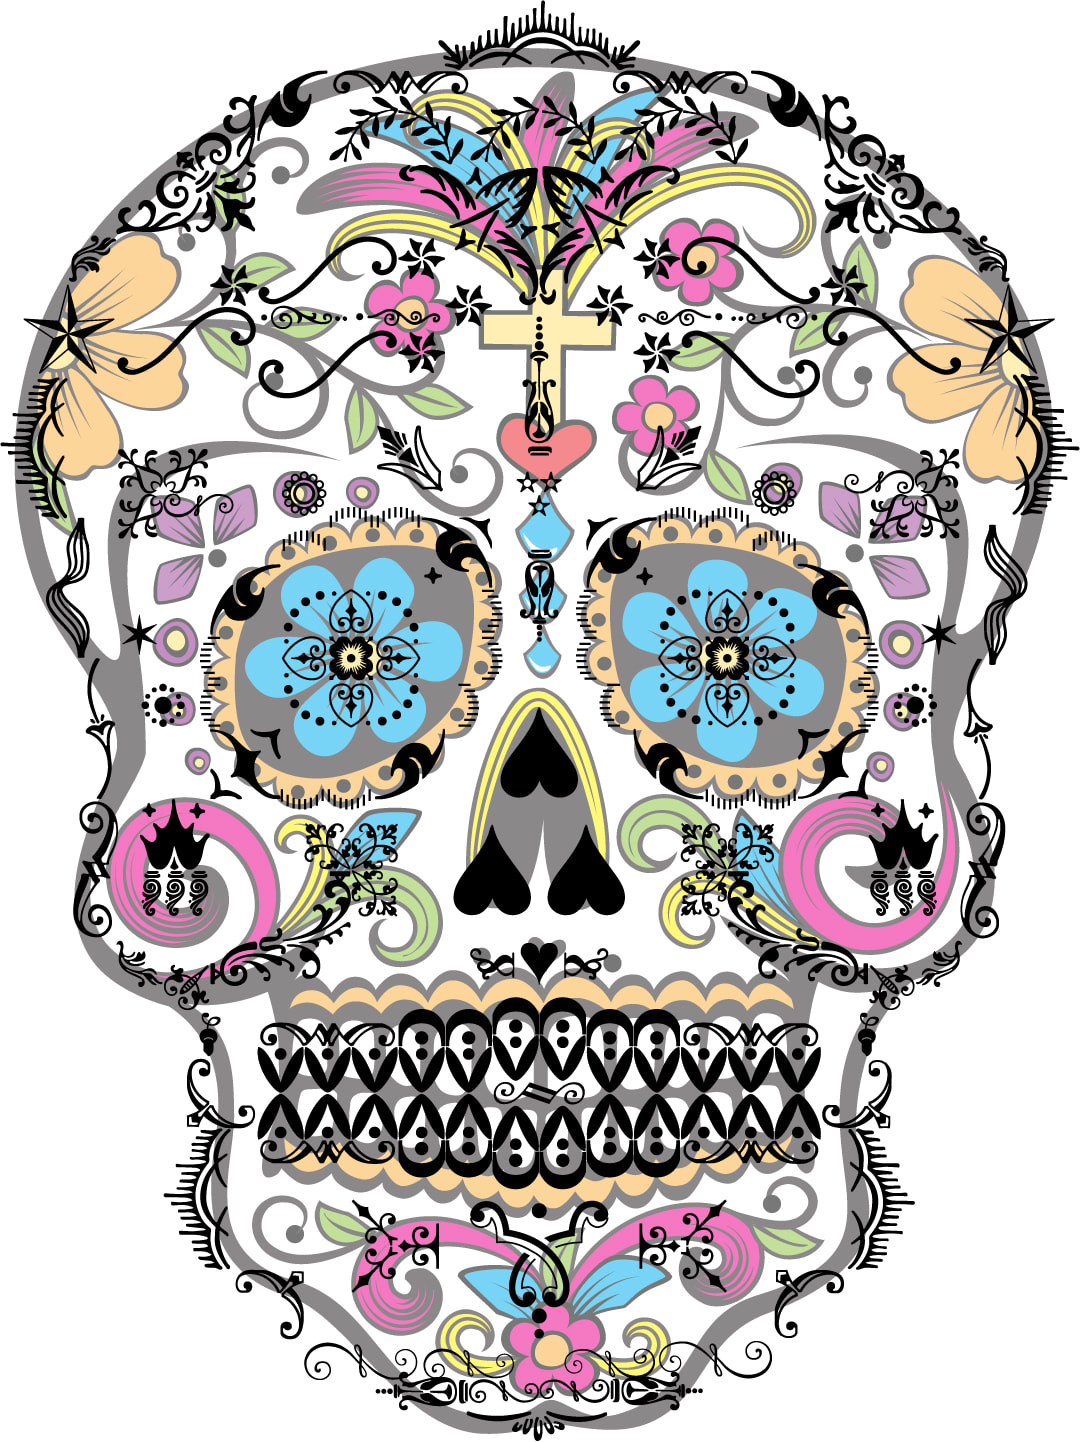
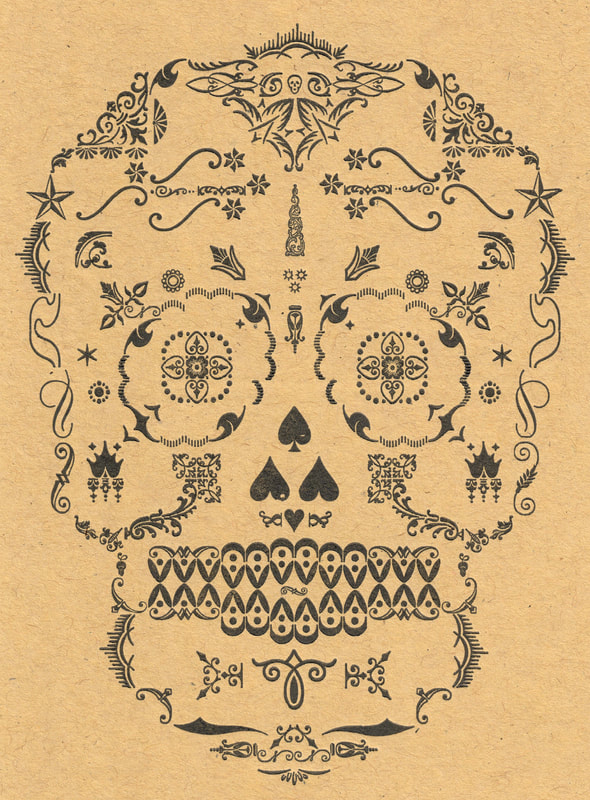
The final form.
Full disclosure: I violated Jen's First Law of Layout by using an ornament in the center of the chin with no regular dimensions. I guess it's pretty old! There's a lot of copper and brass action around it to bring it to 48 pt x 30 pt. The exception that makes the rule? Overall the design is OK. The mouth and eyes came out nicely. If I had it to do over, I might work harder to bring together the eyebrows and the areas between the outer edges of the eyes and the outline of the skull. And maybe something less square in the top corners? Skulls don't even have corners! |
|
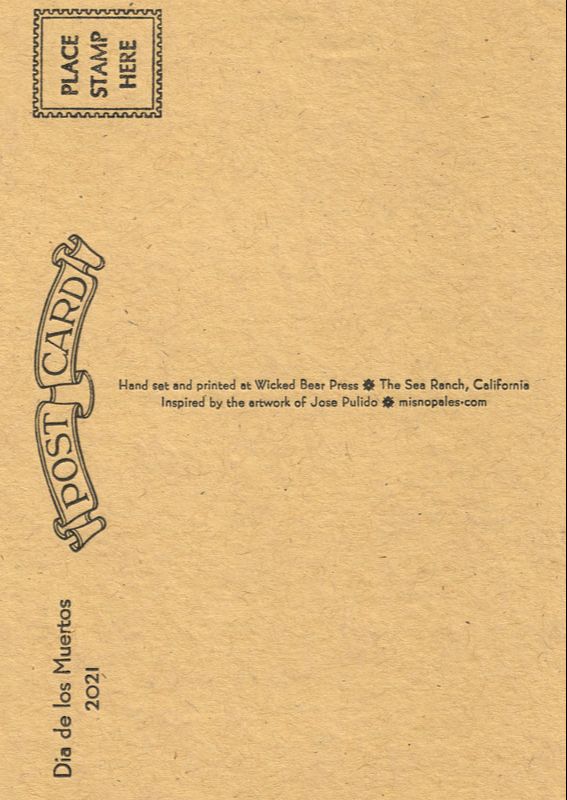
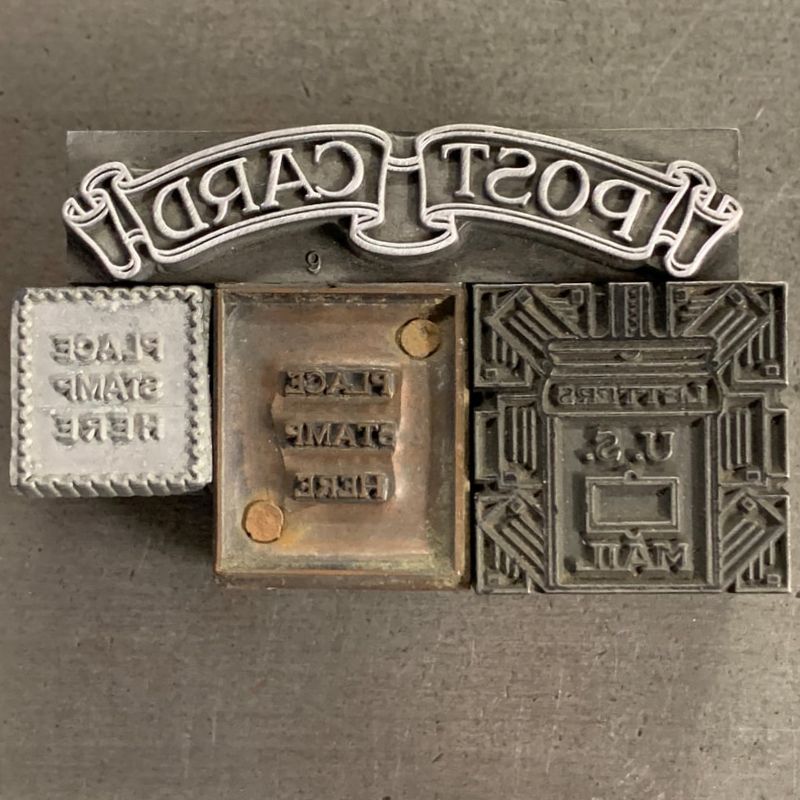
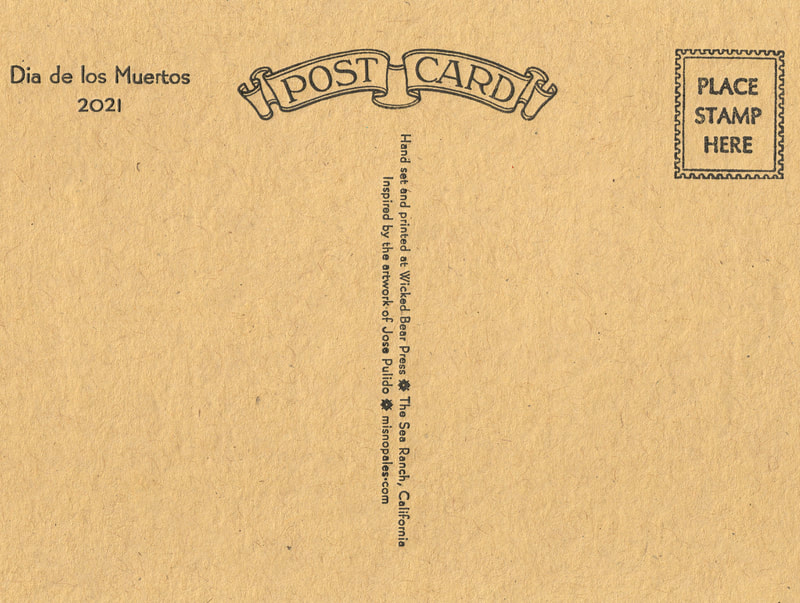
I guess I never took a picture of the form for the back of the postcard.
Not much too it, really. I just had to choose from the our cuts and build out the form. The 6 pt type was a bit of a challenge as always but taking it slowly made it all work out. That's Bernhard Gothic Light, my go to sans serif typeface. |
|
That's a wrap. Next up: a multicolored version! Hmmmm, maybe I'll work on those eyebrows while I'm at it.
