mmmmmm......coffee.....
|
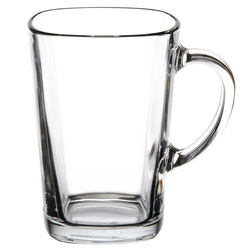
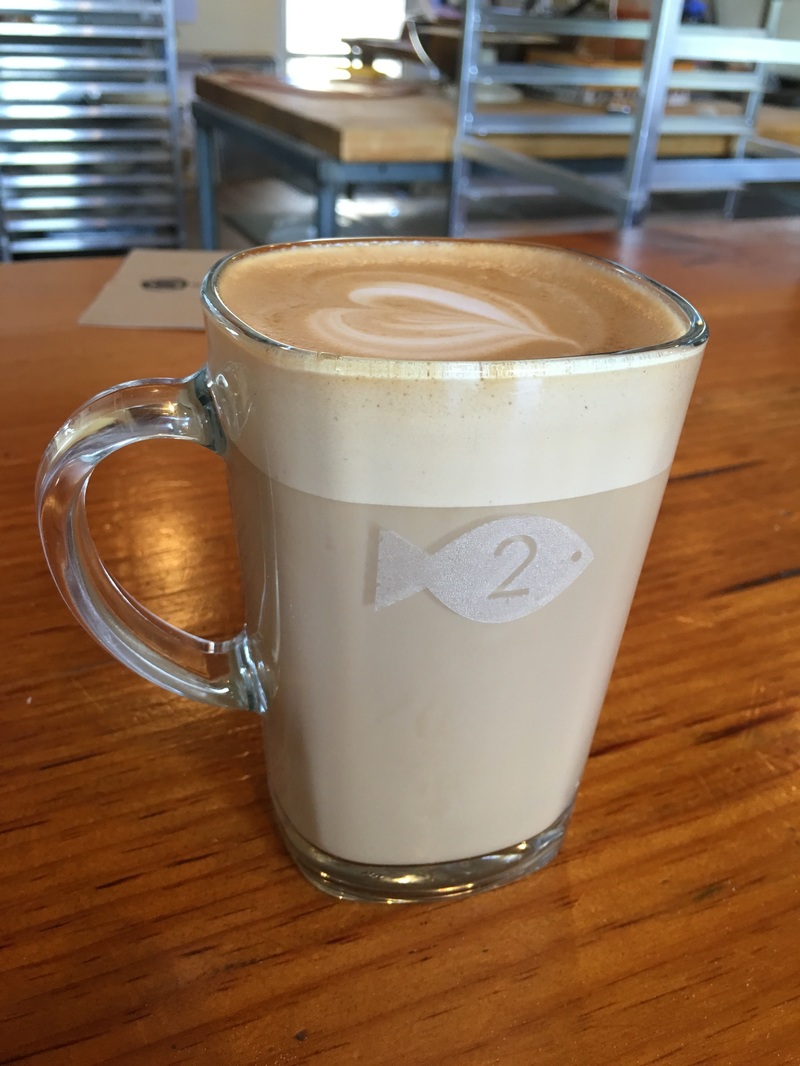
Latte Glass with Logo
Overall Dimensions: Top Diameter: 3 1/2" (89mm) Bottom Diameter: 2 3/4" (70mm) Maximum Diameter: 4 3/4" (121mm) Height: 5" (127mm) Capacity: 16 oz. (473ml) Manufacturer: Libbey, part number 5380 laser engraved |
|
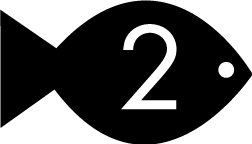
For the past 10 years or so, I've been a big fan of Two Fish Baking. The efforts of co-owners Margaret Smith and Hilla Ahvenainen add a lot to my quality of life up at The Sea Ranch by supplying two of the basic food groups: pastry and coffee.
|
|
Recently, much to my dismay, the supply of large latte glasses at Two Fish dwindled below a sustainable level. Not good.
Why add the taste of paper to your tasty coffee beverage if you don't have to? For me at least, being up at The Sea Ranch is all about not being in a such a hurry that you need to take your coffee to go. Also, if I took my coffee to go, I wouldn't be there so that Margaret could give me grief about how slow I am at doing the NYT crossword... |
no one should have to wake up at this ungodly hour of the morning
|
The life of any small business owner is plenty busy and the bakery business must have the busy knob cranked up to 11.
So, finding replacement glasses (since the originals from IKEA were no longer available) was not high up on the priority list of ways to spend free time for either Hilla or Margaret. Not entirely altruistically, I decided to try to help. |
not ceramic...
but it might still work |
The spec was 16oz. capacity (to hold a large latte), preferably ceramic (more durable than glass), tall rather than wide (to keep the coffee hot longer), and with a handle large enough to actually get your fingers inside (to make holding your recently steamed beverage more comfortable).
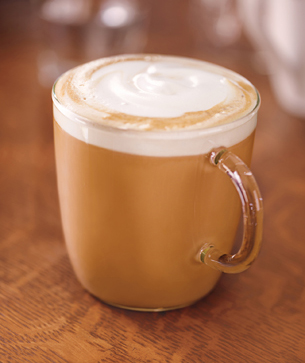
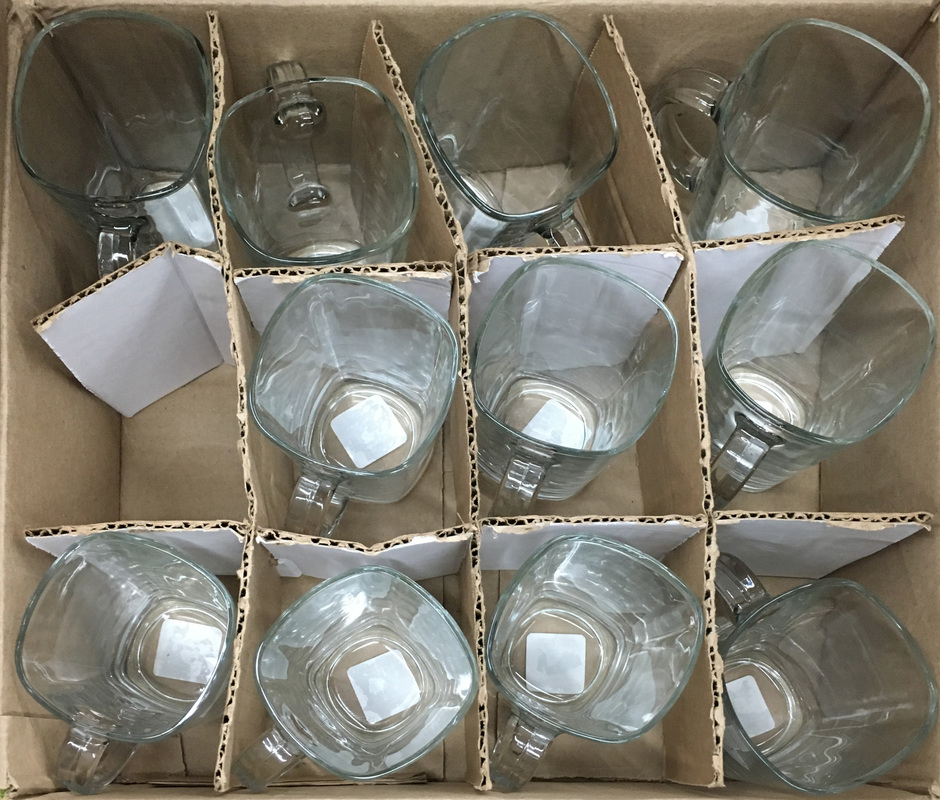
Too bad such a thing, near as I can tell, doesn't exist. The closest thing I could find was a Libbey 5380 from webstaurantstore.com. These glasses appeared to fit the spec with the exception of being glass instead of ceramic so I took a chance and ordered a case. |
|
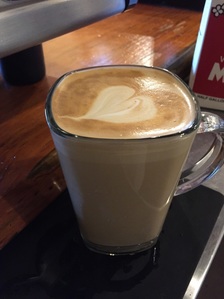
Upon arrival they were deemed good enough to warrant a trial run.
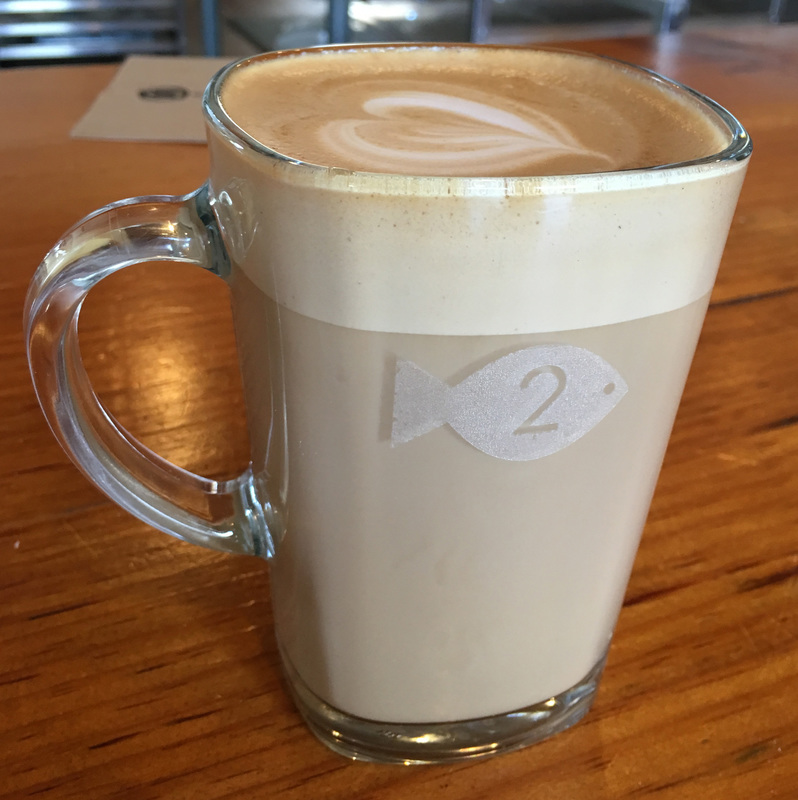
The first latte is shown at left. Success! One unexpected issue is that Hilla tells me that foam art made in a squarish glass is a lot different from that made in a round glass. She wasn't so happy with the heart at left, but I thought my first latte in one of these glasses looked and tasted great. Anyone who has looked at this site can probably see where this is going next...anything worth doing is worth overdoing... |

|
The new Two Fish logo is just the kind of bold, clean design that begs to be laser engraved onto stuff. Or at least that's what it looks like through the eyes of someone who judges most things around him for their potential to be zapped... So, I ordered another case of glasses to see what I could do.
I managed to snag a cool die-cut Two Fish business card awhile back, so I had something to work with to create the artwork. But, after redrawing the logo in Adobe Illustrator, I wasn't happy that it was good enough to use. I had to breakdown and ask Margaret for a copy of the logo artwork, while swearing her to secrecy about the project in case it failed. Despite her self-professed lack of computer tech chops, Margaret came through a few days later with a copy of the vector art used to print the business cards...exactly what I needed for the project. |

|
One subtlety in the logo is the use of gradients the "2" and the bubbles. I don't have any experience trying to render shaded artwork or photos on glass, so I opted to punt on the gradients for this first try.
Maybe if these glasses are useful enough, it will be worth going back and trying to optimize the art and engraving process to render the gradients. |
|
By punting on the gradients, I was able to simplify the artwork to one (relatively) simple shape with a black fill and no outline.
Now, how to set up the engraving? |
|
I knew I had 12 glasses to work with so I could sacrifice one to run some tests to make sure I got the engraving settings right and put the art in the right place on the glass.
I wanted to put the logo on both sides of the glass and in the same places on every glass, so some effort on fixturing was called for. |
|
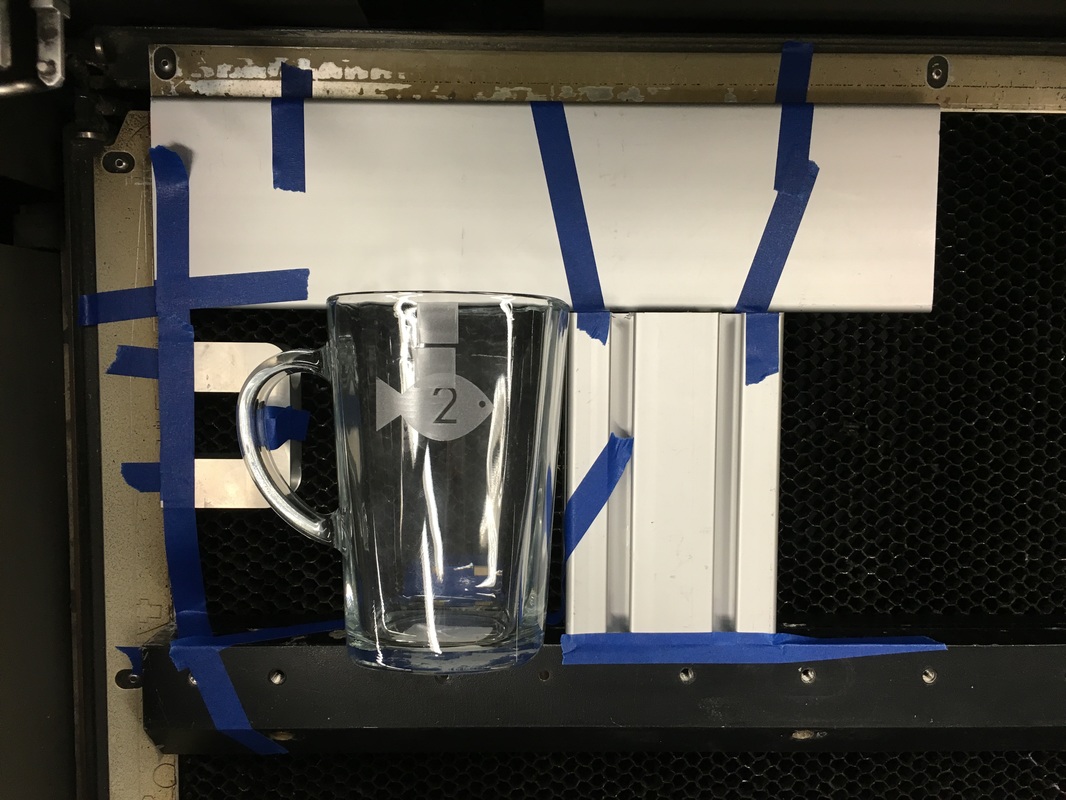
For a job like this, where it's not clear it will ever be run again, investing much effort in fixturing isn't worth it. So, I cobbled together some fixturing using scrap steel and aluminum bits. Everything was held together with blue painters tape. If I ever make more of these, some cleaner, more sophisticated fixturing might be called for.
The only fiddly bits were the shims used to level the surface to be engraved. A stack of laser project cut-off scraps picked up in the laser area at the TechShop was wrapped in tape to hold the bottom edge up. The handle was supported with the head of a screw that was screwed into a scrap aluminum part. |
|
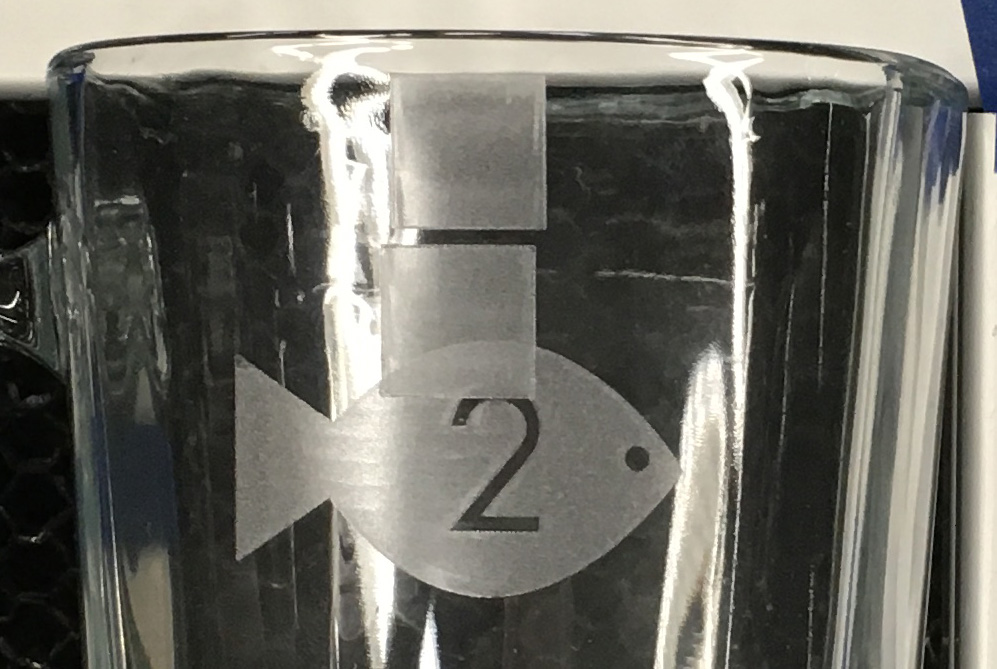
I made a couple of test cuts on the sacrificial glass to make sure my recipe was good.
The engraving looked fine using the Epilog 60W laser, with settings of 55p/90s/600dpi. I positioned the artwork about 1" (25mm) below the rim of the glass on the assumption that some people might find the texture objectionable while drinking out of the glass if the artwork was closer to the rim. A test cut of the logo looked good as well. There was no observable effect on the engraving of the slight curvature of the surface. Time to run 'em... |
|
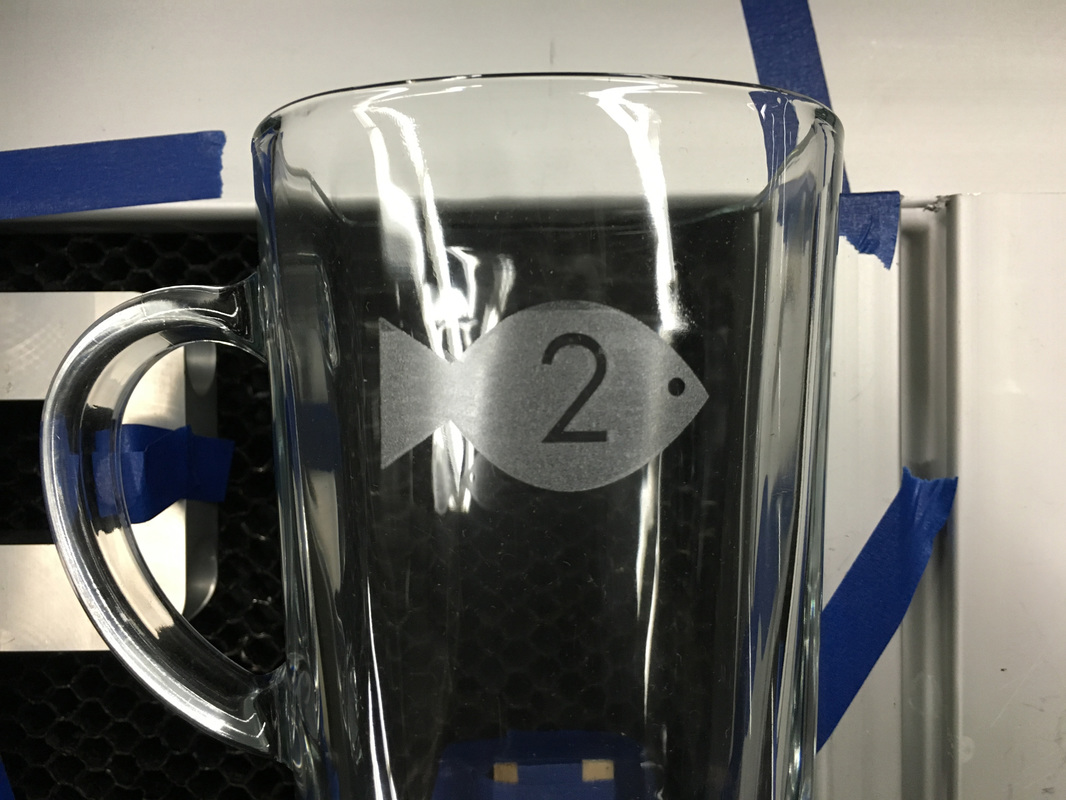
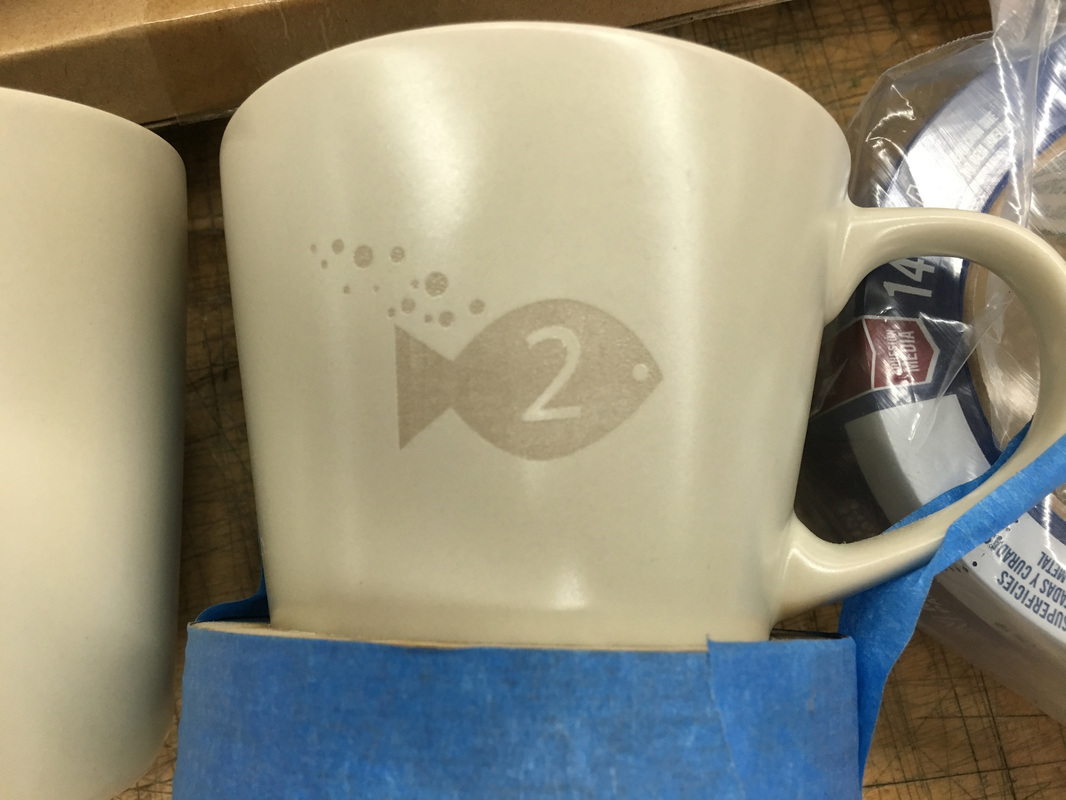
A finished engraving. Looks reasonable.
Now, run the rest of them and then flip over to run the other side. |
|
|
Just because I can, here's a shaky, handheld video clip of the engraving in progress.
|
|
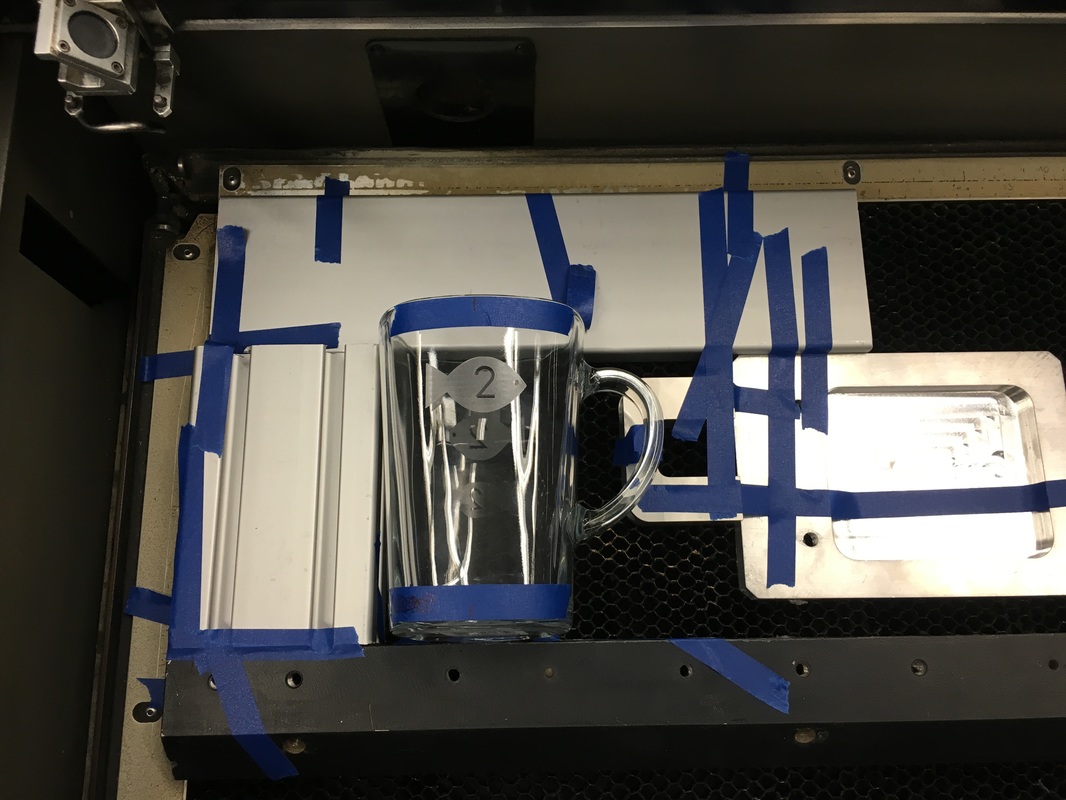
To run the other side, I had to dismantle and reassemble the highly sophisticated fixturing to support the handle on the right side instead of the left.
In an attempt to get the artwork on both sides lined up as closely as possible, I put some tape on the top and bottom edges of the sacrificial glass. Then, I marked the center of each end based on my best calibrated eyeball reading. After setting up the laser, I checked the alignment with the red dot indicator for the laser position. The top and bottom were within about 1/16" (1.6mm). Close enough. Run 'em! |
That's it! They're all run and cleaned up, ready for delivery.
Now we get to see how they are received...stay tuned...
Now we get to see how they are received...stay tuned...
|
The glasses were well received...the first latte of a new era is shown at left!
Note how after only a week, Hilla has clearly overcome the peculiarities of "drawing" foam art in a squarish glass. Now...how to get those logo bubbles to show up? Sounds like a challenge for next week... ...turns out that just adding the bubbles outside the fish outline was the right answer. Problem solved. |

The next challenge was to see if I could mark the 2 Fish ceramic coffee cups.
They have a pretty severe taper compared to the latte glasses, so I decided to make a jam chuck that would fit the base of the cup and provide a more controlled surface for rotation.
I found some scraps of 1/4" plywood in the laser area at TechShop MP and laser cut some rings with the same OD and slightly different IDs.
To maximize the friction fit between the chuck and the cup, the contact area needs be as large as possible. The inner surface of each ring needed to be tapered to match the taper of the cup. The easiest way to duplicate the angle was to use a cup itself as the sanding tool.
Since all of my abrasives are still lost in the mess after we moved, I bought a sheet of 80 grit paper from TechShop MP's retail area. This is not the most economical way to acquire abrasives...
Cloth mesh double-sided (carpet) tape worked great to hold small trapezoids of sandpaper to the lower part of the cup. (After an Xacto blade gave its life, or at least its edge, to the cause of cutting them to shape). Then it was just a matter of jamming each ring onto the cup and turning the cup and ring relative to each other until the inner surface of the ring was tight up against the wall of the cup. This took a little elbow grease and attention to keep the ring parallel to the bottom of the cup but it still went pretty fast.
After all the rings were tapered, they were stacked up in order of ID and taped together with blue painters tape. They can be glued together after this is finalized.
Leveling the cup when in the chuck went fine, but exposed a further necessary improvement.
The goal of making the top and bottom rims of the cup was a success but after elevating the bottom to make the side of the cup level with the laser bed, the outer surface of the chuck was tilted at the same angle as the side of the cup. This effect means that the cup still won't turn as easily as desired on the idler wheels of the rotary attachment of the laser engraver.
Now the question is, what's the easiest way to taper the OD?
