Getting rolling on the next red abalone inlay project. I'm making a pair of cufflinks for a friend who dresses so well that he actually wears cufflinks. I hope these turn out well enough that he will wear them!
The first step was to decide on the setting design. I thought about fabricating them myself, but since my goal here was to practice the inlay process, I decided to go with a commercial finding so I could get started on the inlay right away.
The first step was to decide on the setting design. I thought about fabricating them myself, but since my goal here was to practice the inlay process, I decided to go with a commercial finding so I could get started on the inlay right away.
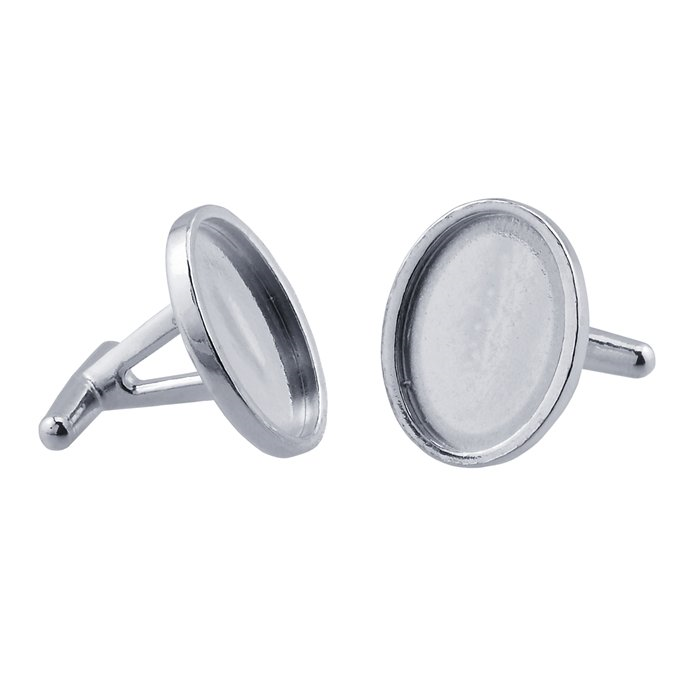 image from riogrande.com
I ordered some sterling silver oval bezel cuff link findings from Rio Grande (p/n 687092).
The setting is 16mm x 12mm.
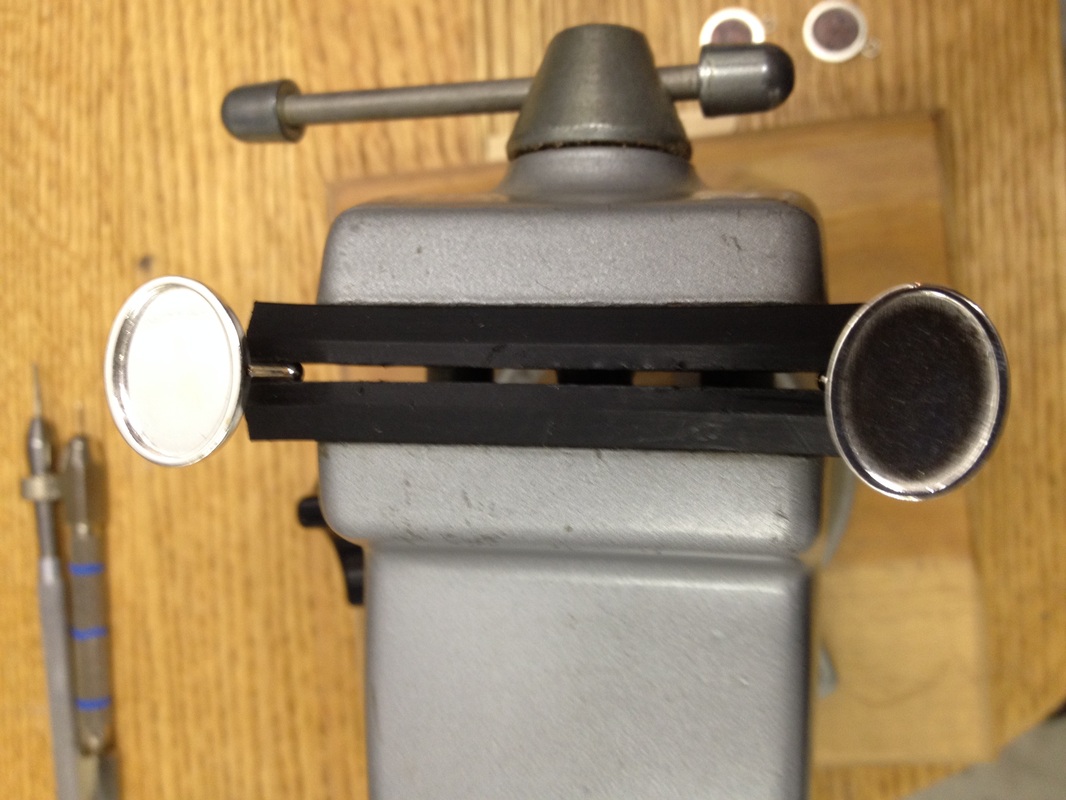
In the picture at left, I have them fixed in the Panavise so that I can get them perfectly flat and level before starting the inlay.
If the setting isn't level when the resin is added, it will at least cure with different thicknesses. At worst, it can run over the rim of the setting and make a mess.
The setting is a bit hard to hold in the vise because of its shape, but the Panavise has a v-groove in one jaw so it grips the cross bar of the cufflink firmly. Even so, I had to put the settings in the very ends of the jaws to hold them. It might look a little odd, but I think it will work.
The next step is to select the shell pieces to fill the settings. I just started sorting through the tray of bits and pulling out likely candidates.
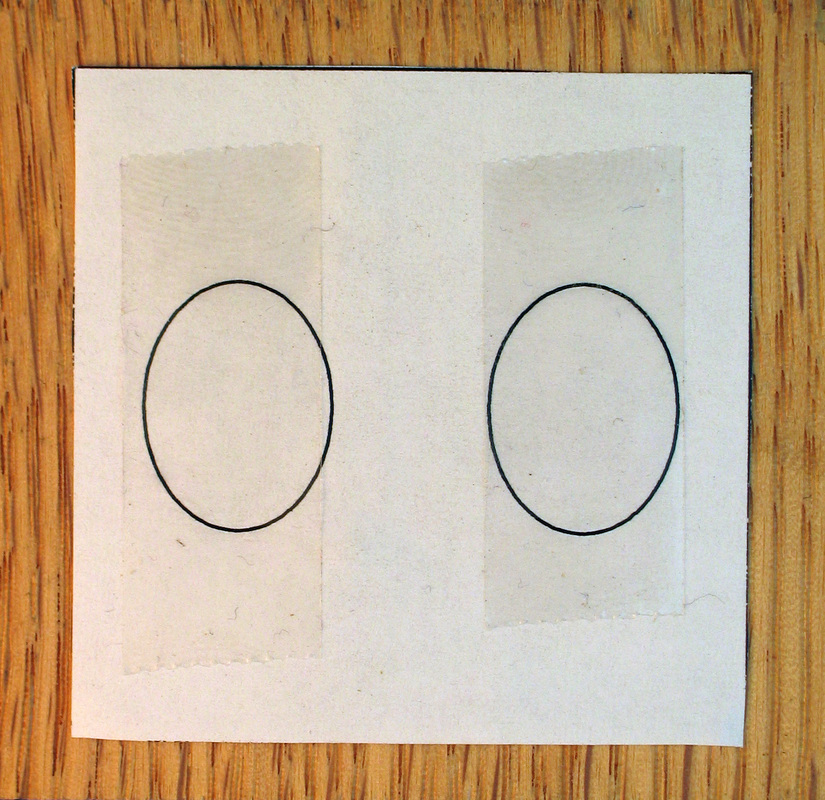
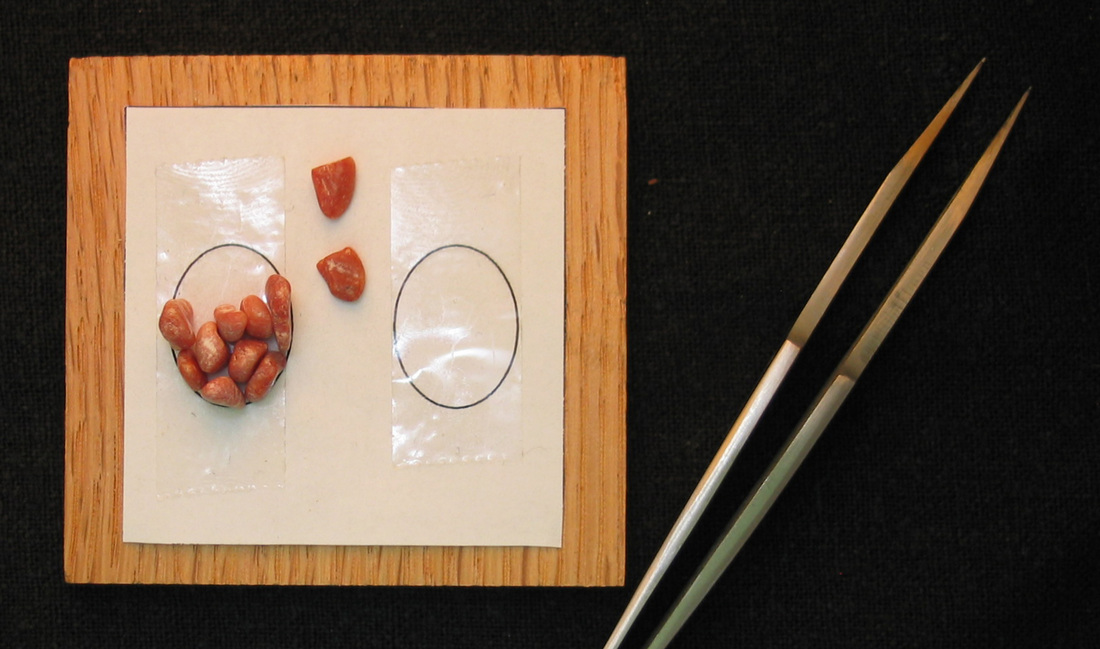
As I went, I realized that putting them into the actual setting to test fit them might be a bad idea. One bump of the vise and they would be all over the shop. So, I made a template in Illustrator by simply drawing an oval of the appropriate size. I then covered the template with double sided tape so the pieces would stay in place as I set them in. This is the same layout technique used for the cloisonné wires for The Bird Box.
Good concept, but it didn't work so well. Few of the pieces were flat enough on the bottom to stand upright on their own.
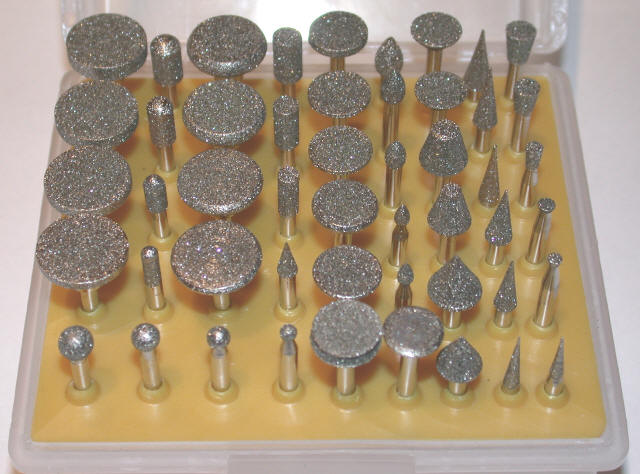 image from jadecarver.com
I used an 80 grit diamond burr (bought from jadecarver.com) in my Foredom flex shaft to grind the bottoms flat.
The sets of burrs shown at left are available from 36 grit to 400 grit. They are inexpensive so I don't expect them to have a long life. But maybe I'll be pleasantly surprised...cutting shell is easy duty for diamond abrasives.
The sets of burrs shown at left are available from 36 grit to 400 grit. They are inexpensive so I don't expect them to have a long life. But maybe I'll be pleasantly surprised...cutting shell is easy duty for diamond abrasives.
It will take quite a few pieces to fill up both of them.
